
How to Use 128 x 64 Graphic LCD: Examples, Pinouts, and Specs
 Design with 128 x 64 Graphic LCD in Cirkit Designer
Introduction
The 128 x 64 Graphic LCD is a versatile liquid crystal display module with a resolution of 128x64 pixels. It is widely used in embedded systems and electronic projects for displaying text, images, and graphics. Unlike character-based LCDs, this graphical LCD allows for more flexibility in designing custom interfaces, making it ideal for applications requiring detailed visual output.
Explore Projects Built with 128 x 64 Graphic LCD
 Open Project in Cirkit Designer
 Open Project in Cirkit Designer
 Open Project in Cirkit Designer
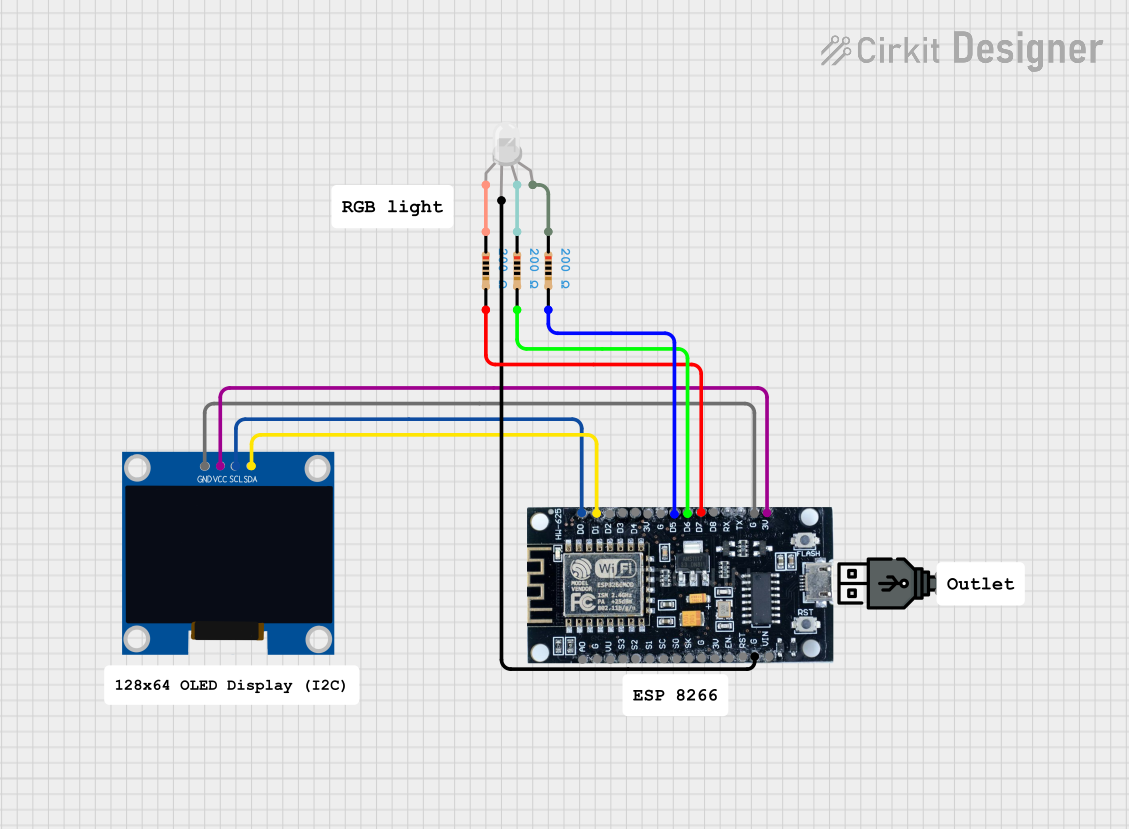 Open Project in Cirkit Designer
Explore Projects Built with 128 x 64 Graphic LCD
Open Project in Cirkit DesignerOpen Project in Cirkit DesignerOpen Project in Cirkit DesignerOpen Project in Cirkit DesignerCommon Applications and Use Cases
- Embedded systems and microcontroller projects
- Industrial control panels
- Medical devices
- DIY electronics and hobbyist projects
- Portable devices with graphical user interfaces
- Data visualization and monitoring systems
Technical Specifications
The following table outlines the key technical details of the 128 x 64 Graphic LCD:
| Parameter | Value |
|---|---|
| Display Resolution | 128 x 64 pixels |
| Display Type | Monochrome (Black and White) |
| Operating Voltage | 3.3V or 5V (depending on model) |
| Interface Type | Parallel (8-bit or 4-bit) or SPI |
| Backlight | LED (optional, varies by model) |
| Controller IC | KS0108, ST7920, or similar |
| Operating Temperature | -20°C to +70°C |
| Dimensions | Varies by model (e.g., 93mm x 70mm) |
Pin Configuration and Descriptions
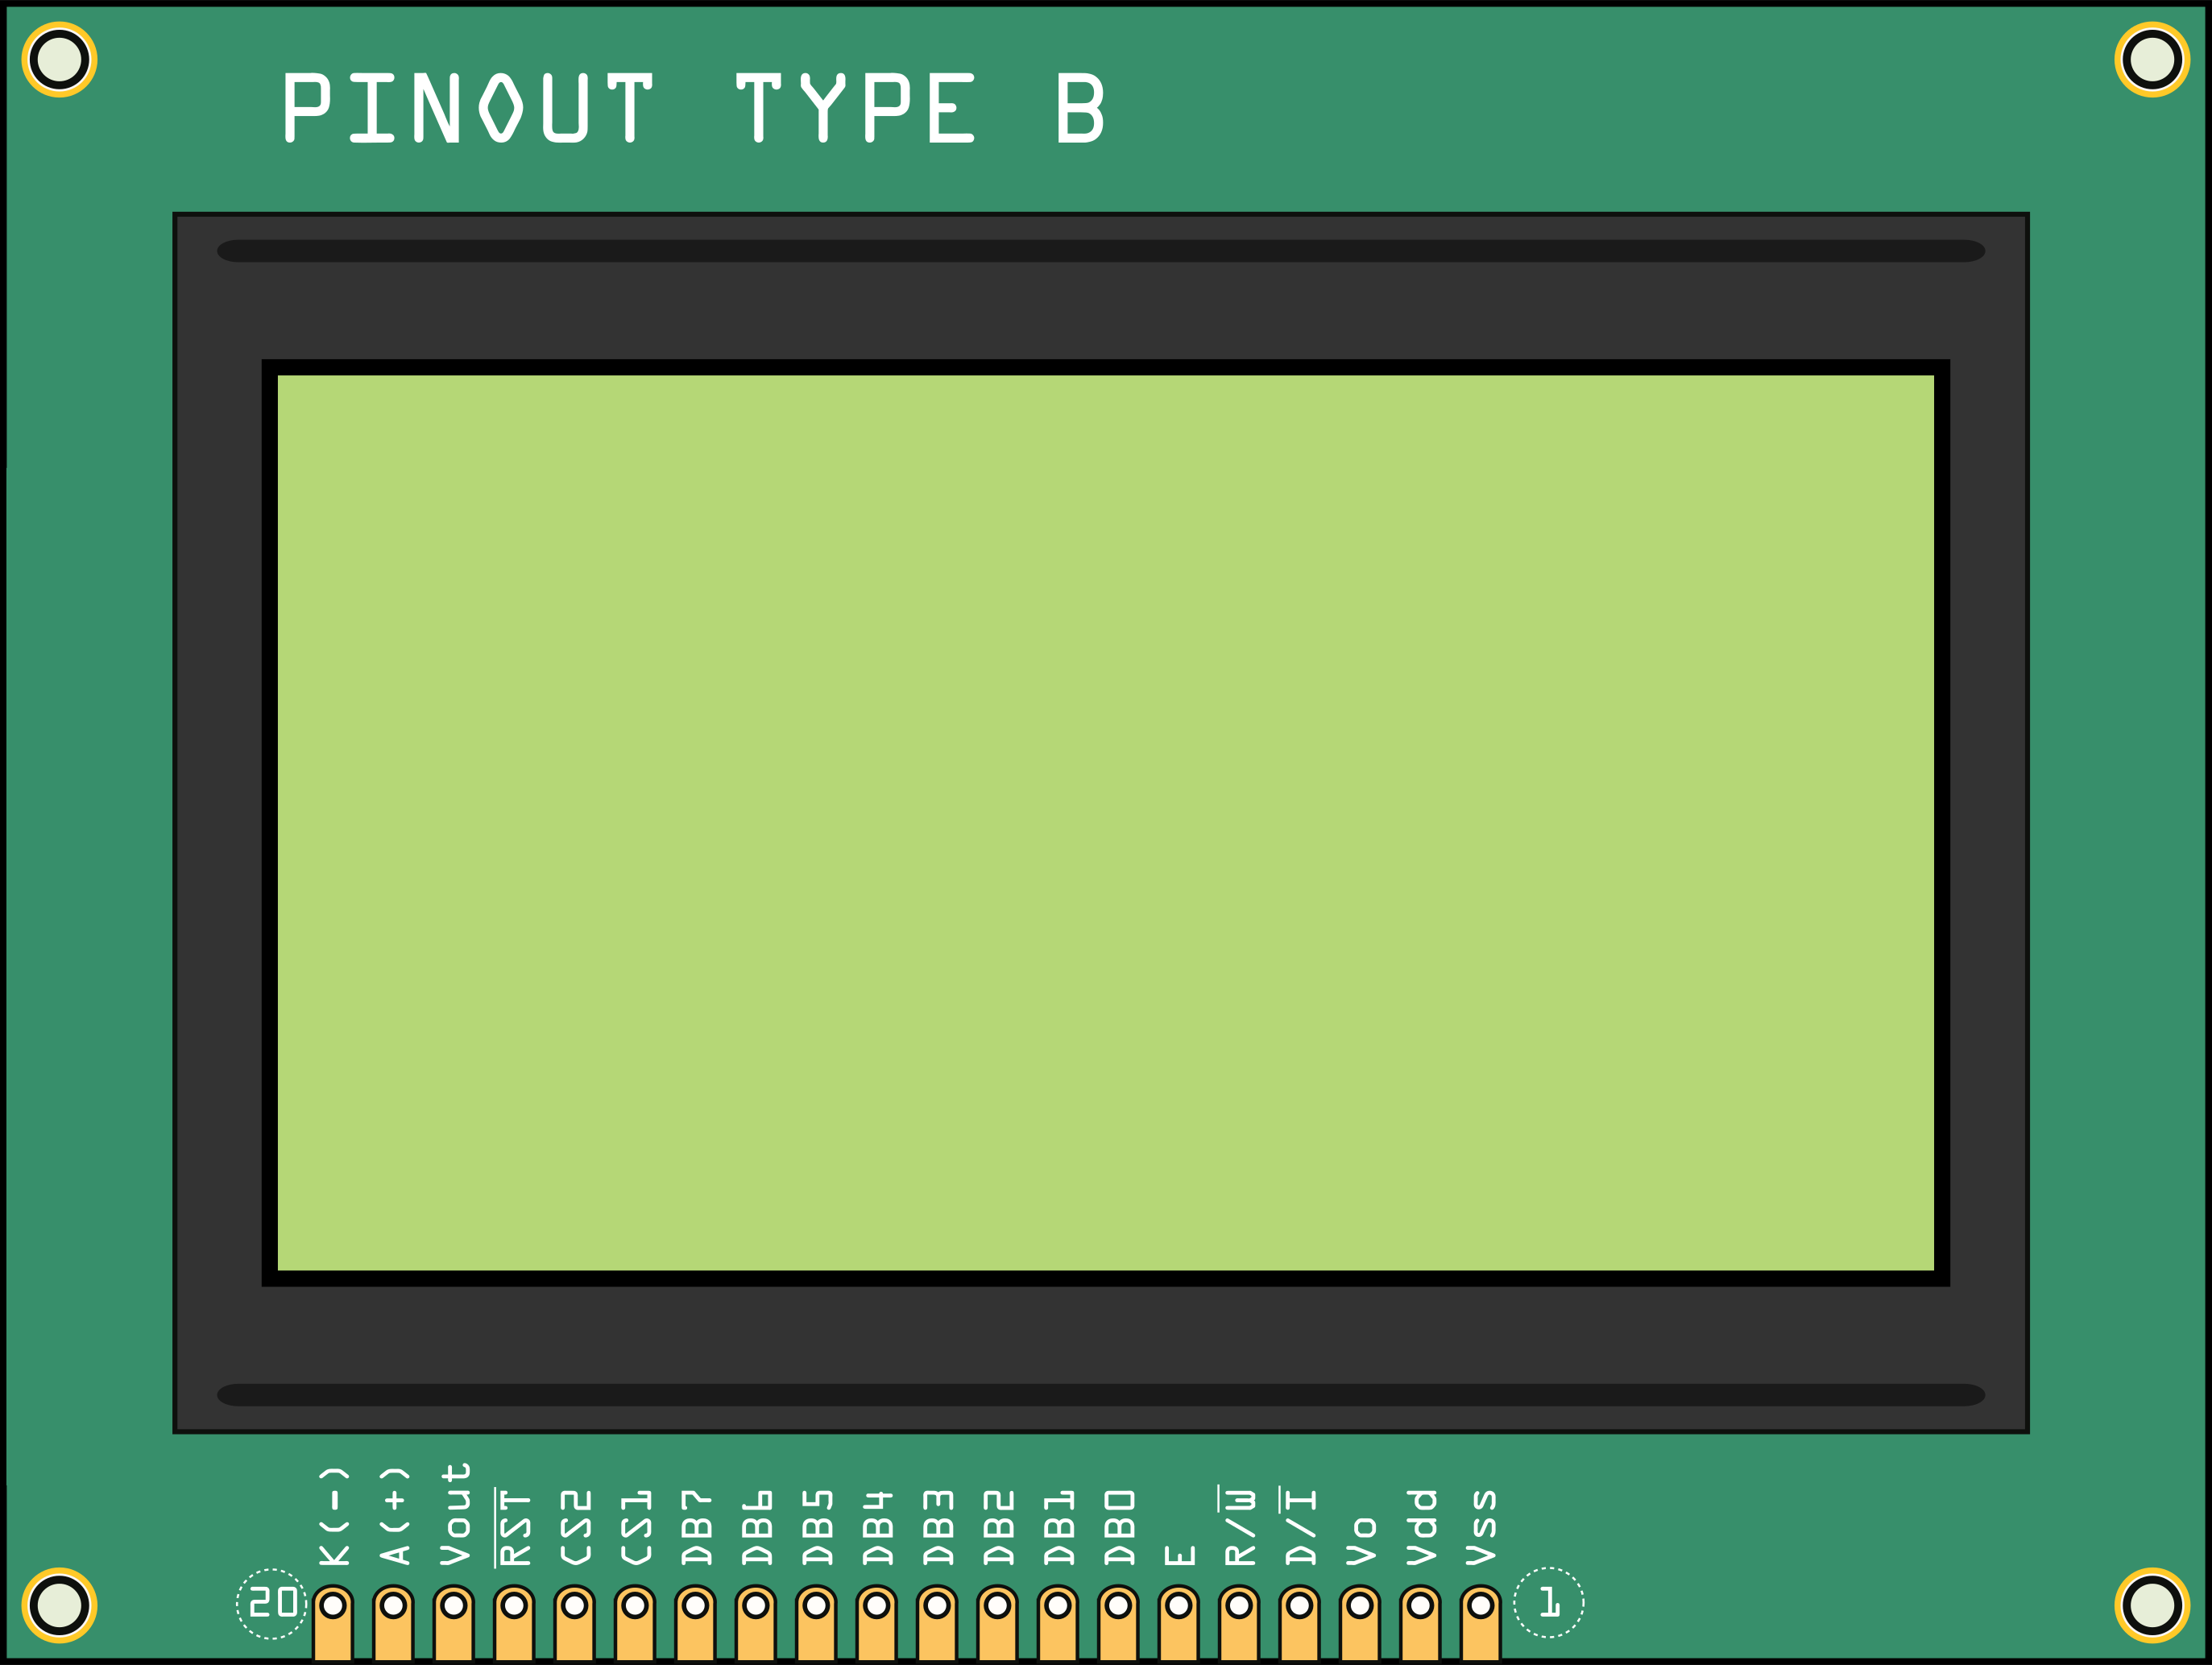
The pin configuration may vary slightly depending on the specific model and controller IC. Below is a typical pinout for a KS0108-based 128 x 64 Graphic LCD:
| Pin | Name | Description |
|---|---|---|
| 1 | VSS | Ground (0V) |
| 2 | VDD | Power supply (3.3V or 5V) |
| 3 | VO | Contrast adjustment (connect to a potentiometer) |
| 4 | RS | Register Select (0: Command, 1: Data) |
| 5 | R/W | Read/Write control (0: Write, 1: Read) |
| 6 | E | Enable signal (used to latch data) |
| 7-14 | DB0-DB7 | Data bus lines (used for 8-bit parallel communication) |
| 15 | CS1 | Chip Select 1 (selects the left half of the display) |
| 16 | CS2 | Chip Select 2 (selects the right half of the display) |
| 17 | RST | Reset signal (active low) |
| 18 | LED+ | Backlight anode (connect to power via a resistor, if applicable) |
| 19 | LED- | Backlight cathode (connect to ground, if applicable) |
Usage Instructions
How to Use the Component in a Circuit
- Power Supply: Connect the VSS pin to ground and the VDD pin to a 3.3V or 5V power source, depending on the model.
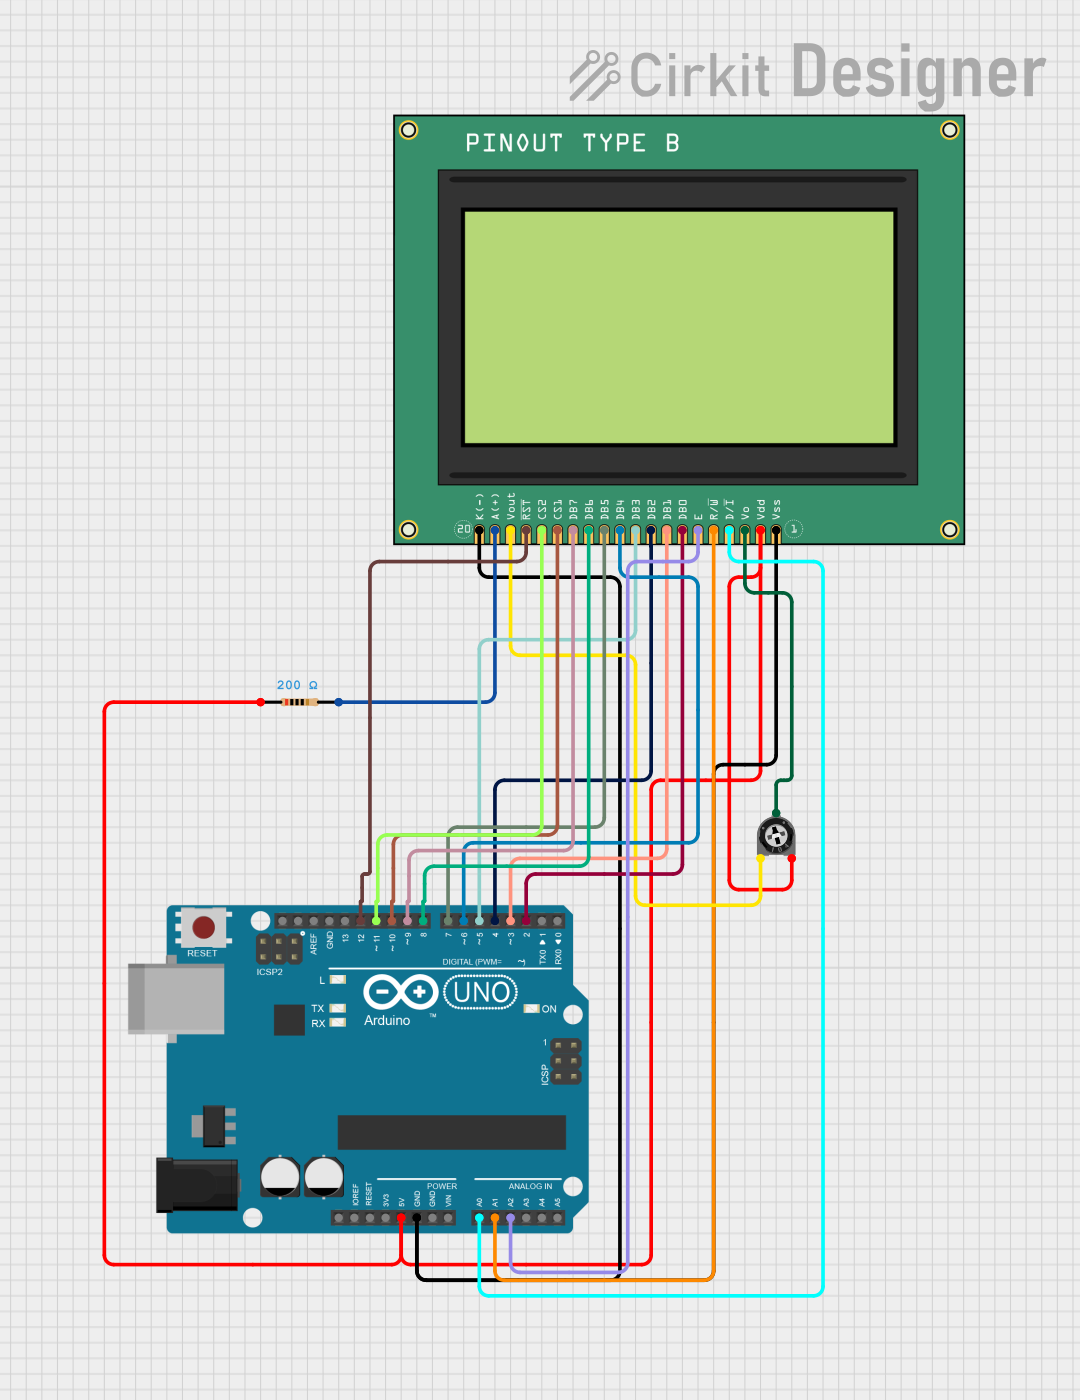
- Contrast Adjustment: Connect the VO pin to the wiper of a 10kΩ potentiometer. Connect one end of the potentiometer to VDD and the other to ground. Adjust the potentiometer to set the display contrast.
- Data Communication: Use the DB0-DB7 pins for parallel communication. Alternatively, if your model supports SPI, connect the appropriate SPI pins.
- Control Signals: Connect the RS, R/W, and E pins to GPIO pins on your microcontroller. Use these pins to send commands and data to the LCD.
- Backlight: If the LCD has a backlight, connect the LED+ and LED- pins to power and ground, respectively, through a suitable current-limiting resistor.
Important Considerations and Best Practices
- Voltage Compatibility: Ensure the LCD's operating voltage matches your microcontroller's logic level (3.3V or 5V).
- Initialization: The LCD requires proper initialization commands to function correctly. Refer to the datasheet of the controller IC (e.g., KS0108 or ST7920) for initialization sequences.
- Timing Requirements: Follow the timing specifications for control signals (RS, R/W, E) as outlined in the datasheet.
- Noise Reduction: Use decoupling capacitors (e.g., 0.1µF) near the power pins to reduce noise and improve stability.
Example Code for Arduino UNO
Below is an example of how to interface a KS0108-based 128 x 64 Graphic LCD with an Arduino UNO using the GLCD library:
#include <GLCD.h> // Include the GLCD library for KS0108-based displays
#include "fonts/Arial14.h" // Include a font for text rendering
#include "fonts/SystemFont5x7.h"

// Initialize the GLCD object
void setup() {
  GLCD.Init(); // Initialize the LCD
  GLCD.ClearScreen(); // Clear the display

  // Display a welcome message
  GLCD.SelectFont(System5x7); // Select a font
  GLCD.PrintString("Welcome to", 0, 0); // Print text at (0, 0)
  GLCD.PrintString("128x64 LCD!", 0, 10); // Print text at (0, 10)

  // Draw a rectangle
  GLCD.DrawRect(10, 20, 50, 30); // Draw a rectangle at (10, 20) with width 50 and height 30
}

void loop() {
  // Add your main code here
}
Note: Install the
GLCDlibrary in the Arduino IDE before uploading the code. The library provides functions for drawing shapes, rendering text, and controlling the LCD.
Troubleshooting and FAQs
Common Issues and Solutions
No Display Output:
- Verify the power connections (VSS and VDD).
- Adjust the contrast using the potentiometer connected to the VO pin.
- Ensure the backlight is powered (if applicable).
Garbage or Distorted Characters:
- Check the data bus connections (DB0-DB7).
- Ensure proper initialization commands are sent to the LCD.
- Verify the timing of control signals (RS, R/W, E).
Half of the Screen Not Working:
- Check the connections to the CS1 and CS2 pins.
- Ensure both halves of the display are initialized correctly.
Backlight Not Turning On:
- Verify the LED+ and LED- connections.
- Use a suitable current-limiting resistor for the backlight.
FAQs
Q: Can I use this LCD with a 3.3V microcontroller?
- A: Yes, but ensure the LCD model supports 3.3V operation. If not, use level shifters for compatibility.
Q: How do I display custom graphics?
- A: Use a graphics library (e.g.,
GLCDorU8g2) to load and render bitmap images.
- A: Use a graphics library (e.g.,
Q: Is this LCD compatible with SPI?
- A: Some models support SPI. Check the datasheet of your specific LCD module for details.
By following this documentation, you can effectively integrate the 128 x 64 Graphic LCD into your projects and troubleshoot common issues.