Cirkit Designer
Your all-in-one circuit design IDE
Home /
Component Documentation
How to Use Whisker Limit Switch: Examples, Pinouts, and Specs

 Design with Whisker Limit Switch in Cirkit Designer
Introduction
A whisker limit switch is a tactile sensor that is widely used in the field of robotics and automation. It operates by making physical contact with an object through a flexible, wire-like actuator known as a whisker. This simple yet effective component is essential for providing feedback on the position of mechanical parts, ensuring precision and safety in various applications.
Explore Projects Built with Whisker Limit Switch
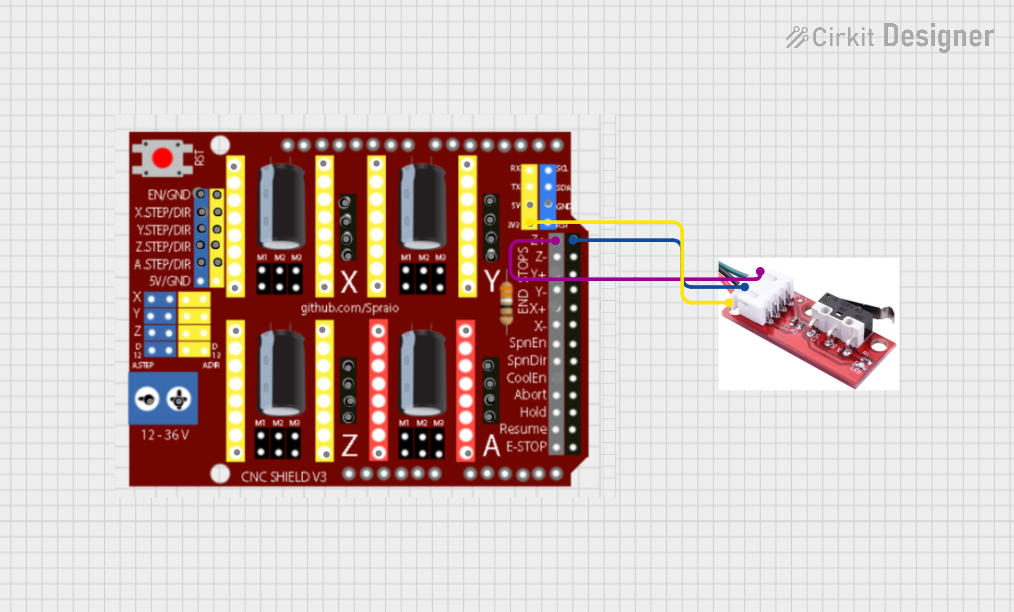
CNC Machine with Limit Switch Integration

This circuit connects a limit switch to a CNC machine, allowing the CNC to receive signals from the limit switch. The limit switch is powered by the CNC's 3.3V supply and shares a common ground with the CNC.
 Open Project in Cirkit Designer
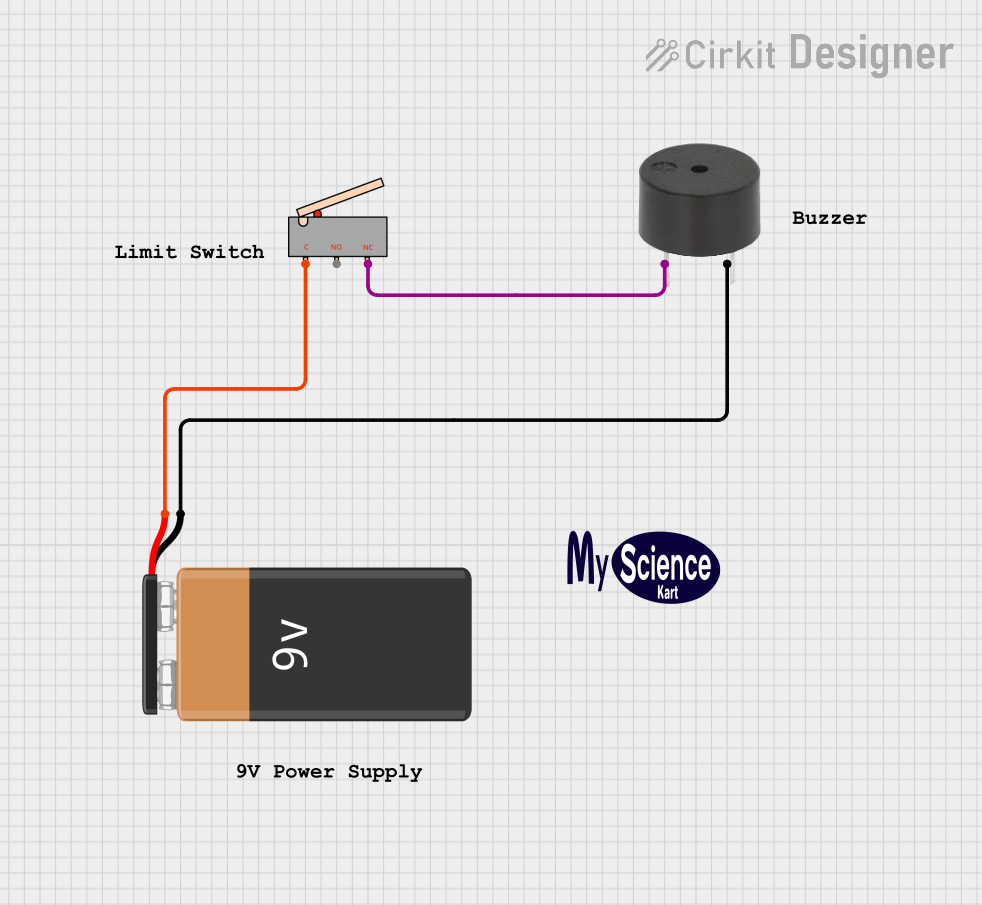
Battery-Powered Buzzer Alarm with Limit Switch

This circuit is designed to activate a buzzer when a limit switch is in its normally closed (NC) position. The 9V battery provides power to the circuit. When the limit switch is open, the circuit is broken, and the buzzer will not sound.
 Open Project in Cirkit Designer
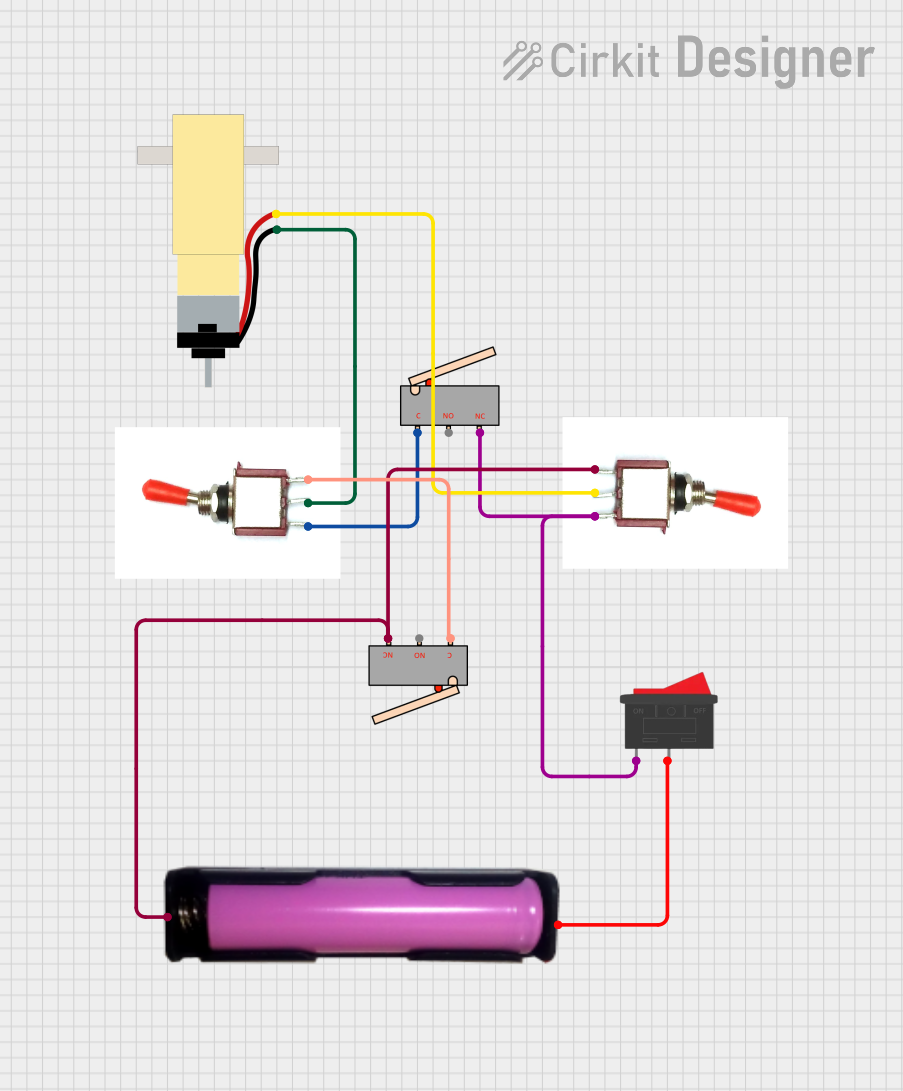
Battery-Powered Motor Control System with Toggle and Limit Switches

This circuit controls a hobby gear motor using two toggle switches, a rocker switch, and two limit switches. The motor's direction is controlled by the toggle switches, while the limit switches and rocker switch provide additional control and safety features. Power is supplied by a 18650 battery in a holder.
 Open Project in Cirkit Designer
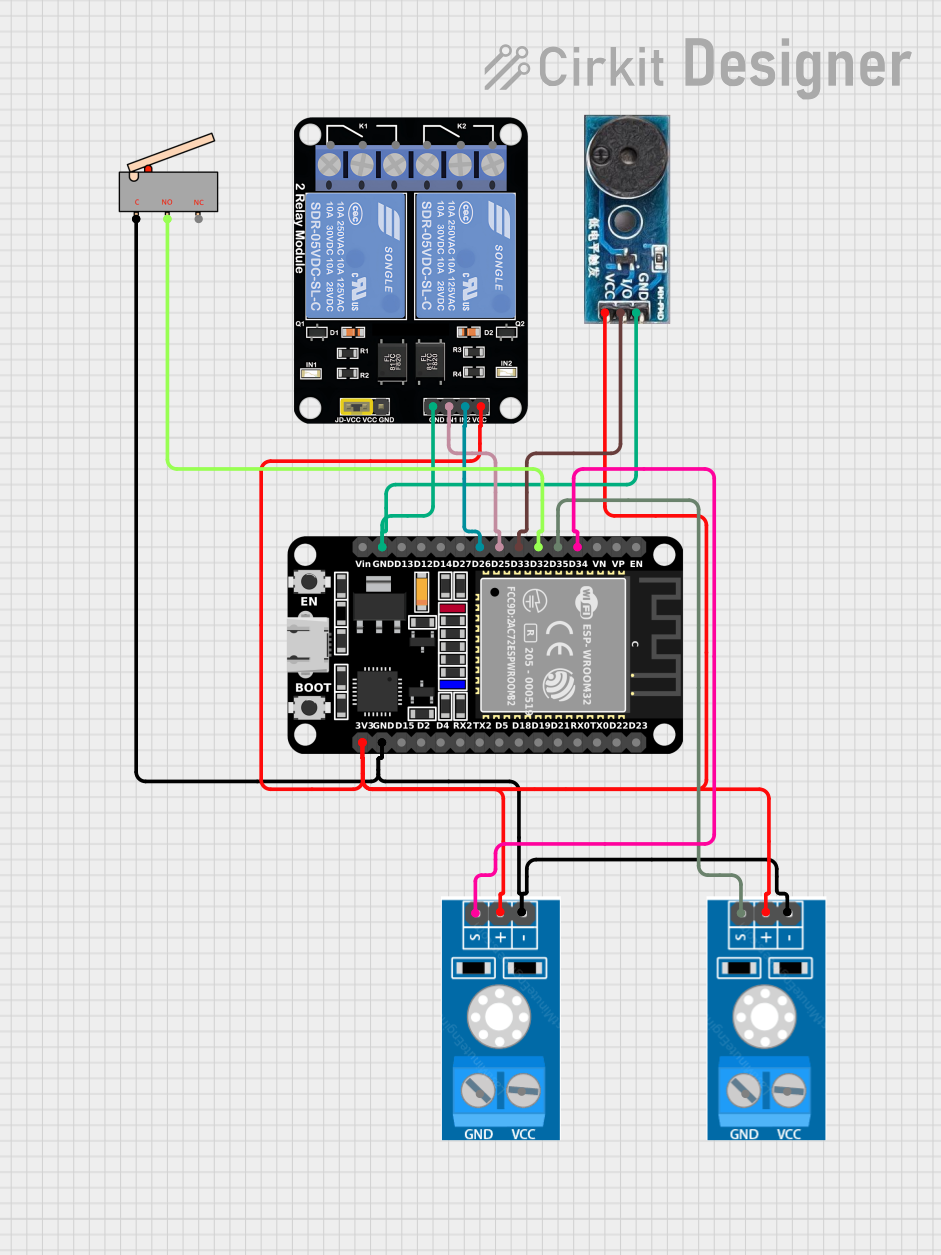
ESP32-Based Voltage Monitoring System with Buzzer Alert and Limit Switch Reset

This circuit uses an ESP32 microcontroller to monitor two voltage sensors and control a buzzer and two relays. When either voltage sensor detects a voltage above 3V ten times, the buzzer sounds intermittently until a limit switch is pressed, which resets the counters and stops the buzzer.
 Open Project in Cirkit Designer
Explore Projects Built with Whisker Limit Switch

CNC Machine with Limit Switch Integration
This circuit connects a limit switch to a CNC machine, allowing the CNC to receive signals from the limit switch. The limit switch is powered by the CNC's 3.3V supply and shares a common ground with the CNC.
 Open Project in Cirkit Designer
Battery-Powered Buzzer Alarm with Limit Switch
This circuit is designed to activate a buzzer when a limit switch is in its normally closed (NC) position. The 9V battery provides power to the circuit. When the limit switch is open, the circuit is broken, and the buzzer will not sound.
 Open Project in Cirkit Designer
Battery-Powered Motor Control System with Toggle and Limit Switches
This circuit controls a hobby gear motor using two toggle switches, a rocker switch, and two limit switches. The motor's direction is controlled by the toggle switches, while the limit switches and rocker switch provide additional control and safety features. Power is supplied by a 18650 battery in a holder.
 Open Project in Cirkit Designer
ESP32-Based Voltage Monitoring System with Buzzer Alert and Limit Switch Reset
This circuit uses an ESP32 microcontroller to monitor two voltage sensors and control a buzzer and two relays. When either voltage sensor detects a voltage above 3V ten times, the buzzer sounds intermittently until a limit switch is pressed, which resets the counters and stops the buzzer.
 Open Project in Cirkit Designer
Common Applications and Use Cases
- Robotics: To detect the position of robotic arms or end-effectors.
- CNC Machines: To establish reference points for machining operations.
- 3D Printers: To calibrate the print bed or determine the home position.
- Safety Mechanisms: To prevent machinery from exceeding its operational limits.
Technical Specifications
Key Technical Details
- Voltage Rating: 5V to 24V DC
- Current Rating: 100mA (max)
- Contact Type: Normally Open (NO)
- Mechanical Life: 1 million cycles (min)
- Operating Temperature: -10°C to 70°C
Pin Configuration and Descriptions
| Pin Number | Description | Notes |
|---|---|---|
| 1 | Common (C) | Connect to ground or Vcc based on NO/NC configuration |
| 2 | Normally Open (NO) | Closed when whisker is activated; otherwise open |
| 3 | Normally Closed (NC) | Open when whisker is activated; otherwise closed |
Usage Instructions
How to Use the Component in a Circuit
- Connect the Common Pin: Depending on your circuit design, connect the common pin to either the ground or Vcc.
- Choose NO/NC Configuration: Connect your load to the Normally Open or Normally Closed pin based on the desired behavior.
- Mount the Switch: Secure the switch in a position where the whisker can make contact with the moving part.
- Wire to Control Circuitry: Connect the output of the switch to the input of a microcontroller or relay module to process the switch signal.
Important Considerations and Best Practices
- Debouncing: Implement software debouncing to account for mechanical contact bounce.
- Mounting: Ensure the whisker has enough freedom of movement and is not overly bent or stressed.
- Environmental Factors: Avoid placing the switch in environments with high moisture or dust levels that could affect its performance.
Example Code for Arduino UNO
// Define the pin connected to the limit switch
const int limitSwitchPin = 2;

void setup() {
  // Set the limit switch pin as an input
  pinMode(limitSwitchPin, INPUT_PULLUP);
  // Initialize serial communication at 9600 bits per second
  Serial.begin(9600);
}

void loop() {
  // Read the state of the limit switch
  int switchState = digitalRead(limitSwitchPin);

  // Check if the switch is pressed (assuming NO configuration)
  if (switchState == LOW) {
    // The whisker has made contact
    Serial.println("Whisker is in contact");
  } else {
    // The whisker is not in contact
    Serial.println("Whisker is not in contact");
  }

  // Delay a bit for debounce
  delay(50);
}
Troubleshooting and FAQs
Common Issues Users Might Face
- Switch Does Not Respond: Ensure that the whisker is properly positioned to make contact and that all connections are secure.
- False Triggers: Implement debouncing in your code or check for environmental interference.
Solutions and Tips for Troubleshooting
- Debouncing: Use software debouncing by adding a delay after detecting a switch change or by checking the switch state multiple times.
- Connection Check: Verify that the switch is correctly wired to the control circuitry and that there are no loose connections.
FAQs
Q: Can I use the whisker limit switch with an AC power source?
- A: No, this switch is designed for low-voltage DC applications only.
Q: How do I know if my switch is in NO or NC configuration?
- A: You can test the switch with a multimeter in continuity mode. The NO pin will only show continuity when the whisker is activated, while the NC pin will show continuity when the whisker is not activated.
Q: Is it possible to adjust the sensitivity of the whisker?
- A: The sensitivity is not directly adjustable, but you can bend the whisker to change the point at which it makes contact with the object.