
How to Use CrowPanel 5" ESP32-P4 HMI: Examples, Pinouts, and Specs
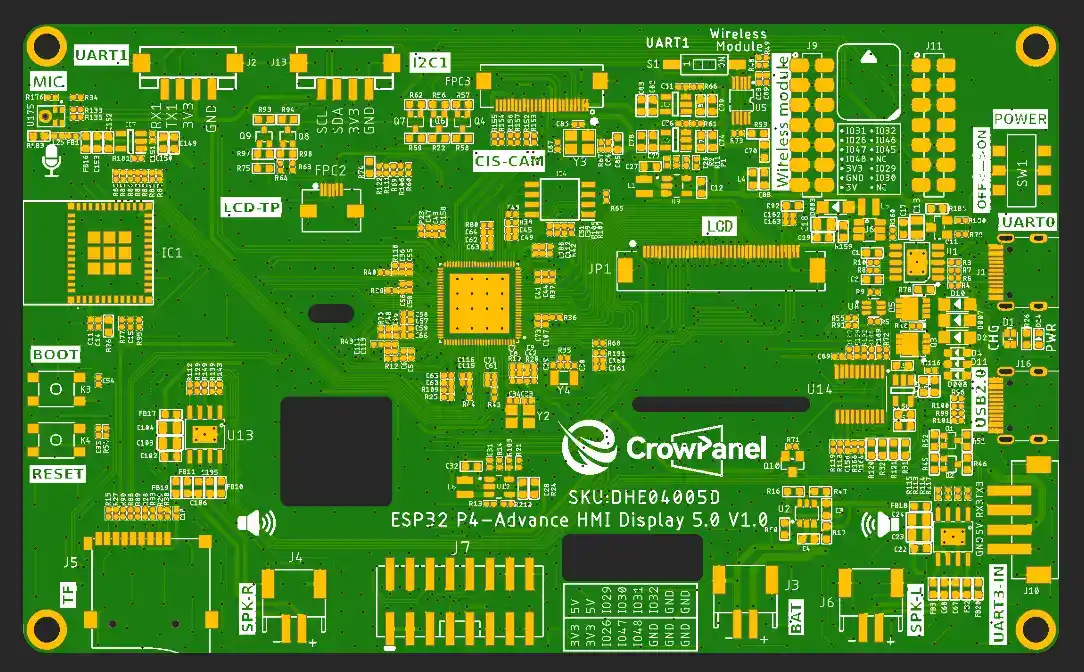
 Design with CrowPanel 5" ESP32-P4 HMI in Cirkit Designer
Introduction
The CrowPanel 5" ESP32-P4 HMI is a versatile 5-inch Human-Machine Interface (HMI) display developed by ELECROW. It integrates the powerful ESP32-P4 microcontroller, enabling seamless interaction between users and embedded systems. This component is ideal for creating interactive graphical interfaces, making it suitable for IoT devices, industrial automation, smart home systems, and educational projects.
Explore Projects Built with CrowPanel 5" ESP32-P4 HMI
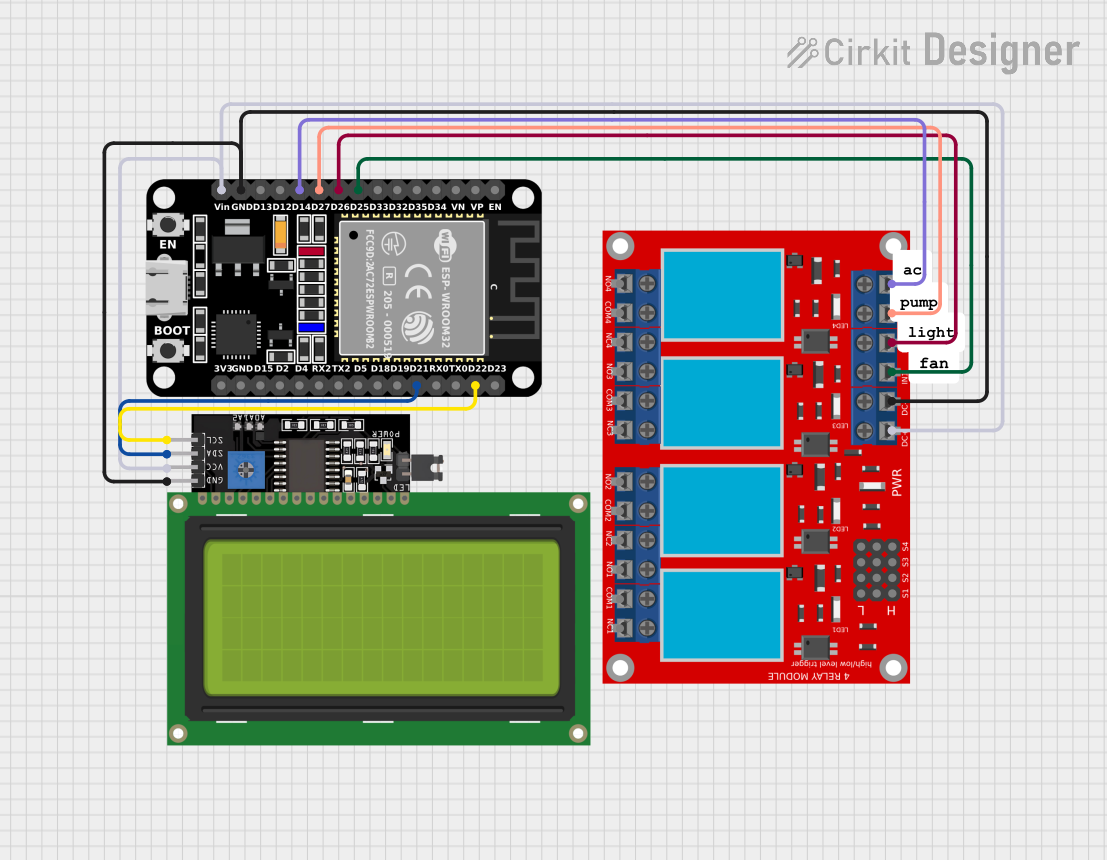 Open Project in Cirkit Designer
 Open Project in Cirkit Designer
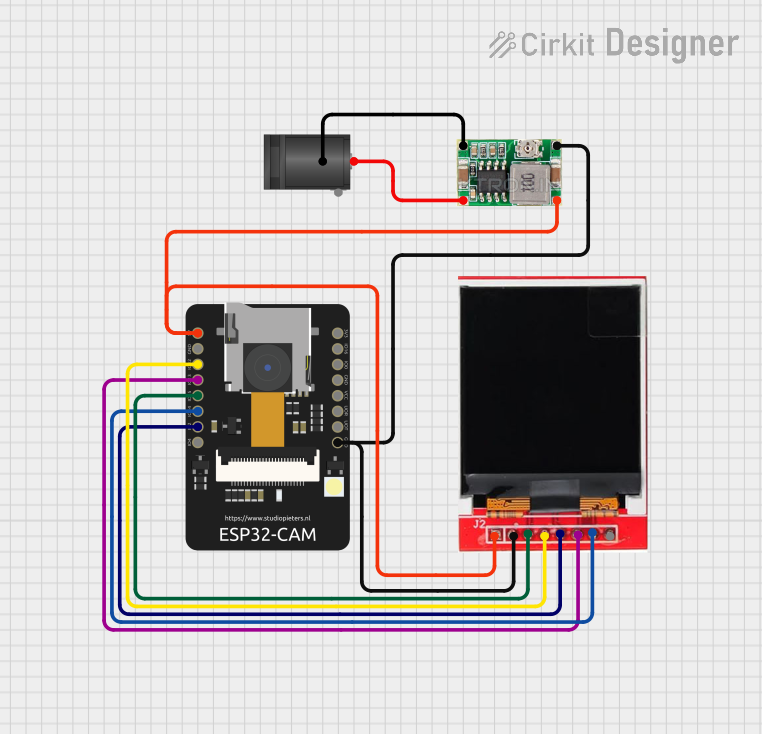 Open Project in Cirkit Designer
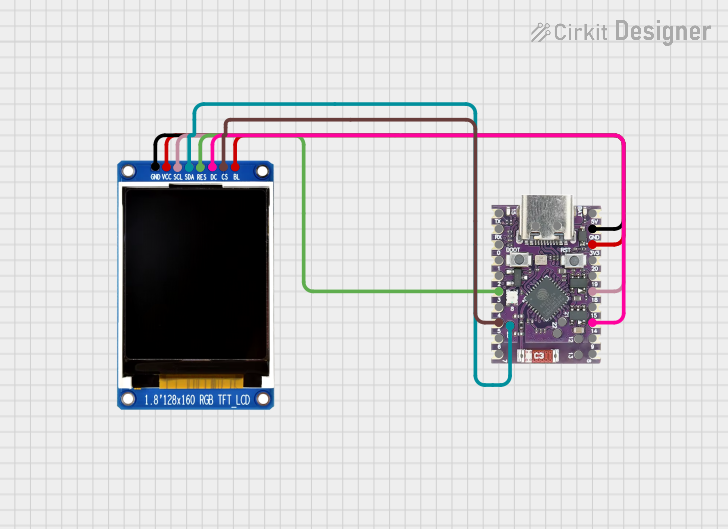 Open Project in Cirkit Designer
Explore Projects Built with CrowPanel 5" ESP32-P4 HMI
Open Project in Cirkit DesignerOpen Project in Cirkit DesignerOpen Project in Cirkit DesignerOpen Project in Cirkit DesignerCommon Applications
- IoT Dashboards: Display real-time data from sensors or control IoT devices.
- Industrial Automation: Serve as a control panel for machinery or processes.
- Smart Home Systems: Control lighting, temperature, or other home automation features.
- Educational Projects: Teach programming and interface design with a hands-on approach.
- Prototyping: Quickly develop and test user interfaces for embedded systems.
Technical Specifications
Key Technical Details
| Parameter | Value |
|---|---|
| Display Size | 5 inches |
| Resolution | 800 x 480 pixels |
| Touchscreen Type | Capacitive |
| Microcontroller | ESP32-P4 |
| Processor | Dual-core Xtensa LX7, up to 400 MHz |
| Flash Memory | 16 MB |
| RAM | 8 MB |
| Communication Interfaces | UART, SPI, I2C, Wi-Fi, Bluetooth 5.0 |
| Operating Voltage | 5V (via USB-C) |
| Power Consumption | ~500 mA (typical) |
| Dimensions | 135 mm x 85 mm x 10 mm |
| Operating Temperature | -20°C to 70°C |
Pin Configuration and Descriptions
The CrowPanel features a USB-C port for power and programming, as well as a GPIO header for external connections. Below is the pinout for the GPIO header:
| Pin | Name | Description |
|---|---|---|
| 1 | 3.3V | 3.3V power output for external components |
| 2 | GND | Ground |
| 3 | GPIO1 | General-purpose I/O pin |
| 4 | GPIO2 | General-purpose I/O pin |
| 5 | TXD | UART Transmit |
| 6 | RXD | UART Receive |
| 7 | SCL | I2C Clock Line |
| 8 | SDA | I2C Data Line |
| 9 | MOSI | SPI Master Out Slave In |
| 10 | MISO | SPI Master In Slave Out |
| 11 | SCK | SPI Clock |
| 12 | CS | SPI Chip Select |
| 13 | 5V | 5V power output for external components |
Usage Instructions
How to Use the Component in a Circuit
- Powering the Device: Connect the CrowPanel to a 5V power source using the USB-C port. Alternatively, you can power it via the GPIO header using the 5V and GND pins.
- Programming: Use the USB-C port to upload firmware to the ESP32-P4 microcontroller. Compatible development environments include Arduino IDE, PlatformIO, and ESP-IDF.
- Connecting Peripherals: Use the GPIO header to connect sensors, actuators, or other peripherals. Ensure that the voltage levels of connected devices are compatible with the CrowPanel's 3.3V logic.
- Touchscreen Interface: The capacitive touchscreen can be used to create interactive graphical interfaces. Libraries such as TFT_eSPI or LVGL are recommended for display and touch functionality.
Important Considerations and Best Practices
- Voltage Levels: Ensure that external devices connected to the GPIO pins operate at 3.3V logic levels to avoid damage.
- Power Supply: Use a stable 5V power source to prevent unexpected resets or malfunctions.
- Heat Management: While the CrowPanel is designed to operate in a wide temperature range, ensure adequate ventilation in high-temperature environments.
- Firmware Updates: Regularly update the firmware to benefit from performance improvements and bug fixes.
Example Code for Arduino UNO Integration
Below is an example of how to interface the CrowPanel with an Arduino UNO via UART for basic communication:
// Example: Sending data from Arduino UNO to CrowPanel via UART

#include <SoftwareSerial.h>

// Define RX and TX pins for SoftwareSerial
SoftwareSerial CrowPanelSerial(10, 11); // RX = Pin 10, TX = Pin 11

void setup() {
  // Initialize serial communication with CrowPanel
  CrowPanelSerial.begin(115200); // Set baud rate to 115200
  Serial.begin(9600); // For debugging with the Serial Monitor

  // Print initialization message
  Serial.println("Arduino UNO to CrowPanel communication initialized.");
}

void loop() {
  // Send a message to the CrowPanel
  CrowPanelSerial.println("Hello, CrowPanel!");

  // Check if CrowPanel sent any data
  if (CrowPanelSerial.available()) {
    String receivedData = CrowPanelSerial.readString();
    Serial.print("Received from CrowPanel: ");
    Serial.println(receivedData);
  }

  delay(1000); // Wait for 1 second before sending the next message
}
Note: Ensure that the CrowPanel's UART pins (TXD and RXD) are connected to the Arduino UNO's RX and TX pins, respectively, with appropriate voltage level shifting if necessary.
Troubleshooting and FAQs
Common Issues and Solutions
The display does not turn on:
- Ensure the USB-C cable is properly connected and the power source provides 5V.
- Check for loose connections if powering via the GPIO header.
Touchscreen is unresponsive:
- Verify that the touchscreen library (e.g., LVGL) is correctly initialized in your code.
- Ensure the firmware is compatible with the CrowPanel's touchscreen driver.
No communication via UART:
- Confirm that the baud rate in your code matches the CrowPanel's UART settings.
- Check the wiring between the CrowPanel and the external device.
Wi-Fi or Bluetooth not working:
- Ensure the ESP32-P4 firmware includes the necessary Wi-Fi or Bluetooth libraries.
- Verify that the antenna is not obstructed or damaged.
FAQs
Can I use the CrowPanel with Raspberry Pi? Yes, the CrowPanel can be connected to a Raspberry Pi via UART, SPI, or I2C for communication.
What is the maximum current output of the GPIO pins? Each GPIO pin can source or sink up to 12 mA. For higher currents, use external drivers.
Is the CrowPanel compatible with LVGL? Yes, the CrowPanel is fully compatible with the LVGL library for creating advanced graphical interfaces.
Can I power the CrowPanel with a battery? Yes, you can use a 5V battery pack connected to the USB-C port or the 5V and GND pins on the GPIO header.
By following this documentation, you can effectively integrate the CrowPanel 5" ESP32-P4 HMI into your projects and unlock its full potential!