
How to Use pnp-Powertransistor: Examples, Pinouts, and Specs
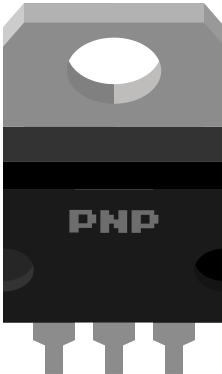
 Design with pnp-Powertransistor in Cirkit Designer
Introduction
A PNP power transistor is a type of bipolar junction transistor (BJT) designed for high-current and high-power applications. It operates by allowing current to flow from the emitter to the collector when a negative voltage is applied to the base relative to the emitter. This component is widely used in electronic circuits for switching and amplification purposes. Its ability to handle significant power makes it suitable for applications such as motor control, audio amplification, and power regulation.
Explore Projects Built with pnp-Powertransistor
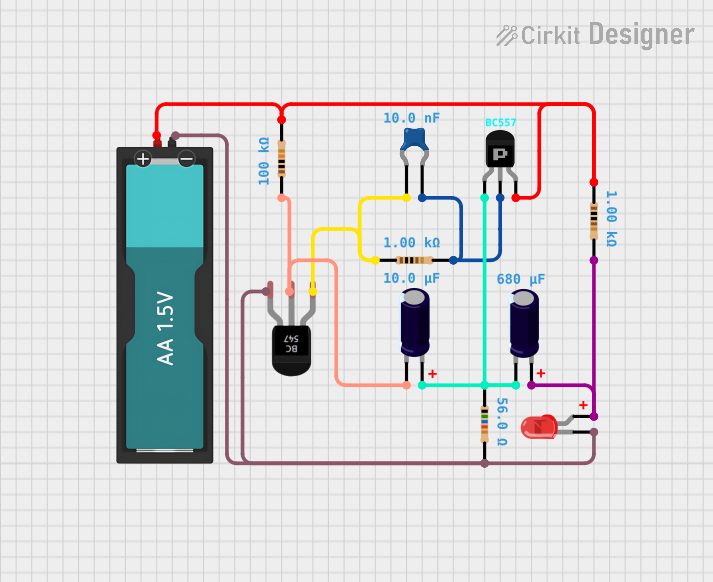 Open Project in Cirkit Designer
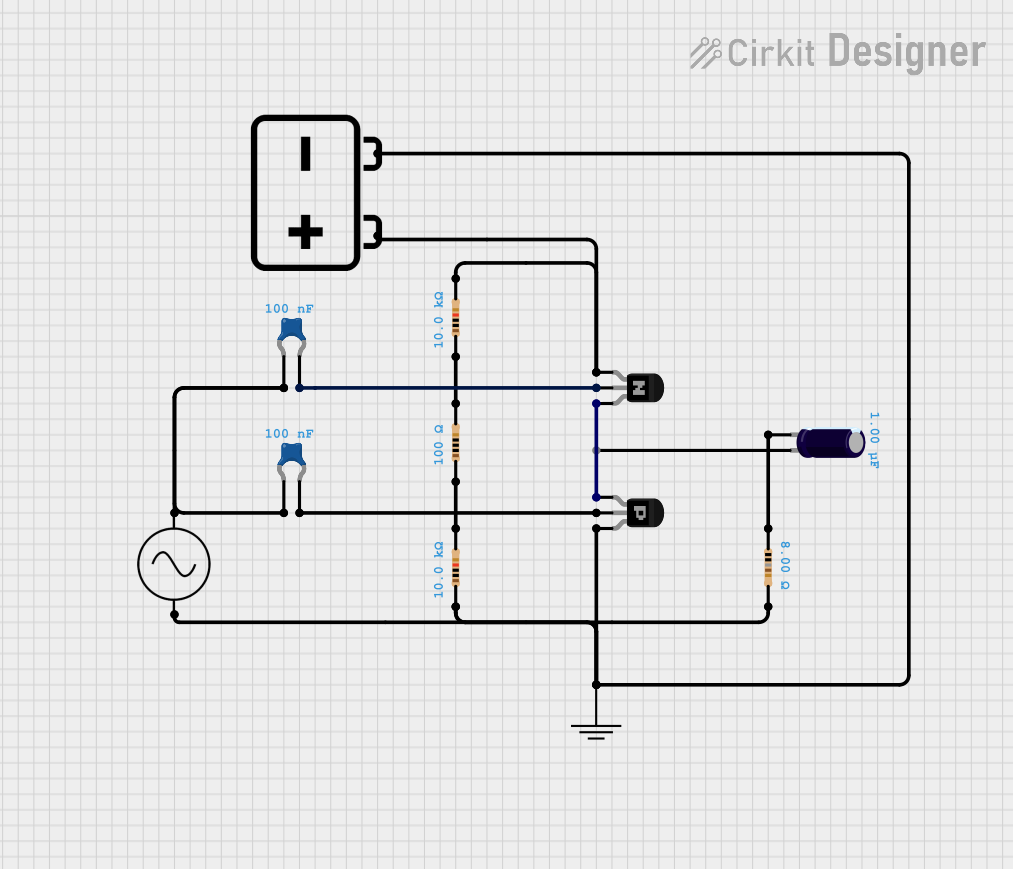 Open Project in Cirkit Designer
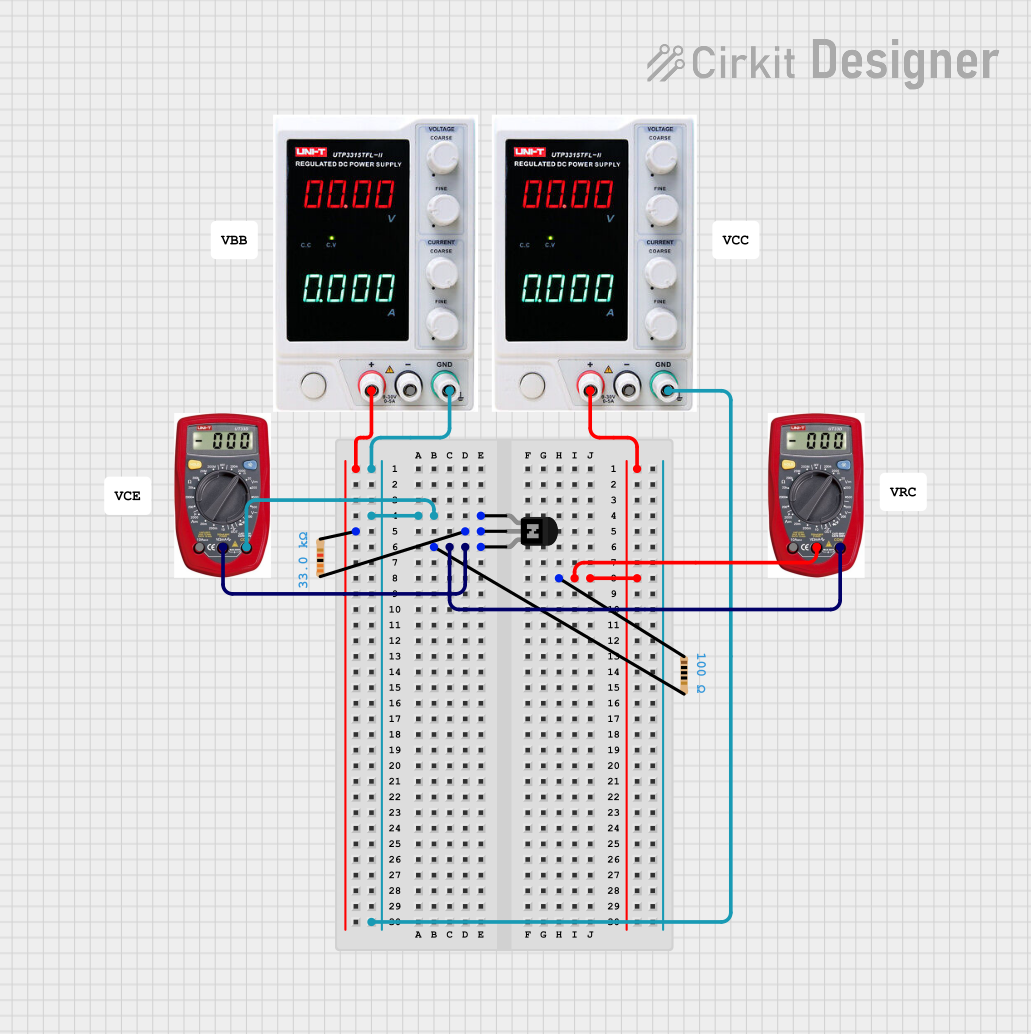 Open Project in Cirkit Designer
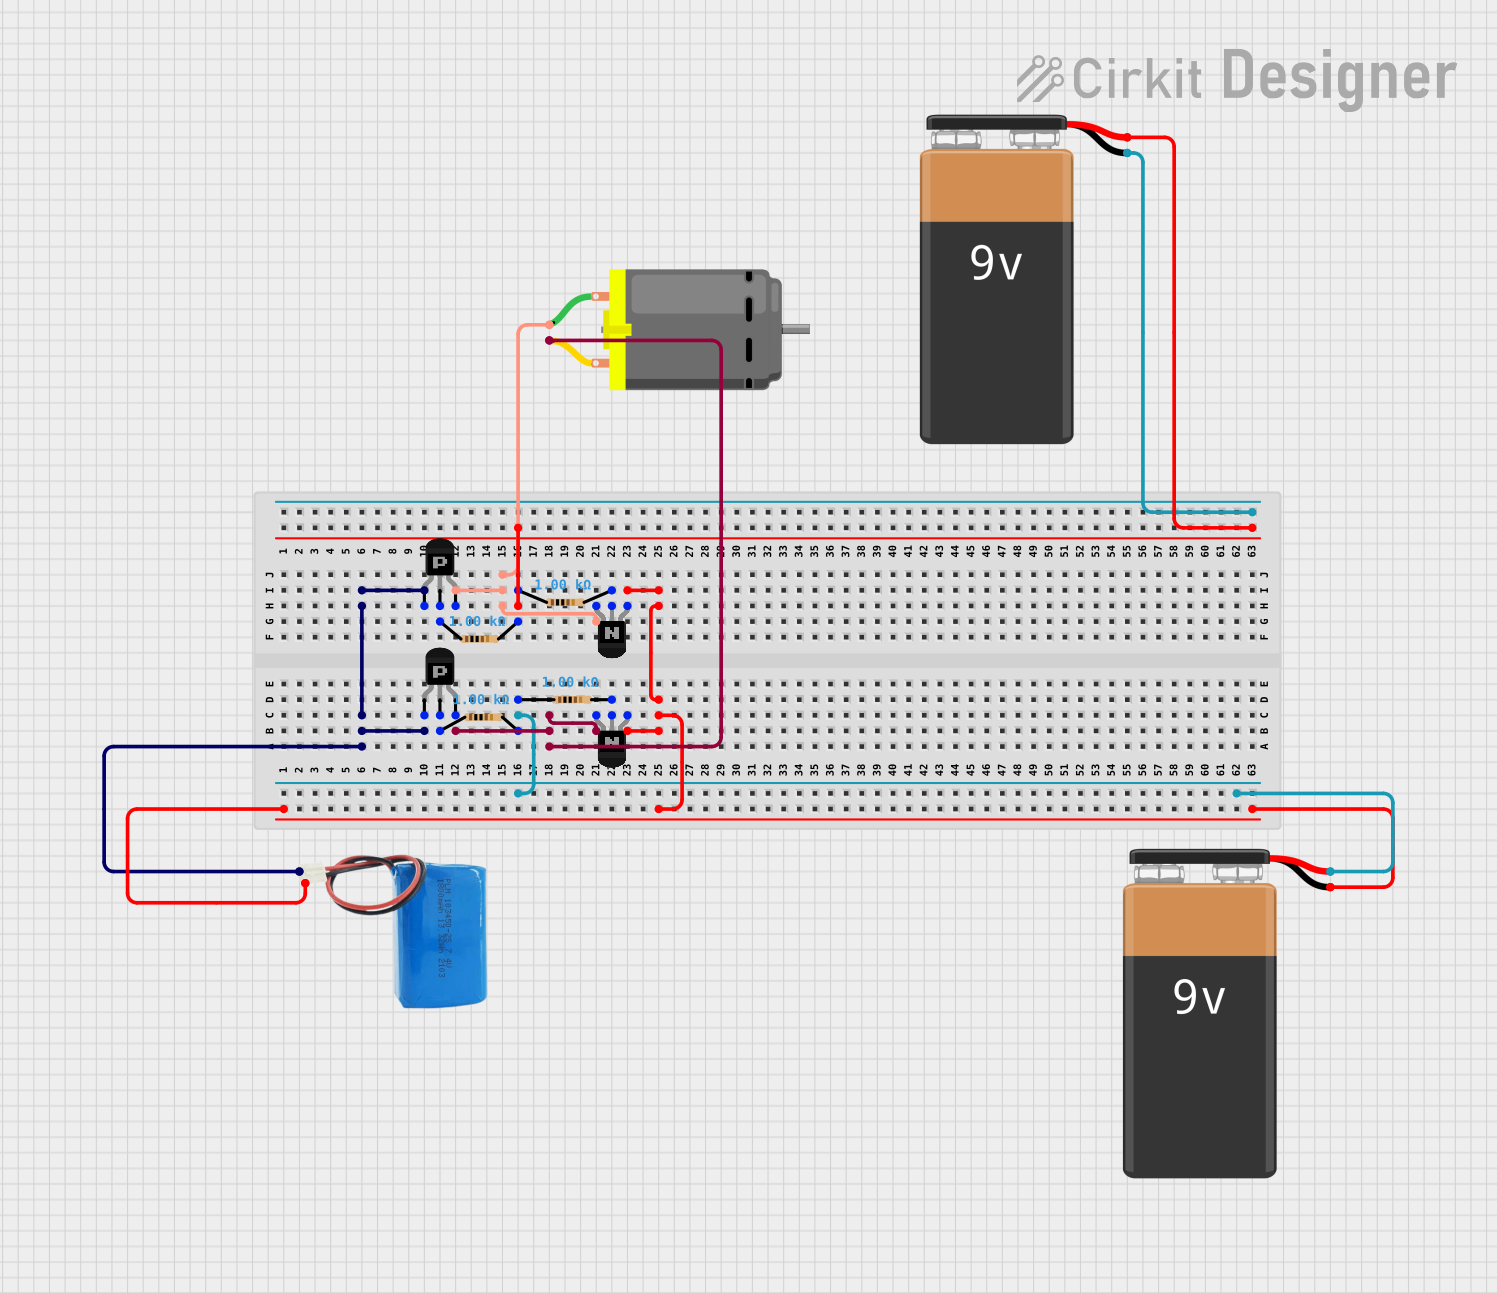 Open Project in Cirkit Designer
Explore Projects Built with pnp-Powertransistor
Open Project in Cirkit DesignerOpen Project in Cirkit DesignerOpen Project in Cirkit DesignerOpen Project in Cirkit DesignerCommon Applications:
- Motor drivers and control circuits
- Audio amplifiers
- Power supply regulation
- Switching high-current loads
- Inverter circuits
Technical Specifications
Below are the general technical specifications for a typical PNP power transistor. Note that specific values may vary depending on the exact model.
| Parameter | Value |
|---|---|
| Maximum Collector-Emitter Voltage (VCEO) | 40V to 100V (varies by model) |
| Maximum Collector Current (IC) | 2A to 15A (varies by model) |
| Maximum Power Dissipation (PD) | 20W to 150W (varies by model) |
| DC Current Gain (hFE) | 20 to 200 |
| Transition Frequency (fT) | 1 MHz to 10 MHz |
| Operating Temperature Range | -55°C to +150°C |
Pin Configuration
A PNP power transistor typically has three pins: Emitter (E), Base (B), and Collector (C). The pinout may vary depending on the package type (e.g., TO-220, TO-3). Below is a general pin configuration for a TO-220 package:
| Pin Number | Pin Name | Description |
|---|---|---|
| 1 | Base (B) | Controls the transistor's operation. A small current here allows a larger current to flow between the emitter and collector. |
| 2 | Collector (C) | The output terminal where the load is connected. |
| 3 | Emitter (E) | The terminal through which current exits the transistor. |
Usage Instructions
How to Use the PNP Power Transistor in a Circuit
Biasing the Transistor:
- To turn the transistor ON, the base must be at a lower voltage than the emitter (typically 0.6V to 0.7V lower for silicon transistors).
- To turn the transistor OFF, the base voltage must be equal to or higher than the emitter voltage.
Connecting the Load:
- The load (e.g., motor, LED, or resistor) is typically connected between the collector and the positive supply voltage.
- Ensure the load does not exceed the transistor's maximum collector current rating.
Base Resistor:
- Use a resistor in series with the base to limit the base current and prevent damage to the transistor. The resistor value can be calculated using Ohm's Law: [ R_B = \frac{V_{in} - V_{BE}}{I_B} ] where ( V_{in} ) is the input voltage, ( V_{BE} ) is the base-emitter voltage (typically 0.6V to 0.7V), and ( I_B ) is the desired base current.
Heat Dissipation:
- For high-power applications, attach a heatsink to the transistor to prevent overheating.
Example Circuit with Arduino UNO
Below is an example of using a PNP power transistor to control a motor with an Arduino UNO.
Circuit Description:
- The motor is connected between the collector and the positive supply voltage.
- The base is connected to a digital pin of the Arduino through a base resistor.
- The emitter is connected to the positive supply voltage.
Arduino Code:
// Define the pin connected to the transistor's base
const int transistorBasePin = 9;

void setup() {
  pinMode(transistorBasePin, OUTPUT); // Set the base pin as an output
}

void loop() {
  digitalWrite(transistorBasePin, LOW);
  // Set base pin LOW to turn the transistor ON and power the motor
  delay(2000); // Keep the motor ON for 2 seconds

  digitalWrite(transistorBasePin, HIGH);
  // Set base pin HIGH to turn the transistor OFF and stop the motor
  delay(2000); // Keep the motor OFF for 2 seconds
}
Important Considerations:
- Ensure the transistor's maximum ratings (voltage, current, and power) are not exceeded.
- Use a flyback diode across inductive loads (e.g., motors) to protect the transistor from voltage spikes.
- Properly calculate the base resistor value to avoid overdriving the transistor.
Troubleshooting and FAQs
Common Issues and Solutions:
Transistor Not Turning ON:
- Check if the base voltage is sufficiently lower than the emitter voltage (by at least 0.6V for silicon transistors).
- Verify the base resistor value is appropriate for the circuit.
Excessive Heat:
- Ensure the transistor is not exceeding its maximum power dissipation rating.
- Attach a heatsink if necessary.
Load Not Operating Properly:
- Check the load's current and voltage requirements to ensure they are within the transistor's specifications.
- Verify all connections in the circuit.
Transistor Always ON or OFF:
- Inspect the base resistor and ensure it is not too high or too low.
- Confirm the control signal (e.g., from Arduino) is functioning correctly.
FAQs:
Q: Can I use a PNP power transistor for AC signals?
A: Yes, PNP power transistors can amplify AC signals, but they are typically used in conjunction with other components in amplifier circuits.
Q: How do I choose the right PNP power transistor for my application?
A: Consider the maximum voltage, current, and power ratings required for your circuit. Also, check the transistor's gain (hFE) and switching speed if applicable.
Q: Why is a flyback diode necessary for inductive loads?
A: Inductive loads generate voltage spikes when turned off, which can damage the transistor. A flyback diode protects the transistor by providing a path for the current.
By following this documentation, you can effectively use a PNP power transistor in your electronic projects.