
How to Use hx711: Examples, Pinouts, and Specs
 Design with hx711 in Cirkit Designer
Introduction
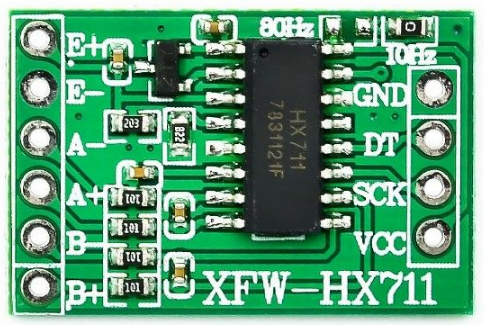
The HX711 is a precision 24-bit analog-to-digital converter (ADC) designed for weigh scales and industrial control applications. It features a built-in low-noise programmable gain amplifier (PGA) that allows direct interfacing with bridge sensors such as load cells. The HX711 is widely used in applications requiring accurate weight measurement, such as digital scales, industrial automation, and IoT-based weighing systems.
Explore Projects Built with hx711
 Open Project in Cirkit Designer
 Open Project in Cirkit Designer
 Open Project in Cirkit Designer
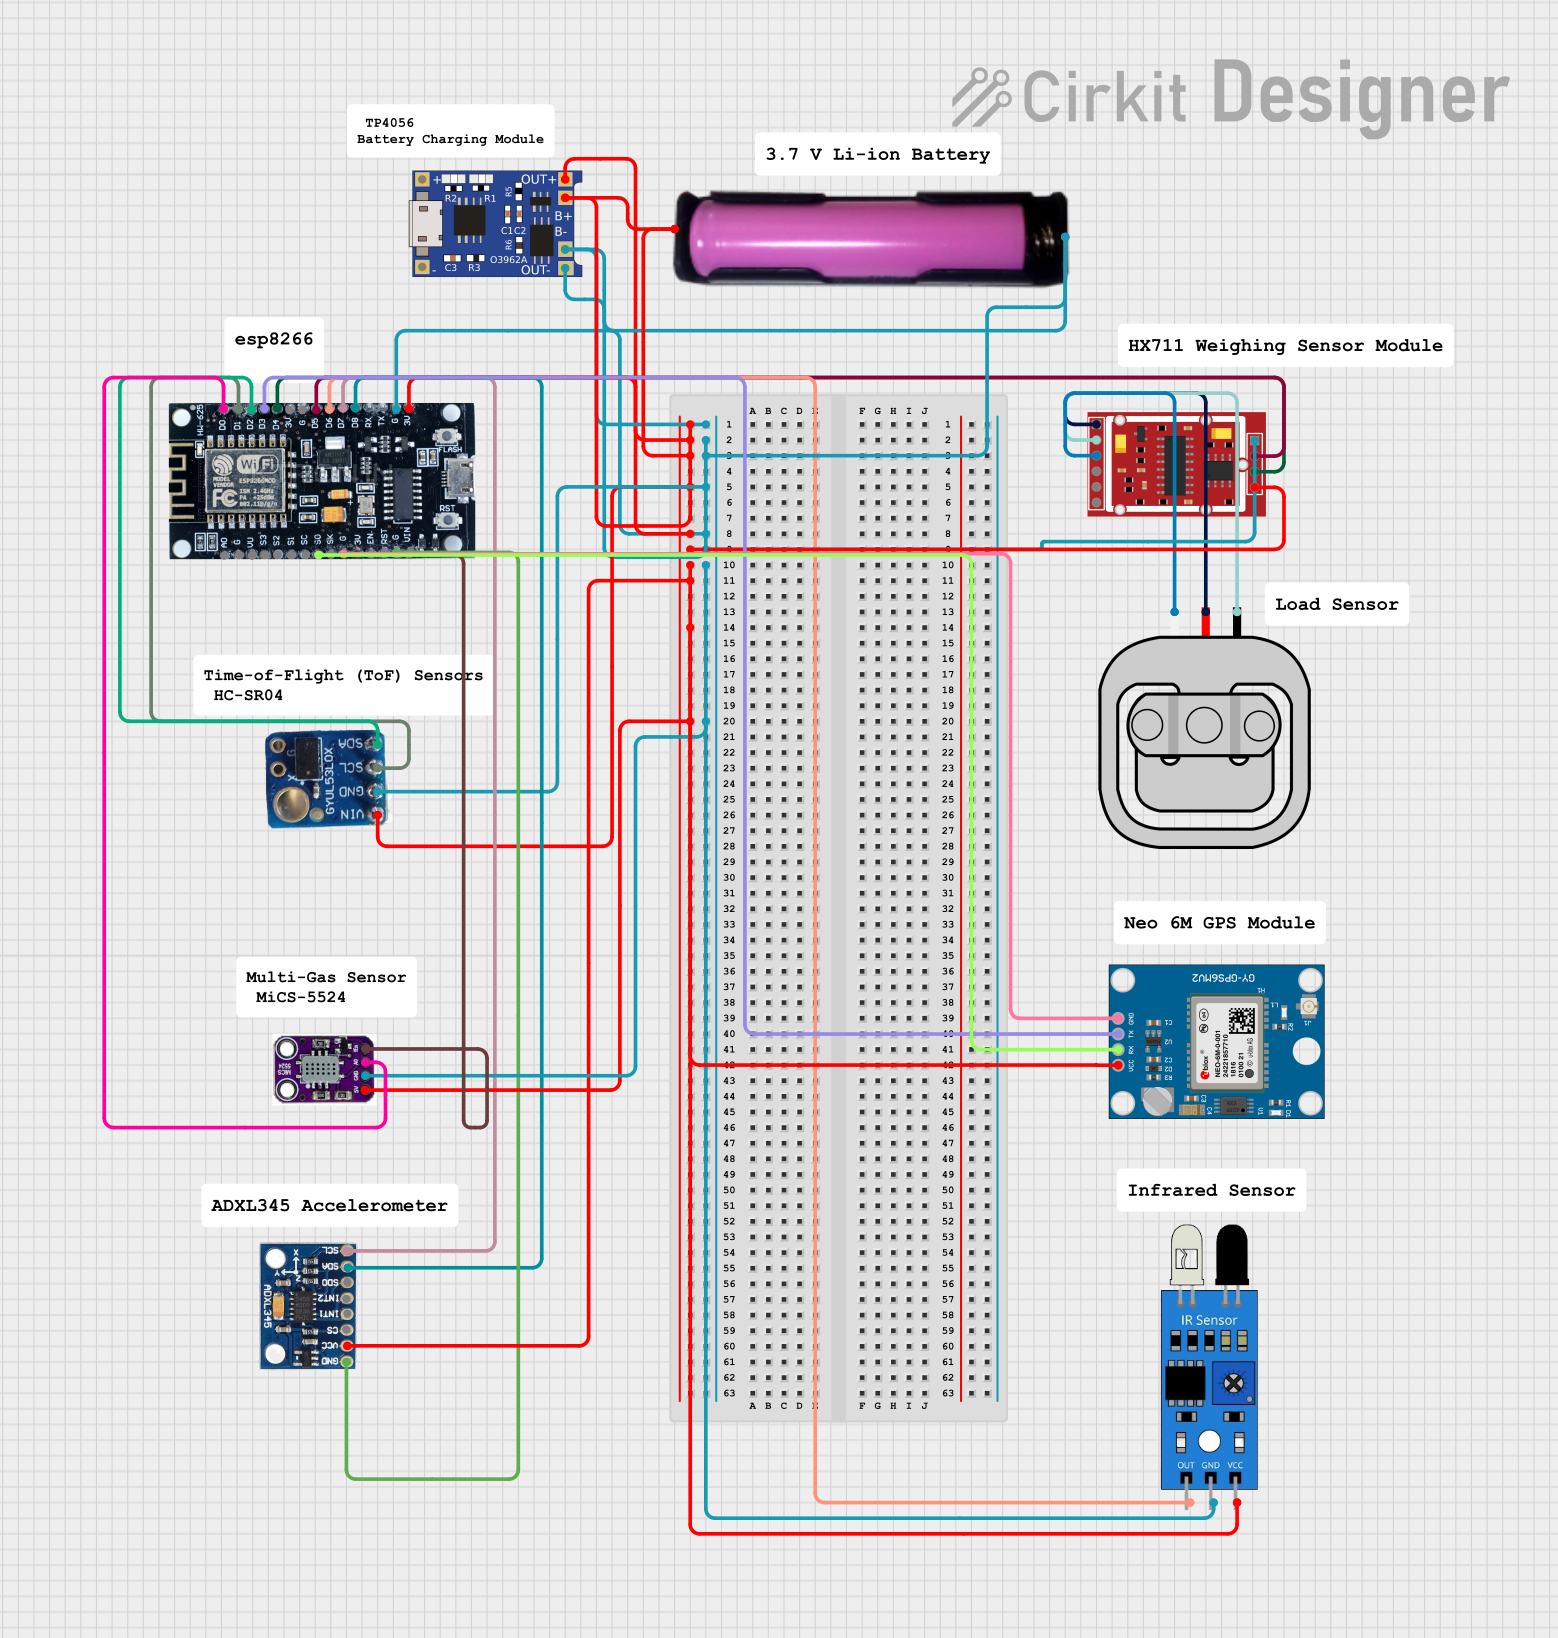 Open Project in Cirkit Designer
Explore Projects Built with hx711
Open Project in Cirkit DesignerOpen Project in Cirkit DesignerOpen Project in Cirkit DesignerOpen Project in Cirkit DesignerCommon Applications:
- Digital weighing scales
- Industrial process control
- IoT-based weight monitoring systems
- Laboratory measurement equipment
- Force measurement using load cells
Technical Specifications
The HX711 is designed to provide high-resolution ADC conversion with minimal external components. Below are its key technical details:
Key Specifications:
| Parameter | Value |
|---|---|
| ADC Resolution | 24-bit |
| Operating Voltage | 2.6V to 5.5V |
| Typical Operating Current | ~1.5mA |
| Standby Current | <1µA |
| Input Channels | 2 (Channel A and Channel B) |
| PGA Gain | 32, 64, or 128 (programmable) |
| Data Rate | 10 Hz or 80 Hz (selectable) |
| Interface | Serial (Clock and Data pins) |
| Operating Temperature Range | -40°C to +85°C |
Pin Configuration:
The HX711 has 16 pins, but only 10 are typically used in most applications. Below is the pinout description:
| Pin Number | Pin Name | Description |
|---|---|---|
| 1 | VCC | Power supply input (2.6V to 5.5V). |
| 2 | AVDD | Analog power supply (connect to VCC). |
| 3 | VFB | Feedback voltage for internal regulator (connect to ground via capacitor). |
| 4 | AGND | Analog ground. |
| 5 | BGND | Bridge sensor ground. |
| 6 | B- | Negative input for the bridge sensor. |
| 7 | B+ | Positive input for the bridge sensor. |
| 8 | A- | Negative input for Channel A. |
| 9 | A+ | Positive input for Channel A. |
| 10 | DGND | Digital ground. |
| 11 | PD_SCK | Power-down and serial clock input. |
| 12 | DOUT | Serial data output. |
| 13 | VREF | Reference voltage for ADC (connect to AVDD). |
| 14 | CAP | External capacitor connection for internal regulator. |
| 15 | DVDD | Digital power supply (connect to VCC). |
| 16 | NC | Not connected. |
Usage Instructions
The HX711 is commonly used to interface with load cells for weight measurement. Below are the steps to use the HX711 in a circuit:
Connecting the HX711 to a Load Cell:
- Power Supply: Connect the VCC pin to a 3.3V or 5V power source and the GND pins to ground.
- Load Cell Connections:
- Connect the load cell's excitation wires to B+ and B-.
- Connect the load cell's signal wires to A+ and A- (for Channel A).
- Microcontroller Interface:
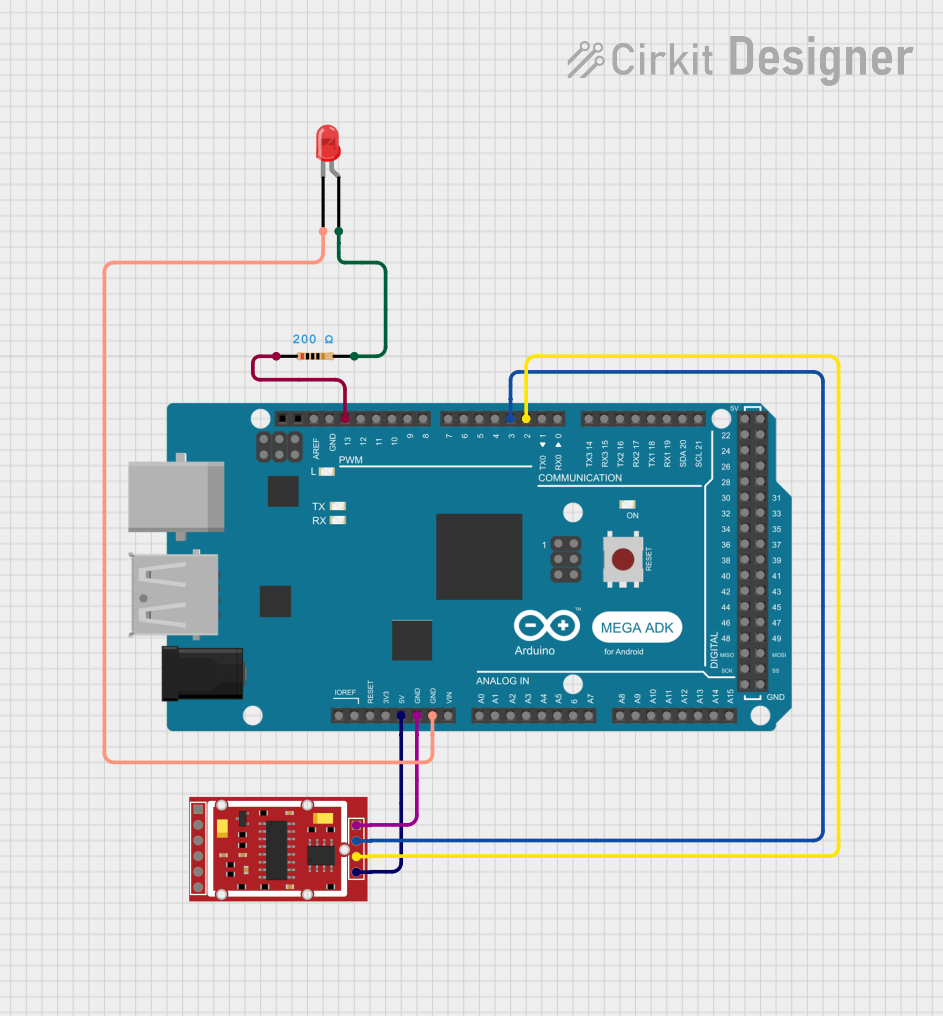
- Connect the PD_SCK pin to a digital output pin on the microcontroller.
- Connect the DOUT pin to a digital input pin on the microcontroller.
- Reference Voltage: Connect VREF to AVDD for proper ADC operation.
- Capacitor: Place a 0.1µF capacitor between CAP and ground for stability.
Important Considerations:
- Use a stable power supply to minimize noise in the ADC readings.
- Shield the load cell wires to reduce electromagnetic interference.
- Ensure proper grounding to avoid measurement errors.
- Use Channel A for higher precision (128x gain) and Channel B for lower precision (32x gain).
Example Code for Arduino UNO:
Below is an example of how to interface the HX711 with an Arduino UNO to read weight data:
#include "HX711.h" // Include the HX711 library

// Define HX711 pins
#define DOUT  3  // Data output pin connected to Arduino pin 3
#define CLK   2  // Clock pin connected to Arduino pin 2

HX711 scale; // Create an instance of the HX711 class

void setup() {
  Serial.begin(9600); // Initialize serial communication
  scale.begin(DOUT, CLK); // Initialize the HX711 with the defined pins
  scale.set_scale(); // Set the scale factor (calibration required)
  scale.tare(); // Reset the scale to zero
  Serial.println("HX711 initialized. Place weight on the scale.");
}

void loop() {
  // Read weight data from the HX711
  if (scale.is_ready()) {
    float weight = scale.get_units(); // Get the weight in user-defined units
    Serial.print("Weight: ");
    Serial.print(weight);
    Serial.println(" units");
  } else {
    Serial.println("HX711 not ready. Check connections.");
  }
  delay(500); // Wait for 500ms before the next reading
}
Notes on Calibration:
- The
set_scale()function requires a calibration factor, which depends on the load cell and the weight being measured. Perform calibration by placing a known weight on the load cell and adjusting the scale factor until the correct weight is displayed.
Troubleshooting and FAQs
Common Issues:
No Data Output:
- Ensure the HX711 is powered correctly (check VCC and GND connections).
- Verify the DOUT and PD_SCK connections to the microcontroller.
- Check if the load cell is connected properly.
Unstable Readings:
- Use a stable power supply to reduce noise.
- Shield the load cell wires to minimize interference.
- Ensure the load cell is not under mechanical stress or vibration.
Incorrect Weight Measurements:
- Perform proper calibration using a known weight.
- Verify the load cell's wiring and ensure it matches the HX711's input configuration.
FAQs:
Q: Can I use the HX711 with a 3.3V microcontroller?
A: Yes, the HX711 operates at 2.6V to 5.5V, making it compatible with both 3.3V and 5V systems.
Q: How do I select the gain for the HX711?
A: The gain is set by the number of clock pulses sent to the PD_SCK pin after a data retrieval. For example:
- 25 pulses: Channel A, 128x gain (default).
- 27 pulses: Channel A, 64x gain.
- 26 pulses: Channel B, 32x gain.
Q: Can I use both channels (A and B) simultaneously?
A: Yes, but note that Channel A offers higher precision (128x or 64x gain), while Channel B has lower precision (32x gain).
By following this documentation, you can effectively integrate the HX711 into your projects for accurate weight measurement.