
How to Use Grove OLED 128x96: Examples, Pinouts, and Specs
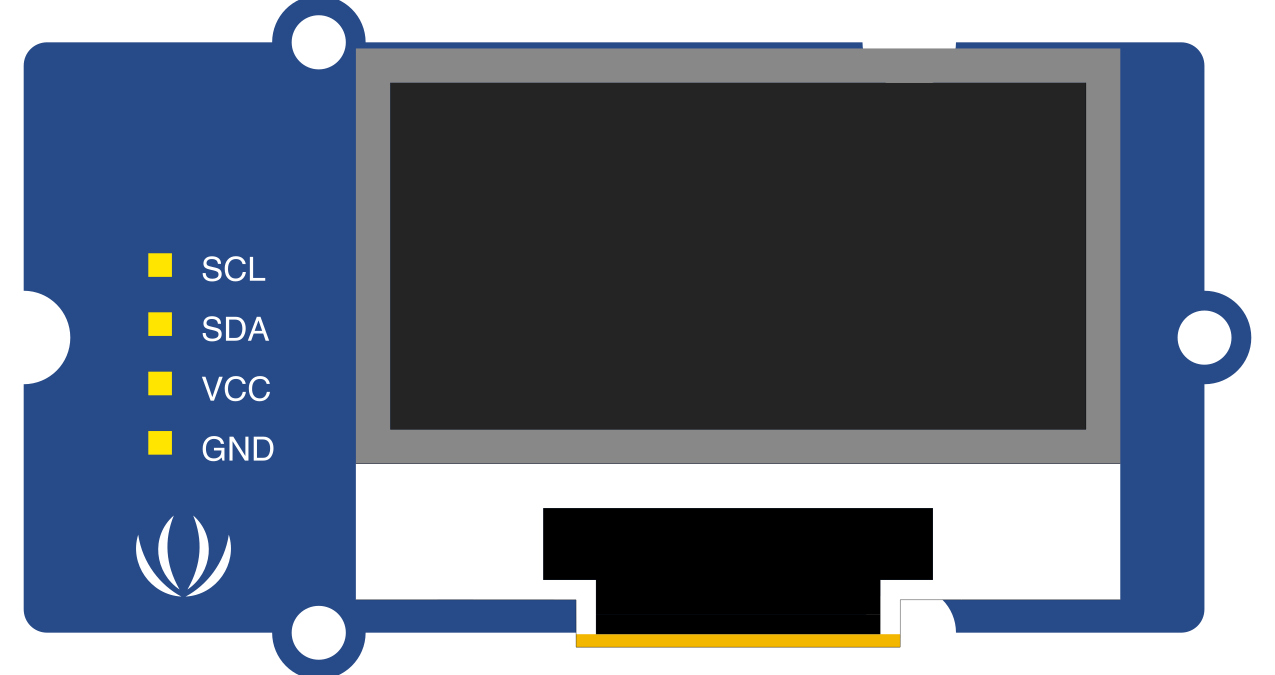
 Design with Grove OLED 128x96 in Cirkit Designer
Introduction
The Grove OLED 128x96 is a compact, low-power OLED display module manufactured by Seeed Studio. It features a resolution of 128x96 pixels, making it ideal for displaying text, graphics, and simple animations in embedded systems. The display uses OLED technology, which provides high contrast, wide viewing angles, and low power consumption. It communicates with microcontrollers via the I2C interface, making it easy to integrate into a variety of projects.
Explore Projects Built with Grove OLED 128x96
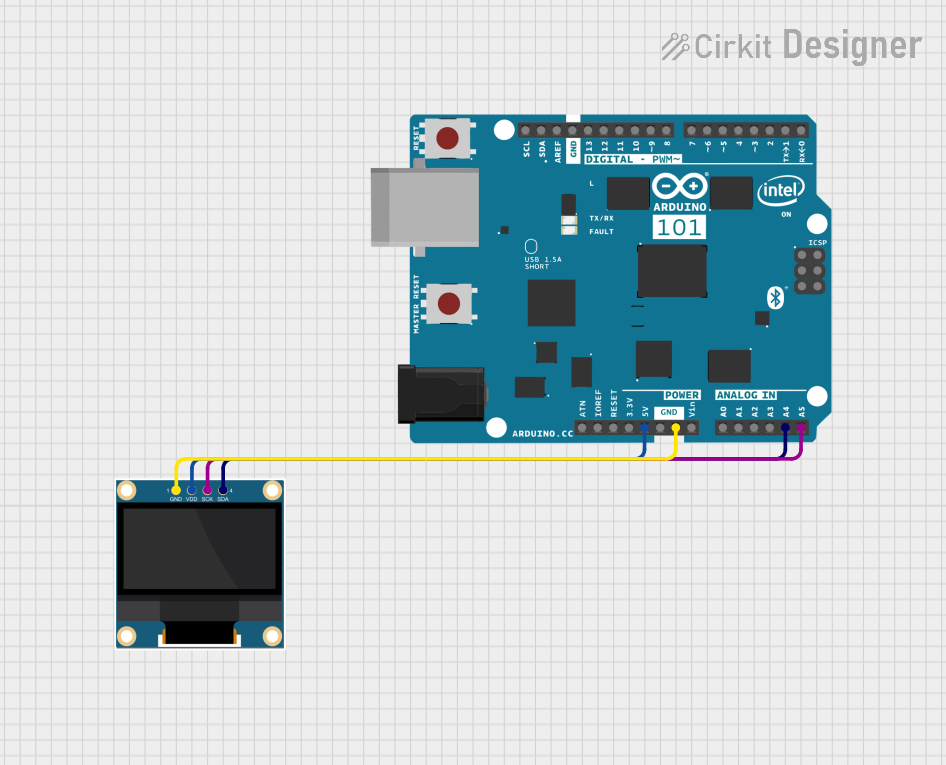 Open Project in Cirkit Designer
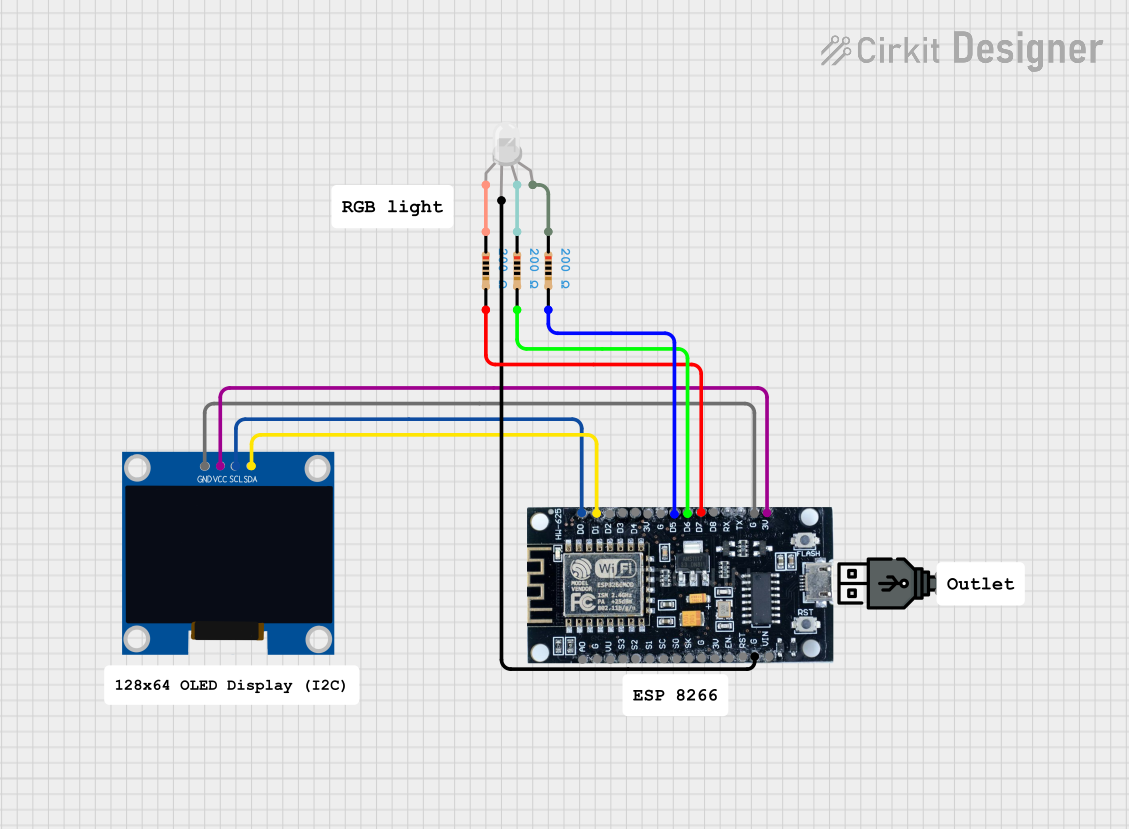 Open Project in Cirkit Designer
 Open Project in Cirkit Designer
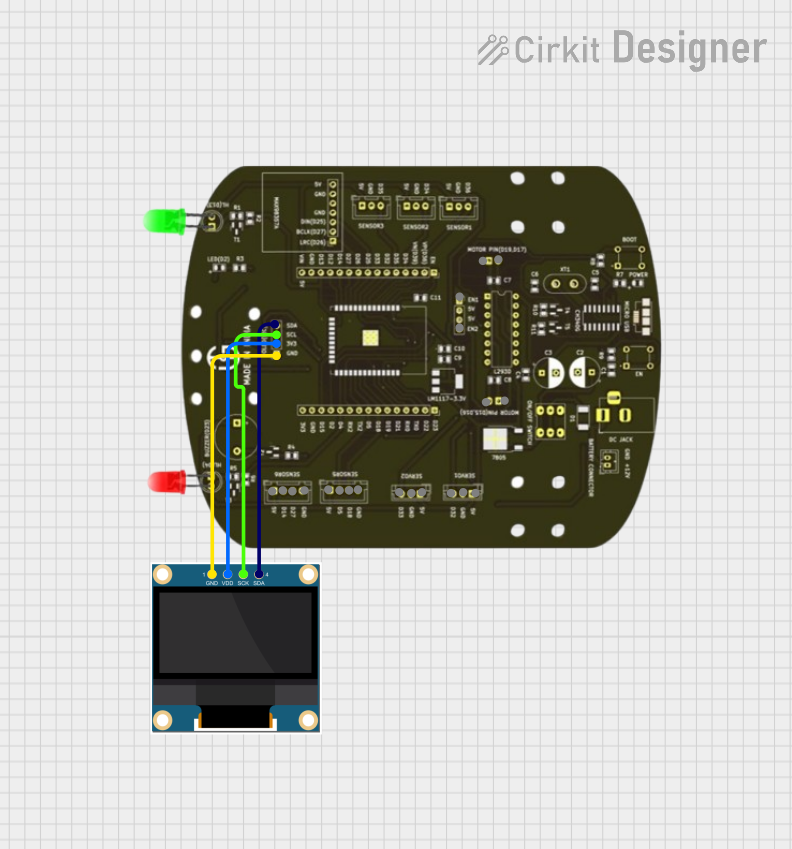 Open Project in Cirkit Designer
Explore Projects Built with Grove OLED 128x96
Open Project in Cirkit DesignerOpen Project in Cirkit DesignerOpen Project in Cirkit DesignerOpen Project in Cirkit DesignerCommon Applications
- Wearable devices
- IoT dashboards
- Sensor data visualization
- Portable electronics
- Educational and prototyping projects
Technical Specifications
Below are the key technical details of the Grove OLED 128x96 module:
| Parameter | Value |
|---|---|
| Manufacturer | Seeed Studio |
| Part ID | Grove OLED 128x96 |
| Display Technology | OLED |
| Resolution | 128x96 pixels |
| Interface | I2C |
| Operating Voltage | 3.3V / 5V |
| Operating Current | < 20mA |
| Dimensions | 42mm x 40mm |
| Viewing Angle | > 160° |
| Operating Temperature | -40°C to +85°C |
Pin Configuration
The Grove OLED 128x96 module uses a standard Grove connector for I2C communication. The pinout is as follows:
| Pin | Name | Description |
|---|---|---|
| 1 | VCC | Power supply (3.3V or 5V) |
| 2 | GND | Ground |
| 3 | SDA | I2C data line |
| 4 | SCL | I2C clock line |
Usage Instructions
Connecting the Grove OLED 128x96 to an Arduino UNO
- Connect the Grove OLED 128x96 module to the I2C port of the Grove Base Shield.
- Attach the Grove Base Shield to the Arduino UNO.
- Ensure the Arduino is powered via USB or an external power source.
Installing the Required Library
To use the Grove OLED 128x96 with an Arduino, you need the Seeed OLED Display Library:
- Open the Arduino IDE.
- Go to Sketch > Include Library > Manage Libraries.
- Search for
Seeed OLED Displayand install the library.
Example Code
The following example demonstrates how to display text on the Grove OLED 128x96:
#include <Wire.h>
#include "SeeedGrayOLED.h" // Include the Seeed OLED library

void setup() {
  // Initialize the OLED display
  SeeedGrayOled.init(SH1107G); // Specify the OLED driver (SH1107G)
  SeeedGrayOled.clearDisplay(); // Clear the display buffer
  SeeedGrayOled.setNormalDisplay(); // Set normal display mode
  SeeedGrayOled.setVerticalMode(); // Set vertical addressing mode

  // Display text on the OLED
  SeeedGrayOled.setTextXY(0, 0); // Set cursor to row 0, column 0
  SeeedGrayOled.putString("Hello, World!"); // Display "Hello, World!"
}

void loop() {
  // No actions required in the loop for this example
}
Important Considerations
- Ensure the I2C address of the OLED module matches the default address in the library (0x3C). If there are conflicts, you may need to modify the library or use an I2C scanner to identify the correct address.
- Avoid exceeding the operating voltage (5V max) to prevent damage to the module.
- Use a stable power source to avoid flickering or display artifacts.
Troubleshooting and FAQs
Common Issues
The display does not turn on.
- Verify the power connections (VCC and GND).
- Ensure the I2C cables are securely connected to the correct pins.
Nothing is displayed on the screen.
- Check the I2C address of the module using an I2C scanner sketch.
- Ensure the correct OLED driver (
SH1107G) is specified in the code.
The text or graphics appear distorted.
- Ensure the display buffer is cleared before updating the screen.
- Verify that the library version is compatible with the module.
The display flickers or behaves erratically.
- Use a stable power supply with sufficient current capacity.
- Check for loose connections in the I2C lines.
FAQs
Q: Can I use the Grove OLED 128x96 with a Raspberry Pi?
A: Yes, the module is compatible with Raspberry Pi. You can use the I2C interface and libraries such as smbus or Adafruit CircuitPython to control the display.
Q: What is the default I2C address of the module?
A: The default I2C address is 0x3C.
Q: Can the display show images or animations?
A: Yes, the display supports graphics. You can use the library functions to draw shapes, bitmaps, or simple animations.
Q: Is the module compatible with 3.3V systems?
A: Yes, the Grove OLED 128x96 works with both 3.3V and 5V systems.
By following this documentation, you can effectively integrate the Grove OLED 128x96 into your projects and troubleshoot common issues with ease.