How to Use Prob: Examples, Pinouts, and Specs
Introduction
The Prob is a probabilistic electronic component designed to introduce controlled randomness or uncertainty into a circuit. It is commonly used in simulations, decision-making systems, and stochastic processes where variability is required. By generating probabilistic outputs based on predefined parameters, the Prob component enables engineers and researchers to model real-world uncertainty in electronic systems.
Explore Projects Built with Prob

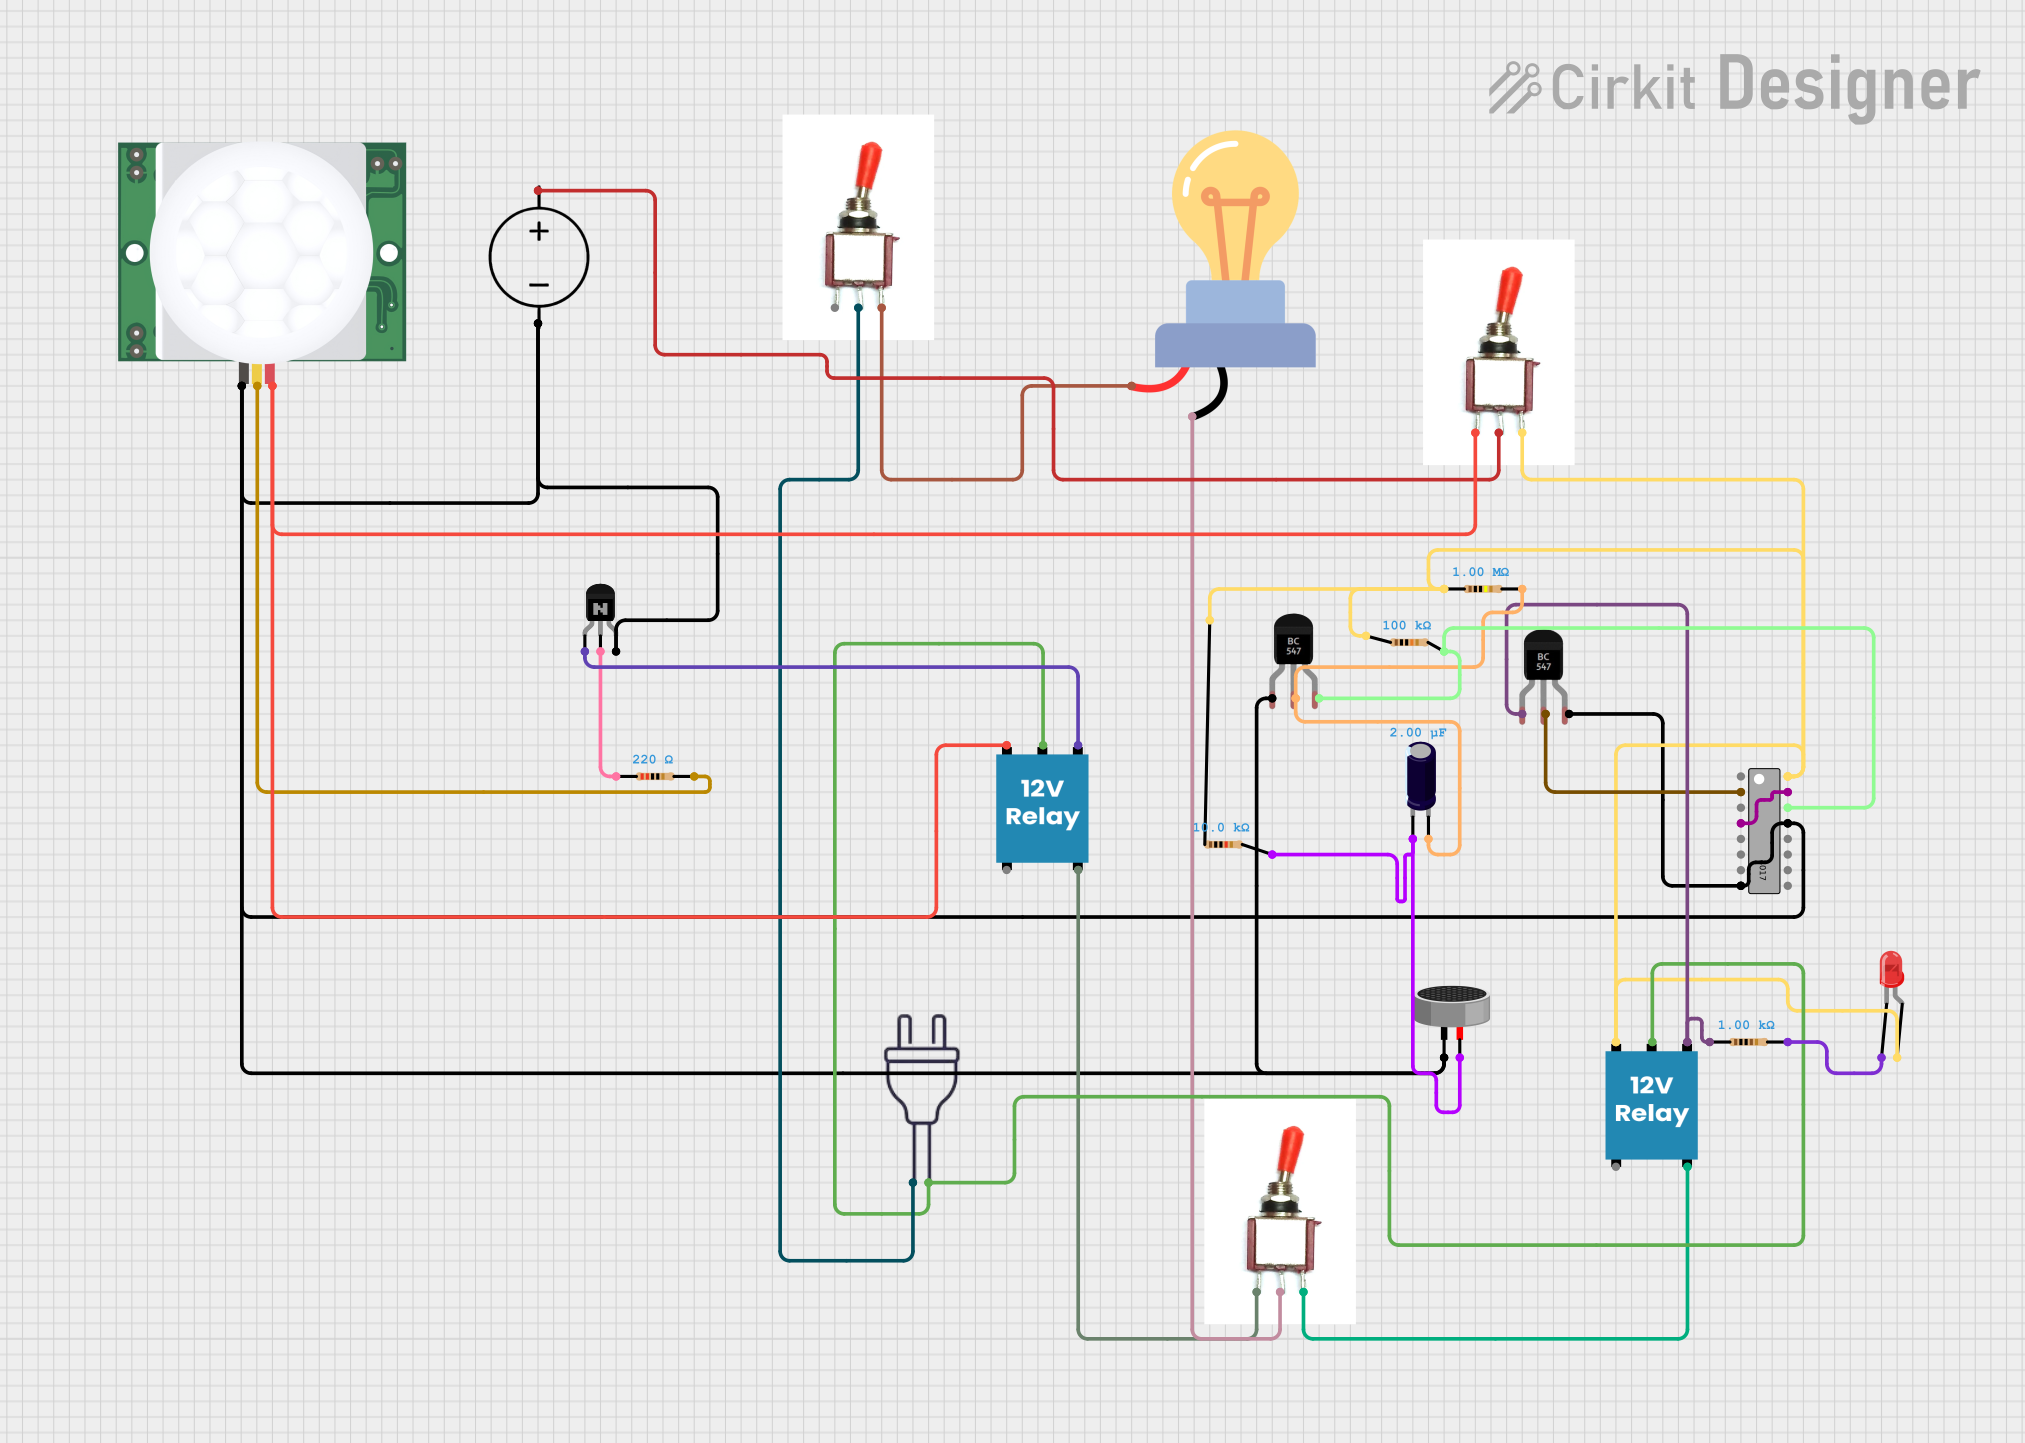
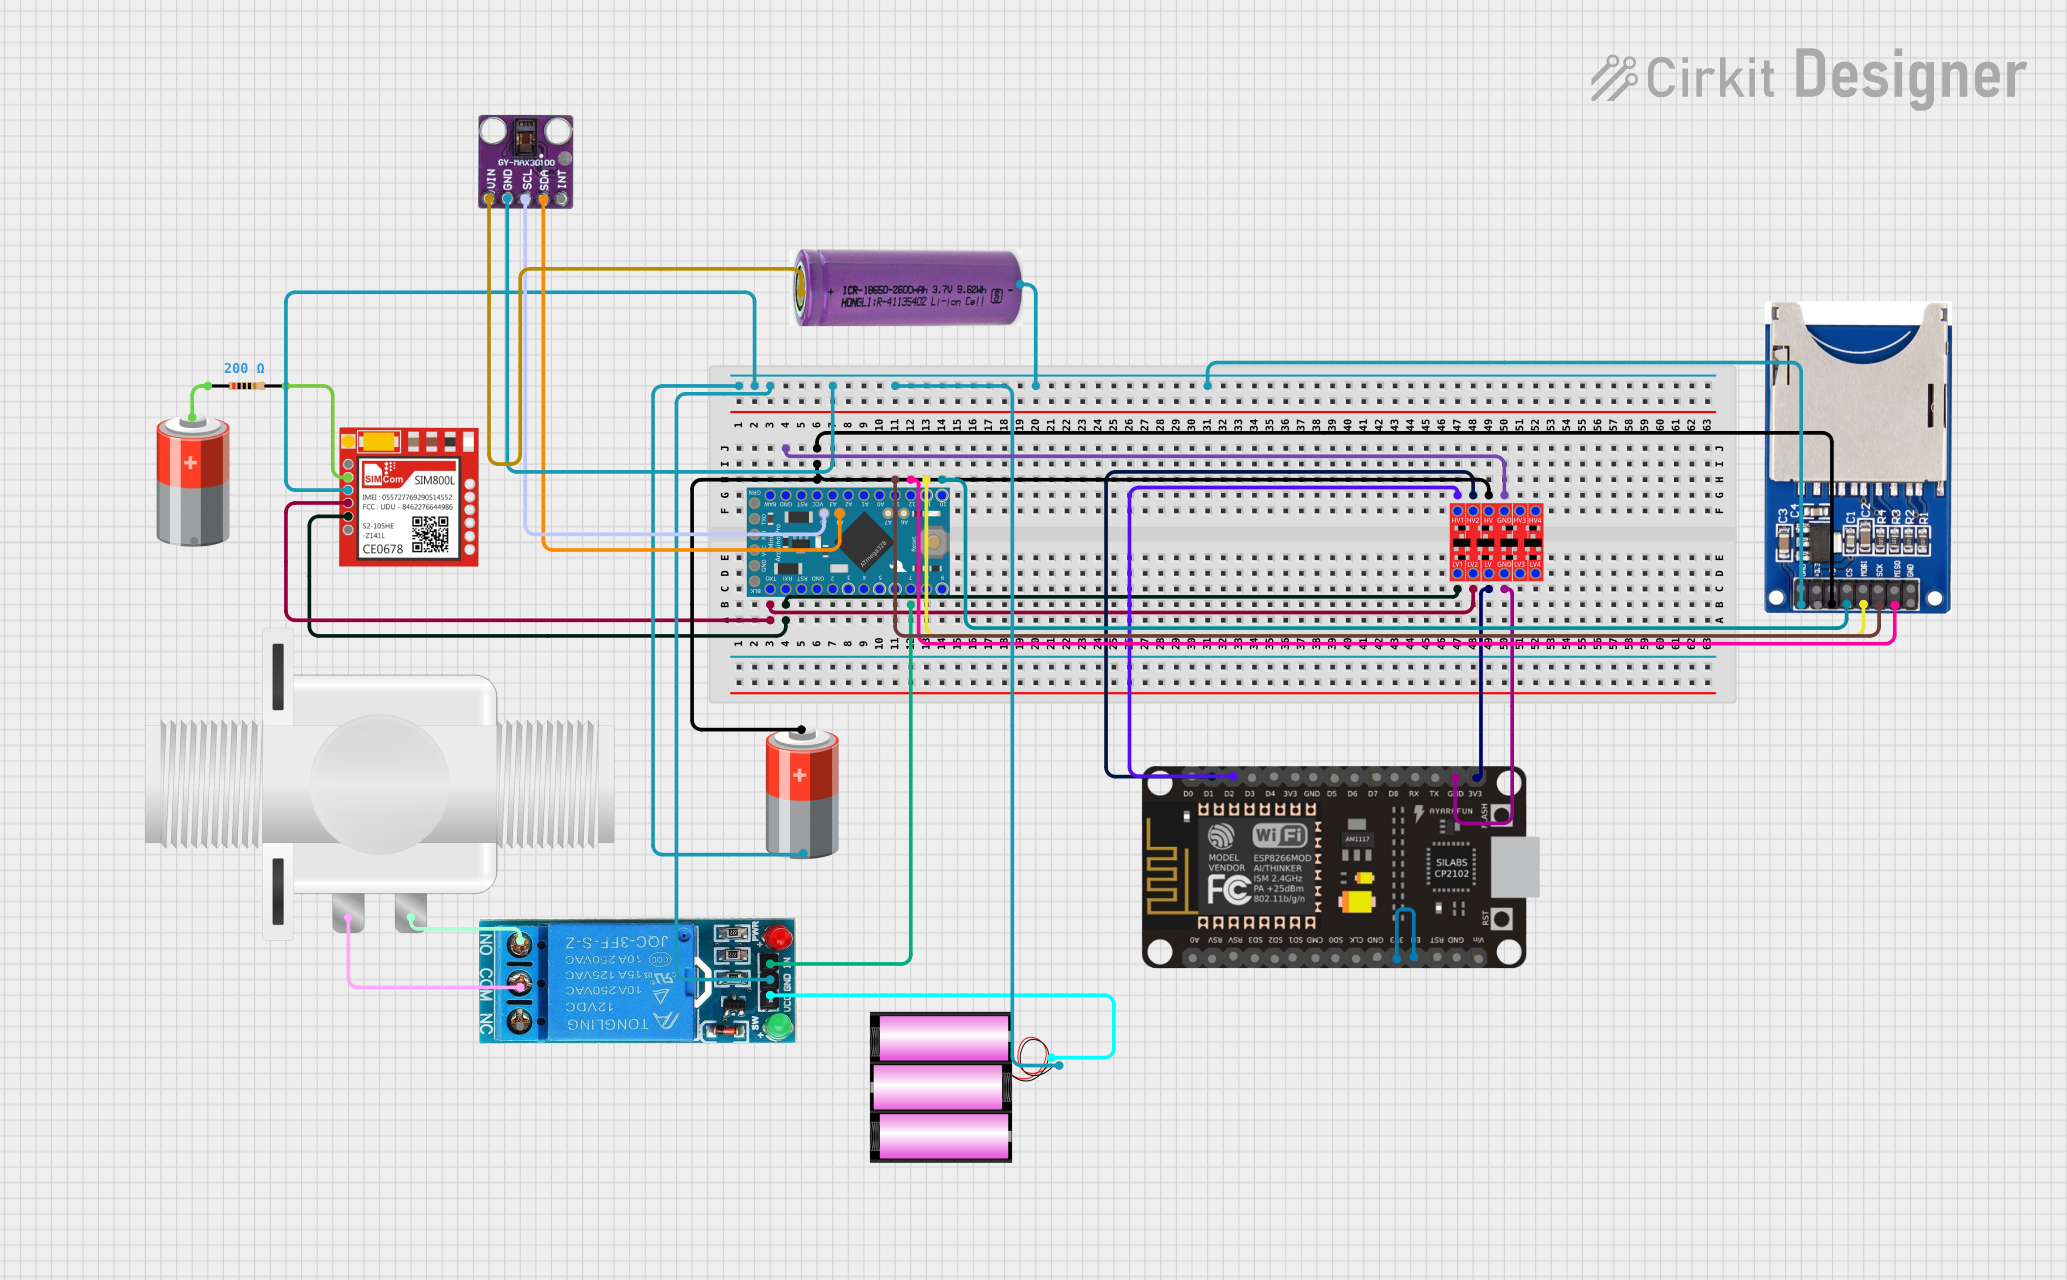
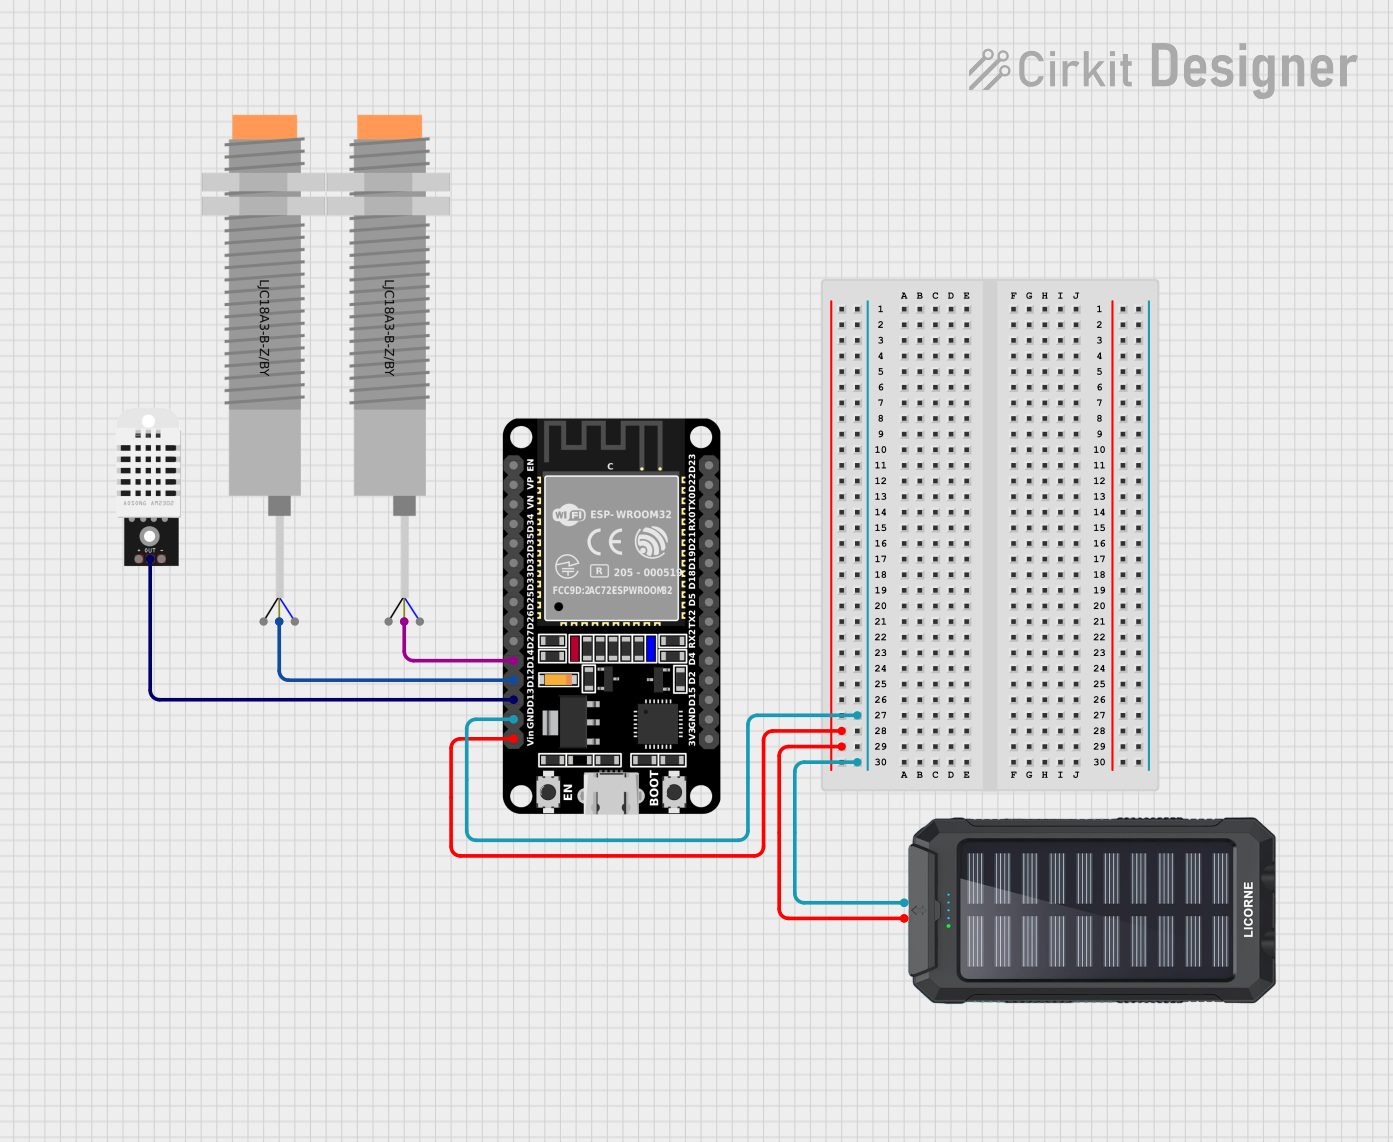
Explore Projects Built with Prob
Common Applications and Use Cases
- Random number generation in hardware systems
- Simulating stochastic processes in circuits
- Decision-making systems in robotics and AI
- Noise generation for testing and debugging
- Educational tools for teaching probability and randomness in electronics
Technical Specifications
The Prob component is designed to operate within specific electrical and functional parameters. Below are its key technical details:
Electrical Specifications
| Parameter | Value |
|---|---|
| Operating Voltage | 3.3V to 5V |
| Operating Current | 10mA (typical) |
| Output Signal Type | Digital (0 or 1) |
| Probability Range | 0% to 100% (configurable) |
| Response Time | < 1ms |
| Operating Temperature | -20°C to 70°C |
Pin Configuration and Descriptions
| Pin Number | Pin Name | Description |
|---|---|---|
| 1 | VCC | Power supply input (3.3V to 5V) |
| 2 | GND | Ground connection |
| 3 | PROB_SET | Input pin to set the desired probability (analog or PWM signal) |
| 4 | OUT | Digital output pin that provides a probabilistic HIGH (1) or LOW (0) signal |
Usage Instructions
The Prob component is straightforward to use in a circuit. Below are the steps and best practices for integrating it into your design:
How to Use the Prob Component
- Power the Component: Connect the
VCCpin to a 3.3V or 5V power source and theGNDpin to the ground. - Set the Probability: Use the
PROB_SETpin to define the desired probability. This can be done by:- Supplying an analog voltage (e.g., 0V for 0% probability, 5V for 100% probability).
- Using a PWM signal to represent the probability as a duty cycle.
- Read the Output: Monitor the
OUTpin for a digital signal. The output will randomly toggle between HIGH (1) and LOW (0) based on the configured probability.
Important Considerations and Best Practices
- Power Supply: Ensure a stable power supply to avoid erratic behavior.
- Probability Calibration: Use a precise analog or PWM signal to set the probability accurately.
- Output Filtering: If the output signal is noisy, consider adding a capacitor or debounce circuit.
- Arduino Compatibility: The Prob component can be easily interfaced with an Arduino UNO for probability-based applications.
Example Arduino Code
Below is an example of how to use the Prob component with an Arduino UNO:
// Define pin connections
const int probSetPin = 9;  // PWM pin to set probability
const int probOutPin = 2;  // Digital pin to read Prob output

void setup() {
  pinMode(probOutPin, INPUT);  // Set Prob OUT pin as input
  pinMode(probSetPin, OUTPUT); // Set Prob SET pin as output
}

void loop() {
  // Set probability to 50% using a 50% duty cycle PWM signal
  analogWrite(probSetPin, 128); // 128/255 ≈ 50% duty cycle

  // Read the Prob output
  int probOutput = digitalRead(probOutPin);

  // Print the output to the Serial Monitor
  Serial.begin(9600);
  Serial.print("Prob Output: ");
  Serial.println(probOutput);

  delay(100); // Small delay for stability
}
Notes on Arduino Usage
- The
analogWritefunction is used to set the probability via PWM. - The
digitalReadfunction reads the probabilistic output from theOUTpin. - Adjust the
analogWritevalue (0 to 255) to change the probability.
Troubleshooting and FAQs
Common Issues and Solutions
No Output Signal
- Cause: The
VCCorGNDpin is not properly connected. - Solution: Verify the power connections and ensure the component is receiving the correct voltage.
- Cause: The
Erratic Output
- Cause: Unstable power supply or incorrect probability setting.
- Solution: Use a regulated power source and double-check the
PROB_SETinput signal.
Output Does Not Match Set Probability
- Cause: Inaccurate analog or PWM signal on the
PROB_SETpin. - Solution: Use a calibrated signal generator or microcontroller to set the probability.
- Cause: Inaccurate analog or PWM signal on the
Component Overheating
- Cause: Exceeding the operating voltage or current limits.
- Solution: Ensure the voltage is within the 3.3V to 5V range and the current does not exceed 10mA.
FAQs
Q1: Can the Prob component generate continuous random numbers?
A1: No, the Prob component generates a digital HIGH or LOW signal based on the configured probability. For continuous random numbers, additional circuitry or software is required.
Q2: Is the Prob component compatible with 3.3V systems?
A2: Yes, the Prob component operates with both 3.3V and 5V power supplies.
Q3: How accurate is the probability setting?
A3: The accuracy depends on the precision of the PROB_SET input signal. Using a high-resolution PWM or DAC will improve accuracy.
Q4: Can I use the Prob component for cryptographic applications?
A4: The Prob component is not designed for cryptographic-grade randomness. It is suitable for general-purpose randomness and simulations.
By following this documentation, users can effectively integrate the Prob component into their circuits and applications.