
How to Use neo 6m: Examples, Pinouts, and Specs
 Design with neo 6m in Cirkit Designer
Introduction
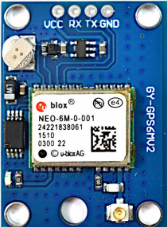
The NEO-6M is a GPS module that provides satellite-based navigation and positioning data. It is commonly used in various applications such as drones, vehicle tracking, and personal navigation devices. The module is known for its high sensitivity, low power consumption, and compact size, making it an ideal choice for a wide range of GPS-based projects.
Explore Projects Built with neo 6m
 Open Project in Cirkit Designer
 Open Project in Cirkit Designer
 Open Project in Cirkit Designer
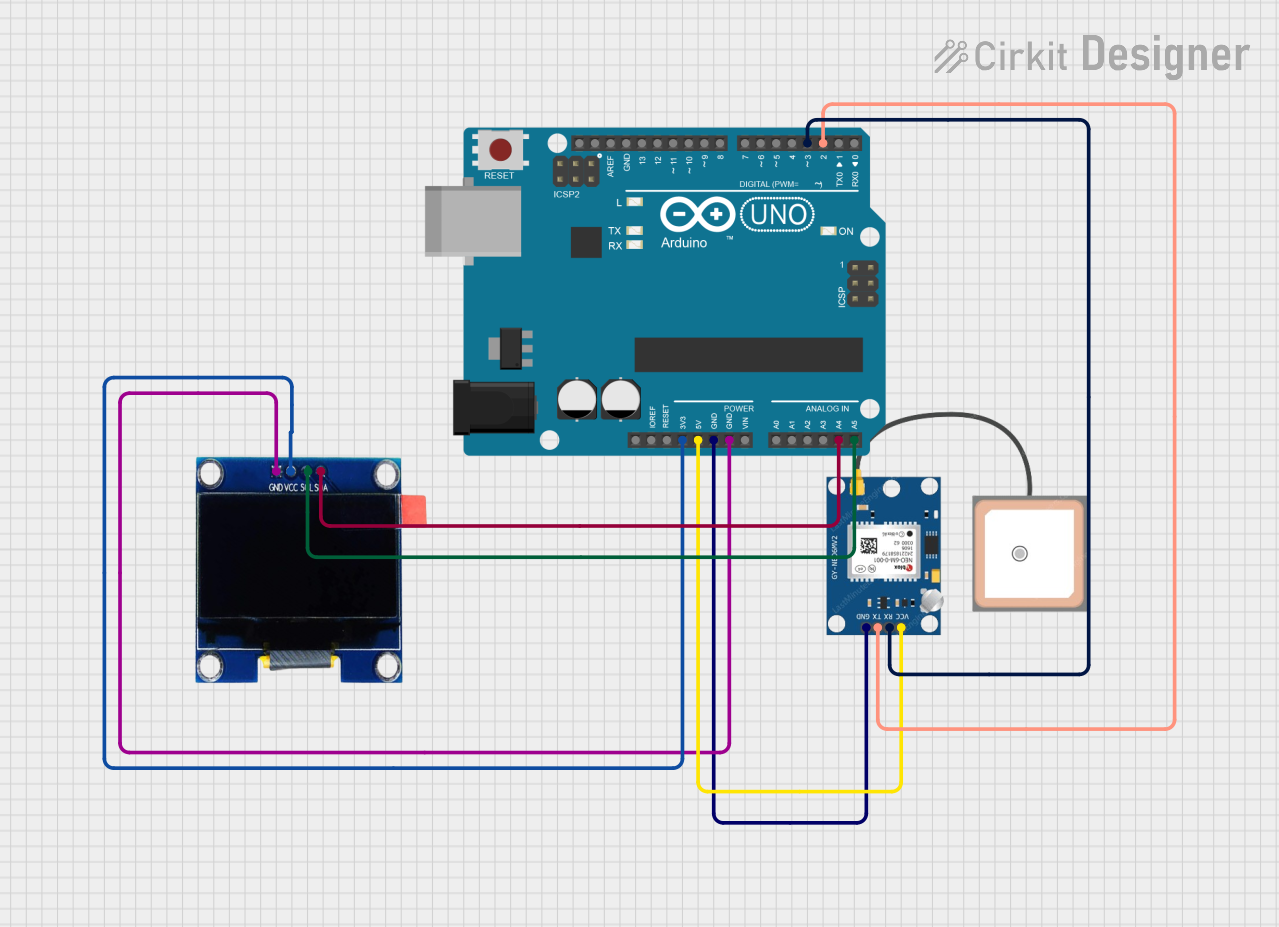
 Open Project in Cirkit Designer
Explore Projects Built with neo 6m

 Open Project in Cirkit Designer
 Open Project in Cirkit Designer
 Open Project in Cirkit Designer
 Open Project in Cirkit Designer
Technical Specifications
Key Technical Details
| Parameter | Value |
|---|---|
| Supply Voltage | 3.3V to 5V |
| Operating Current | 45mA (typical) |
| Position Accuracy | 2.5m CEP |
| Velocity Accuracy | 0.1 m/s |
| Time Accuracy | 30 ns |
| Max Update Rate | 5 Hz |
| Sensitivity | -161 dBm |
| Cold Start Time | 27 seconds |
| Hot Start Time | 1 second |
| Communication | UART, TTL |
Pin Configuration and Descriptions
| Pin Number | Pin Name | Description |
|---|---|---|
| 1 | VCC | Power supply (3.3V to 5V) |
| 2 | GND | Ground |
| 3 | TX | Transmit data (UART) |
| 4 | RX | Receive data (UART) |
| 5 | PPS | Pulse per second (timing signal) |
| 6 | FIX | Fix status indicator (optional, not always present) |
Usage Instructions
How to Use the NEO-6M in a Circuit
- Power Supply: Connect the VCC pin to a 3.3V or 5V power supply and the GND pin to the ground.
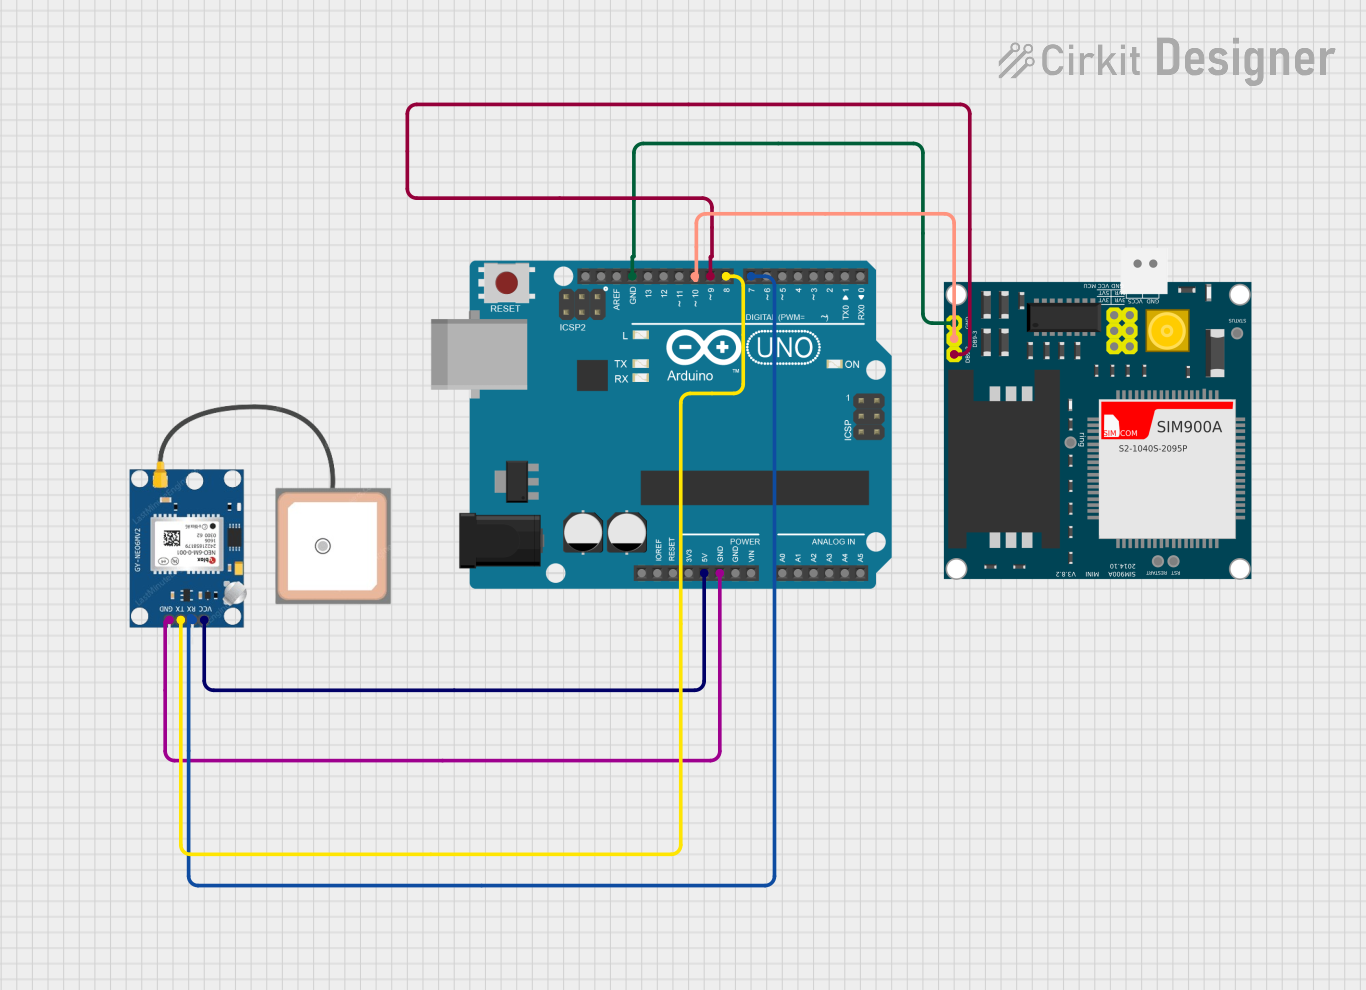
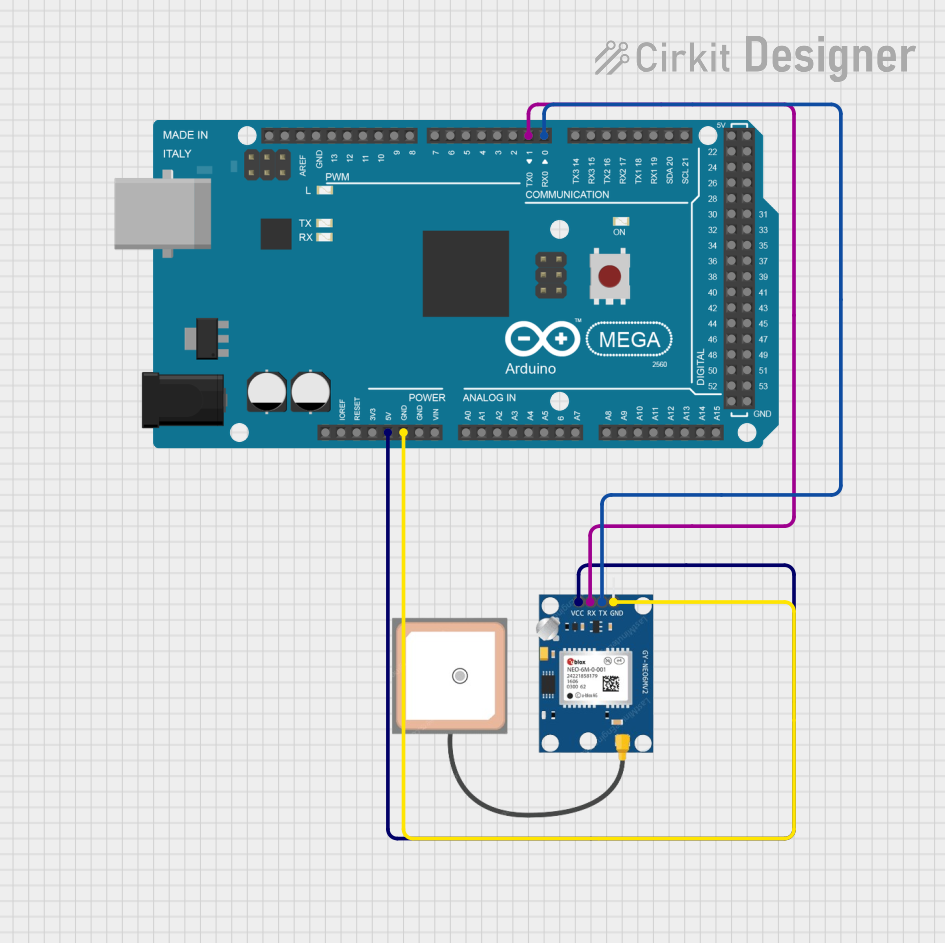
- UART Communication: Connect the TX pin of the NEO-6M to the RX pin of your microcontroller (e.g., Arduino UNO) and the RX pin of the NEO-6M to the TX pin of your microcontroller.
- Antenna: Ensure that the GPS antenna is connected properly to receive satellite signals.
Important Considerations and Best Practices
- Antenna Placement: Place the GPS antenna in an open area with a clear view of the sky for optimal signal reception.
- Power Supply: Ensure a stable power supply to avoid fluctuations that can affect the module's performance.
- Baud Rate: The default baud rate for the NEO-6M is 9600 bps. Ensure your microcontroller is configured to communicate at this baud rate.
Sample Arduino Code
#include <SoftwareSerial.h>
#include <TinyGPS++.h>

// Create a SoftwareSerial object for communication with the NEO-6M
SoftwareSerial gpsSerial(4, 3); // RX, TX

// Create a TinyGPS++ object
TinyGPSPlus gps;

void setup() {
  Serial.begin(9600); // Initialize serial communication with the computer
  gpsSerial.begin(9600); // Initialize serial communication with the NEO-6M
  Serial.println("NEO-6M GPS Module Test");
}

void loop() {
  while (gpsSerial.available() > 0) {
    gps.encode(gpsSerial.read()); // Decode the data from the GPS module

    if (gps.location.isUpdated()) {
      // Print the latitude and longitude to the Serial Monitor
      Serial.print("Latitude: ");
      Serial.println(gps.location.lat(), 6);
      Serial.print("Longitude: ");
      Serial.println(gps.location.lng(), 6);
    }
  }
}
Troubleshooting and FAQs
Common Issues and Solutions
No GPS Fix:
- Solution: Ensure the antenna has a clear view of the sky. It may take a few minutes to get the first fix.
No Data Output:
- Solution: Check the connections between the NEO-6M and the microcontroller. Ensure the baud rate is set correctly.
Inaccurate Positioning:
- Solution: Ensure the antenna is placed in an optimal location. Avoid areas with high interference.
FAQs
Q1: How long does it take for the NEO-6M to get a GPS fix?
- A1: The cold start time is approximately 27 seconds, while the hot start time is around 1 second.
Q2: Can the NEO-6M be powered with 5V?
- A2: Yes, the NEO-6M can be powered with a supply voltage ranging from 3.3V to 5V.
Q3: What is the default baud rate of the NEO-6M?
- A3: The default baud rate is 9600 bps.
Q4: How can I improve the accuracy of the GPS module?
- A4: Place the antenna in an open area with a clear view of the sky and ensure a stable power supply.
This documentation provides a comprehensive guide to using the NEO-6M GPS module, covering its technical specifications, usage instructions, and troubleshooting tips. Whether you are a beginner or an experienced user, this guide will help you effectively integrate the NEO-6M into your projects.