How to Use RepRapDiscount Smart Controller: Examples, Pinouts, and Specs
Introduction
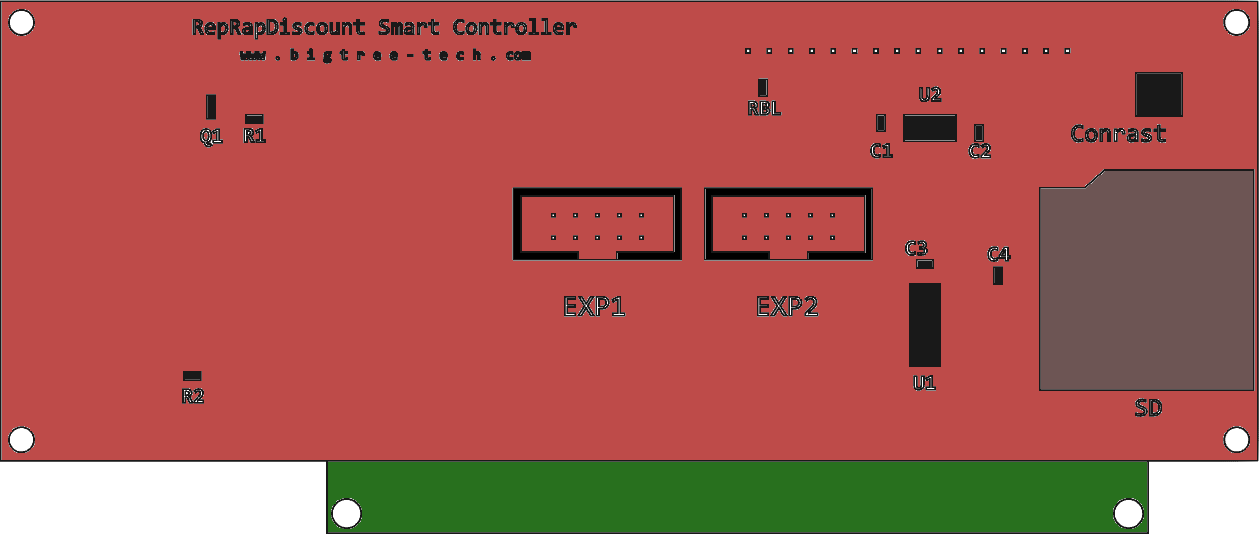
The RepRapDiscount Smart Controller is a user-friendly LCD controller designed for 3D printers. Manufactured by RepRap, this component features a 20x4 character LCD display and a rotary encoder for intuitive navigation and control of printer settings. It also includes an SD card slot for standalone printing, eliminating the need for a constant connection to a computer.
Explore Projects Built with RepRapDiscount Smart Controller


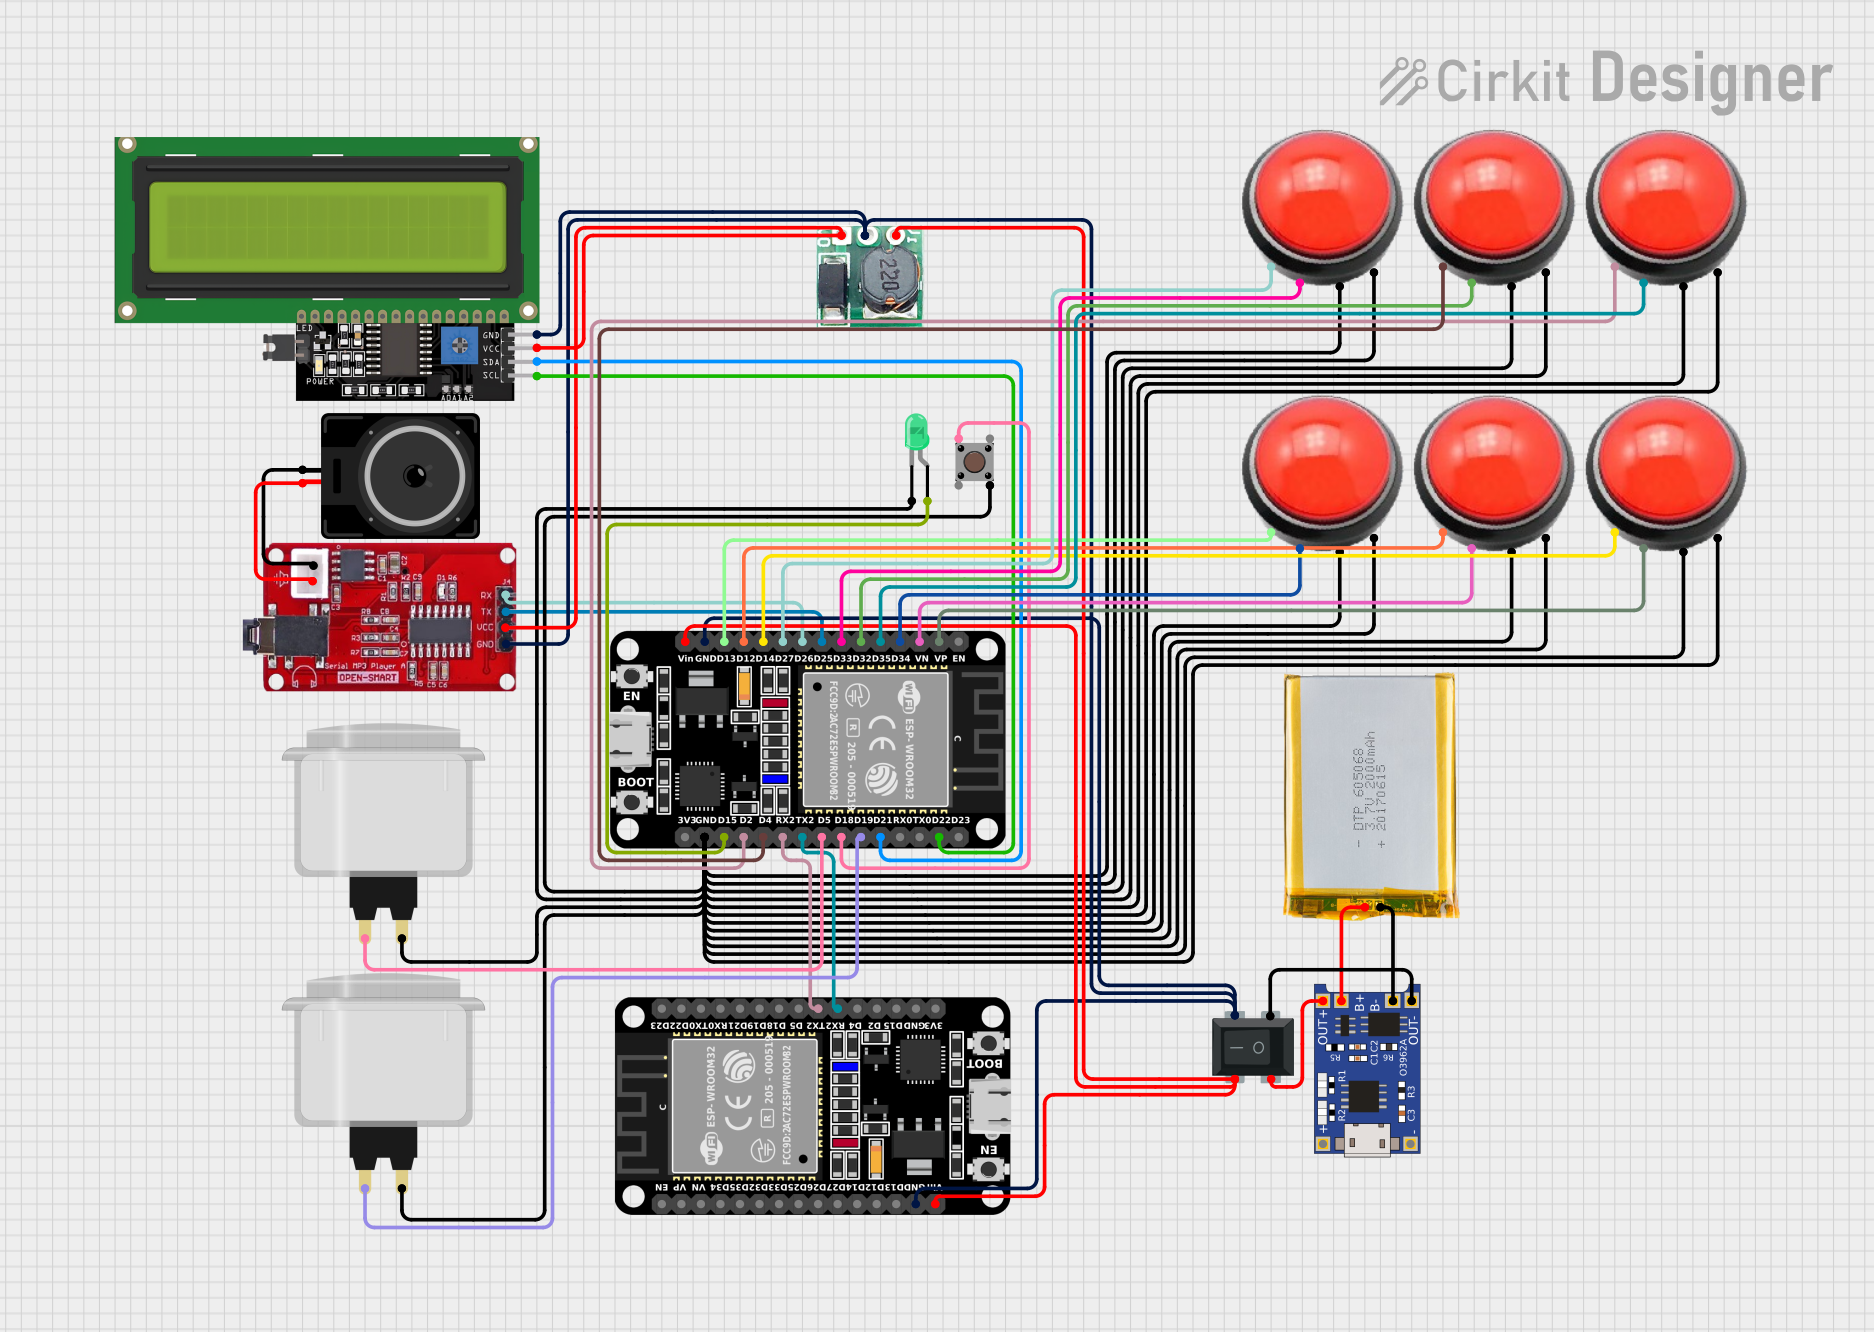
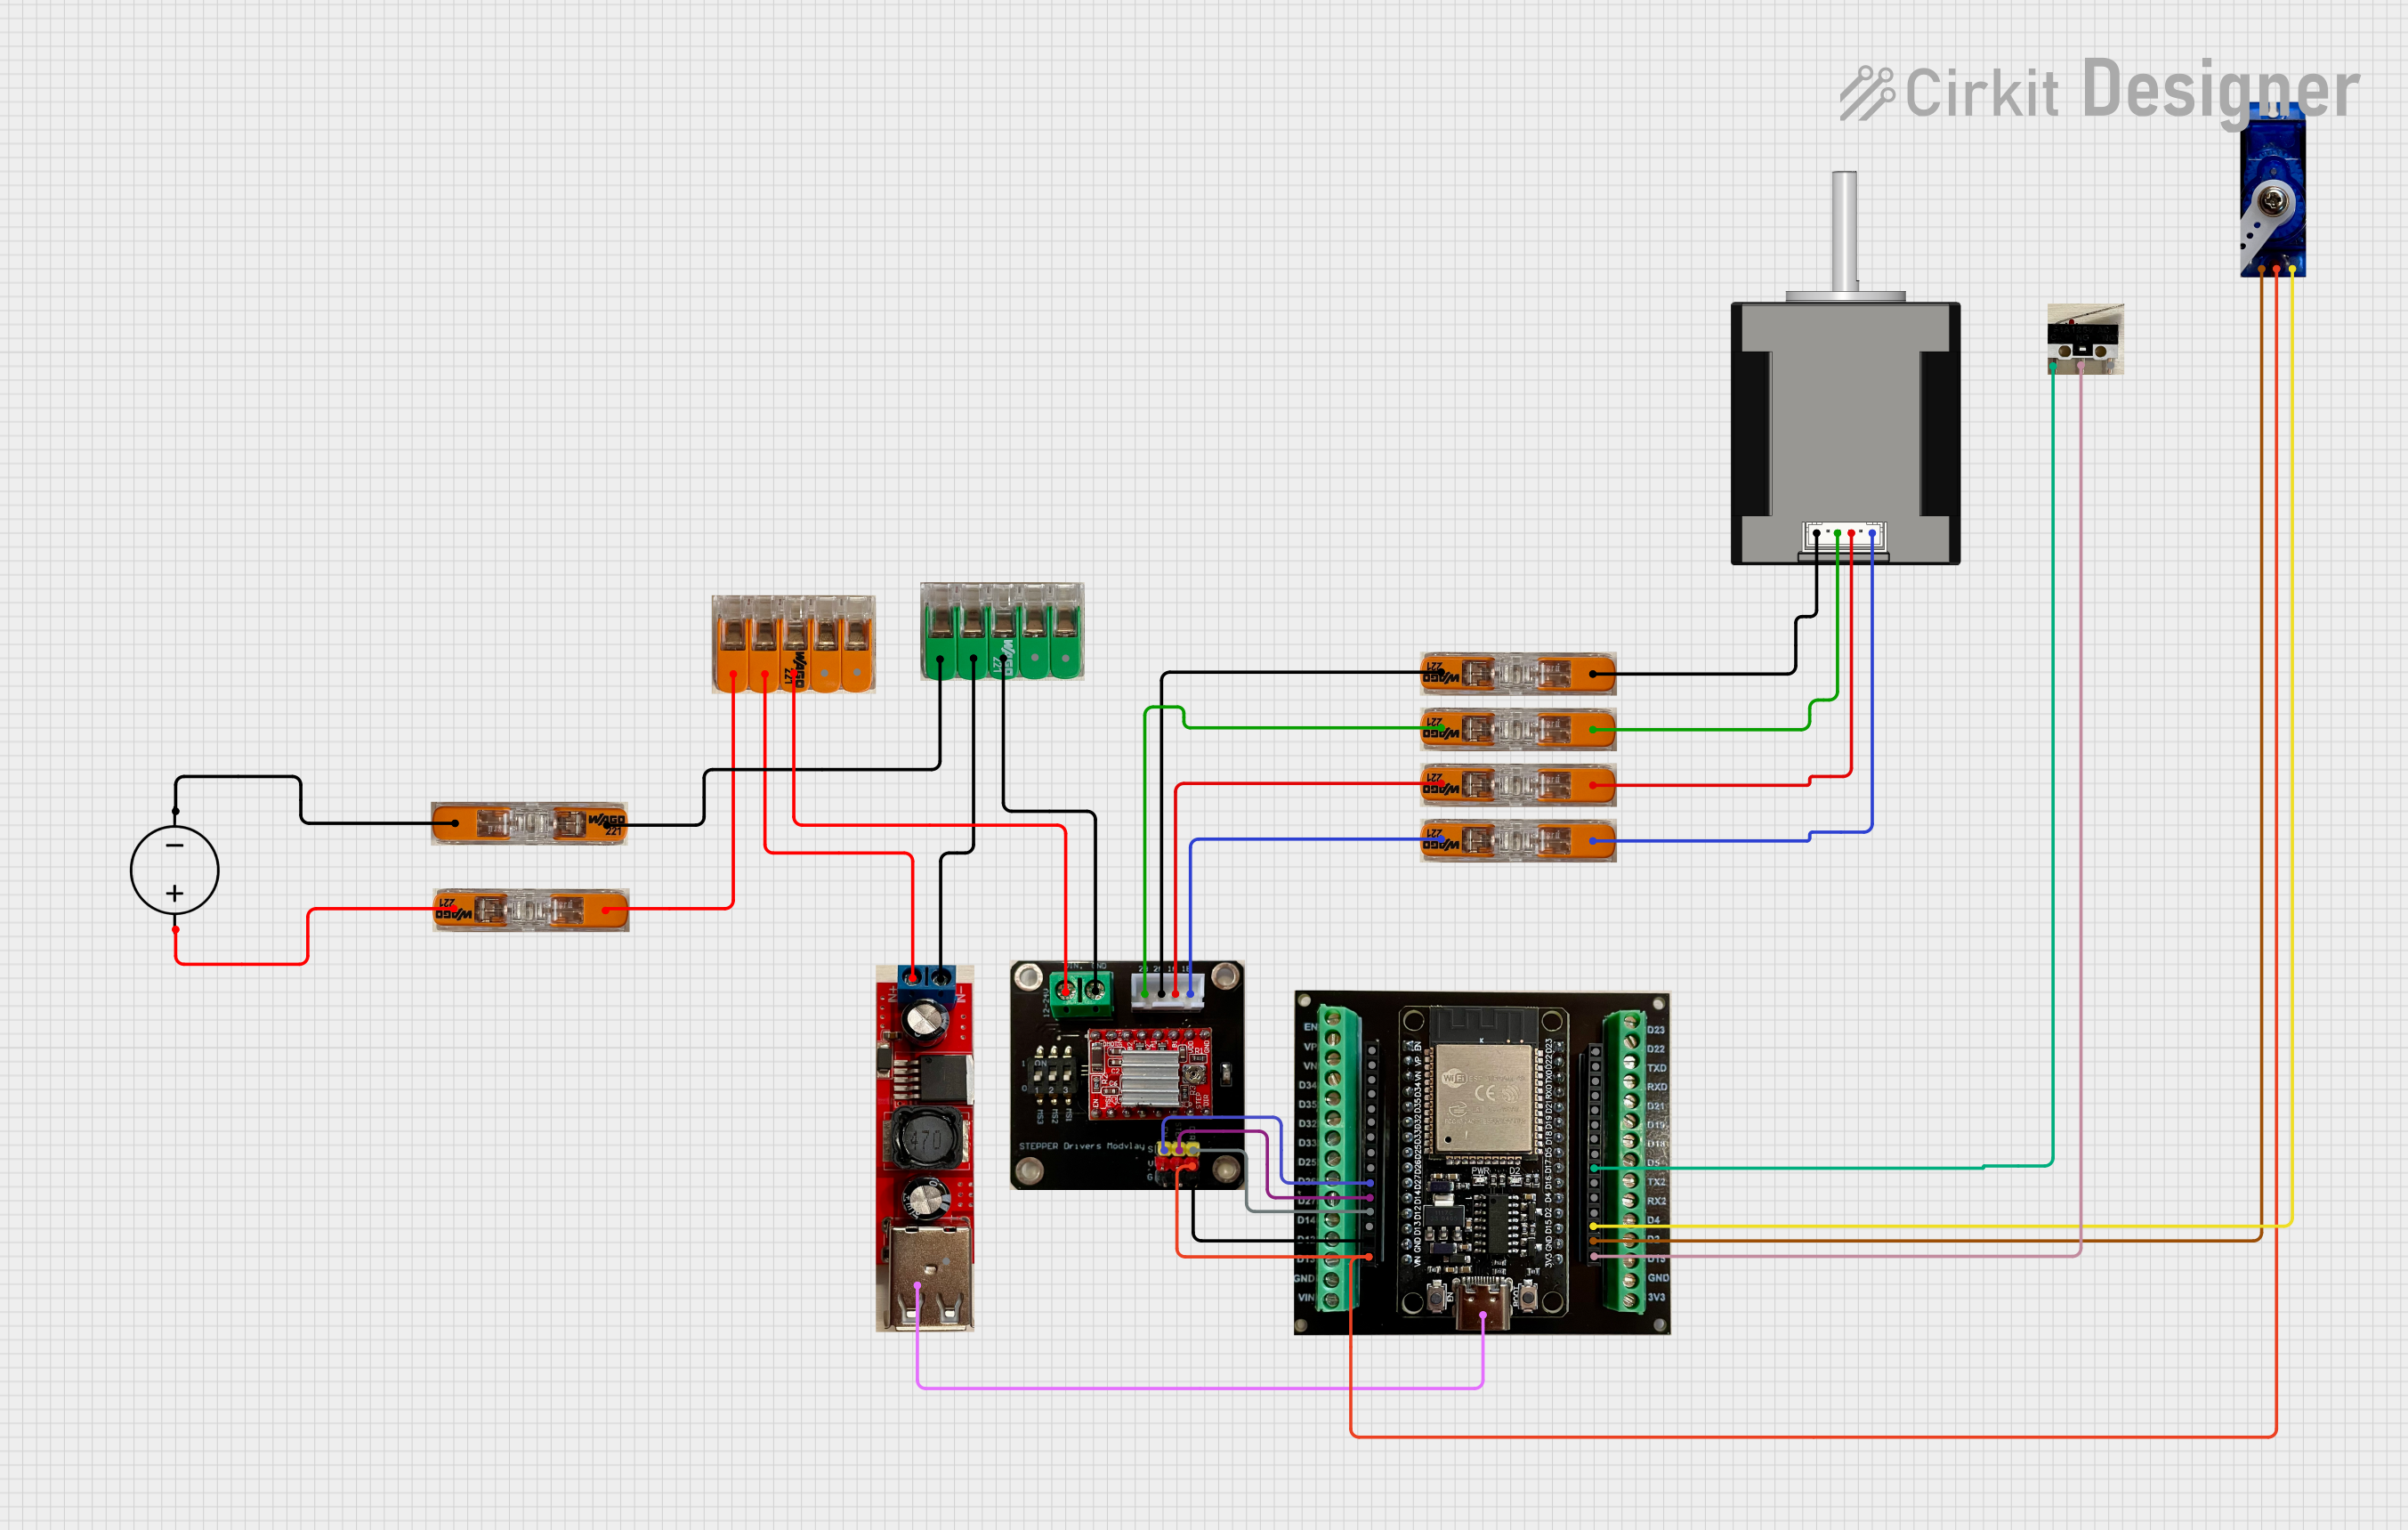
Explore Projects Built with RepRapDiscount Smart Controller
Common Applications and Use Cases
- 3D Printers: Used to control and monitor 3D printer operations.
- Standalone Printing: Enables printing directly from an SD card without a computer.
- Firmware Configuration: Allows users to adjust printer settings and parameters on the fly.
- Real-Time Monitoring: Displays live information such as print progress, temperatures, and more.
Technical Specifications
Key Technical Details
- Display: 20x4 character LCD
- Input: Rotary encoder with push-button functionality
- SD Card Slot: Supports standard SD cards for standalone printing
- Interface: Connects via a 10-pin EXP1 and 10-pin EXP2 header
- Power Requirements: 5V DC (supplied by the 3D printer's controller board)
- Dimensions: 90mm x 60mm (approximate)
Pin Configuration and Descriptions
The RepRapDiscount Smart Controller connects to the 3D printer's mainboard via two 10-pin ribbon cables (EXP1 and EXP2). Below is the pinout for each header:
EXP1 Header Pinout
| Pin | Function | Description |
|---|---|---|
| 1 | VCC | 5V power supply |
| 2 | GND | Ground |
| 3 | LCD_RS | LCD Register Select |
| 4 | LCD_ENABLE | LCD Enable |
| 5 | LCD_D4 | LCD Data Line 4 |
| 6 | LCD_D5 | LCD Data Line 5 |
| 7 | LCD_D6 | LCD Data Line 6 |
| 8 | LCD_D7 | LCD Data Line 7 |
| 9 | BEEPER | Buzzer control |
| 10 | Rotary Encoder A | Rotary encoder signal A |
EXP2 Header Pinout
| Pin | Function | Description |
|---|---|---|
| 1 | SD_DETECT | SD card detect signal |
| 2 | SD_SCK | SD card clock |
| 3 | SD_MISO | SD card data out |
| 4 | SD_MOSI | SD card data in |
| 5 | SD_CS | SD card chip select |
| 6 | Rotary Encoder B | Rotary encoder signal B |
| 7 | Rotary Encoder SW | Rotary encoder push-button signal |
| 8 | LCD_BACKLIGHT | LCD backlight control |
| 9 | GND | Ground |
| 10 | VCC | 5V power supply |
Usage Instructions
How to Use the Component in a Circuit
- Connect the Controller: Use the provided ribbon cables to connect the EXP1 and EXP2 headers on the Smart Controller to the corresponding headers on your 3D printer's mainboard.
- Power the Controller: Ensure the mainboard supplies 5V power to the controller via the VCC and GND pins.
- Configure Firmware: Update your 3D printer's firmware (e.g., Marlin) to enable support for the RepRapDiscount Smart Controller. This typically involves uncommenting the following line in the firmware's configuration file:
#define REPRAP_DISCOUNT_SMART_CONTROLLER - Test the Display and Controls: Power on the printer and verify that the LCD displays information and the rotary encoder functions correctly.
- Insert an SD Card: For standalone printing, insert an SD card with G-code files into the SD card slot.
Important Considerations and Best Practices
- Cable Orientation: Ensure the ribbon cables are connected with the correct orientation. Reversing the cables can damage the controller or mainboard.
- Firmware Compatibility: Verify that your 3D printer's firmware supports the RepRapDiscount Smart Controller.
- SD Card Format: Use FAT32-formatted SD cards for compatibility.
- Avoid Overloading: Do not exceed the 5V power supply limit to prevent damage to the controller.
Example Code for Arduino UNO
While the RepRapDiscount Smart Controller is typically used with 3D printer mainboards, it can also be connected to an Arduino UNO for testing or custom applications. Below is an example code snippet to display a message on the LCD:
#include <LiquidCrystal.h>

// Initialize the LCD with the pin configuration for the Smart Controller
LiquidCrystal lcd(8, 9, 4, 5, 6, 7);
// Pins: RS=8, Enable=9, D4=4, D5=5, D6=6, D7=7

void setup() {
  lcd.begin(20, 4); // Set up the LCD's number of columns and rows
  lcd.print("RepRapDiscount"); // Print a message to the LCD
  lcd.setCursor(0, 1); // Move to the second row
  lcd.print("Smart Controller");
}

void loop() {
  // No additional functionality in this example
}
Troubleshooting and FAQs
Common Issues and Solutions
Blank Screen on Power-Up
- Cause: Incorrect cable orientation or loose connections.
- Solution: Double-check the ribbon cable connections to the EXP1 and EXP2 headers. Ensure they are securely connected and oriented correctly.
Rotary Encoder Not Working
- Cause: Firmware not configured for the Smart Controller.
- Solution: Verify that the
#define REPRAP_DISCOUNT_SMART_CONTROLLERline is uncommented in the firmware configuration file.
SD Card Not Detected
- Cause: Incompatible SD card format or faulty connection.
- Solution: Ensure the SD card is formatted as FAT32 and properly inserted. Check the SD card detect pin connection.
LCD Backlight Not Turning On
- Cause: Insufficient power supply or damaged backlight control pin.
- Solution: Verify the 5V power supply and inspect the LCD backlight control pin for damage.
FAQs
Can I use this controller with any 3D printer?
- The controller is compatible with most 3D printers that have EXP1 and EXP2 headers and firmware support for the RepRapDiscount Smart Controller.
What is the maximum SD card size supported?
- Typically, SD cards up to 32GB formatted as FAT32 are supported.
Can I use this controller for non-3D printing applications?
- Yes, the controller can be used for custom projects with compatible microcontrollers like Arduino.
How do I adjust the contrast of the LCD?
- The contrast can be adjusted using the potentiometer on the back of the controller.
By following this documentation, you can effectively integrate and troubleshoot the RepRapDiscount Smart Controller in your 3D printing or custom electronics projects.