
How to Use Octal Preamp Tube Socket: Examples, Pinouts, and Specs
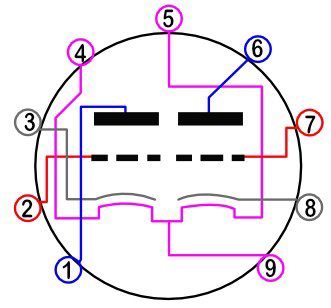
 Design with Octal Preamp Tube Socket in Cirkit Designer
Introduction
The Octal Preamp Tube Socket is a specialized component designed to securely hold octal vacuum tubes, which are commonly used in audio preamplifiers. This socket facilitates easy replacement of vacuum tubes while ensuring reliable electrical connections. Its robust design and compatibility with standard octal tubes make it an essential component in vintage audio equipment, guitar amplifiers, and high-fidelity audio systems.
Explore Projects Built with Octal Preamp Tube Socket
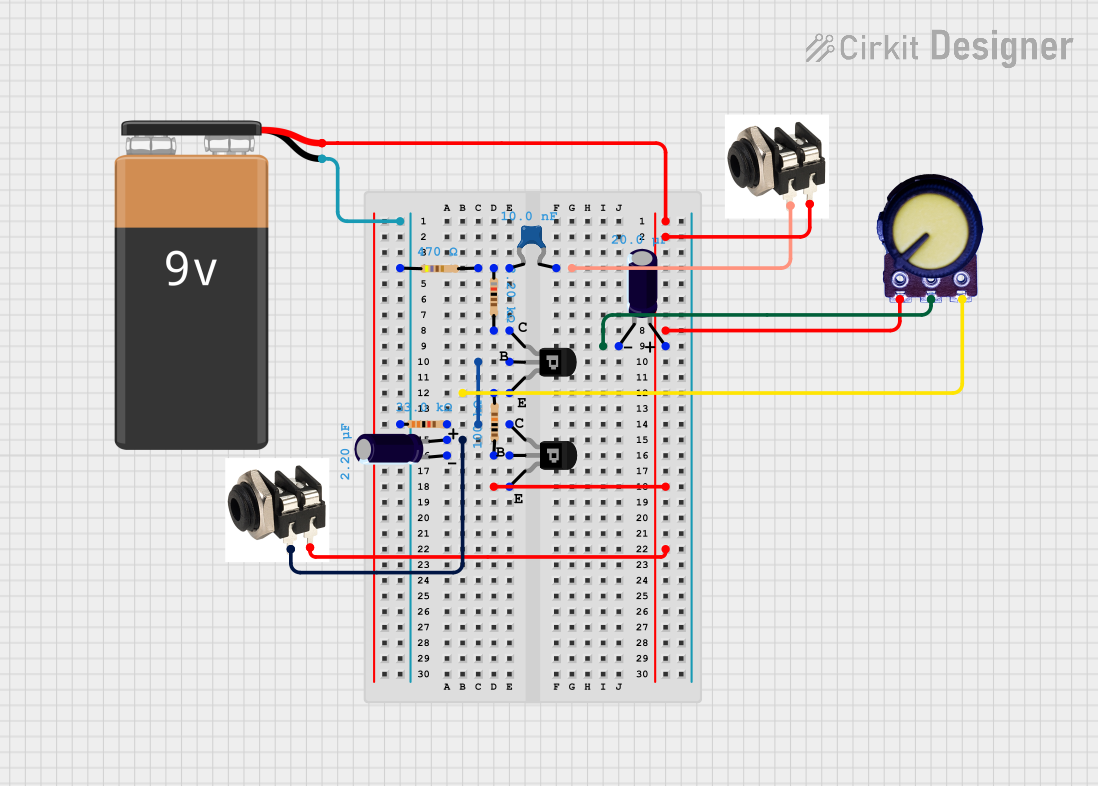 Open Project in Cirkit Designer
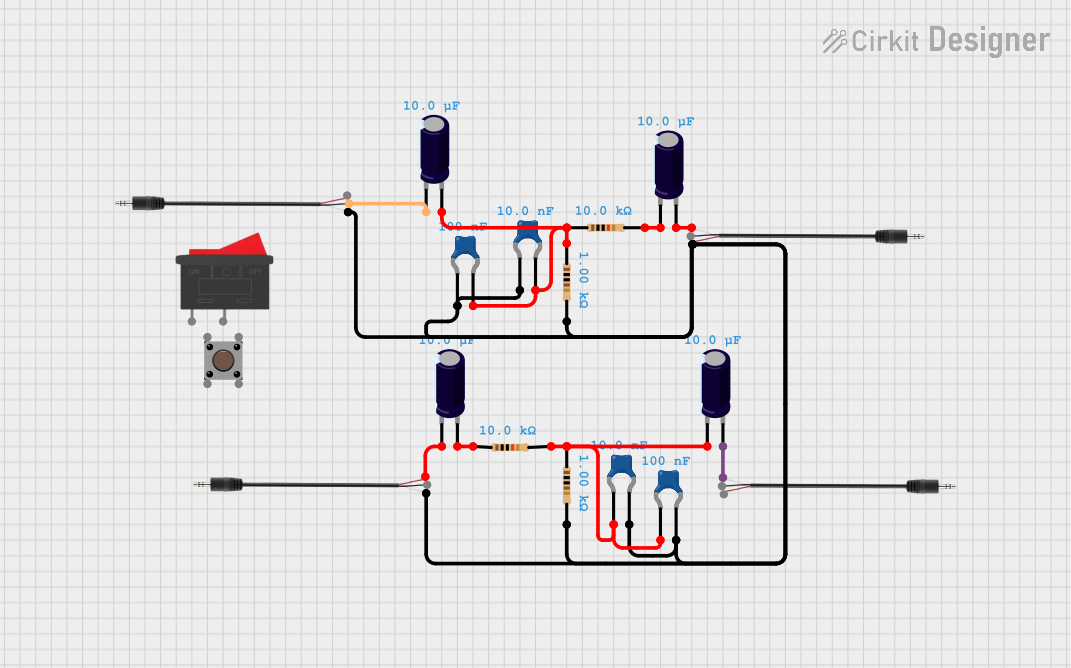 Open Project in Cirkit Designer
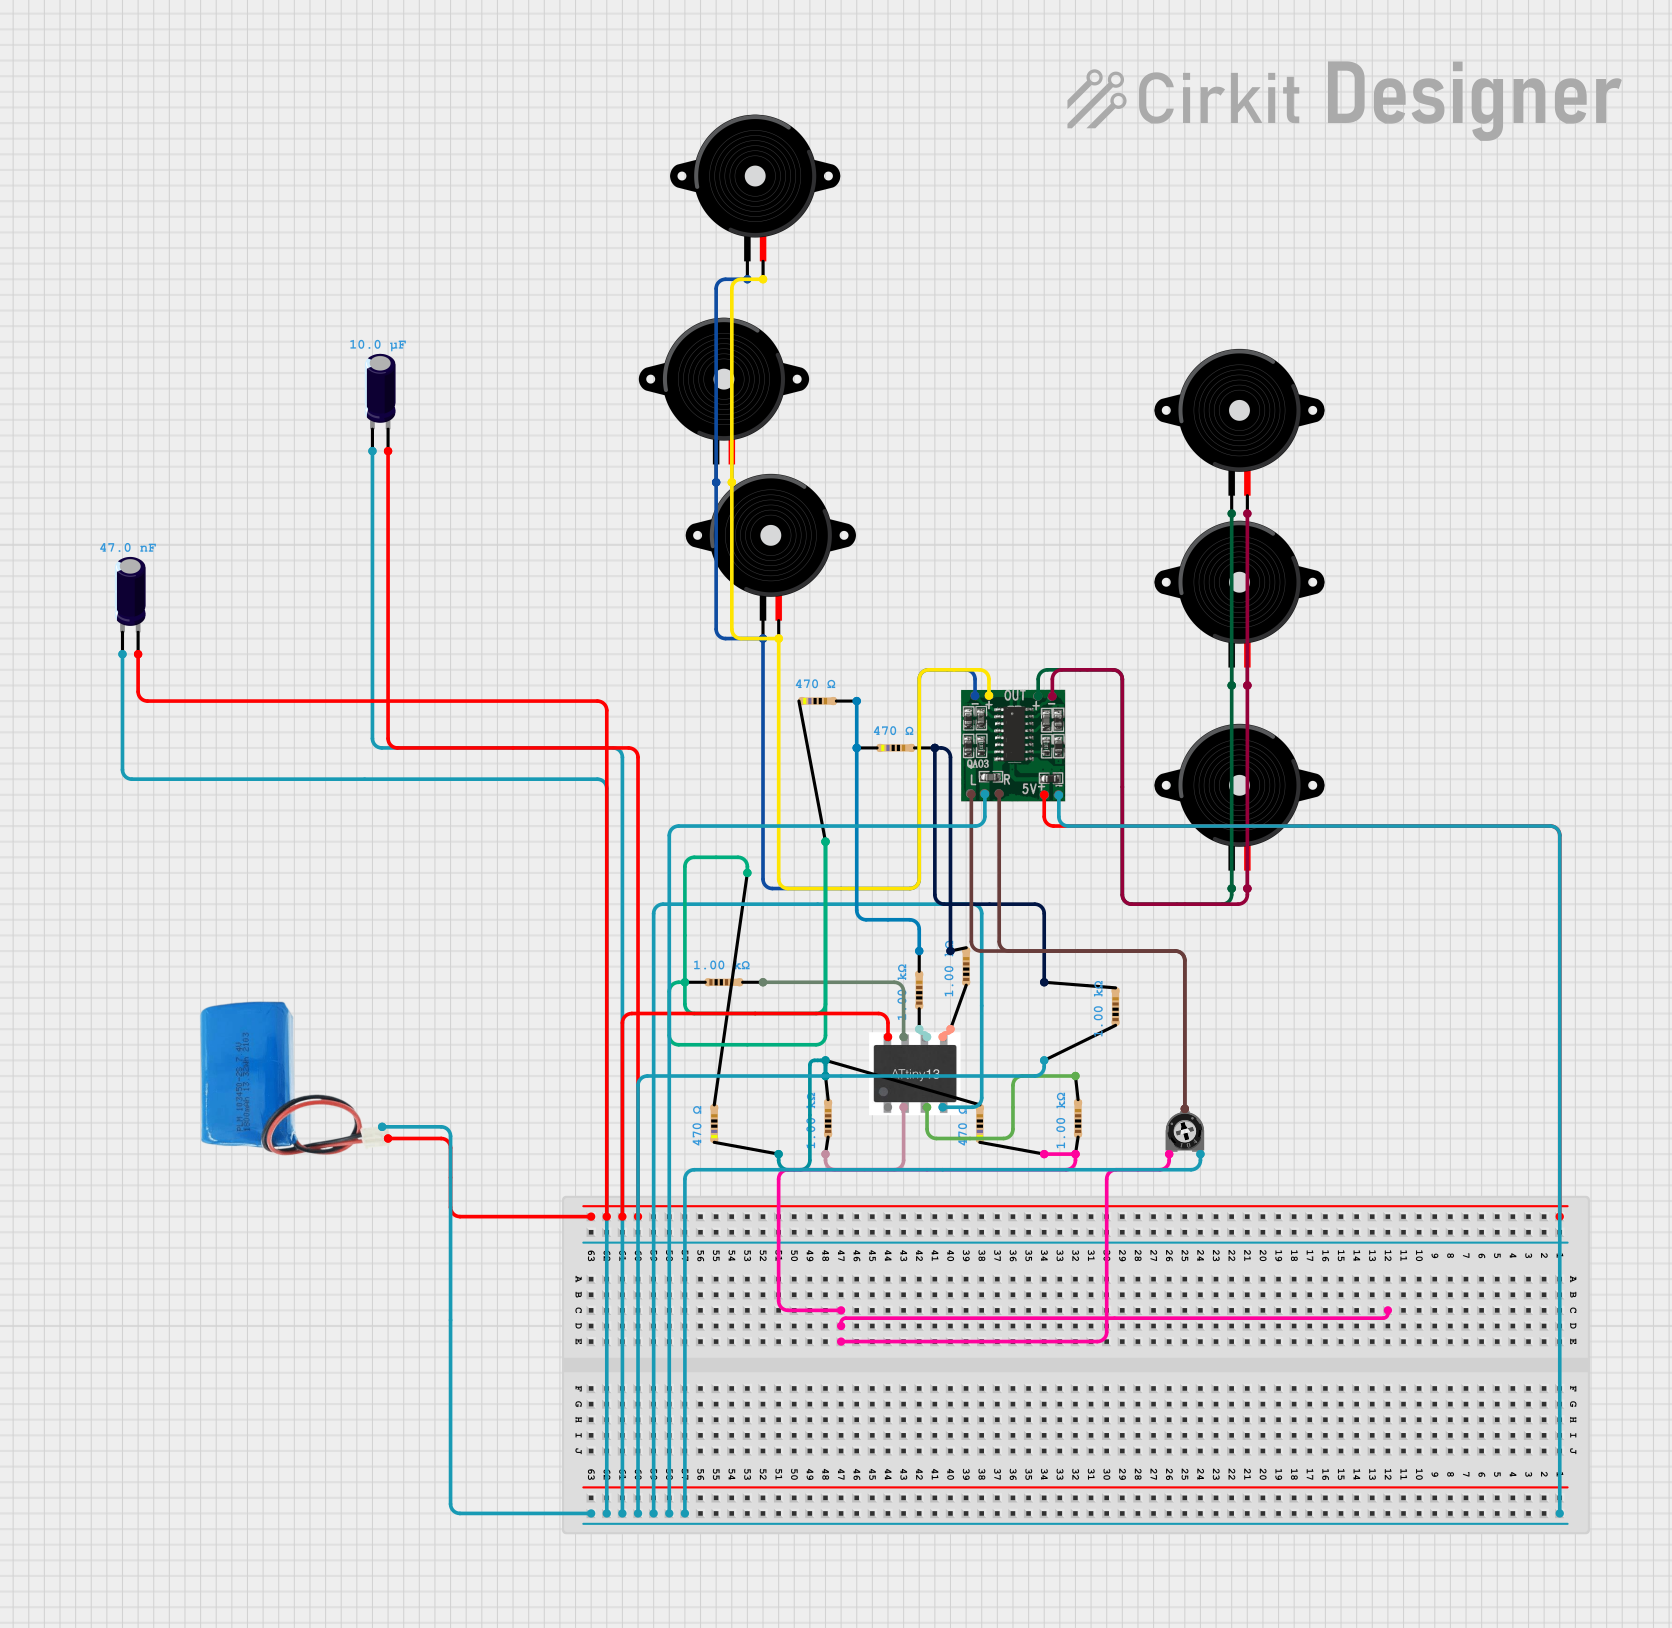 Open Project in Cirkit Designer
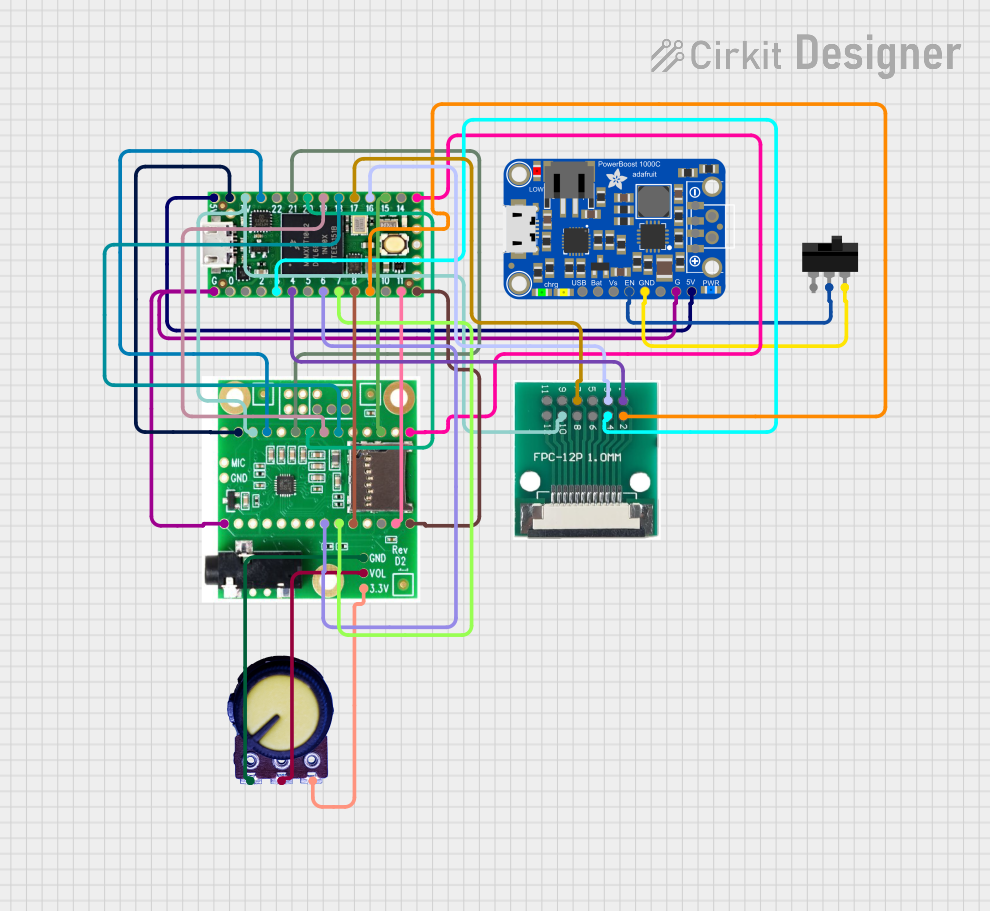 Open Project in Cirkit Designer
Explore Projects Built with Octal Preamp Tube Socket
Open Project in Cirkit DesignerOpen Project in Cirkit DesignerOpen Project in Cirkit DesignerOpen Project in Cirkit DesignerCommon Applications and Use Cases
- Audio preamplifiers in high-fidelity sound systems
- Guitar and bass amplifiers
- Vintage radio and audio equipment restoration
- DIY tube amplifier projects
- Laboratory and experimental setups involving vacuum tubes
Technical Specifications
The Octal Preamp Tube Socket is designed to accommodate vacuum tubes with an 8-pin (octal) base. Below are the key technical details:
General Specifications
| Parameter | Value |
|---|---|
| Number of Pins | 8 |
| Pin Spacing | 11.91 mm (center-to-center) |
| Mounting Style | Chassis mount or PCB mount |
| Material | Ceramic or Bakelite (varies by model) |
| Contact Material | Nickel-plated or gold-plated brass |
| Operating Temperature | -40°C to +125°C |
| Dimensions | Varies by model (e.g., 30-35 mm diameter) |
Pin Configuration and Descriptions
The pin configuration corresponds to the standard octal vacuum tube pinout. Below is a typical pin description:
| Pin Number | Description |
|---|---|
| 1 | Heater (H1) |
| 2 | Cathode (K) |
| 3 | Grid 1 (G1) |
| 4 | Grid 2 (G2) or Screen Grid |
| 5 | Grid 3 (G3) or Suppressor Grid |
| 6 | Plate (Anode) |
| 7 | Heater (H2) |
| 8 | Cathode (K) or Shield |
Note: The exact pin usage depends on the specific vacuum tube model being used. Always refer to the tube's datasheet for precise details.
Usage Instructions
How to Use the Octal Preamp Tube Socket in a Circuit
Mounting the Socket:
- For chassis-mounted sockets, drill a hole in the chassis to match the socket's diameter.
- Secure the socket using screws or rivets.
- For PCB-mounted sockets, solder the pins to the PCB pads.
Inserting the Vacuum Tube:
- Align the keying notch on the tube's base with the corresponding notch in the socket.
- Gently press the tube into the socket until it is fully seated.
Wiring the Socket:
- Connect the socket pins to the appropriate circuit components (e.g., resistors, capacitors, transformers) based on the vacuum tube's pinout.
- Use heat-resistant wires for high-temperature applications.
Powering the Circuit:
- Ensure the heater pins (1 and 7) are connected to the appropriate voltage source (e.g., 6.3V or 12.6V, depending on the tube).
- Verify all connections before powering the circuit to avoid damage to the tube or socket.
Important Considerations and Best Practices
- Avoid Overheating: Ensure proper ventilation around the socket to prevent overheating of the vacuum tube.
- Check Compatibility: Verify that the socket is compatible with the specific octal tube being used.
- Secure Connections: Use solder or high-quality connectors to ensure reliable electrical connections.
- Handle with Care: Vacuum tubes are fragile; avoid excessive force when inserting or removing them.
- Grounding: Properly ground the socket's shield pin (if applicable) to reduce noise and interference.
Example Circuit with Arduino UNO
While the Octal Preamp Tube Socket is not directly interfaced with microcontrollers like the Arduino UNO, it can be part of a larger audio amplification system controlled by the Arduino. Below is an example of how an Arduino can control a relay to switch the power supply for a tube amplifier:
// Example: Arduino-controlled relay for powering a tube amplifier
const int relayPin = 7; // Pin connected to the relay module

void setup() {
  pinMode(relayPin, OUTPUT); // Set relay pin as output
  digitalWrite(relayPin, LOW); // Ensure relay is off at startup
}

void loop() {
  // Turn on the relay to power the tube amplifier
  digitalWrite(relayPin, HIGH);
  delay(10000); // Keep the amplifier on for 10 seconds

  // Turn off the relay to cut power to the amplifier
  digitalWrite(relayPin, LOW);
  delay(5000); // Wait for 5 seconds before turning it on again
}
Note: Ensure the relay module is rated for the voltage and current requirements of the tube amplifier's power supply.
Troubleshooting and FAQs
Common Issues and Solutions
Loose Tube Connections:
- Issue: The vacuum tube feels loose or wobbly in the socket.
- Solution: Check if the socket's contacts are bent or worn out. Replace the socket if necessary.
Intermittent Audio or Signal Loss:
- Issue: The audio signal cuts in and out.
- Solution: Inspect the solder joints and wiring for loose connections. Re-solder if needed.
Overheating of the Socket:
- Issue: The socket becomes excessively hot during operation.
- Solution: Ensure proper ventilation and verify that the heater voltage is within the tube's specifications.
Noise or Hum in the Audio Signal:
- Issue: Unwanted noise or hum is present in the output.
- Solution: Check the grounding of the socket and surrounding circuitry. Use shielded cables if necessary.
FAQs
Q: Can I use this socket for non-audio applications?
A: Yes, the Octal Preamp Tube Socket can be used in any circuit requiring octal vacuum tubes, including RF and power applications.Q: How do I clean the socket contacts?
A: Use a contact cleaner spray and a small brush to gently clean the contacts. Avoid abrasive materials.Q: What is the maximum voltage the socket can handle?
A: The maximum voltage depends on the material and design of the socket. Refer to the manufacturer's datasheet for specific ratings.Q: Can I use this socket with modern solid-state components?
A: No, this socket is specifically designed for octal vacuum tubes and is not compatible with solid-state components.
By following this documentation, you can effectively use the Octal Preamp Tube Socket in your projects and troubleshoot common issues with ease.