How to Use Battery Shield: Examples, Pinouts, and Specs
Introduction
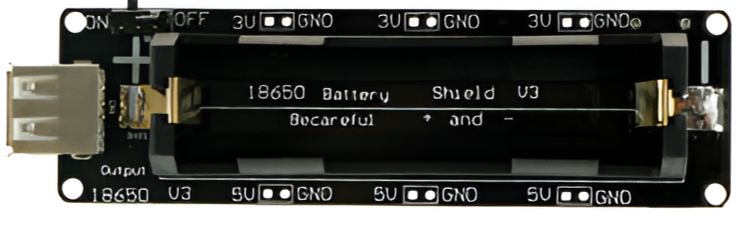
The DM-12 Battery Shield is an add-on board designed to provide a reliable and portable power source for microcontrollers and other electronic projects. It simplifies the integration of batteries into your designs by offering easy battery connection, charging circuits, and power management features. This shield is particularly useful for projects requiring mobility or backup power.
Explore Projects Built with Battery Shield

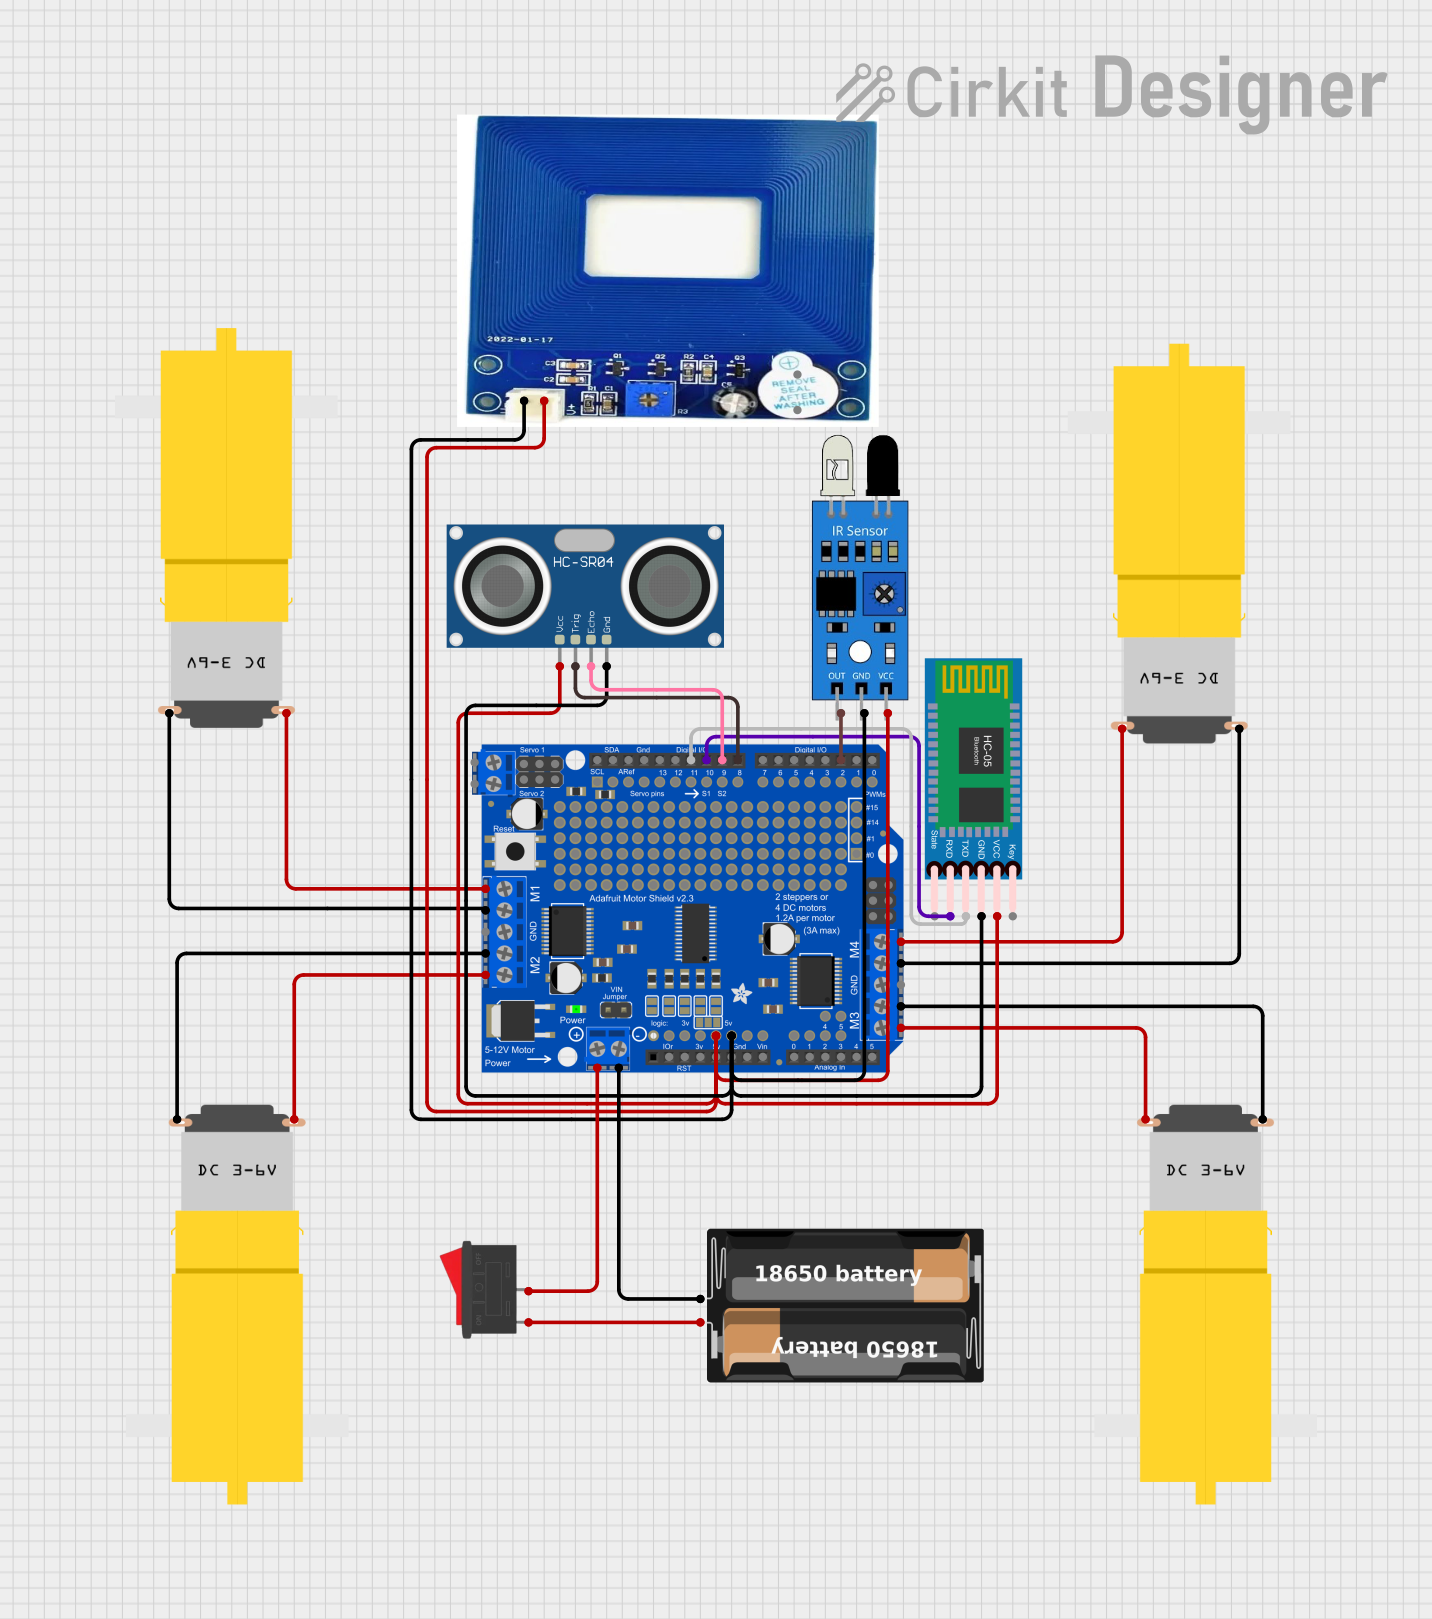
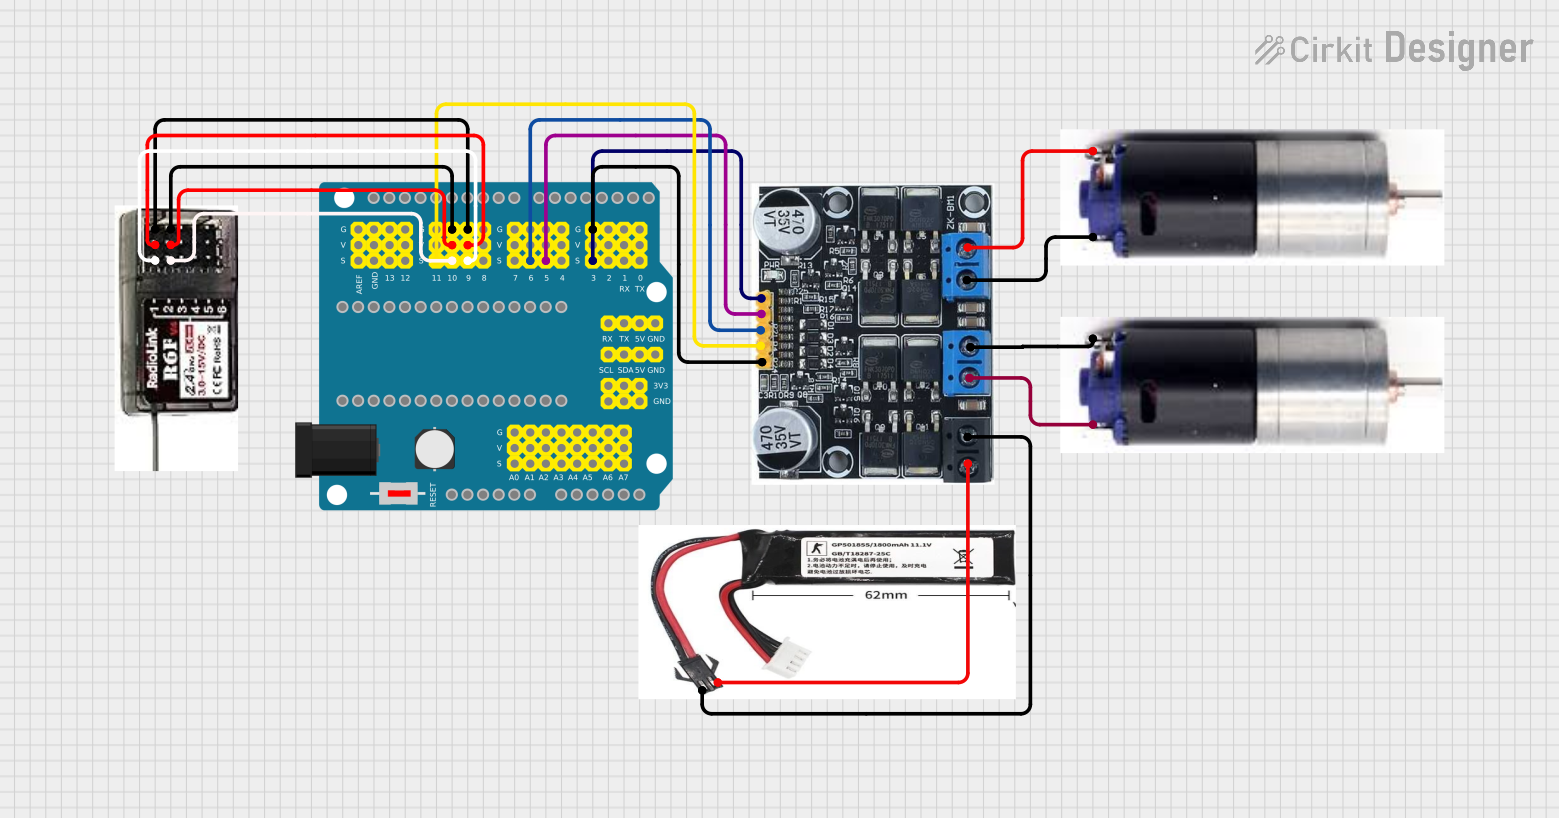
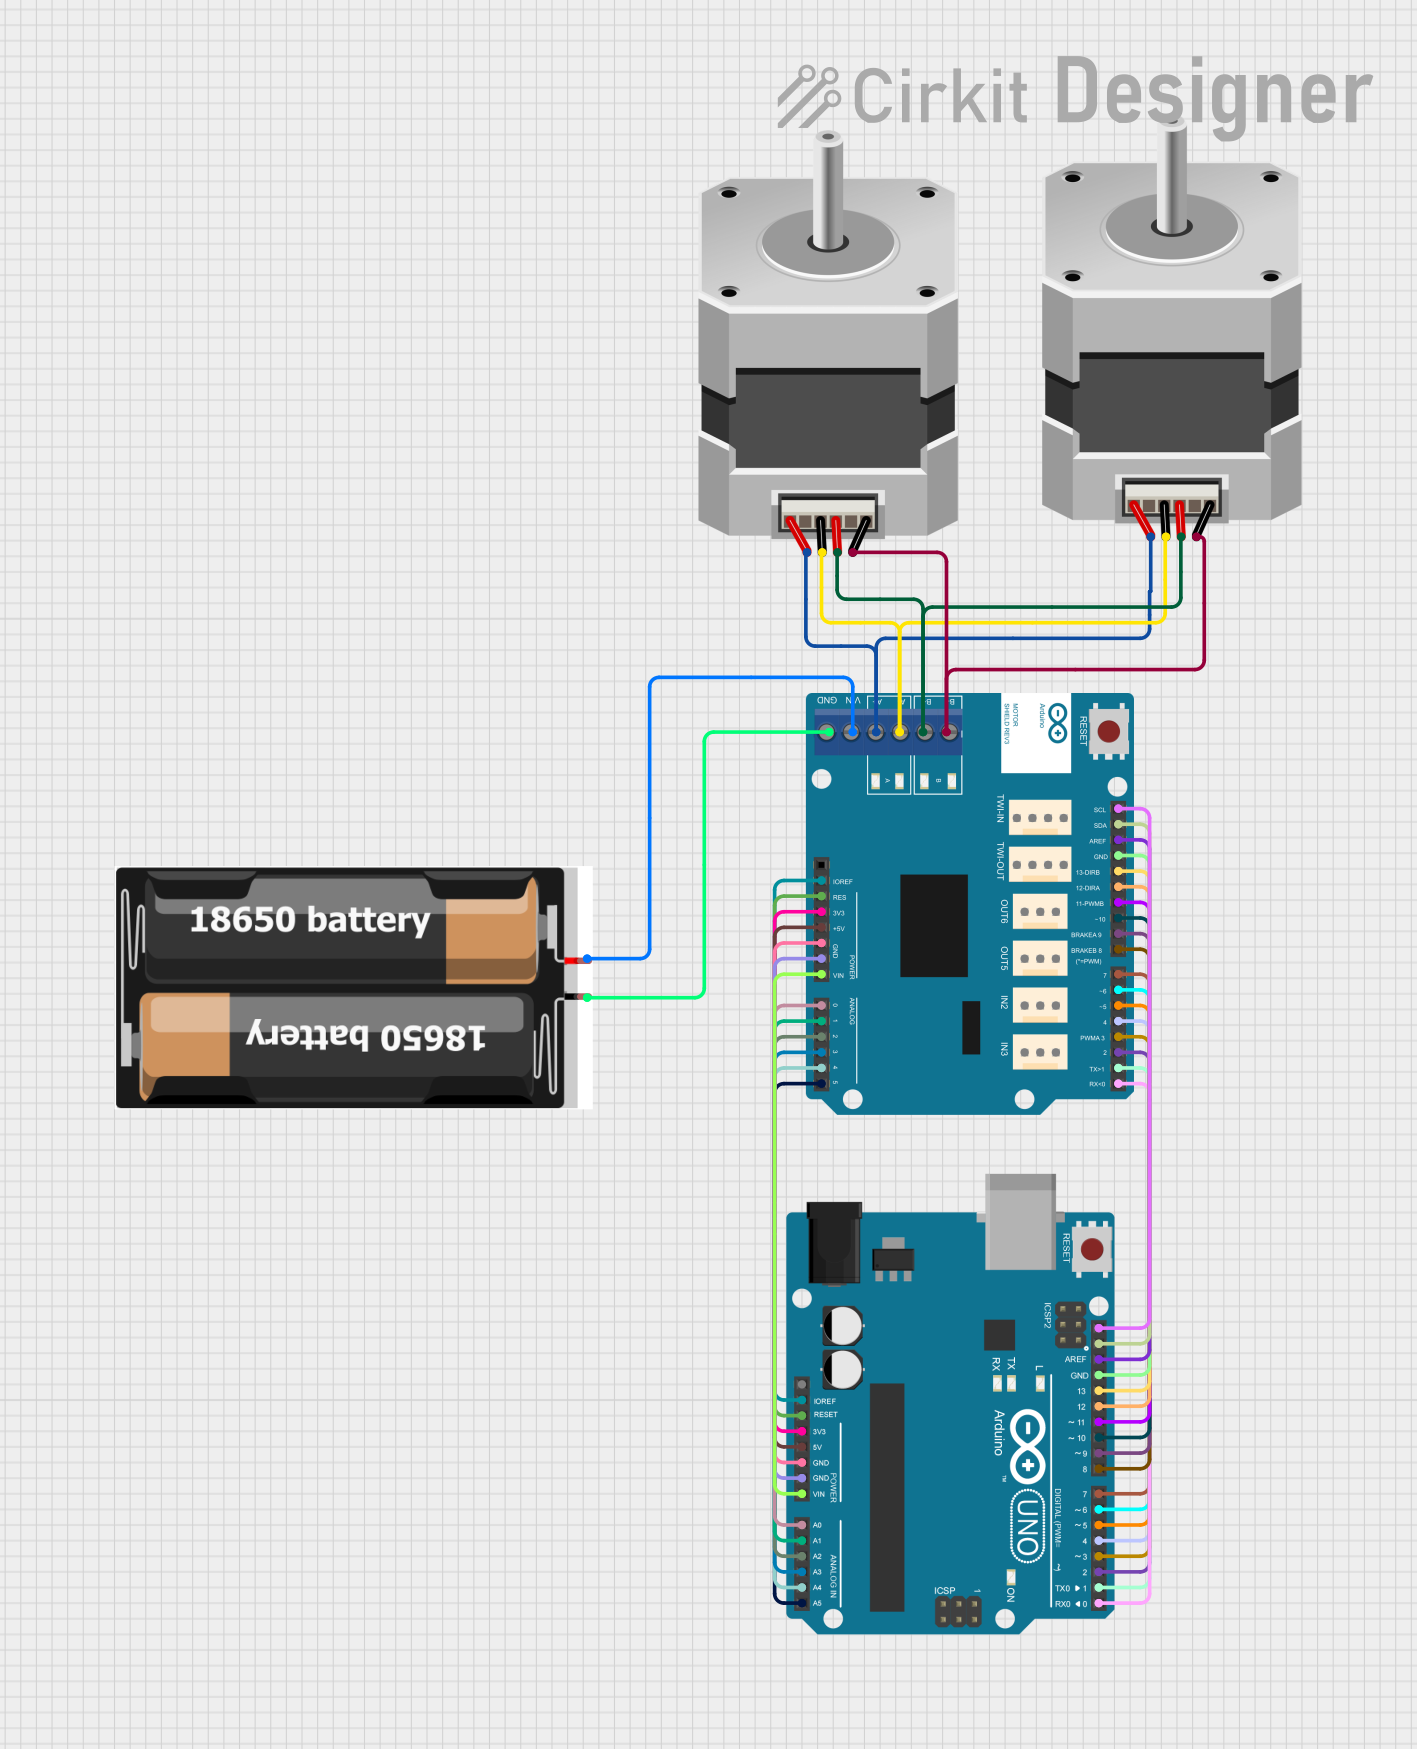
Explore Projects Built with Battery Shield
Common Applications and Use Cases
- Portable IoT devices
- Robotics and automation projects
- Wearable electronics
- Backup power for microcontroller-based systems
- Prototyping battery-powered circuits
Technical Specifications
The following table outlines the key technical details of the DM-12 Battery Shield:
| Specification | Details |
|---|---|
| Input Voltage Range | 3.7V to 4.2V (Li-ion/LiPo battery) |
| Output Voltage | 5V (regulated) |
| Maximum Output Current | 1A |
| Charging Input Voltage | 5V (via micro-USB port) |
| Charging Current | 500mA |
| Battery Type Supported | Single-cell Li-ion/LiPo |
| Dimensions | 55mm x 30mm x 12mm |
| Weight | 15g |
Pin Configuration and Descriptions
The DM-12 Battery Shield features the following pins and connectors:
| Pin/Connector | Description |
|---|---|
| VIN | Input voltage pin for external power supply (optional, 5V recommended). |
| GND | Ground connection. |
| 5V | Regulated 5V output for powering external devices or microcontrollers. |
| BAT+ | Positive terminal for connecting the battery. |
| BAT- | Negative terminal for connecting the battery. |
| CHG | Charging status indicator pin (active LOW when charging). |
| PWR | Power status indicator pin (active HIGH when power is available). |
| Micro-USB Port | Used for charging the connected battery via a standard 5V USB power source. |
Usage Instructions
How to Use the DM-12 Battery Shield in a Circuit
- Connect the Battery: Attach a single-cell Li-ion or LiPo battery to the BAT+ and BAT- terminals. Ensure correct polarity to avoid damage.
- Power the Shield:
- Option 1: Use the micro-USB port to charge the battery and power the shield simultaneously.
- Option 2: Supply 5V to the VIN pin for direct power input.
- Connect to Your Circuit: Use the 5V and GND pins to power your microcontroller or other devices.
- Monitor Status: Use the CHG and PWR pins to monitor charging and power status, respectively.
Important Considerations and Best Practices
- Battery Compatibility: Only use single-cell Li-ion or LiPo batteries with a nominal voltage of 3.7V.
- Heat Management: Avoid operating the shield in high-temperature environments, as the charging circuit may generate heat.
- Short Circuit Protection: Ensure proper wiring to prevent short circuits, which could damage the shield or connected devices.
- Charging Safety: Do not leave the battery charging unattended for extended periods.
Example: Using the DM-12 Battery Shield with an Arduino UNO
Below is an example of how to connect the DM-12 Battery Shield to an Arduino UNO and monitor the power status:
Circuit Connections
- Connect the 5V pin of the Battery Shield to the 5V pin of the Arduino UNO.
- Connect the GND pin of the Battery Shield to the GND pin of the Arduino UNO.
- Optionally, connect the PWR pin of the Battery Shield to a digital input pin on the Arduino UNO to monitor power status.
Arduino Code Example
// Example code to monitor the power status of the DM-12 Battery Shield
const int powerStatusPin = 7; // Pin connected to the PWR pin of the Battery Shield
const int ledPin = 13;        // Built-in LED on Arduino UNO

void setup() {
  pinMode(powerStatusPin, INPUT); // Set power status pin as input
  pinMode(ledPin, OUTPUT);        // Set LED pin as output
  Serial.begin(9600);             // Initialize serial communication
}

void loop() {
  int powerStatus = digitalRead(powerStatusPin); // Read power status
  if (powerStatus == HIGH) {
    digitalWrite(ledPin, HIGH); // Turn on LED if power is available
    Serial.println("Power is available.");
  } else {
    digitalWrite(ledPin, LOW);  // Turn off LED if no power
    Serial.println("No power available.");
  }
  delay(1000); // Wait for 1 second before checking again
}
Troubleshooting and FAQs
Common Issues and Solutions
Battery Not Charging
- Cause: Incorrect battery connection or damaged battery.
- Solution: Verify the battery polarity and ensure the battery is functional.
No Output Voltage
- Cause: Battery is depleted or not connected.
- Solution: Charge the battery or check the connection to the BAT+ and BAT- terminals.
Overheating During Charging
- Cause: Prolonged charging or high ambient temperature.
- Solution: Allow the shield to cool down and ensure proper ventilation.
Microcontroller Not Powering On
- Cause: Insufficient current or loose connections.
- Solution: Check the wiring and ensure the shield can supply the required current.
FAQs
Q: Can I use a different type of battery with the DM-12 Battery Shield?
A: No, the shield is designed specifically for single-cell Li-ion or LiPo batteries.Q: How do I know when the battery is fully charged?
A: The CHG pin will go HIGH when the battery is fully charged.Q: Can I use the shield without a battery?
A: Yes, you can power the shield directly via the VIN pin or micro-USB port.Q: Is the shield compatible with other microcontrollers besides Arduino?
A: Yes, the shield can be used with any microcontroller that operates at 5V.
This concludes the documentation for the DM-12 Battery Shield.