
How to Use Particle Electron U260: Examples, Pinouts, and Specs
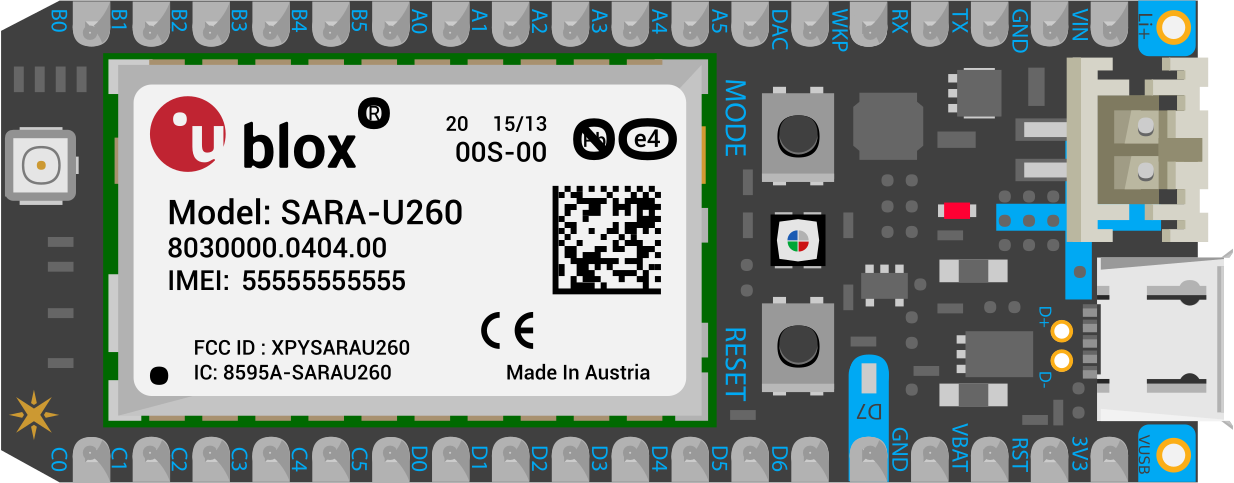
 Design with Particle Electron U260 in Cirkit Designer
Introduction
The Particle Electron U260 is a compact, high-performance single-board computer designed specifically for Internet of Things (IoT) applications. Manufactured by Particle, this device features a powerful ARM Cortex-M3 microcontroller, integrated cellular connectivity (2G/3G), and support for Particle's cloud-based IoT platform. The Electron U260 is ideal for edge computing, remote monitoring, and smart device integration, offering developers a reliable and scalable solution for IoT deployments.
Explore Projects Built with Particle Electron U260
 Open Project in Cirkit Designer
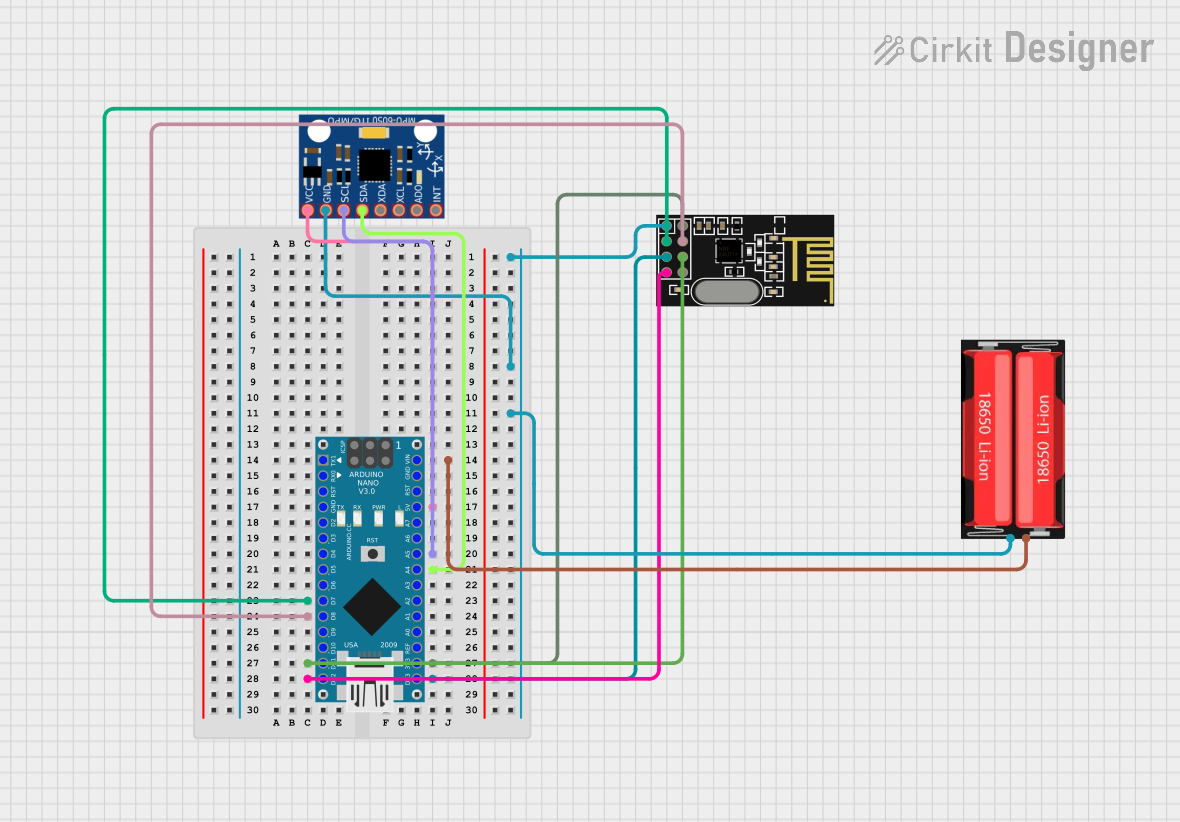 Open Project in Cirkit Designer
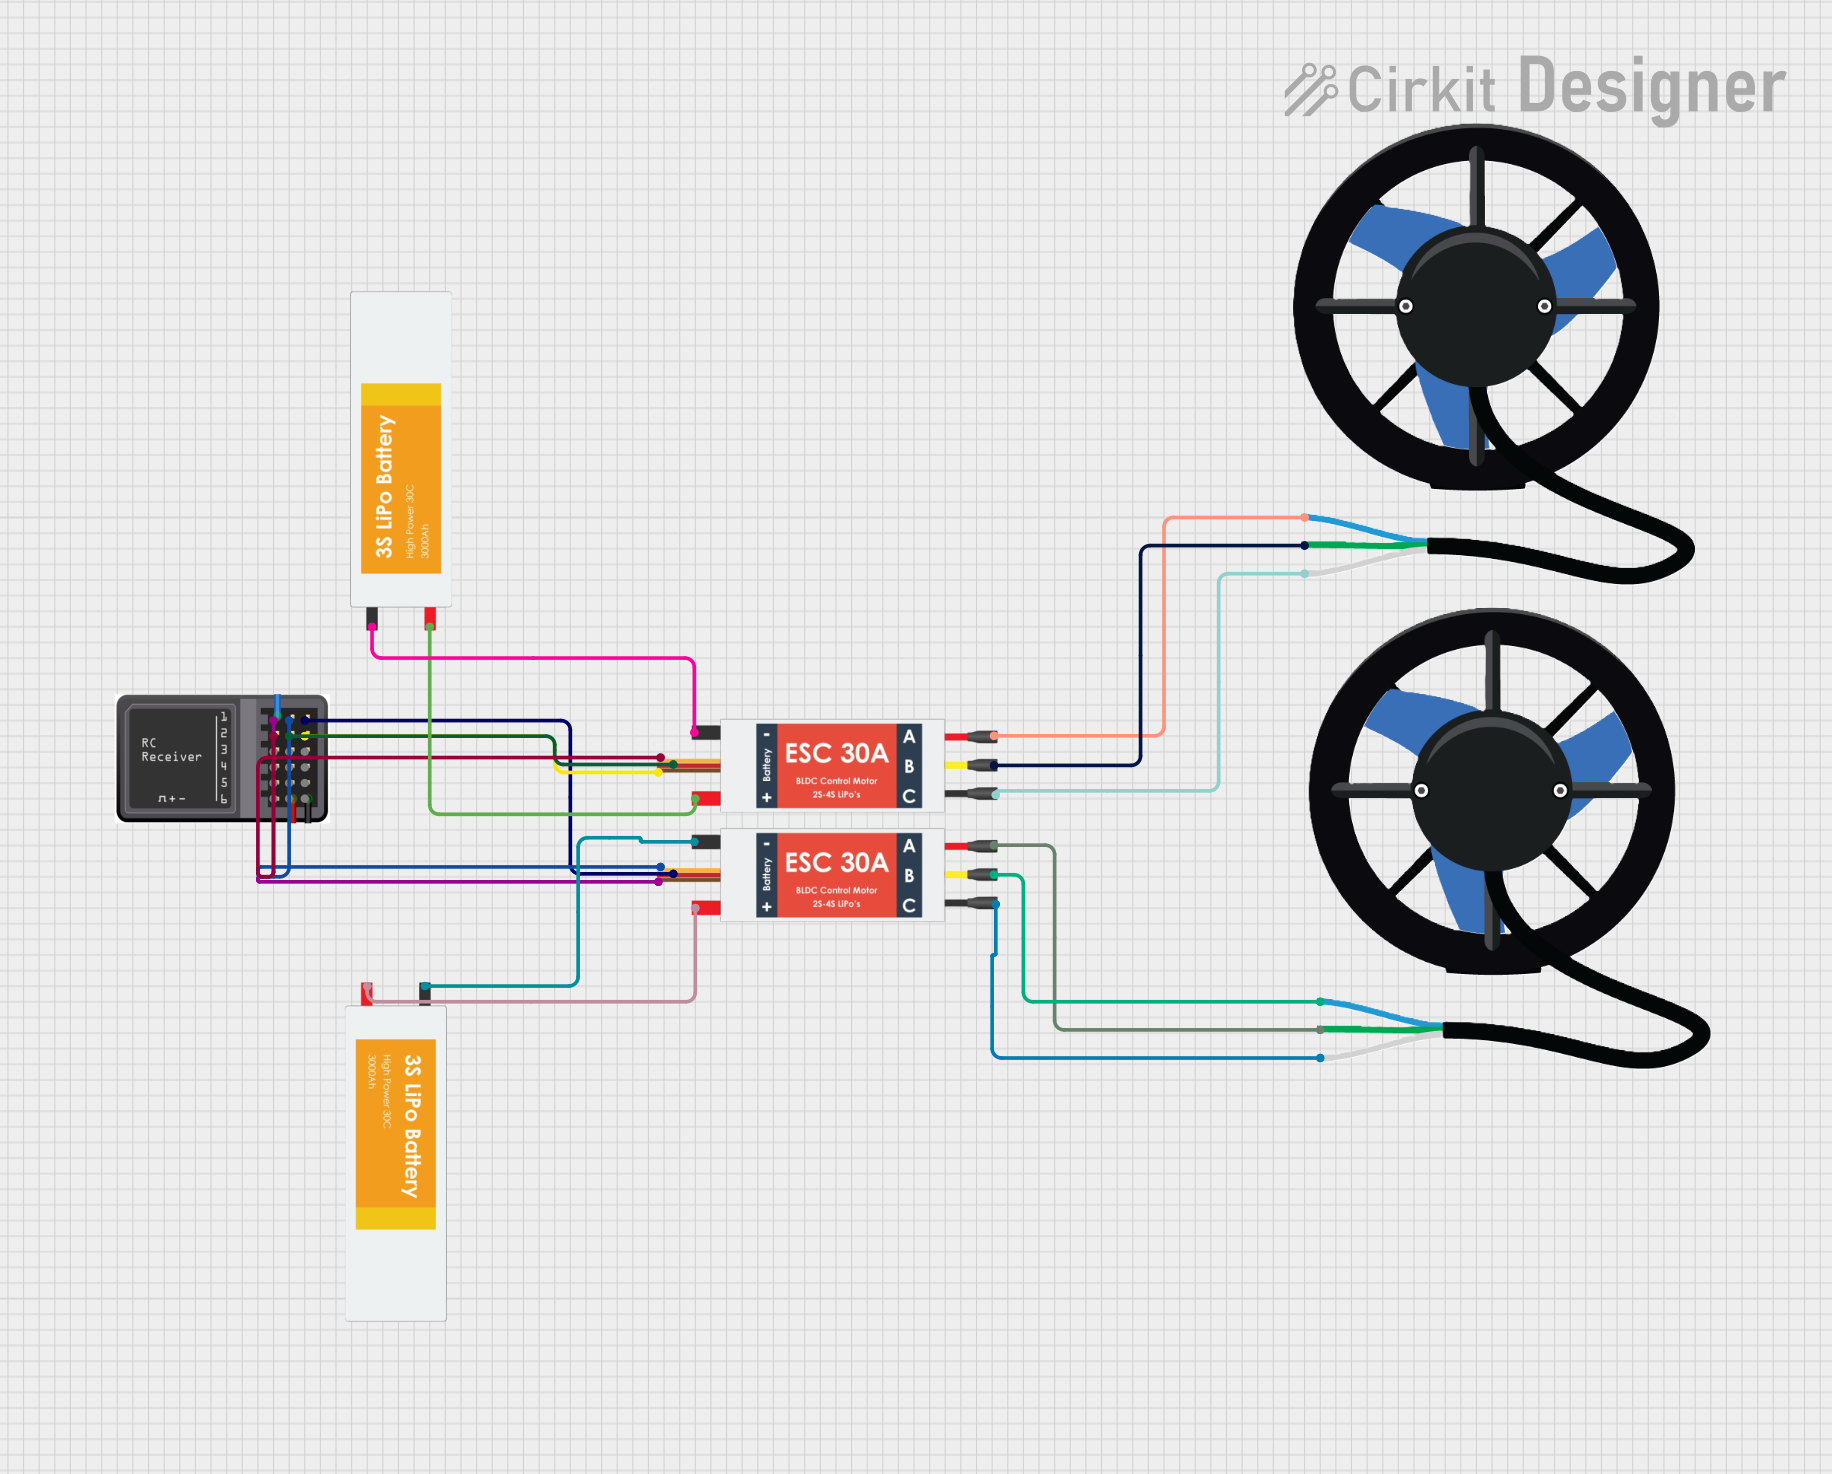 Open Project in Cirkit Designer
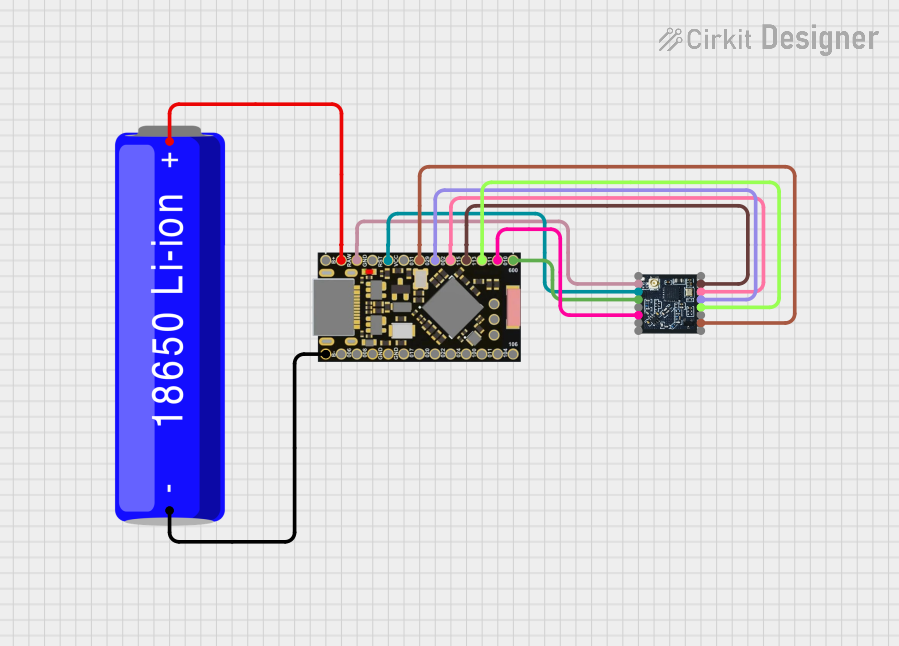 Open Project in Cirkit Designer
Explore Projects Built with Particle Electron U260
Open Project in Cirkit DesignerOpen Project in Cirkit DesignerOpen Project in Cirkit DesignerOpen Project in Cirkit DesignerCommon Applications and Use Cases
- Remote environmental monitoring (e.g., weather stations, agriculture sensors)
- Asset tracking and fleet management
- Industrial IoT (IIoT) applications
- Smart home and building automation
- Prototyping and development of cellular IoT devices
Technical Specifications
Key Technical Details
| Specification | Value |
|---|---|
| Microcontroller | ARM Cortex-M3 (STM32F205) |
| Cellular Connectivity | 2G/3G (U260 module for global coverage) |
| Operating Voltage | 3.6V to 4.2V |
| Input Voltage Range | 3.9V to 12V (via VIN pin) |
| Flash Memory | 1MB |
| RAM | 128KB |
| Power Consumption (Idle) | ~800µA |
| Power Consumption (Active) | ~180mA (varies with cellular activity) |
| Dimensions | 37mm x 57mm |
| Operating Temperature Range | -20°C to +60°C |
Pin Configuration and Descriptions
The Particle Electron U260 features a 24-pin header for interfacing with external components. Below is the pinout and description:
| Pin Number | Pin Name | Description |
|---|---|---|
| 1 | VIN | Input voltage (3.9V to 12V) |
| 2 | GND | Ground |
| 3 | 3V3 | Regulated 3.3V output |
| 4 | TX | UART Transmit (Serial communication) |
| 5 | RX | UART Receive (Serial communication) |
| 6 | D0 | Digital I/O (GPIO) |
| 7 | D1 | Digital I/O (GPIO) |
| 8 | D2 | Digital I/O (GPIO) |
| 9 | D3 | Digital I/O (PWM capable) |
| 10 | D4 | Digital I/O (PWM capable) |
| 11 | D5 | Digital I/O (PWM capable) |
| 12 | D6 | Digital I/O (PWM capable) |
| 13 | D7 | Digital I/O (GPIO, LED indicator) |
| 14 | A0 | Analog Input (ADC) |
| 15 | A1 | Analog Input (ADC) |
| 16 | A2 | Analog Input (ADC) |
| 17 | A3 | Analog Input (ADC) |
| 18 | A4 | Analog Input (ADC) |
| 19 | A5 | Analog Input (ADC) |
| 20 | RESET | Reset pin |
| 21 | WKP | Wake-up pin (for low-power modes) |
| 22 | BATT | Battery input (3.6V to 4.2V) |
| 23 | USB+ | USB D+ line for data communication |
| 24 | USB- | USB D- line for data communication |
Usage Instructions
How to Use the Particle Electron U260 in a Circuit
Powering the Device:
- Connect a power source to the VIN pin (3.9V to 12V) or use a Li-Po battery via the BATT pin.
- Ensure the power source is stable and within the specified voltage range to avoid damage.
Connecting to the Cloud:
- Set up a Particle account and claim your Electron U260 using the Particle Web IDE or Particle CLI.
- Insert the included SIM card and activate it via the Particle platform.
Programming the Electron:
- Use the Particle Web IDE, Particle CLI, or Particle Workbench (VS Code extension) to write and upload firmware.
- The Electron supports C++-based firmware development.
Interfacing with Sensors and Actuators:
- Use the GPIO pins (D0–D7) for digital input/output.
- Connect analog sensors to the ADC pins (A0–A5) for reading analog signals.
- Use the UART (TX/RX) for serial communication with external devices.
Important Considerations and Best Practices
- Power Management: Use the WKP pin to wake the device from low-power sleep modes to conserve battery life.
- Antenna Placement: Ensure the cellular antenna is placed away from noisy components to maintain signal quality.
- Firmware Updates: Regularly update the firmware to benefit from the latest features and security patches.
- Debugging: Use the USB interface for debugging and serial monitoring during development.
Example Code for Arduino-Compatible Usage
Below is an example of how to read an analog sensor value and publish it to the Particle Cloud:
// Include the Particle library
#include "Particle.h"

// Define the analog pin for the sensor
#define SENSOR_PIN A0

// Variable to store the sensor value
int sensorValue = 0;

void setup() {
    // Initialize serial communication for debugging
    Serial.begin(9600);

    // Wait for the Particle Cloud connection
    waitFor(Particle.connected, 10000);

    // Log a message to the serial monitor
    Serial.println("Particle Electron U260 is ready!");
}

void loop() {
    // Read the analog value from the sensor
    sensorValue = analogRead(SENSOR_PIN);

    // Publish the sensor value to the Particle Cloud
    Particle.publish("sensorValue", String(sensorValue), PRIVATE);

    // Log the sensor value to the serial monitor
    Serial.print("Sensor Value: ");
    Serial.println(sensorValue);

    // Wait for 1 second before the next reading
    delay(1000);
}
Troubleshooting and FAQs
Common Issues and Solutions
Device Not Connecting to the Cloud:
- Ensure the SIM card is properly inserted and activated.
- Check the cellular signal strength and move to an area with better coverage.
- Verify that the firmware is up-to-date.
Power Issues:
- Confirm that the input voltage is within the specified range (3.9V to 12V).
- If using a battery, ensure it is charged and connected to the BATT pin.
Firmware Upload Fails:
- Check the USB cable and port for proper connection.
- Ensure the Particle CLI or Web IDE is configured correctly.
- Put the Electron into DFU mode (hold MODE and tap RESET) and retry.
Sensor Readings Are Inaccurate:
- Verify the sensor connections and ensure proper grounding.
- Use appropriate pull-up or pull-down resistors if required by the sensor.
FAQs
Q: Can I use a third-party SIM card with the Electron U260?
A: Yes, the Electron U260 supports third-party SIM cards, but you will need to configure the APN settings manually.
Q: What is the maximum range of the cellular connection?
A: The range depends on the cellular network coverage in your area. The U260 supports 2G/3G networks for global connectivity.
Q: How do I monitor power consumption?
A: Use the FuelGauge library provided by Particle to monitor battery voltage and charge levels programmatically.
Q: Can I use the Electron U260 without connecting to the Particle Cloud?
A: Yes, you can use the Electron in standalone mode, but you will lose access to Particle's cloud features like OTA updates and event publishing.