
Cirkit Designer
Your all-in-one circuit design IDE
Home /
Component Documentation
How to Use XRP: Examples, Pinouts, and Specs
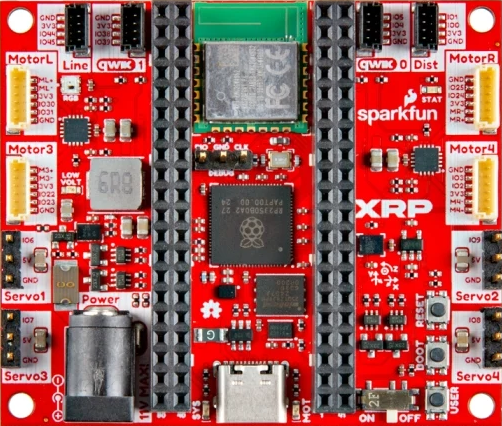
 Design with XRP in Cirkit Designer
Introduction
- XRP is a digital payment protocol and cryptocurrency developed by SparkFun. It is designed to enable fast, secure, and low-cost international money transfers. XRP operates on a decentralized network, ensuring high transaction speeds and reliability.
- Common applications of XRP include:
- Cross-border payments and remittances
- Decentralized financial systems
- Integration into payment gateways and financial institutions
- Use as a bridge currency for exchanging other cryptocurrencies or fiat currencies
Explore Projects Built with XRP
Raspberry Pi 5 RFID Access Control System with LCD Feedback and Dual Motor Control
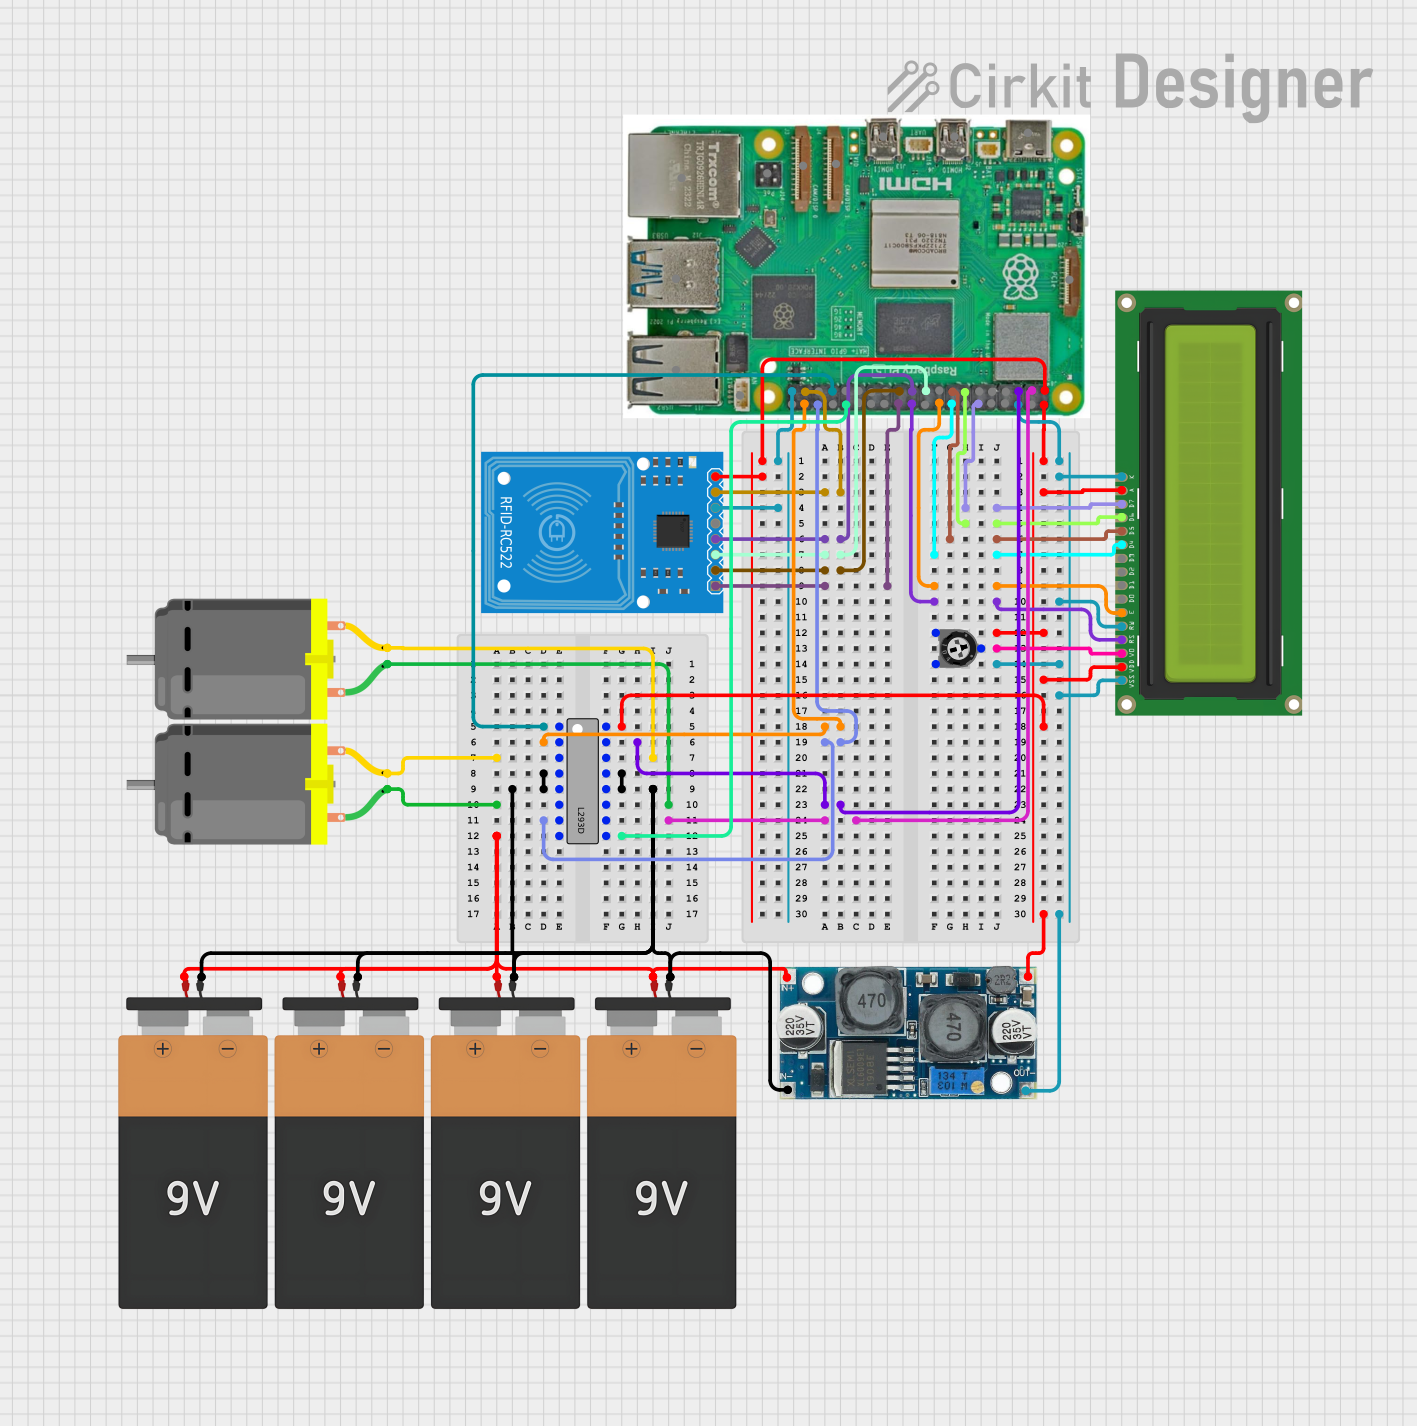
This circuit features a Raspberry Pi 5 as the central controller, interfaced with an RFID-RC522 module for RFID reading capabilities and a 16x2 LCD display for output visualization. The Raspberry Pi controls two DC motors via an L293D motor driver, with speed or direction potentially adjusted by a trimmer potentiometer. Power regulation is managed by an XL6009 voltage regulator, and multiple 9V batteries are used to supply power to the system.
Open Project in Cirkit DesignerArduino UNO RFID-Activated AC Light Control
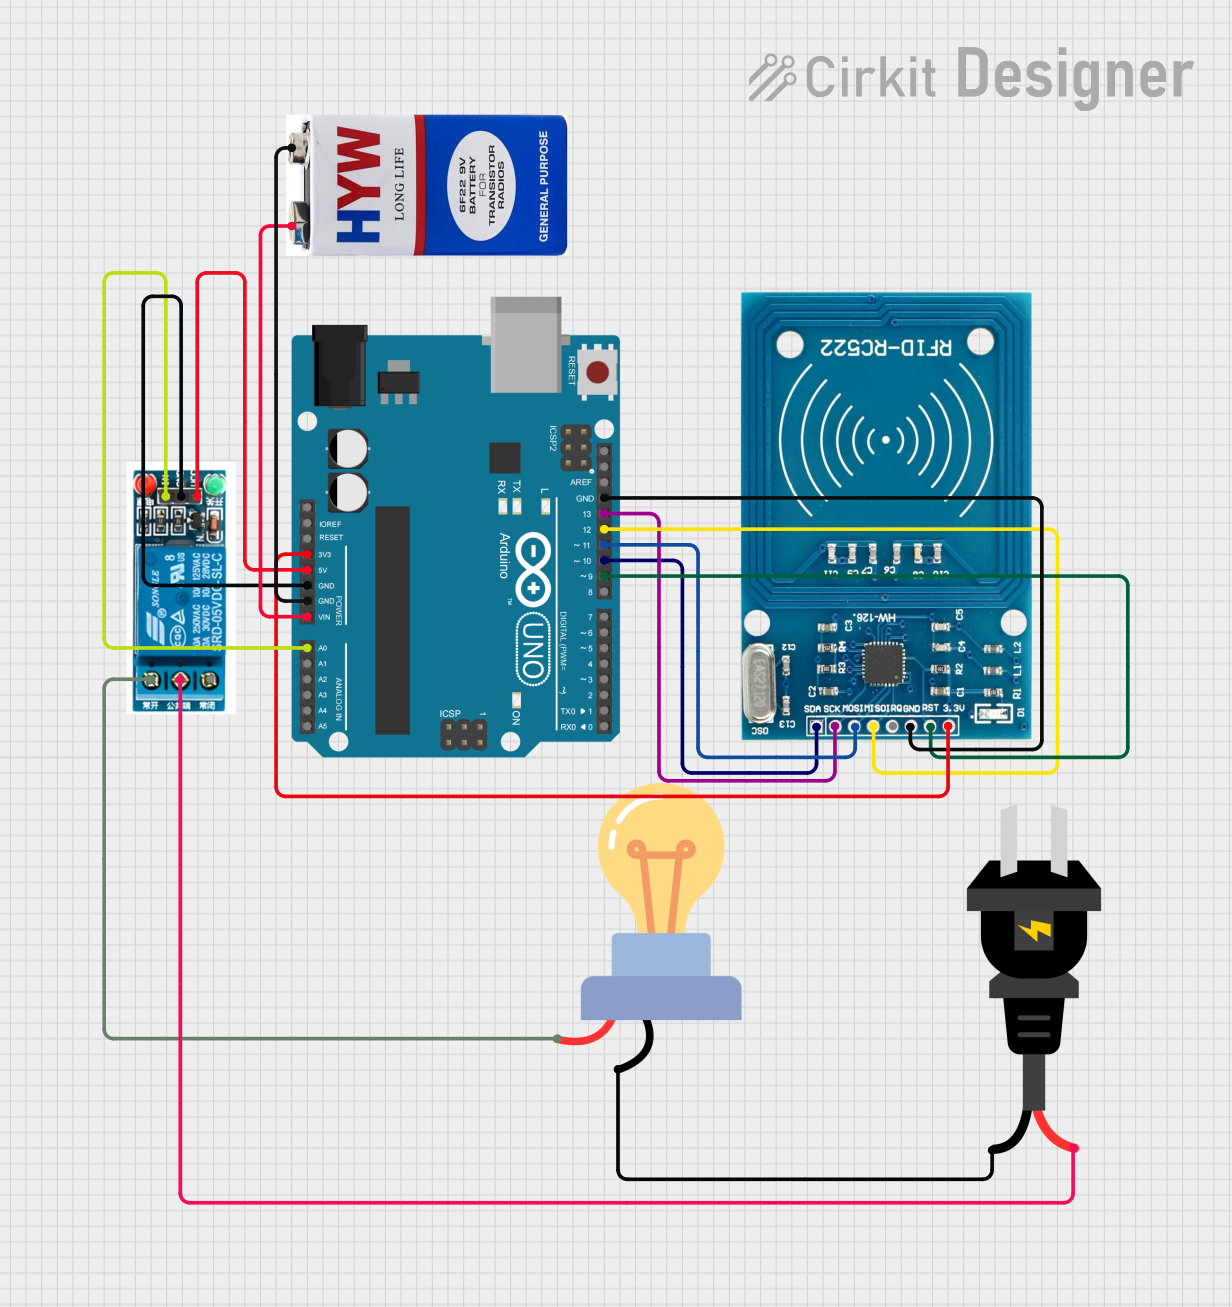
This circuit features an Arduino UNO connected to an RFID-RC522 module for RFID communication and a 5V relay to control an AC-powered LED bulb. The Arduino is powered by a 9V battery and interfaces with the RFID module via SPI to read RFID tags, and it can switch the LED bulb on or off by activating the relay. The relay's switching is likely controlled by an Arduino digital pin, and the RFID module is powered by the Arduino's 3.3V output.
Open Project in Cirkit DesignerSatellite-Based Timing and Navigation System with SDR and Atomic Clock Synchronization

This circuit appears to be a complex system involving power supply management, GPS and timing synchronization, and data communication. It includes a SI-TEX G1 Satellite Compass for GPS data, an XHTF1021 Atomic Rubidium Clock for precise timing, and Ettus USRP B200 units for software-defined radio communication. Power is supplied through various SMPS units and distributed via terminal blocks and DC jacks. Data communication is facilitated by Beelink MINI S12 N95 computers, RS232 splitters, and a 1000BASE-T Media Converter for network connectivity. RF Directional Couplers are used to interface antennas with the USRP units, and the entire system is likely contained within cases for protection and organization.
Open Project in Cirkit DesignerRaspberry Pi 4B-based Payment Kiosk with Coin and Bill Acceptors
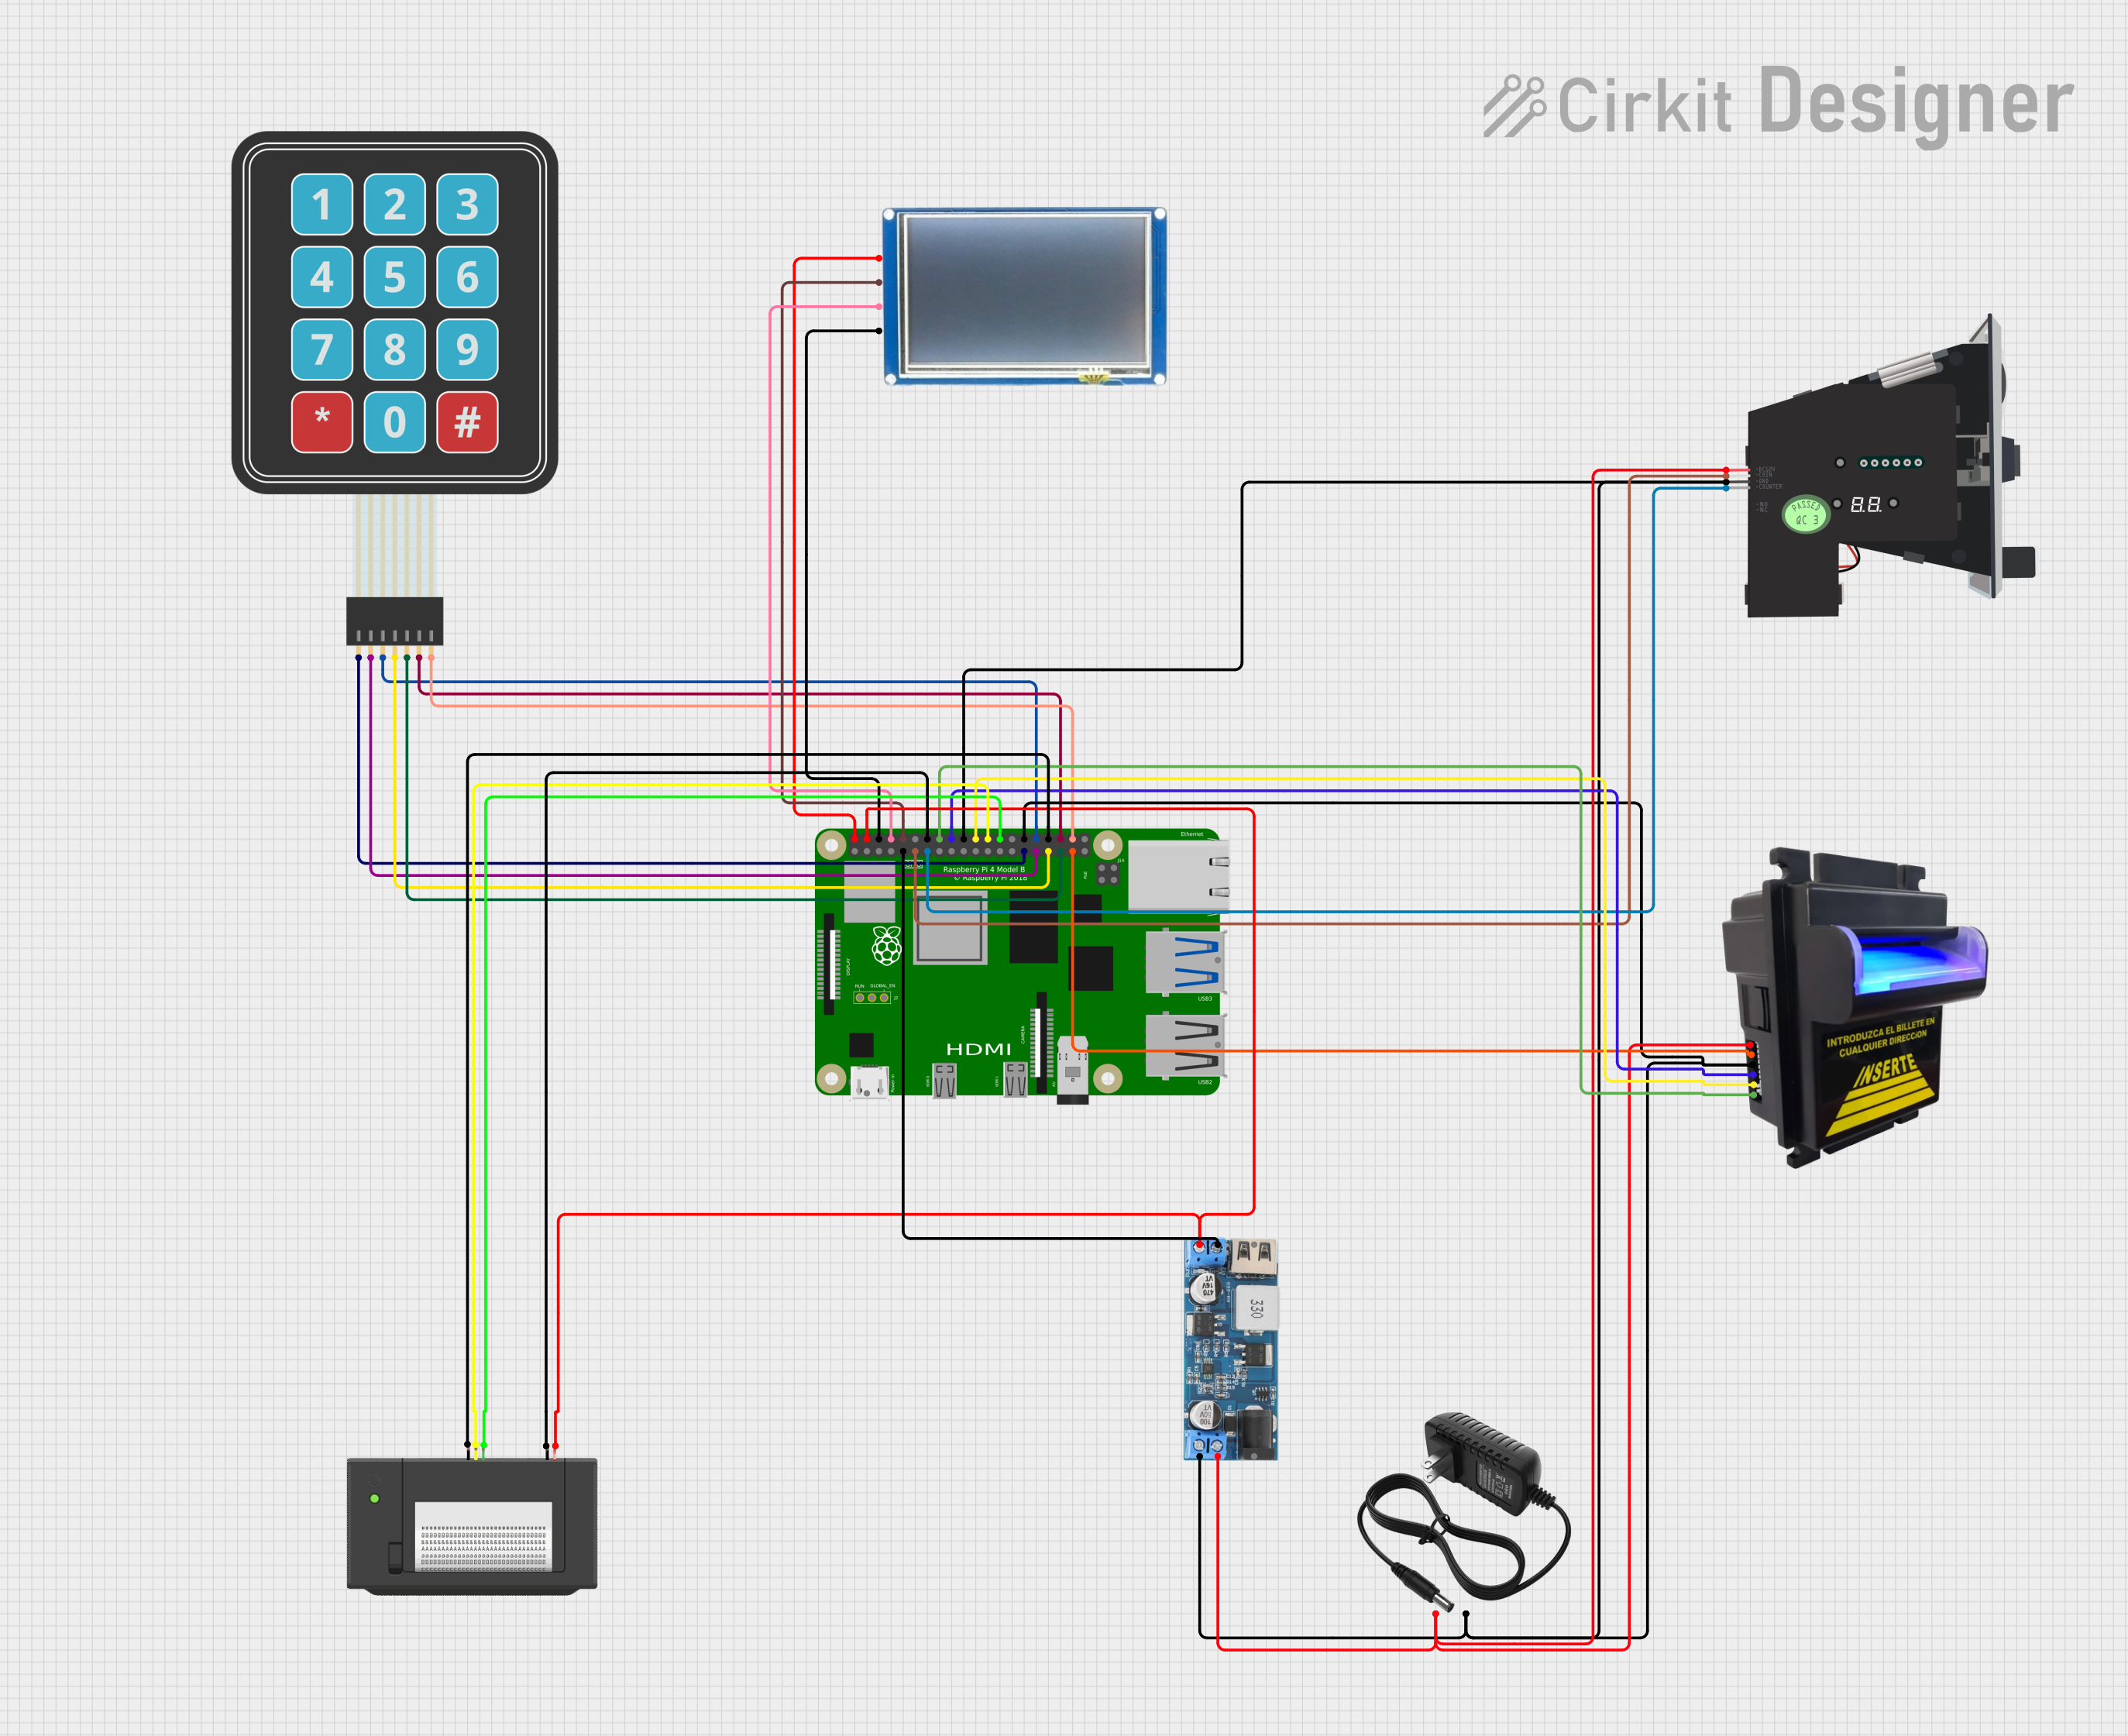
This circuit features a Raspberry Pi 4B as the central controller, interfaced with a variety of peripherals for a payment and display system. It includes a bill acceptor and multi coin acceptor for monetary input, a thermal printer for receipts, and a touch display for user interaction. The circuit also incorporates a 12V to 5V step-down converter to power the 5V components and a membrane matrix keypad for additional input options.
Open Project in Cirkit DesignerExplore Projects Built with XRP
Raspberry Pi 5 RFID Access Control System with LCD Feedback and Dual Motor Control
This circuit features a Raspberry Pi 5 as the central controller, interfaced with an RFID-RC522 module for RFID reading capabilities and a 16x2 LCD display for output visualization. The Raspberry Pi controls two DC motors via an L293D motor driver, with speed or direction potentially adjusted by a trimmer potentiometer. Power regulation is managed by an XL6009 voltage regulator, and multiple 9V batteries are used to supply power to the system.
Open Project in Cirkit DesignerArduino UNO RFID-Activated AC Light Control
This circuit features an Arduino UNO connected to an RFID-RC522 module for RFID communication and a 5V relay to control an AC-powered LED bulb. The Arduino is powered by a 9V battery and interfaces with the RFID module via SPI to read RFID tags, and it can switch the LED bulb on or off by activating the relay. The relay's switching is likely controlled by an Arduino digital pin, and the RFID module is powered by the Arduino's 3.3V output.
Open Project in Cirkit DesignerSatellite-Based Timing and Navigation System with SDR and Atomic Clock Synchronization
This circuit appears to be a complex system involving power supply management, GPS and timing synchronization, and data communication. It includes a SI-TEX G1 Satellite Compass for GPS data, an XHTF1021 Atomic Rubidium Clock for precise timing, and Ettus USRP B200 units for software-defined radio communication. Power is supplied through various SMPS units and distributed via terminal blocks and DC jacks. Data communication is facilitated by Beelink MINI S12 N95 computers, RS232 splitters, and a 1000BASE-T Media Converter for network connectivity. RF Directional Couplers are used to interface antennas with the USRP units, and the entire system is likely contained within cases for protection and organization.
Open Project in Cirkit DesignerRaspberry Pi 4B-based Payment Kiosk with Coin and Bill Acceptors
This circuit features a Raspberry Pi 4B as the central controller, interfaced with a variety of peripherals for a payment and display system. It includes a bill acceptor and multi coin acceptor for monetary input, a thermal printer for receipts, and a touch display for user interaction. The circuit also incorporates a 12V to 5V step-down converter to power the 5V components and a membrane matrix keypad for additional input options.
Open Project in Cirkit DesignerTechnical Specifications
- Type: Digital cryptocurrency and payment protocol
- Transaction Speed: ~3-5 seconds per transaction
- Transaction Cost: Typically less than $0.01 per transaction
- Consensus Mechanism: XRP Ledger Consensus Protocol (not Proof of Work or Proof of Stake)
- Maximum Supply: 100 billion XRP (pre-mined)
- Network: Decentralized ledger with validators
- Use Case: Primarily for financial institutions and payment providers
Pin Configuration and Descriptions
Since XRP is a digital protocol and not a physical electronic component, it does not have a pin configuration. However, it interacts with APIs and software systems. Below is a table summarizing key API endpoints for XRP integration:
| API Endpoint | Description |
|---|---|
/v1/accounts/{address} |
Retrieves account information for a specific XRP address |
/v1/transactions |
Submits a new transaction to the XRP Ledger |
/v1/ledger |
Fetches details about the current state of the XRP Ledger |
/v1/payment_paths |
Finds payment paths and quotes for transferring XRP or other currencies |
Usage Instructions
How to Use XRP in a Payment System
- Set Up an XRP Wallet:
- Create an XRP wallet using a trusted wallet provider or software.
- Securely store your wallet's private key and recovery phrase.
- Connect to the XRP Ledger:
- Use the XRP Ledger API or a third-party library (e.g., Ripple-lib for JavaScript) to interact with the network.
- Send and Receive Payments:
- To send XRP, specify the recipient's wallet address and the amount to transfer.
- Ensure the recipient's wallet is activated (minimum balance of 10 XRP is required).
- Monitor Transactions:
- Use the
/v1/transactionsAPI endpoint to track the status of your transactions.
- Use the
Important Considerations and Best Practices
- Transaction Fees: Always ensure your wallet has enough XRP to cover transaction fees.
- Security: Use secure connections (e.g., HTTPS) when interacting with the XRP Ledger API.
- Activation Requirement: A minimum of 10 XRP is required to activate a new wallet address.
- Integration with Arduino: While XRP is not directly compatible with Arduino hardware, you can use an Arduino to interact with an XRP payment gateway via an internet connection. Below is an example of how to send a request to an XRP API using an Arduino with an Ethernet shield.
#include <SPI.h>
#include <Ethernet.h>

// Define the server and API endpoint
char server[] = "api.xrpledger.org"; // Replace with the actual XRP API server
String apiEndpoint = "/v1/accounts/{address}"; // Replace {address} with your XRP wallet address

// Initialize Ethernet client
EthernetClient client;

void setup() {
  // Start the Ethernet connection
  Ethernet.begin(mac, ip);
  Serial.begin(9600);

  // Wait for connection
  delay(1000);
  Serial.println("Connecting to XRP API...");

  // Connect to the server
  if (client.connect(server, 80)) {
    Serial.println("Connected to server");

    // Send HTTP GET request
    client.println("GET " + apiEndpoint + " HTTP/1.1");
    client.println("Host: " + String(server));
    client.println("Connection: close");
    client.println();
  } else {
    Serial.println("Connection failed");
  }
}

void loop() {
  // Read and print the server response
  while (client.available()) {
    char c = client.read();
    Serial.print(c);
  }

  // Disconnect when done
  if (!client.connected()) {
    Serial.println();
    Serial.println("Disconnecting...");
    client.stop();
    while (true);
  }
}
Notes:
- Replace
{address}in theapiEndpointvariable with your actual XRP wallet address. - Ensure your Arduino is connected to the internet via an Ethernet shield or Wi-Fi module.
Troubleshooting and FAQs
Common Issues
Transaction Fails or Is Delayed:
- Cause: Insufficient XRP balance to cover transaction fees or wallet activation.
- Solution: Ensure your wallet has at least 10 XRP for activation and additional XRP for fees.
Unable to Connect to XRP Ledger API:
- Cause: Incorrect API endpoint or network issues.
- Solution: Verify the API endpoint URL and ensure your device has internet access.
Wallet Address Not Recognized:
- Cause: Wallet address is not activated.
- Solution: Send at least 10 XRP to the wallet address to activate it.
FAQs
Q: Can I mine XRP?
- A: No, XRP is pre-mined with a total supply of 100 billion tokens.
Q: What is the minimum amount of XRP required to send a transaction?
- A: The minimum amount depends on the transaction fee, which is typically less than 0.01 XRP.
Q: Is XRP compatible with hardware wallets?
- A: Yes, XRP is supported by many hardware wallets, such as Ledger Nano S and Trezor.
Q: Can I use XRP for micropayments?
- A: Yes, XRP's low transaction fees make it ideal for micropayments.
By following this documentation, you can effectively integrate and utilize XRP in your financial systems or projects.