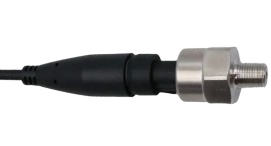
The Pressure Transducer (Manufacturer: Arduino, Part ID: Pressure Transducer) is a device designed to convert pressure into an electrical signal. This conversion enables the measurement and monitoring of pressure in a wide range of applications. The transducer is highly versatile and can be used in industrial automation, fluid dynamics, weather monitoring systems, and medical devices such as ventilators.
By providing accurate and reliable pressure readings, the Pressure Transducer is an essential component for systems requiring precise pressure monitoring and control.
Explore Projects Built with Pressure Tranducer
Use Cirkit Designer to design, explore, and prototype these projects online. Some projects support real-time simulation. Click "Open Project" to start designing instantly!
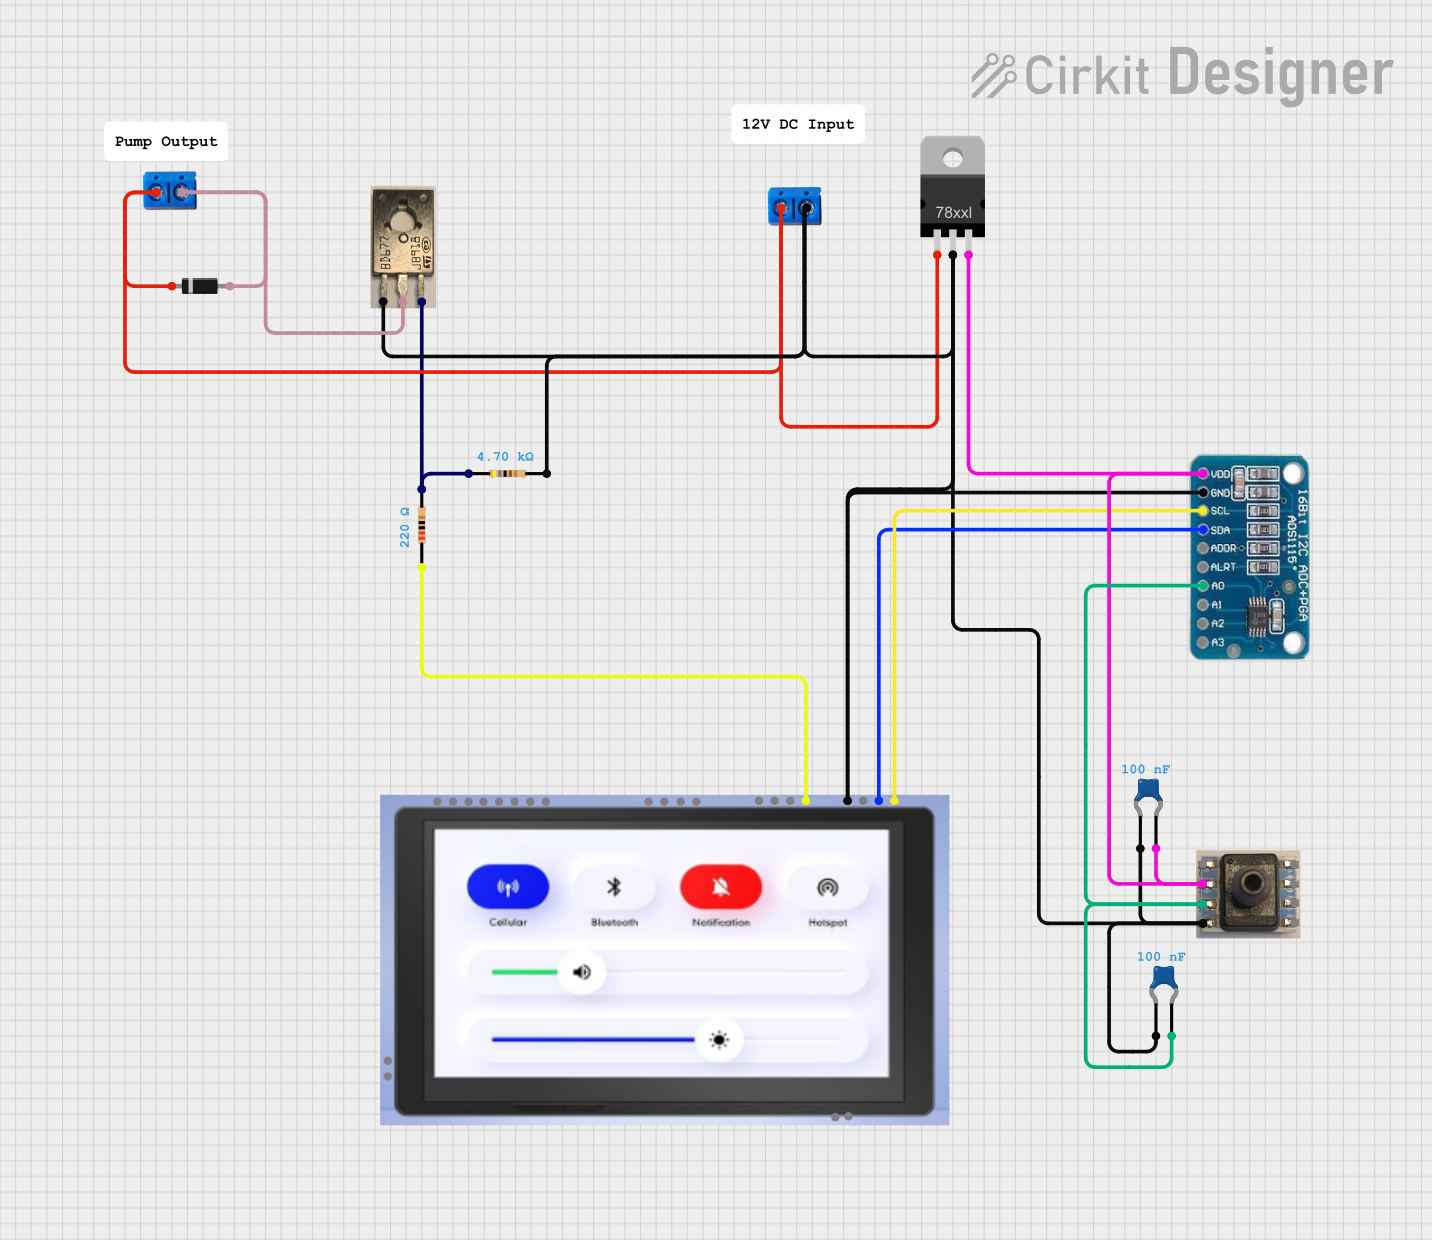
This circuit is designed to measure pressure using a transducer, convert the analog signal to digital with an ADS1115 ADC, and process and display the data on an ESP32 microcontroller with a 7-inch screen. It includes power regulation and filtering, as well as a Darlington transistor for load control.
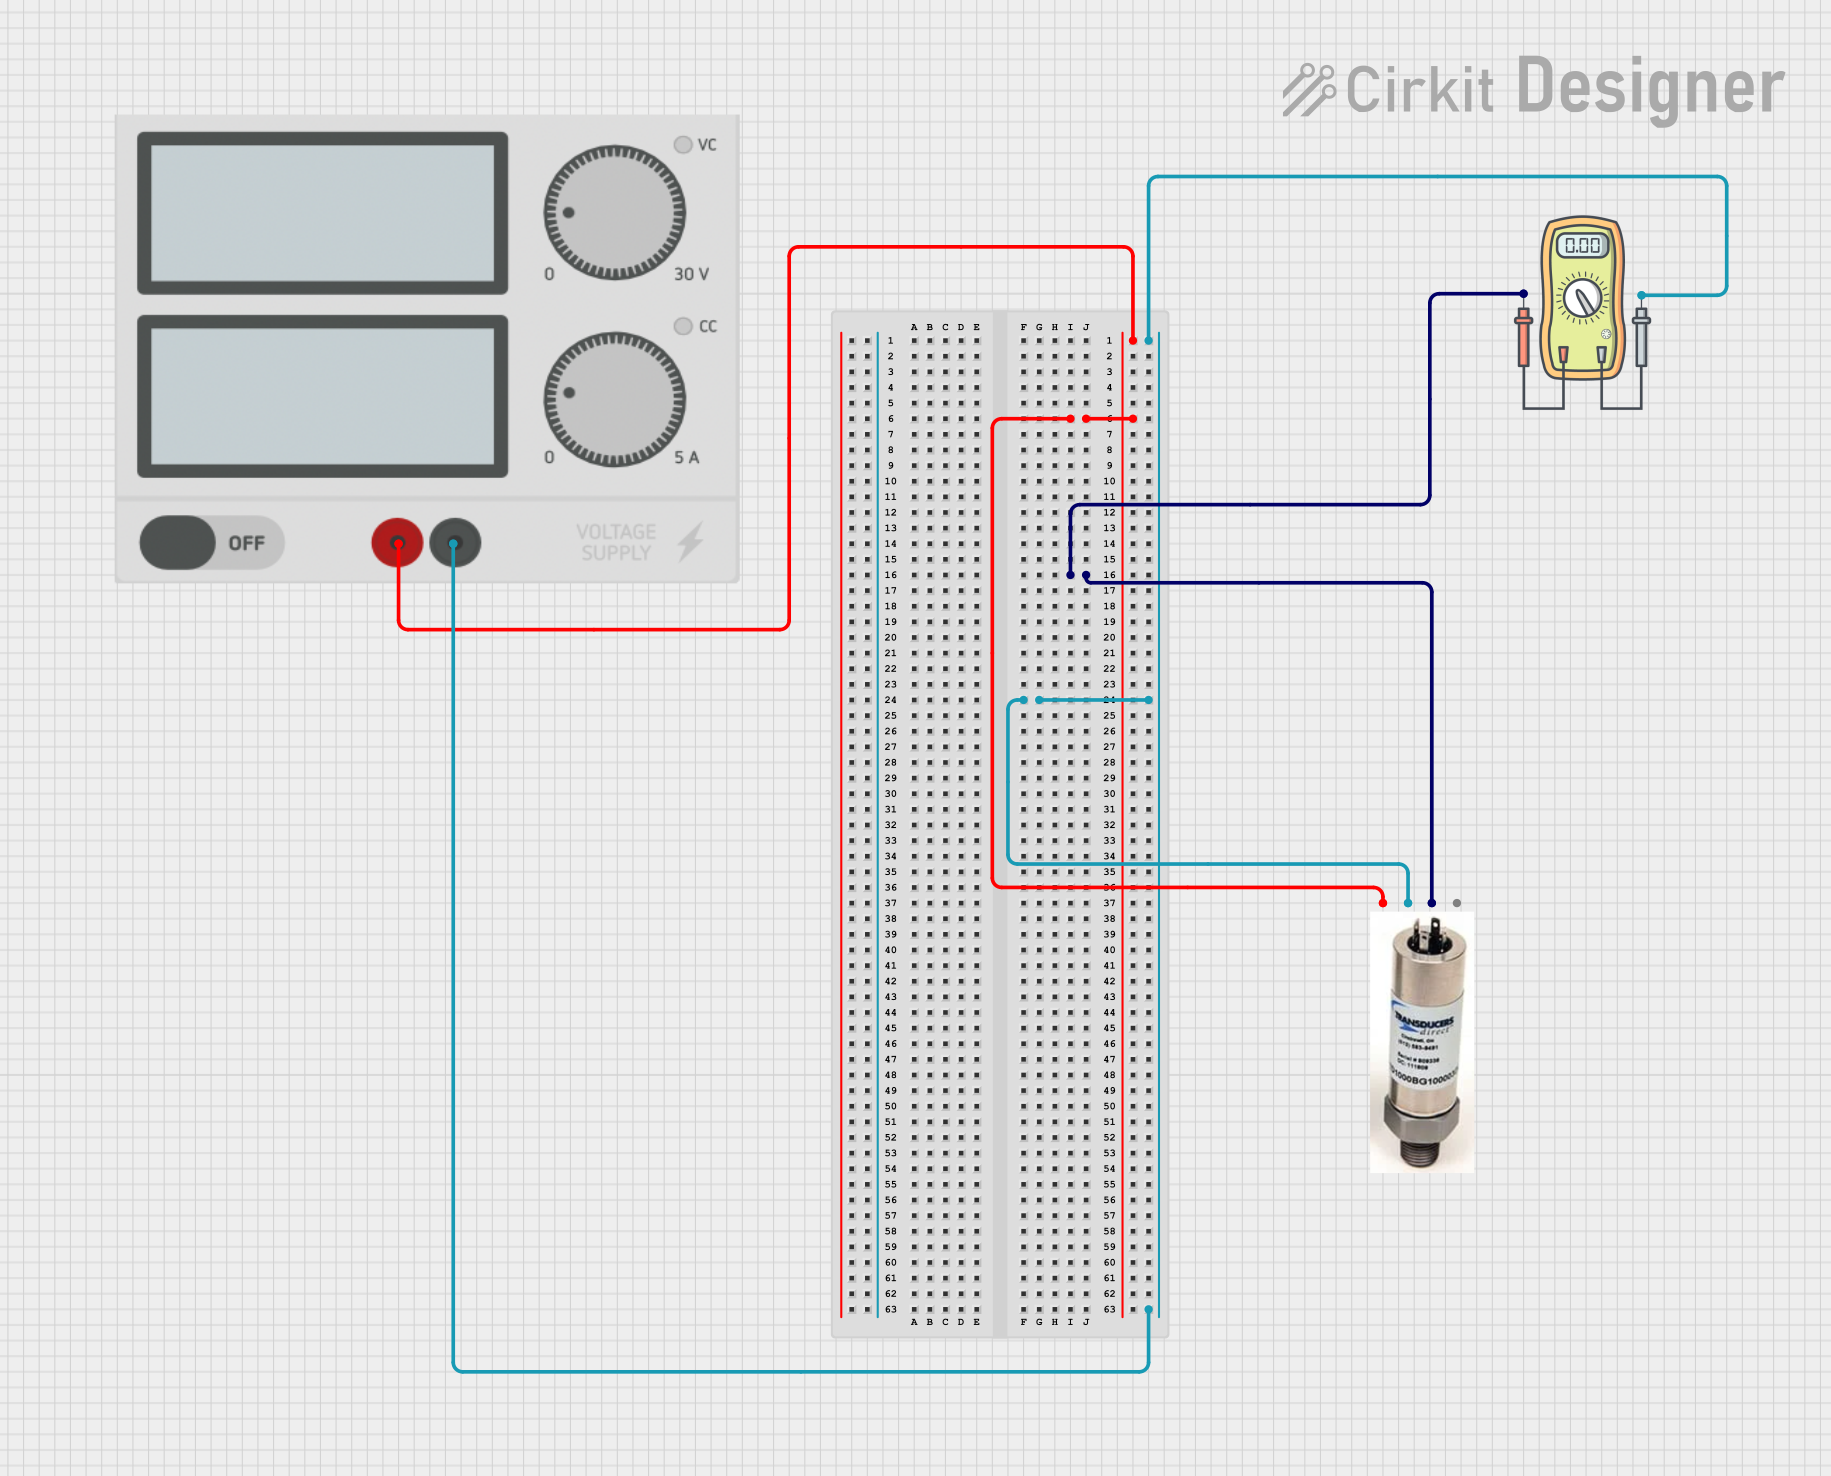
This circuit measures the output voltage of a pressure transducer using a voltmeter. The pressure transducer is powered by a power supply, and its output voltage is connected to the voltmeter for measurement.
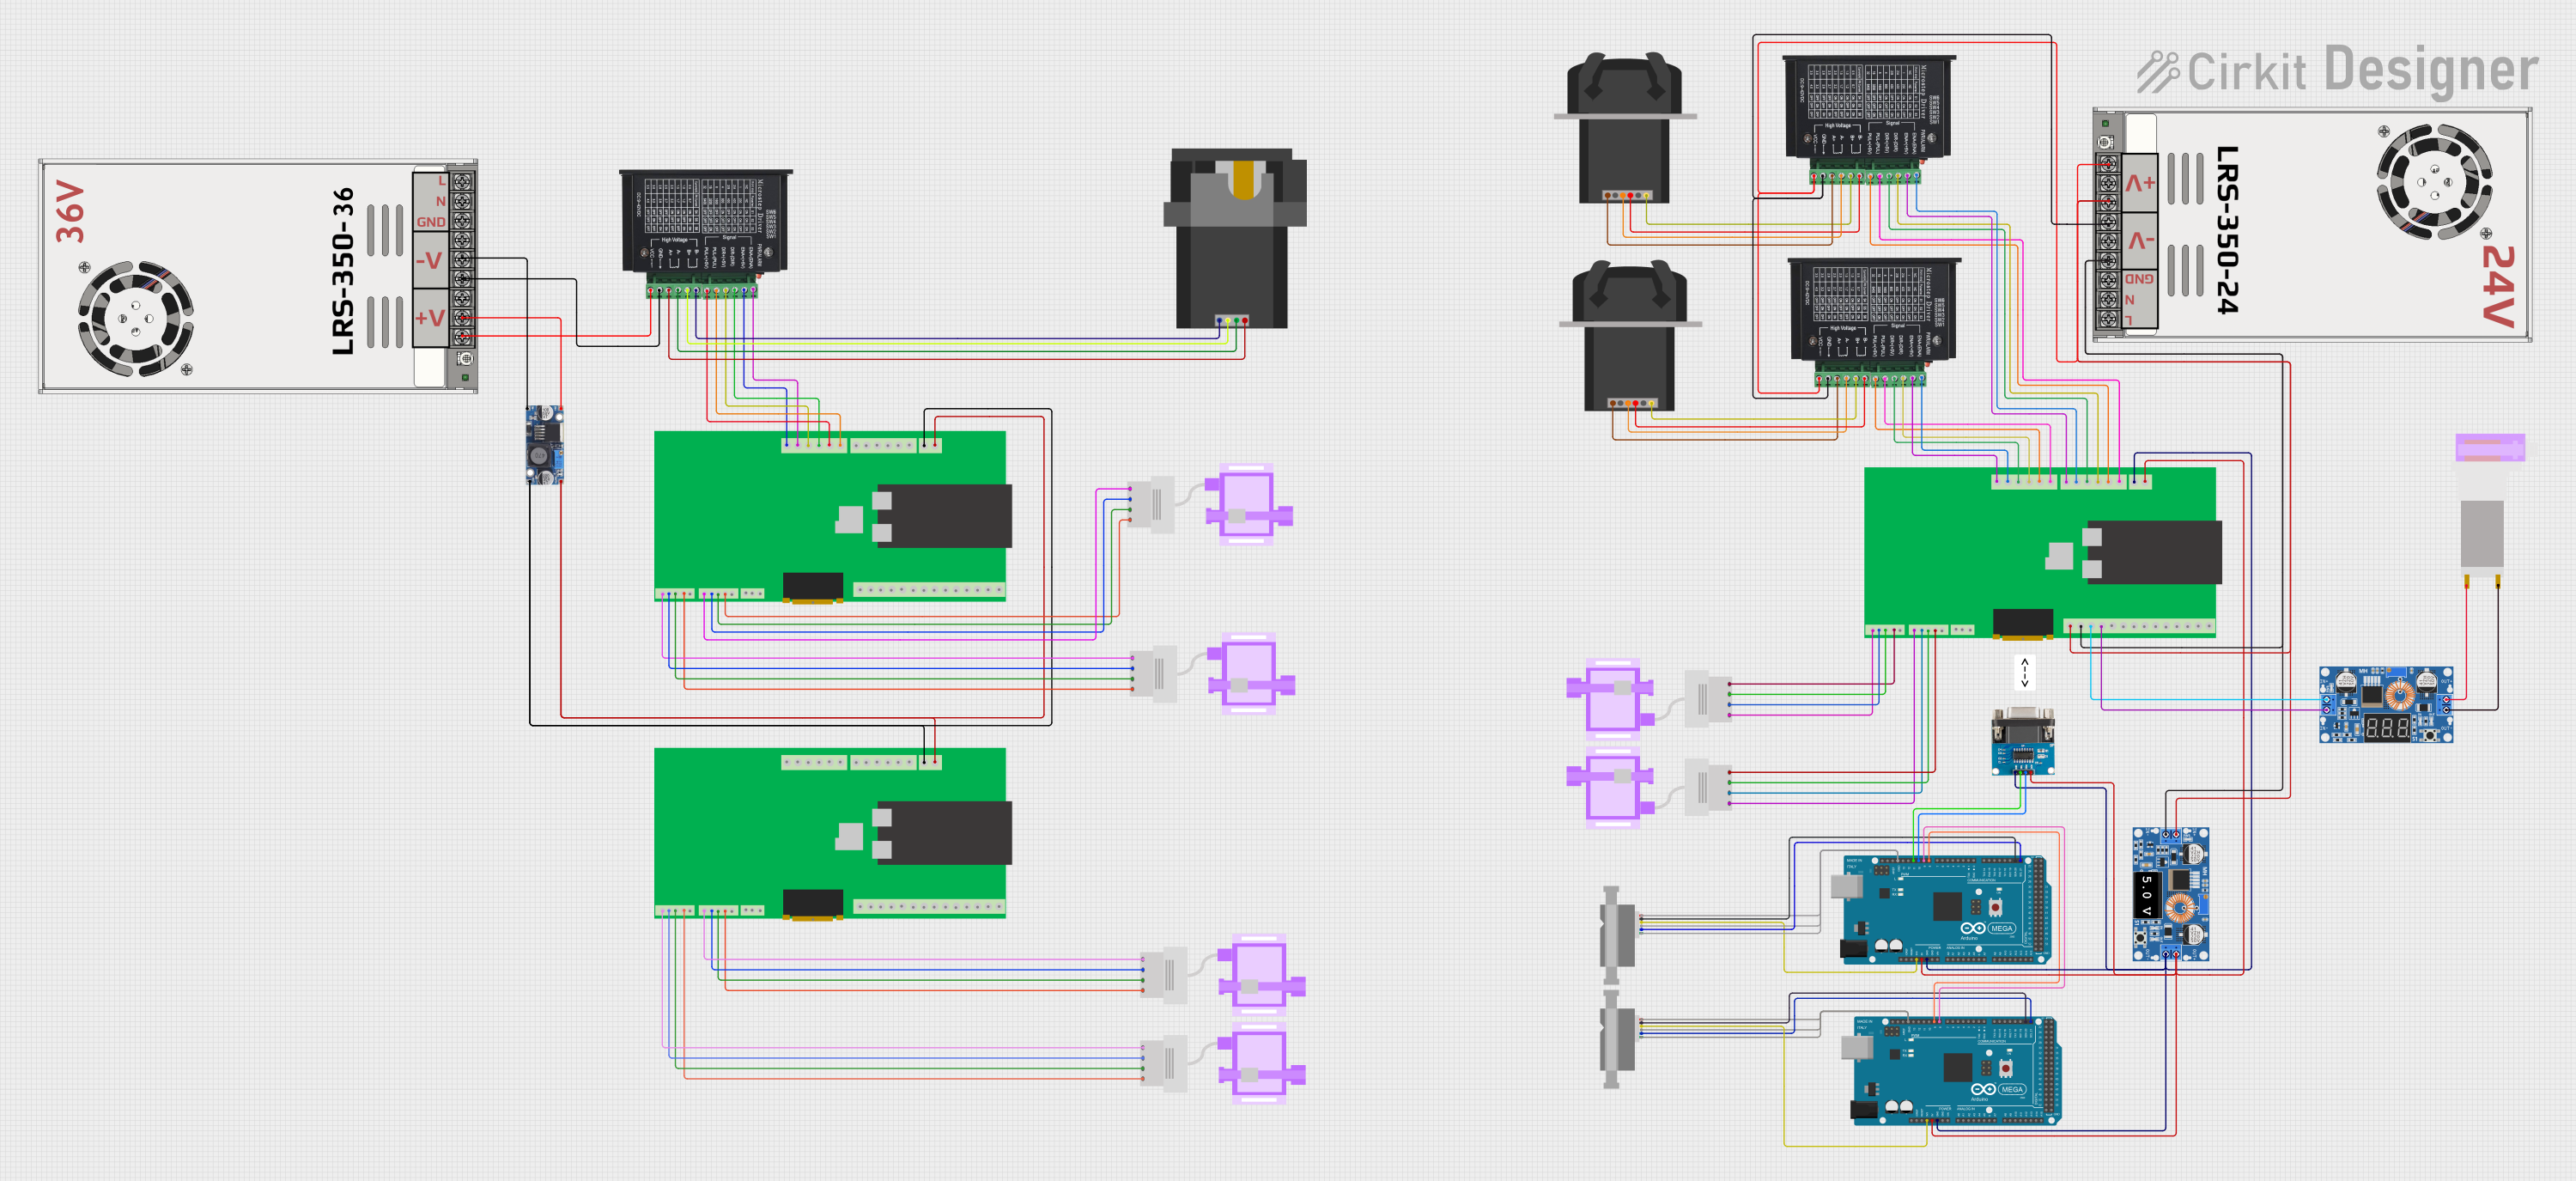
This circuit is designed for fluid control and monitoring, featuring multiple peristaltic pumps driven by TB6600 micro-stepping motor drivers, and pressure sensors interfaced with custom PCBs containing ESP32 microcontrollers. It also includes flow meters connected to Arduino Mega 2560 boards for precise flow rate measurement, with power management handled by DC-DC converters and power supplies.
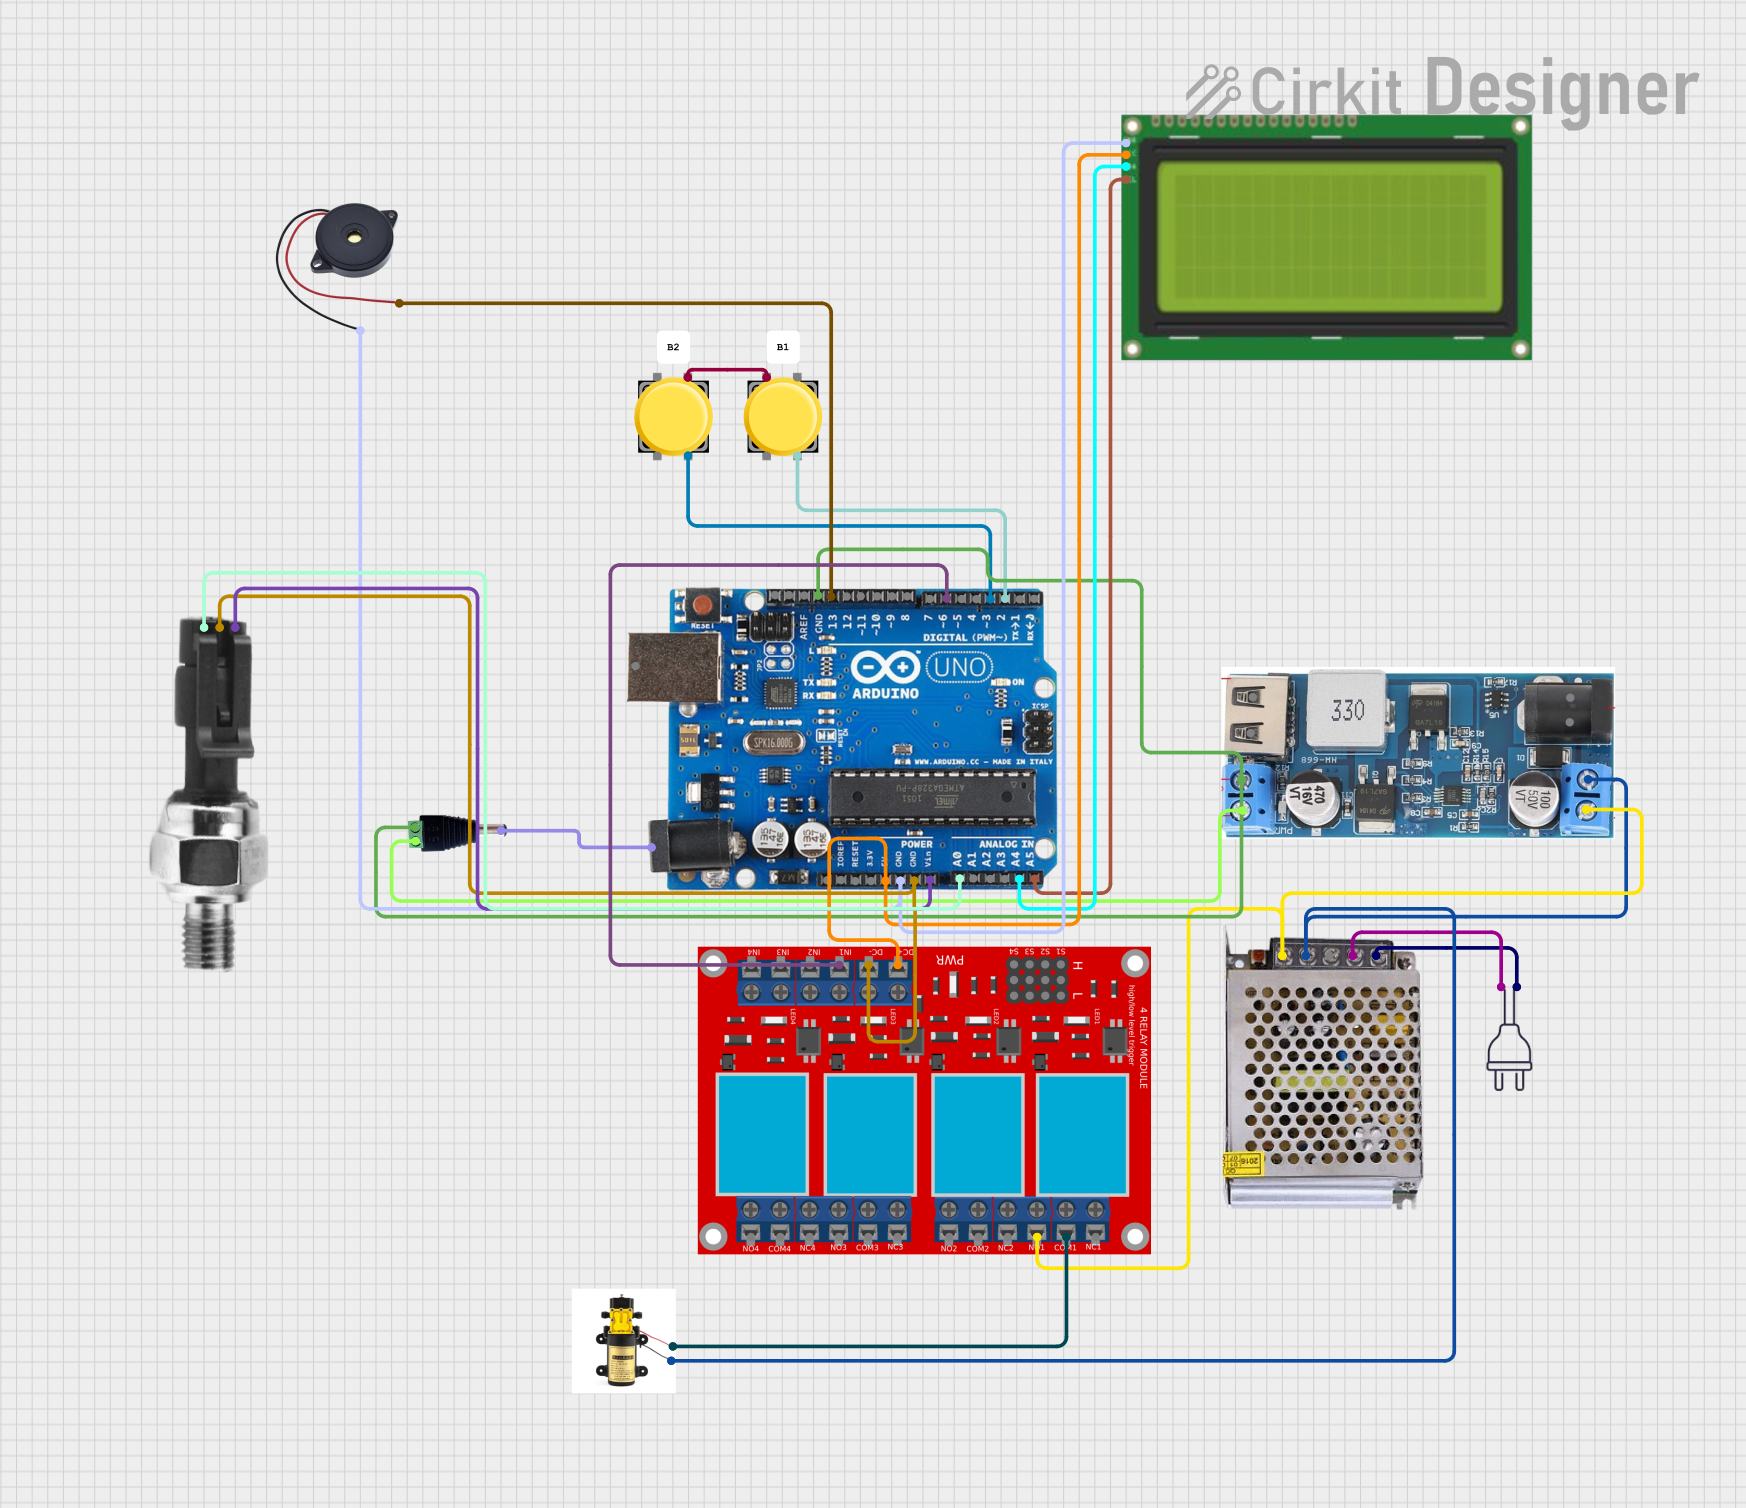
This circuit is an automated tire inflator system controlled by an Arduino Uno. It uses an industrial pressure sensor to monitor tire pressure, an LCD to display information, and a relay module to control a pump and solenoid valves for inflating and purging air. The system includes pushbuttons for user input and a buzzer for alerts.
Weather monitoring and barometric pressure measurement
Medical devices (e.g., blood pressure monitors, ventilators)
Automotive systems (e.g., tire pressure monitoring)
Technical Specifications
Key Technical Details
Parameter
Value
Operating Voltage
5V DC
Output Signal
Analog (0.5V to 4.5V)
Pressure Range
0 to 100 PSI
Accuracy
±1% of full scale
Operating Temperature
-20°C to 85°C
Response Time
< 1 ms
Connector Type
3-pin (VCC, GND, Signal)
Pin Configuration and Descriptions
Pin Name
Pin Number
Description
VCC
1
Power supply input (5V DC)
GND
2
Ground connection
Signal
3
Analog output signal (pressure)
Usage Instructions
How to Use the Pressure Transducer in a Circuit
Power Supply: Connect the VCC pin to a 5V DC power source and the GND pin to the ground of your circuit.
Signal Output: Connect the Signal pin to an analog input pin of your microcontroller (e.g., Arduino UNO).
Calibration: Ensure the transducer is calibrated for the specific pressure range of your application. This may involve mapping the analog output voltage to the corresponding pressure values.
Pressure Measurement: Place the transducer in the desired location where pressure needs to be measured. Ensure the sensor is securely mounted and exposed to the pressure source.
Important Considerations and Best Practices
Power Supply Stability: Use a stable 5V DC power supply to ensure accurate readings.
Avoid Overpressure: Do not expose the transducer to pressures beyond its rated range (100 PSI) to prevent damage.
Environmental Conditions: Ensure the operating temperature is within the specified range (-20°C to 85°C).
Signal Noise: Use proper shielding and grounding techniques to minimize noise in the analog signal.
Example Code for Arduino UNO
Below is an example code snippet to read pressure data from the Pressure Transducer using an Arduino UNO:
// Define the analog pin connected to the Signal pin of the Pressure Transducer
const int pressurePin = A0;

// Define variables for pressure calculation
float voltage = 0.0;
float pressure = 0.0;

void setup() {
  // Initialize serial communication for debugging
  Serial.begin(9600);
}

void loop() {
  // Read the analog value from the Pressure Transducer
  int sensorValue = analogRead(pressurePin);

  // Convert the analog value to voltage (assuming 10-bit ADC and 5V reference)
  voltage = sensorValue * (5.0 / 1023.0);

  // Map the voltage to pressure (0.5V = 0 PSI, 4.5V = 100 PSI)
  pressure = (voltage - 0.5) * (100.0 / (4.5 - 0.5));

  // Print the pressure value to the Serial Monitor
  Serial.print("Pressure: ");
  Serial.print(pressure);
  Serial.println(" PSI");

  // Add a small delay for stability
  delay(500);
}
Troubleshooting and FAQs
Common Issues and Solutions
No Output Signal:
Cause: Incorrect wiring or loose connections.
Solution: Verify that the VCC, GND, and Signal pins are correctly connected.
Inaccurate Pressure Readings:
Cause: Calibration error or electrical noise.
Solution: Recalibrate the sensor and ensure proper grounding and shielding.
Sensor Damage:
Cause: Exposure to overpressure or extreme temperatures.
Solution: Replace the sensor and ensure it operates within the specified limits.
Fluctuating Readings:
Cause: Unstable power supply or environmental interference.
Solution: Use a regulated power supply and minimize external interference.
FAQs
Q1: Can the Pressure Transducer measure negative pressure (vacuum)?
A1: No, this specific model is designed for positive pressure measurement only (0 to 100 PSI).
Q2: How do I calibrate the Pressure Transducer?
A2: Calibration involves mapping the output voltage to the corresponding pressure values. Use a known pressure source and adjust your calculations accordingly.
Q3: Can I use this sensor with a 3.3V microcontroller?
A3: No, the sensor requires a 5V power supply for proper operation. Use a level shifter if interfacing with a 3.3V system.
Q4: Is the sensor waterproof?
A4: The sensor is designed for pressure measurement but may not be fully waterproof. Ensure it is protected from direct exposure to liquids.
This documentation provides all the necessary details to effectively use the Arduino Pressure Transducer in your projects. For further assistance, refer to the official Arduino support resources.

 Open Project in Cirkit Designer