
How to Use WeMos D1 Mini: Examples, Pinouts, and Specs
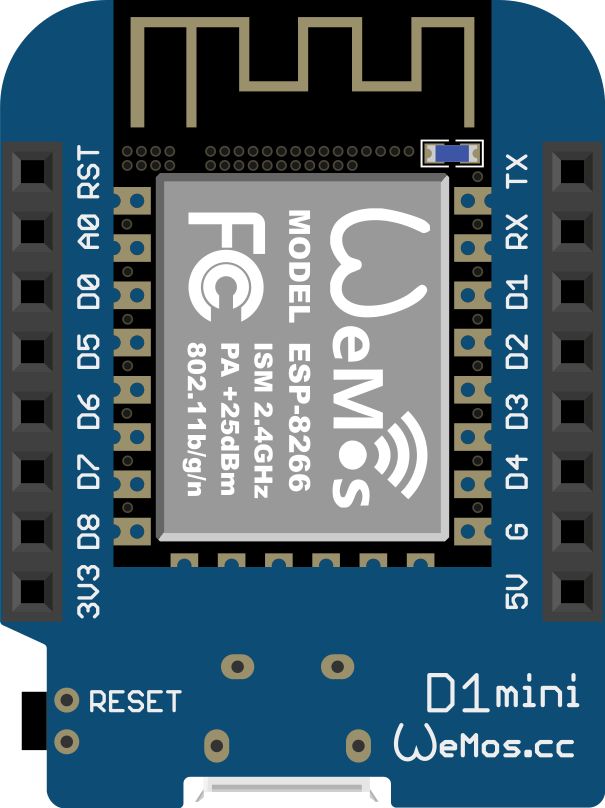
 Design with WeMos D1 Mini in Cirkit Designer
Introduction
The WeMos D1 Mini is a compact Wi-Fi development board based on the ESP8266 chip. It combines the power of a microcontroller with built-in Wi-Fi capabilities, making it an excellent choice for IoT (Internet of Things) projects. The board features a USB interface for easy programming and multiple GPIO pins for connecting sensors, actuators, and other modules. Its small size and versatility make it ideal for prototyping and deploying smart devices.
Explore Projects Built with WeMos D1 Mini
 Open Project in Cirkit Designer
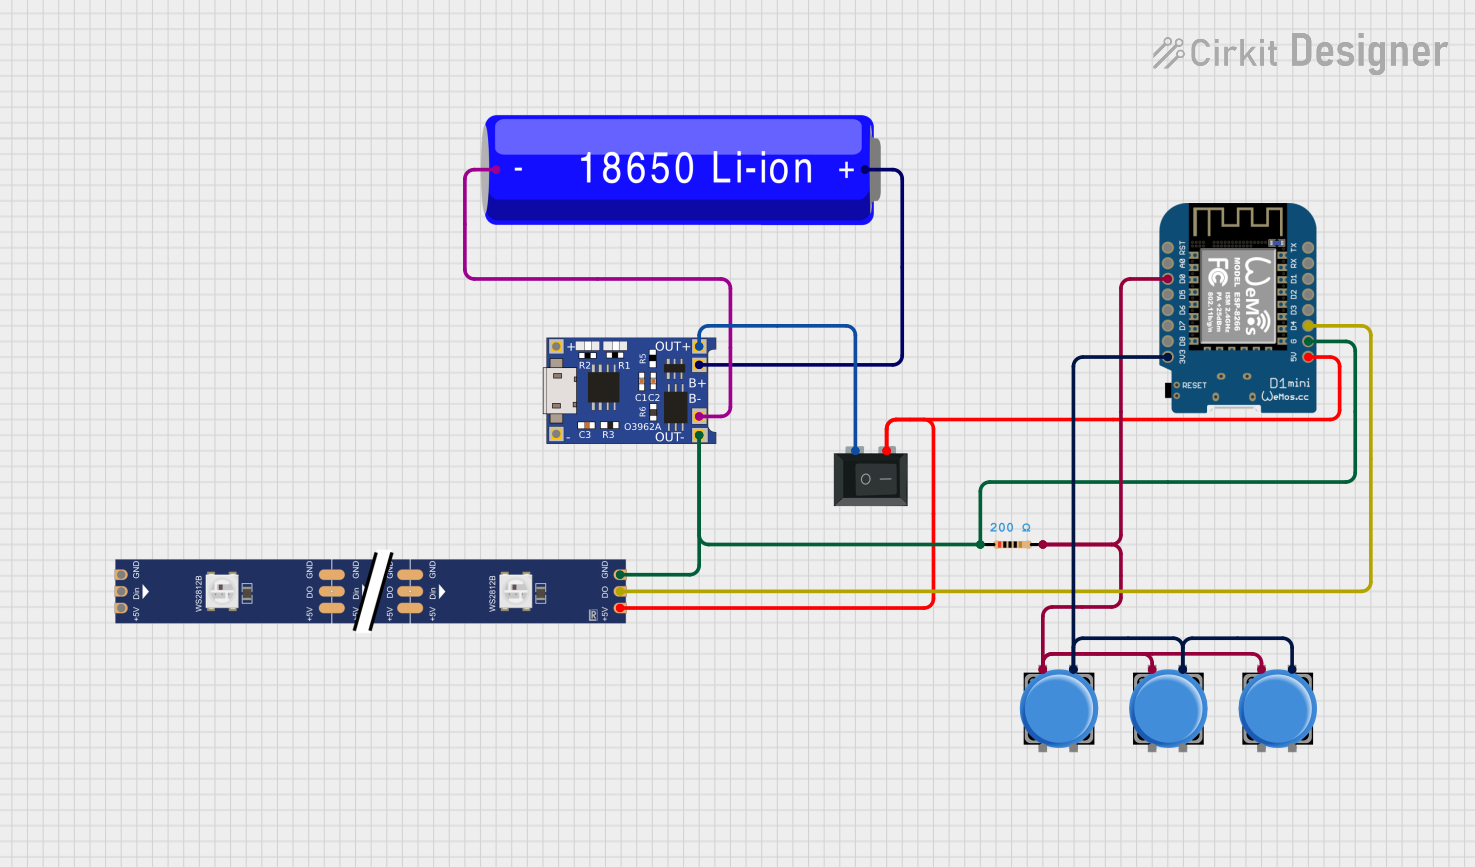 Open Project in Cirkit Designer
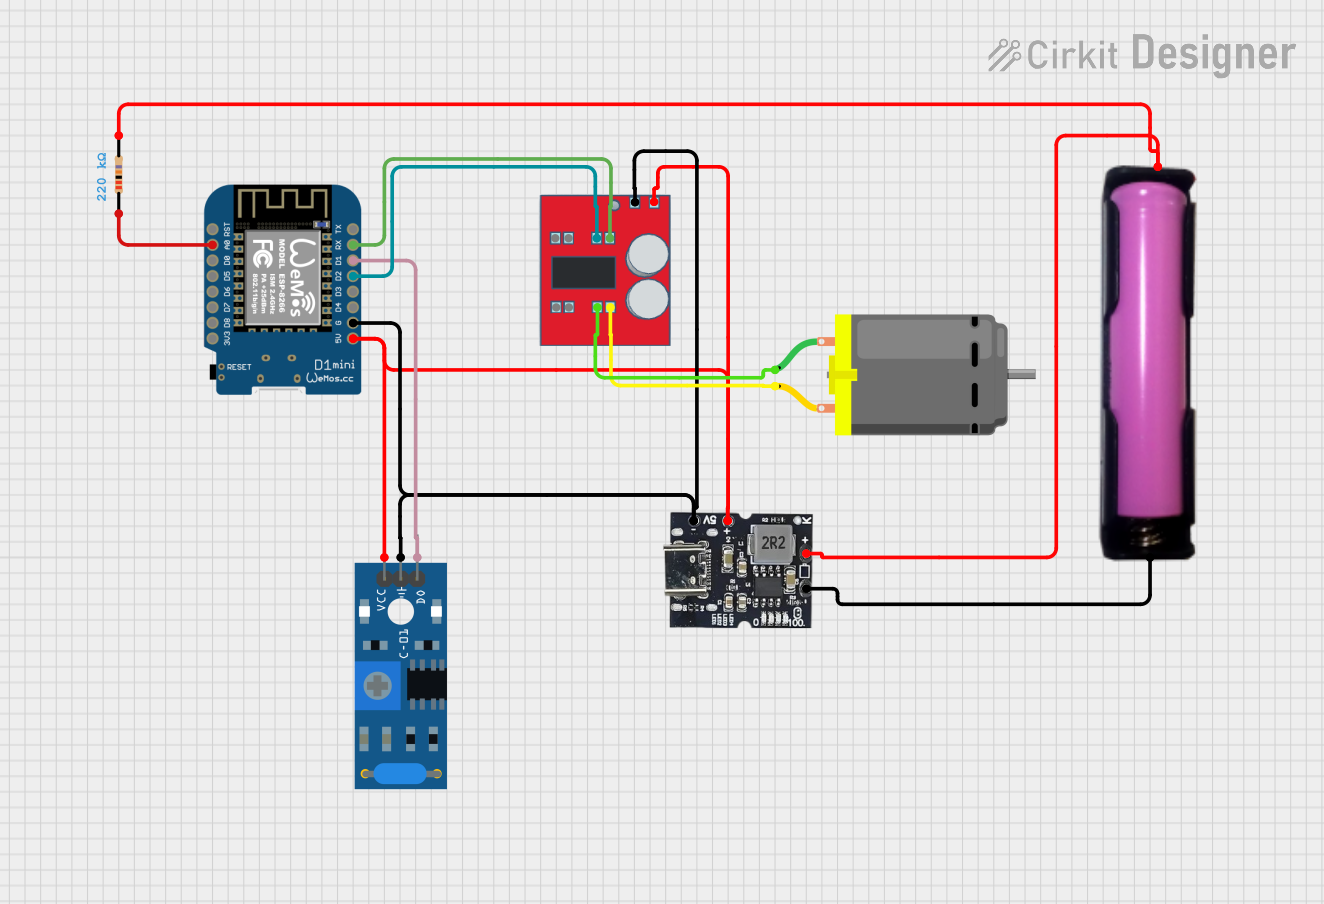 Open Project in Cirkit Designer
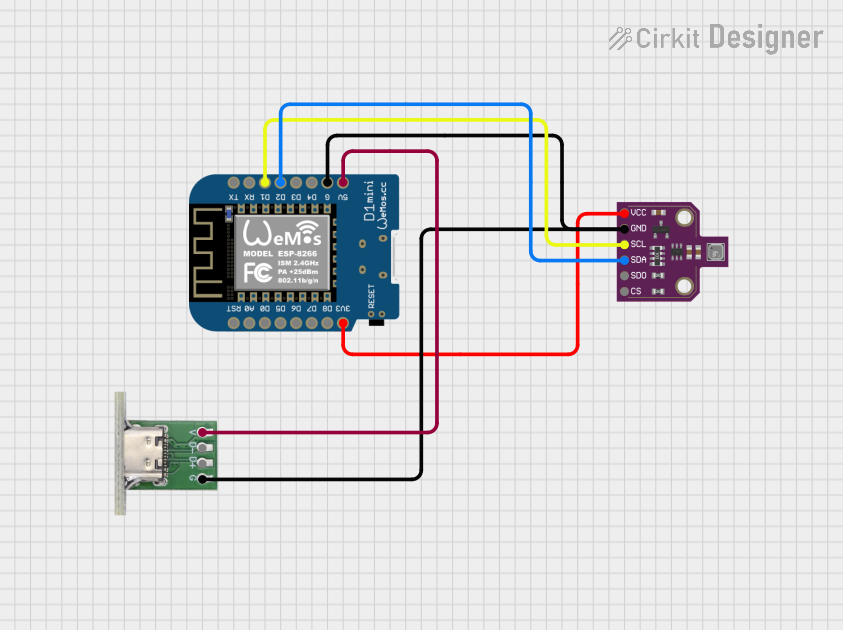 Open Project in Cirkit Designer
Explore Projects Built with WeMos D1 Mini
Open Project in Cirkit DesignerOpen Project in Cirkit DesignerOpen Project in Cirkit DesignerOpen Project in Cirkit DesignerCommon Applications and Use Cases
- Home automation systems
- IoT devices and smart appliances
- Wireless sensor networks
- Remote data logging and monitoring
- Prototyping Wi-Fi-enabled projects
Technical Specifications
Key Technical Details
| Specification | Value |
|---|---|
| Microcontroller | ESP8266 |
| Operating Voltage | 3.3V |
| Input Voltage | 5V (via USB) |
| Digital I/O Pins | 11 |
| Analog Input Pins | 1 (10-bit ADC, 0-3.3V range) |
| Flash Memory | 4MB (varies by model) |
| Clock Speed | 80 MHz / 160 MHz (configurable) |
| Wi-Fi Standard | 802.11 b/g/n |
| USB Interface | Micro-USB |
| Dimensions | 34.2mm x 25.6mm |
Pin Configuration and Descriptions
| Pin Name | Pin Number | Description |
|---|---|---|
| D0 | GPIO16 | General-purpose digital I/O |
| D1 | GPIO5 | General-purpose digital I/O (SCL for I2C) |
| D2 | GPIO4 | General-purpose digital I/O (SDA for I2C) |
| D3 | GPIO0 | General-purpose digital I/O, also used for boot |
| D4 | GPIO2 | General-purpose digital I/O, onboard LED |
| D5 | GPIO14 | General-purpose digital I/O (SCK for SPI) |
| D6 | GPIO12 | General-purpose digital I/O (MISO for SPI) |
| D7 | GPIO13 | General-purpose digital I/O (MOSI for SPI) |
| D8 | GPIO15 | General-purpose digital I/O (CS for SPI) |
| A0 | ADC0 | Analog input (0-3.3V range) |
| G | GND | Ground |
| 5V | 5V | Power input/output |
| 3V3 | 3.3V | Regulated 3.3V output |
| RST | Reset | Resets the microcontroller |
Usage Instructions
How to Use the WeMos D1 Mini in a Circuit
Powering the Board:
- Connect the board to your computer or a USB power source using a Micro-USB cable.
- Alternatively, supply 5V to the 5V pin or 3.3V to the 3V3 pin.
Programming the Board:
- Install the Arduino IDE and add the ESP8266 board package via the Boards Manager.
- Select "WeMos D1 Mini" or "Generic ESP8266 Module" from the Tools > Board menu.
- Connect the board to your computer and select the appropriate COM port.
- Write your code and upload it to the board.
Connecting Peripherals:
- Use the GPIO pins to connect sensors, actuators, or other modules.
- For analog sensors, connect them to the A0 pin (ensure the voltage does not exceed 3.3V).
- Use I2C (D1 and D2) or SPI (D5, D6, D7, D8) for communication with compatible devices.
Important Considerations and Best Practices
- Voltage Levels: The GPIO pins operate at 3.3V. Avoid applying 5V directly to the pins to prevent damage.
- Wi-Fi Antenna: Ensure the onboard Wi-Fi antenna is not obstructed for optimal signal strength.
- Power Supply: Use a stable power source to avoid unexpected resets or instability.
- Boot Modes: Avoid pulling GPIO0, GPIO2, or GPIO15 to incorrect states during boot, as this may interfere with normal operation.
Example Code for Arduino IDE
The following example demonstrates how to connect the WeMos D1 Mini to a Wi-Fi network and blink the onboard LED.
#include <ESP8266WiFi.h> // Include the ESP8266 Wi-Fi library

const char* ssid = "Your_SSID";       // Replace with your Wi-Fi SSID
const char* password = "Your_Password"; // Replace with your Wi-Fi password
const int ledPin = D4;                // Onboard LED is connected to GPIO2 (D4)

void setup() {
  pinMode(ledPin, OUTPUT);            // Set the LED pin as an output
  Serial.begin(115200);               // Start the serial communication
  Serial.println("Connecting to Wi-Fi...");

  WiFi.begin(ssid, password);         // Connect to the Wi-Fi network
  while (WiFi.status() != WL_CONNECTED) {
    delay(500);
    Serial.print(".");
  }
  Serial.println("\nWi-Fi connected!");
  Serial.print("IP Address: ");
  Serial.println(WiFi.localIP());     // Print the assigned IP address
}

void loop() {
  digitalWrite(ledPin, HIGH);         // Turn the LED on
  delay(1000);                        // Wait for 1 second
  digitalWrite(ledPin, LOW);          // Turn the LED off
  delay(1000);                        // Wait for 1 second
}
Troubleshooting and FAQs
Common Issues and Solutions
The board is not detected by the computer:
- Ensure the USB cable is functional and supports data transfer.
- Install the necessary USB-to-serial drivers (e.g., CH340 or CP2102, depending on the board version).
Wi-Fi connection fails:
- Double-check the SSID and password in your code.
- Ensure the Wi-Fi network is within range and not using unsupported security protocols.
Upload errors in Arduino IDE:
- Verify the correct board and COM port are selected in the Tools menu.
- Press and hold the Reset button while uploading to force the board into programming mode.
GPIO pins not working as expected:
- Confirm the pin numbers in your code match the board's pinout.
- Check for conflicting pin states during boot (e.g., GPIO0, GPIO2, GPIO15).
FAQs
Q: Can the WeMos D1 Mini be powered by batteries?
A: Yes, you can power the board using a 3.7V LiPo battery connected to the 5V pin via a suitable voltage regulator or a USB power bank.
Q: What is the maximum current output of the GPIO pins?
A: Each GPIO pin can source or sink up to 12mA. For higher currents, use an external transistor or relay.
Q: Can I use the WeMos D1 Mini with MicroPython?
A: Yes, the ESP8266 chip supports MicroPython. You can flash the MicroPython firmware to the board and use it for programming.