How to Use Flood Lights 12v: Examples, Pinouts, and Specs
Introduction
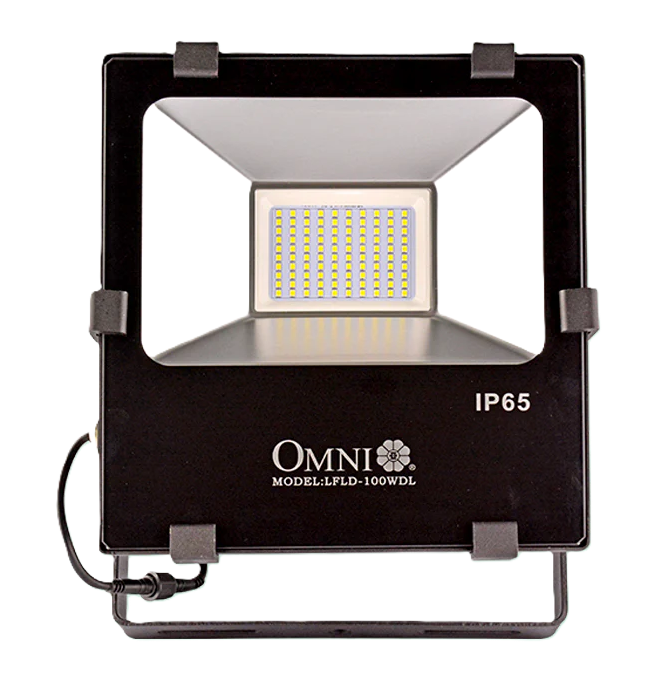
Flood lights designed to operate at 12 volts are versatile lighting solutions that provide bright and wide-area illumination. These lights are commonly used for outdoor applications such as enhancing visibility in driveways, gardens, parking lots, and construction sites. They are also popular for security purposes, as their intense brightness can deter intruders and improve surveillance.
Key features of 12V flood lights include energy efficiency, durability, and compatibility with low-voltage power systems, making them ideal for both residential and commercial use.
Explore Projects Built with Flood Lights 12v


Explore Projects Built with Flood Lights 12v
Technical Specifications
Below are the key technical details for 12V flood lights:
| Parameter | Specification |
|---|---|
| Operating Voltage | 12V DC |
| Power Consumption | 10W, 20W, 30W, or higher (varies by model) |
| Luminous Flux | 800 - 3000 lumens (depending on wattage) |
| Color Temperature | 3000K (Warm White) to 6500K (Cool White) |
| Beam Angle | 120° (typical) |
| Waterproof Rating | IP65 or higher (suitable for outdoor use) |
| Material | Aluminum housing with tempered glass |
| Lifespan | 30,000 - 50,000 hours |
Pin Configuration and Descriptions
12V flood lights typically have a simple two-wire connection:
| Wire Color | Description |
|---|---|
| Red | Positive terminal (+12V) |
| Black | Negative terminal (Ground) |
Usage Instructions
How to Use the Component in a Circuit
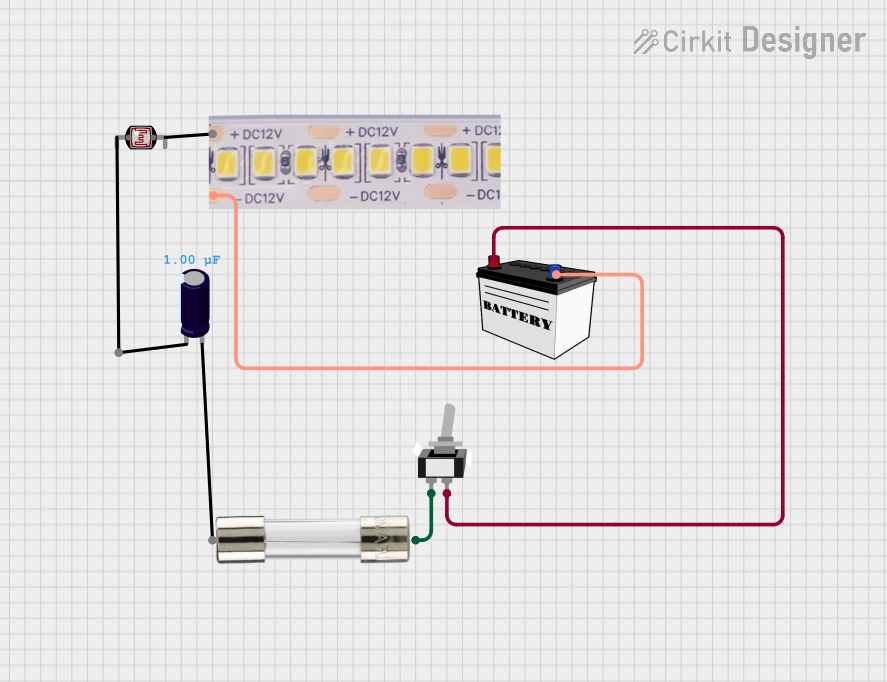
- Power Supply: Ensure you have a 12V DC power source capable of supplying sufficient current for the flood light's wattage. For example, a 20W flood light requires approximately 1.67A (20W ÷ 12V).
- Wiring:
- Connect the red wire of the flood light to the positive terminal of the power supply.
- Connect the black wire to the negative terminal (ground).
- Mounting: Secure the flood light to a stable surface using the provided mounting bracket. Adjust the angle to direct the light where needed.
- Testing: Turn on the power supply and verify that the flood light illuminates properly.
Important Considerations and Best Practices
- Polarity: Always connect the wires with the correct polarity (red to positive, black to ground). Reversing the polarity may damage the light.
- Heat Dissipation: Ensure proper ventilation around the flood light to prevent overheating. Avoid enclosing the light in a confined space.
- Waterproofing: Verify that all connections are sealed and protected from moisture, especially for outdoor installations.
- Power Supply Compatibility: Use a regulated 12V DC power supply to avoid voltage fluctuations that could harm the light.
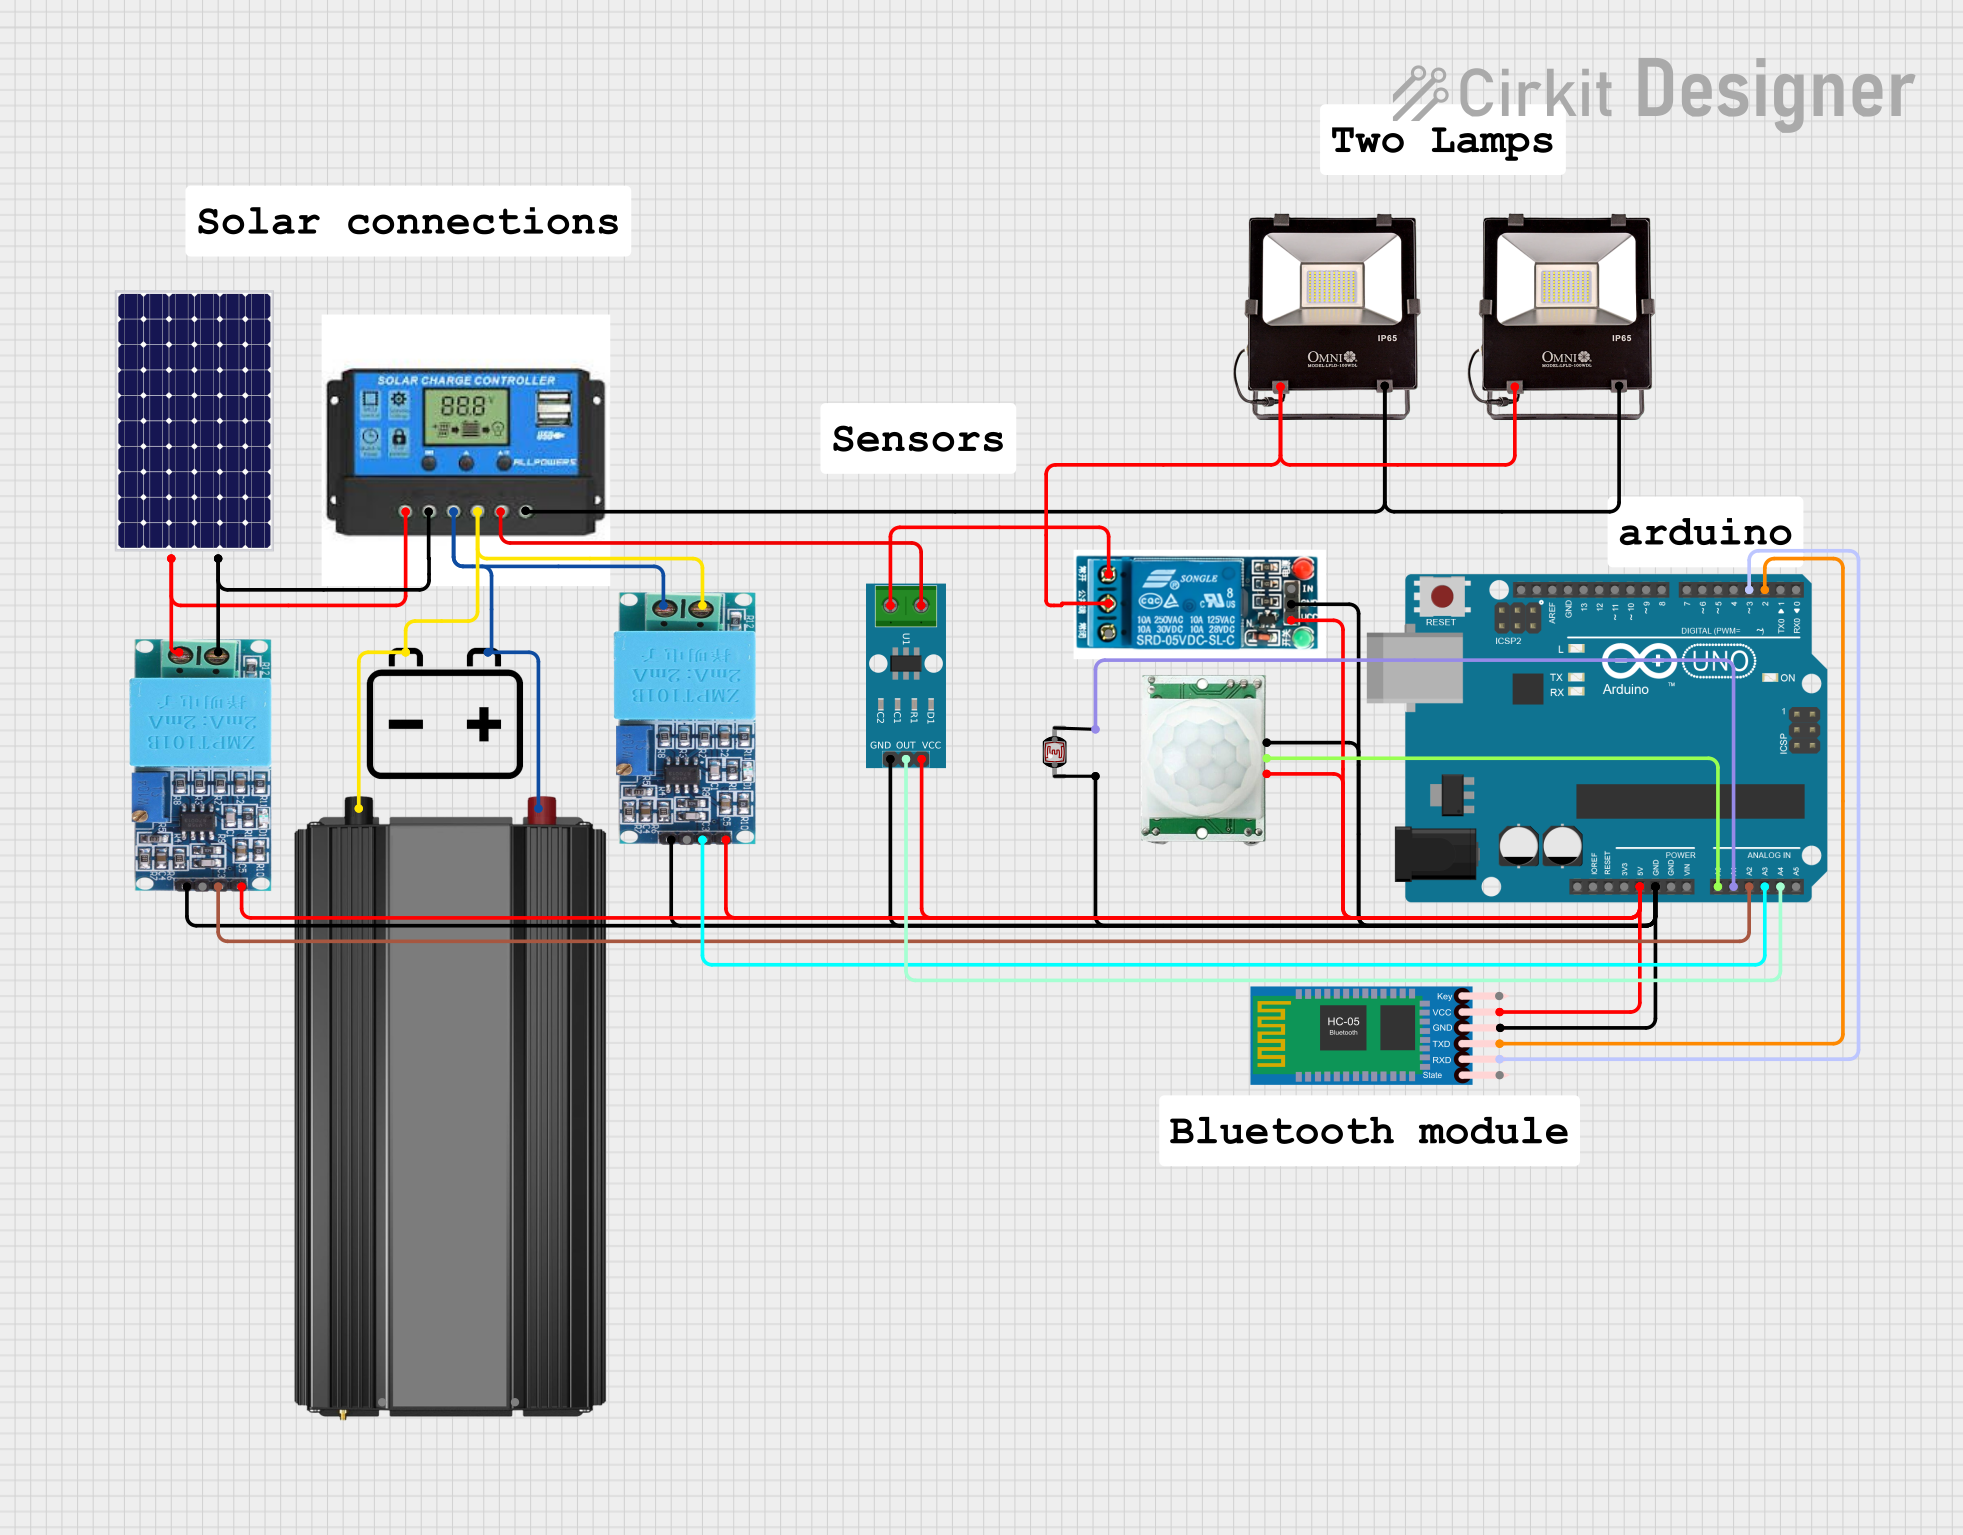
Example: Connecting to an Arduino UNO
While flood lights are not directly controlled by an Arduino due to their high power requirements, you can use a relay module to switch the flood light on and off. Below is an example circuit and code:
Circuit Setup
- Connect the flood light's red wire to the relay module's NO (Normally Open) terminal.
- Connect the flood light's black wire to the power supply's ground.
- Connect the relay module's COM (Common) terminal to the power supply's positive terminal.
- Connect the relay module's control pin to an Arduino digital pin (e.g., pin 7).
Arduino Code
// This code controls a 12V flood light using a relay module connected to pin 7.
// Ensure the relay module is properly connected to the Arduino and power supply.

const int relayPin = 7; // Pin connected to the relay module

void setup() {
  pinMode(relayPin, OUTPUT); // Set the relay pin as an output
  digitalWrite(relayPin, LOW); // Start with the flood light off
}

void loop() {
  digitalWrite(relayPin, HIGH); // Turn the flood light on
  delay(5000); // Keep the light on for 5 seconds
  digitalWrite(relayPin, LOW); // Turn the flood light off
  delay(5000); // Keep the light off for 5 seconds
}
Troubleshooting and FAQs
Common Issues and Solutions
Flood Light Does Not Turn On:
- Cause: Incorrect wiring or insufficient power supply.
- Solution: Double-check the wiring connections and ensure the power supply provides the required voltage and current.
Light Flickers:
- Cause: Voltage fluctuations or loose connections.
- Solution: Use a regulated 12V DC power supply and secure all connections.
Overheating:
- Cause: Poor ventilation or excessive ambient temperature.
- Solution: Install the flood light in a well-ventilated area and avoid prolonged use in extreme heat.
Water Damage:
- Cause: Improper sealing of connections or exposure to heavy rain.
- Solution: Use waterproof connectors and ensure the light's IP rating is suitable for the environment.
FAQs
Can I use a 12V battery to power the flood light? Yes, a 12V battery can be used as long as it provides sufficient current for the flood light's wattage.
Can I dim the flood light? Only if the flood light is designed to support dimming. Check the manufacturer's specifications.
What is the maximum distance for wiring? The maximum distance depends on the wire gauge and current draw. Use thicker wires for longer distances to minimize voltage drop.
Is it safe to use the flood light in heavy rain? Yes, if the flood light has an IP65 or higher waterproof rating and all connections are properly sealed.