Cirkit Designer Logo
Cirkit Designer
Your all-in-one circuit design IDE
Home / 
Component Documentation

How to Use Humidifier Module: Examples, Pinouts, and Specs

Image of Humidifier Module
Cirkit Designer LogoDesign with Humidifier Module in Cirkit Designer

Introduction

The Acebott QB062/QB078 Humidifier Module is a compact and efficient device designed to add moisture to the air. It is commonly used in HVAC systems, standalone humidifiers, and other applications where maintaining optimal humidity levels is essential for comfort, health, or equipment performance. This module is ideal for residential, commercial, and industrial environments, ensuring consistent and reliable humidification.

Explore Projects Built with Humidifier Module

Use Cirkit Designer to design, explore, and prototype these projects online. Some projects support real-time simulation. Click "Open Project" to start designing instantly!
Arduino Mega 2560 Controlled Environment System with Relay, Humidifier, Fan, and Indicator LEDs
Image of Hardware: A project utilizing Humidifier Module in a practical application
This circuit is designed to control environmental conditions using an Arduino Mega 2560, which manages a humidifier, fan, and provides alerts through a buzzer and LEDs. A relay module is included for high-power device control, and a step-down buck converter is used to power the system from a 12V battery.
Cirkit Designer LogoOpen Project in Cirkit Designer
ESP32-Based Smart Humidity and Temperature Controller with Wi-Fi Connectivity
Image of FINAL PROJECT: A project utilizing Humidifier Module in a practical application
This circuit is designed to monitor and control temperature and humidity using an ESP32 microcontroller, which interfaces with a DHT11 sensor, an OLED display, and a two-channel relay. The ESP32 uses Blynk for IoT connectivity, allowing remote monitoring and control of a connected humidifier and a bulb (as a heater). Pushbuttons are included for manual control, and the system operates in either automatic or manual mode to maintain desired environmental conditions.
Cirkit Designer LogoOpen Project in Cirkit Designer
ESP32-Controlled Humidifier with MCP23017 IO Expansion
Image of ATOMIZER: A project utilizing Humidifier Module in a practical application
This circuit controls a humidifier using an ESP32 microcontroller and an MCP23017 I/O expansion board. The ESP32 communicates with the MCP23017 via I2C (using GPIO 21 and 22 for SDA and SCL, respectively), which in turn controls the base of an NPN transistor through a 330 Ohm resistor. The transistor acts as a switch to turn the humidifier on or off, with the humidifier's power supply connected to Vcc and its ground connected through the transistor.
Cirkit Designer LogoOpen Project in Cirkit Designer
ESP32-Controlled Humidifier with DHT11 Sensor Integration
Image of IoT Mushroom ESP32: A project utilizing Humidifier Module in a practical application
This circuit features an ESP32 Devkit V1 microcontroller connected to a DHT11 temperature and humidity sensor and a two-channel relay module. The ESP32 reads environmental data from the DHT11 sensor and controls the relay, which in turn powers a humidifier connected to one of its channels. The relay and the humidifier are powered by a separate 5V battery, and the ESP32 controls the relay to maintain desired humidity levels based on the DHT11 readings.
Cirkit Designer LogoOpen Project in Cirkit Designer

Explore Projects Built with Humidifier Module

Use Cirkit Designer to design, explore, and prototype these projects online. Some projects support real-time simulation. Click "Open Project" to start designing instantly!
Image of Hardware: A project utilizing Humidifier Module in a practical application
Arduino Mega 2560 Controlled Environment System with Relay, Humidifier, Fan, and Indicator LEDs
This circuit is designed to control environmental conditions using an Arduino Mega 2560, which manages a humidifier, fan, and provides alerts through a buzzer and LEDs. A relay module is included for high-power device control, and a step-down buck converter is used to power the system from a 12V battery.
Cirkit Designer LogoOpen Project in Cirkit Designer
Image of FINAL PROJECT: A project utilizing Humidifier Module in a practical application
ESP32-Based Smart Humidity and Temperature Controller with Wi-Fi Connectivity
This circuit is designed to monitor and control temperature and humidity using an ESP32 microcontroller, which interfaces with a DHT11 sensor, an OLED display, and a two-channel relay. The ESP32 uses Blynk for IoT connectivity, allowing remote monitoring and control of a connected humidifier and a bulb (as a heater). Pushbuttons are included for manual control, and the system operates in either automatic or manual mode to maintain desired environmental conditions.
Cirkit Designer LogoOpen Project in Cirkit Designer
Image of ATOMIZER: A project utilizing Humidifier Module in a practical application
ESP32-Controlled Humidifier with MCP23017 IO Expansion
This circuit controls a humidifier using an ESP32 microcontroller and an MCP23017 I/O expansion board. The ESP32 communicates with the MCP23017 via I2C (using GPIO 21 and 22 for SDA and SCL, respectively), which in turn controls the base of an NPN transistor through a 330 Ohm resistor. The transistor acts as a switch to turn the humidifier on or off, with the humidifier's power supply connected to Vcc and its ground connected through the transistor.
Cirkit Designer LogoOpen Project in Cirkit Designer
Image of IoT Mushroom ESP32: A project utilizing Humidifier Module in a practical application
ESP32-Controlled Humidifier with DHT11 Sensor Integration
This circuit features an ESP32 Devkit V1 microcontroller connected to a DHT11 temperature and humidity sensor and a two-channel relay module. The ESP32 reads environmental data from the DHT11 sensor and controls the relay, which in turn powers a humidifier connected to one of its channels. The relay and the humidifier are powered by a separate 5V battery, and the ESP32 controls the relay to maintain desired humidity levels based on the DHT11 readings.
Cirkit Designer LogoOpen Project in Cirkit Designer

Common Applications and Use Cases

  • HVAC Systems: Enhances air quality and prevents dryness in heating and cooling systems.
  • Standalone Humidifiers: Used in portable or fixed humidifier units for homes and offices.
  • Greenhouses: Maintains proper humidity levels for plant growth.
  • Electronics Manufacturing: Prevents static buildup in sensitive environments.
  • Medical Equipment: Supports respiratory devices requiring controlled humidity.

Technical Specifications

The following table outlines the key technical details of the Acebott QB062/QB078 Humidifier Module:

Parameter Specification
Manufacturer Acebott
Part ID QB062 / QB078
Input Voltage 24V DC
Operating Current 0.5A (typical)
Power Consumption 12W
Humidification Capacity 300-400 mL/hour
Operating Temperature 5°C to 50°C
Humidity Range 30% to 90% RH
Dimensions 50mm x 50mm x 20mm
Weight 80g

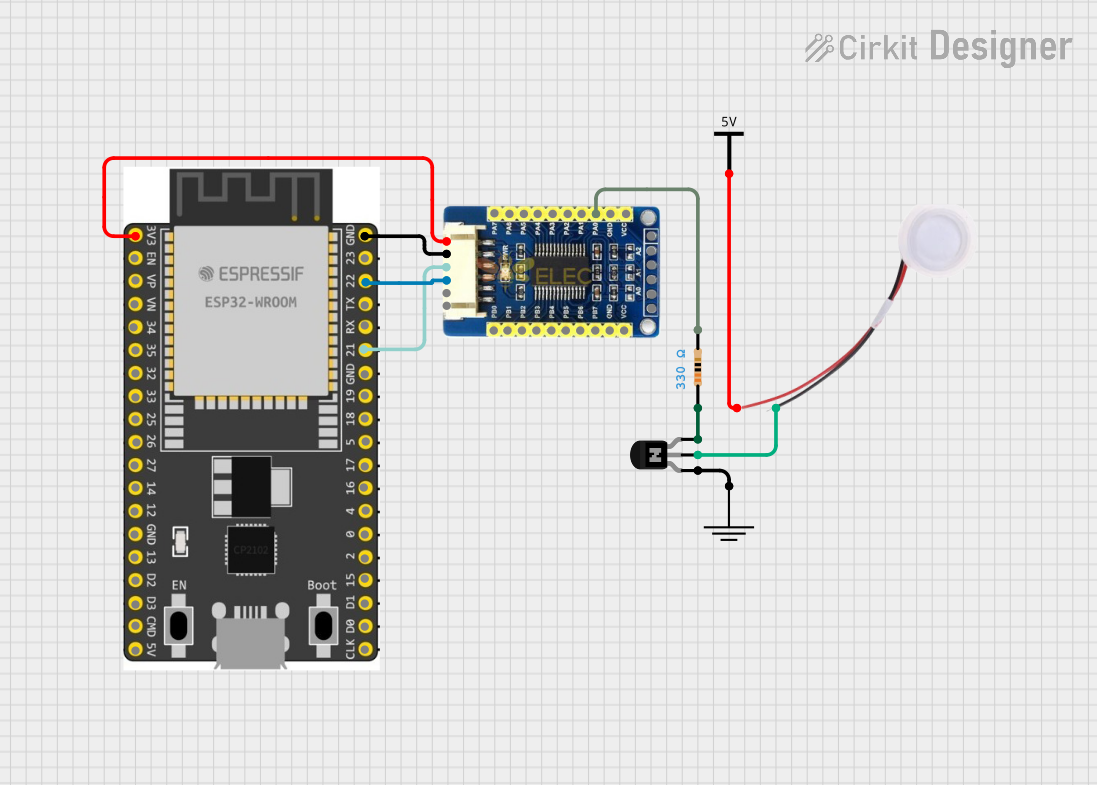
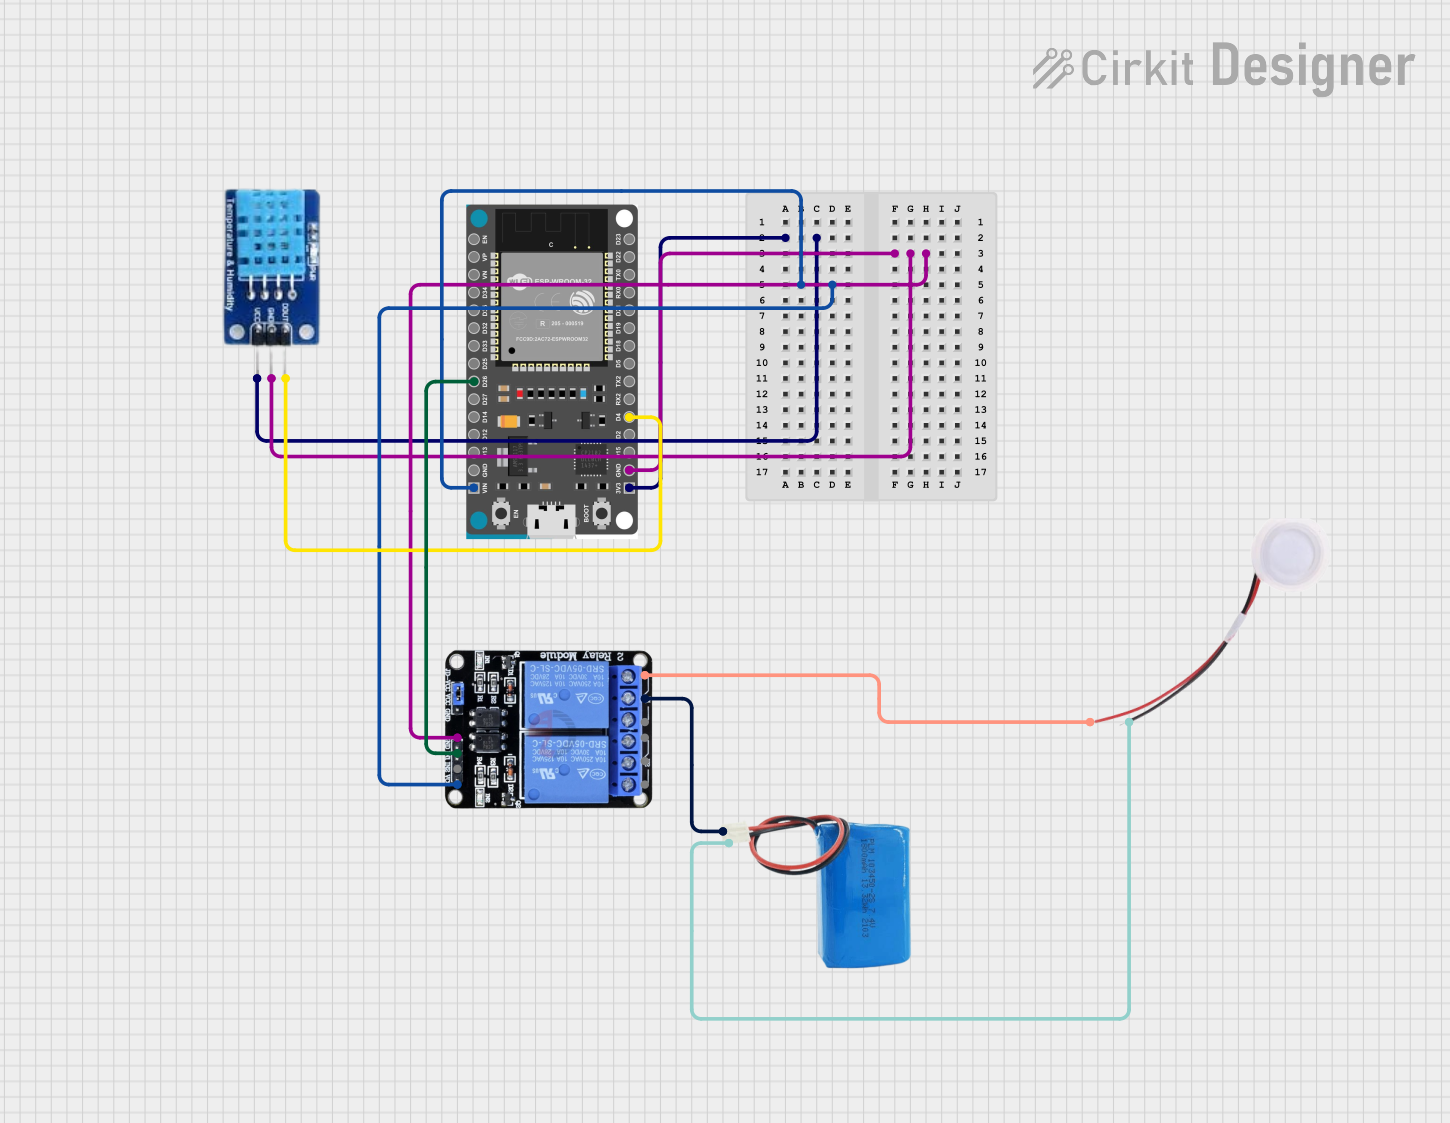
Pin Configuration and Descriptions

The module features a simple 3-pin interface for easy integration into circuits. The pin configuration is as follows:

Pin Name Description
1 VCC Power supply input (24V DC)
2 GND Ground connection
3 CONTROL PWM or ON/OFF control signal (3.3V or 5V logic)

Usage Instructions

How to Use the Component in a Circuit

  1. Power Supply: Connect the VCC pin to a stable 24V DC power source and the GND pin to the ground of the circuit.
  2. Control Signal: Use the CONTROL pin to enable or disable the module. This can be done using:
    • A simple ON/OFF switch.
    • A microcontroller (e.g., Arduino) to send a PWM signal for variable humidification.
  3. Water Source: Ensure the module is connected to a clean water source for proper operation. Use distilled or demineralized water to prevent scaling or clogging.

Important Considerations and Best Practices

  • Water Quality: Always use clean, filtered, or distilled water to avoid mineral deposits that can reduce the module's efficiency.
  • Ventilation: Ensure proper airflow around the module to distribute moisture evenly.
  • Control Signal: If using a microcontroller, ensure the PWM frequency is within the module's supported range (typically 1 kHz to 10 kHz).
  • Safety: Avoid operating the module without water, as this can damage the internal components.
  • Maintenance: Regularly clean the module to remove any buildup of minerals or debris.

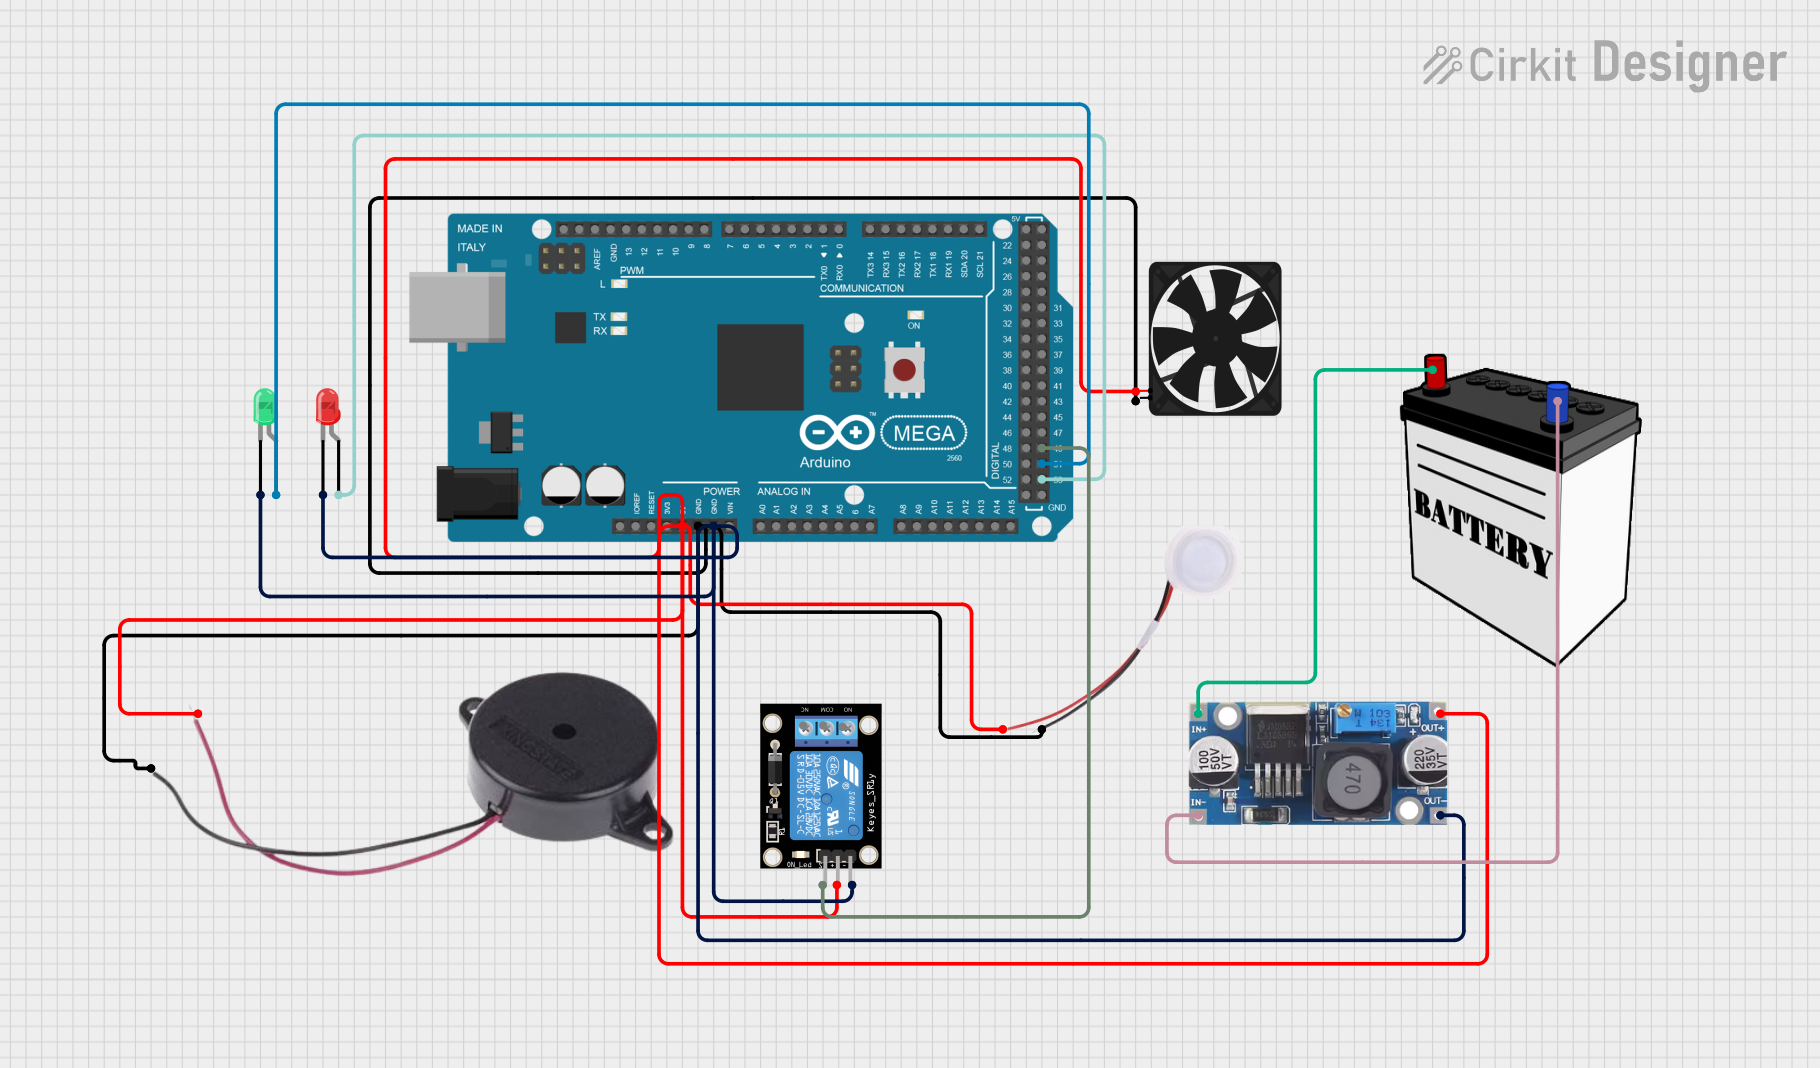
Example: Connecting to an Arduino UNO

Below is an example of how to control the humidifier module using an Arduino UNO:

// Define the control pin for the humidifier module
const int controlPin = 9; // Connect to the CONTROL pin of the module

void setup() {
  pinMode(controlPin, OUTPUT); // Set the control pin as an output
}

void loop() {
  // Turn the humidifier ON for 5 seconds
  digitalWrite(controlPin, HIGH); // Send HIGH signal to enable the module
  delay(5000); // Wait for 5 seconds

  // Turn the humidifier OFF for 5 seconds
  digitalWrite(controlPin, LOW); // Send LOW signal to disable the module
  delay(5000); // Wait for 5 seconds
}

Note: If using PWM for variable control, replace digitalWrite with analogWrite and adjust the duty cycle as needed.

Troubleshooting and FAQs

Common Issues and Solutions

  1. Module Does Not Turn On

    • Cause: Insufficient power supply or incorrect wiring.
    • Solution: Verify the power source provides 24V DC and check all connections.
  2. Low Humidification Output

    • Cause: Clogged or dirty module.
    • Solution: Clean the module with distilled water and ensure the water source is free of impurities.
  3. Irregular Operation

    • Cause: Unstable control signal or incorrect PWM frequency.
    • Solution: Ensure the control signal is stable and within the supported frequency range.
  4. Overheating

    • Cause: Operating the module without water or insufficient ventilation.
    • Solution: Always ensure the module has an adequate water supply and proper airflow.

FAQs

  • Q: Can I use a 12V power supply instead of 24V?
    A: No, the module is designed to operate at 24V DC. Using a lower voltage may result in malfunction or damage.

  • Q: Is the module waterproof?
    A: The module is water-resistant but not fully waterproof. Avoid submerging it in water.

  • Q: Can I control the module with a 3.3V microcontroller?
    A: Yes, the CONTROL pin is compatible with both 3.3V and 5V logic levels.

  • Q: How often should I clean the module?
    A: Cleaning frequency depends on water quality. For distilled water, clean every 2-3 months. For tap water, clean monthly.

By following this documentation, users can effectively integrate and maintain the Acebott QB062/QB078 Humidifier Module in their projects.