
How to Use ATMEGA32U4: Examples, Pinouts, and Specs
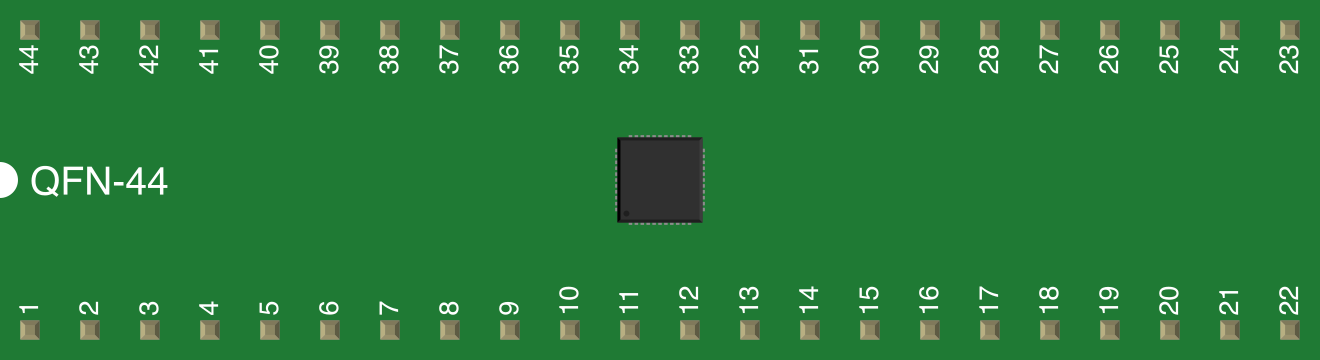
 Design with ATMEGA32U4 in Cirkit Designer
Introduction
The ATMEGA32U4 is a versatile microcontroller from the AVR family, designed by Microchip Technology. It features 32KB of flash memory, 2.5KB of SRAM, and 1KB of EEPROM. One of its standout features is its built-in USB support, which eliminates the need for an external USB-to-serial converter. This makes it an excellent choice for projects requiring USB connectivity, such as keyboards, game controllers, and other USB-enabled devices.
Explore Projects Built with ATMEGA32U4
 Open Project in Cirkit Designer
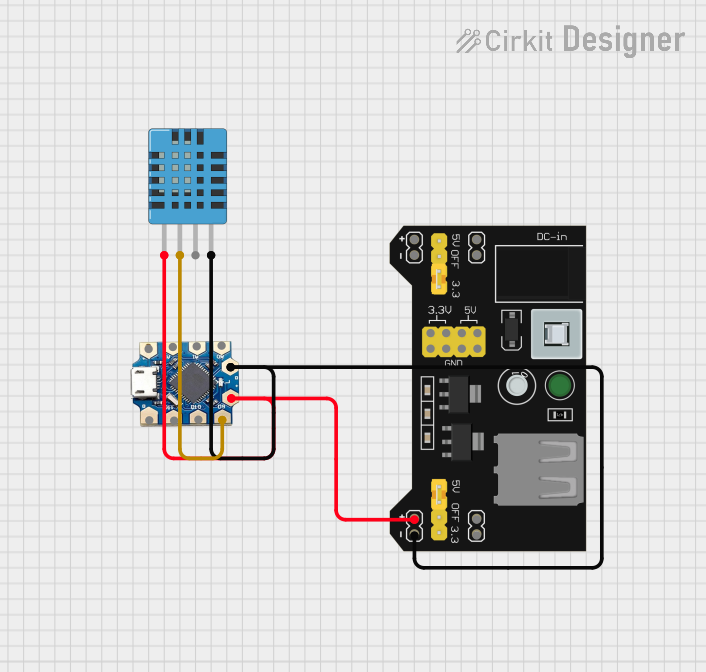 Open Project in Cirkit Designer
 Open Project in Cirkit Designer
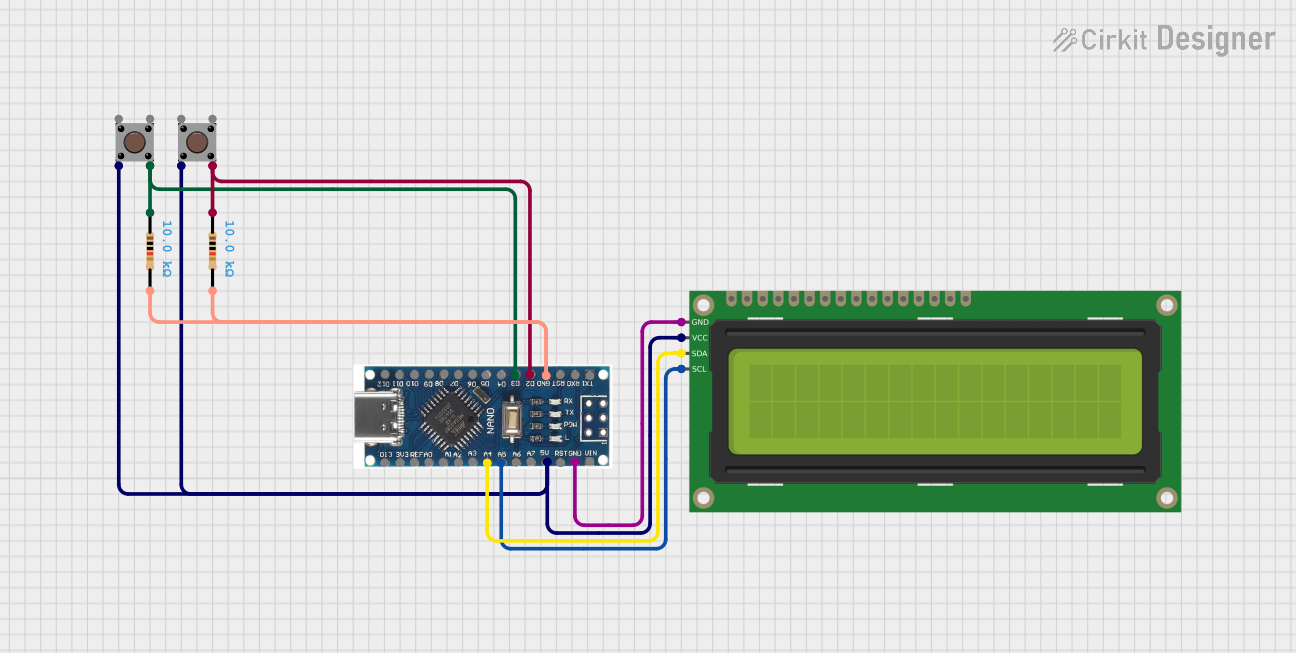 Open Project in Cirkit Designer
Explore Projects Built with ATMEGA32U4
Open Project in Cirkit DesignerOpen Project in Cirkit DesignerOpen Project in Cirkit DesignerOpen Project in Cirkit DesignerCommon Applications
- USB Human Interface Devices (HID) like keyboards and mice
- Game controllers and joysticks
- Data logging and USB communication projects
- DIY electronics and prototyping
- Arduino-compatible boards like the Arduino Leonardo
Technical Specifications
The ATMEGA32U4 is packed with features that make it suitable for a wide range of applications. Below are its key technical specifications:
| Specification | Details |
|---|---|
| Architecture | 8-bit AVR RISC |
| Operating Voltage | 2.7V - 5.5V |
| Flash Memory | 32KB (with 4KB used by bootloader) |
| SRAM | 2.5KB |
| EEPROM | 1KB |
| Clock Speed | Up to 16 MHz |
| USB Support | Full-speed USB 2.0 |
| GPIO Pins | 26 |
| PWM Channels | 7 |
| ADC Channels | 12 (10-bit resolution) |
| Communication Interfaces | UART, SPI, I2C, USB |
| Timers | 4 (Three 8-bit, One 16-bit) |
| Power Consumption | Low-power modes available |
| Package | TQFP-44, QFN-44 |
Pin Configuration
The ATMEGA32U4 has 44 pins, each with specific functions. Below is a summary of the pin configuration:
| Pin | Name | Description |
|---|---|---|
| 1 | VCC | Power supply voltage |
| 2 | GND | Ground |
| 3 | RESET | Active-low reset input |
| 4-11 | PORTB (PB0-PB7) | General-purpose I/O pins |
| 12-19 | PORTC (PC0-PC7) | General-purpose I/O pins |
| 20-27 | PORTD (PD0-PD7) | General-purpose I/O pins |
| 28-35 | PORTE (PE0-PE7) | General-purpose I/O pins |
| 36-43 | PORTF (PF0-PF7) | General-purpose I/O pins, ADC inputs |
| 44 | AVCC | Analog power supply for ADC |
For a detailed pinout diagram, refer to the ATMEGA32U4 datasheet.
Usage Instructions
The ATMEGA32U4 can be used in a variety of circuits, including standalone microcontroller applications or as part of an Arduino-compatible board like the Arduino Leonardo. Below are the steps to use it effectively:
Basic Circuit Setup
- Power Supply: Connect the VCC pin to a 5V power source and the GND pin to ground.
- Reset Pin: Use a 10kΩ pull-up resistor on the RESET pin to prevent accidental resets.
- Crystal Oscillator: If using an external clock, connect a 16 MHz crystal oscillator to the XTAL1 and XTAL2 pins, along with two 22pF capacitors to ground.
- USB Connectivity: Connect the USB D+ and D- lines to the appropriate pins for USB communication.
Programming the ATMEGA32U4
The ATMEGA32U4 can be programmed using the Arduino IDE or AVR programming tools. Below is an example of how to use it with an Arduino UNO:
Example Code: Blink an LED
// This example code blinks an LED connected to pin 13 of the ATMEGA32U4.
// Ensure the LED's cathode is connected to GND via a resistor.

void setup() {
  pinMode(13, OUTPUT); // Set pin 13 as an output
}

void loop() {
  digitalWrite(13, HIGH); // Turn the LED on
  delay(1000);            // Wait for 1 second
  digitalWrite(13, LOW);  // Turn the LED off
  delay(1000);            // Wait for 1 second
}
Important Considerations
- USB Bootloader: The ATMEGA32U4 comes with a pre-installed USB bootloader, allowing it to be programmed directly via USB without additional hardware.
- Voltage Levels: Ensure the operating voltage matches the requirements of your peripherals.
- Decoupling Capacitors: Place 0.1µF decoupling capacitors near the VCC and AVCC pins to reduce noise.
Troubleshooting and FAQs
Common Issues
USB Not Recognized:
- Ensure the correct drivers are installed for the ATMEGA32U4.
- Check the USB cable for faults or try a different cable.
- Verify that the microcontroller is powered correctly.
Program Upload Fails:
- Ensure the correct board and port are selected in the Arduino IDE.
- Check if the bootloader is intact. If not, reflash the bootloader using an ISP programmer.
Erratic Behavior:
- Verify that all connections are secure and that the power supply is stable.
- Check for shorts or incorrect wiring in the circuit.
FAQs
Q: Can the ATMEGA32U4 be used without an external crystal oscillator?
A: Yes, it has an internal 8 MHz oscillator, but for USB applications, an external 16 MHz crystal is recommended.
Q: How do I restore the bootloader if it gets corrupted?
A: Use an AVR ISP programmer to reflash the bootloader. The Arduino IDE includes a "Burn Bootloader" option for this purpose.
Q: What is the maximum current the GPIO pins can source/sink?
A: Each GPIO pin can source/sink up to 40mA, but it is recommended to limit it to 20mA for safe operation.
By following this documentation, you can effectively use the ATMEGA32U4 in your projects and troubleshoot common issues with ease.