How to Use 2 Amp Blade Fuse: Examples, Pinouts, and Specs
Introduction
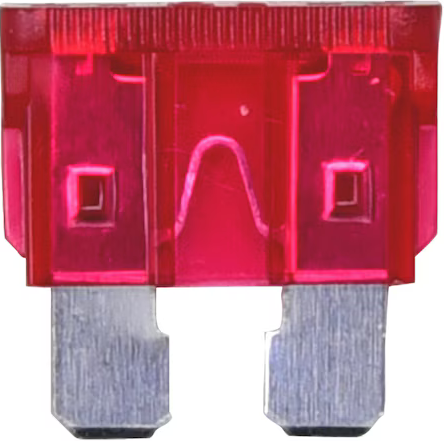
A 2 Amp Blade Fuse is a protective device designed to safeguard electrical circuits by interrupting the flow of current when it exceeds 2 Amps. This prevents potential damage to circuit components caused by overcurrent or short circuits. Blade fuses are compact, easy to install, and widely used in automotive, industrial, and consumer electronics applications.
Explore Projects Built with 2 Amp Blade Fuse

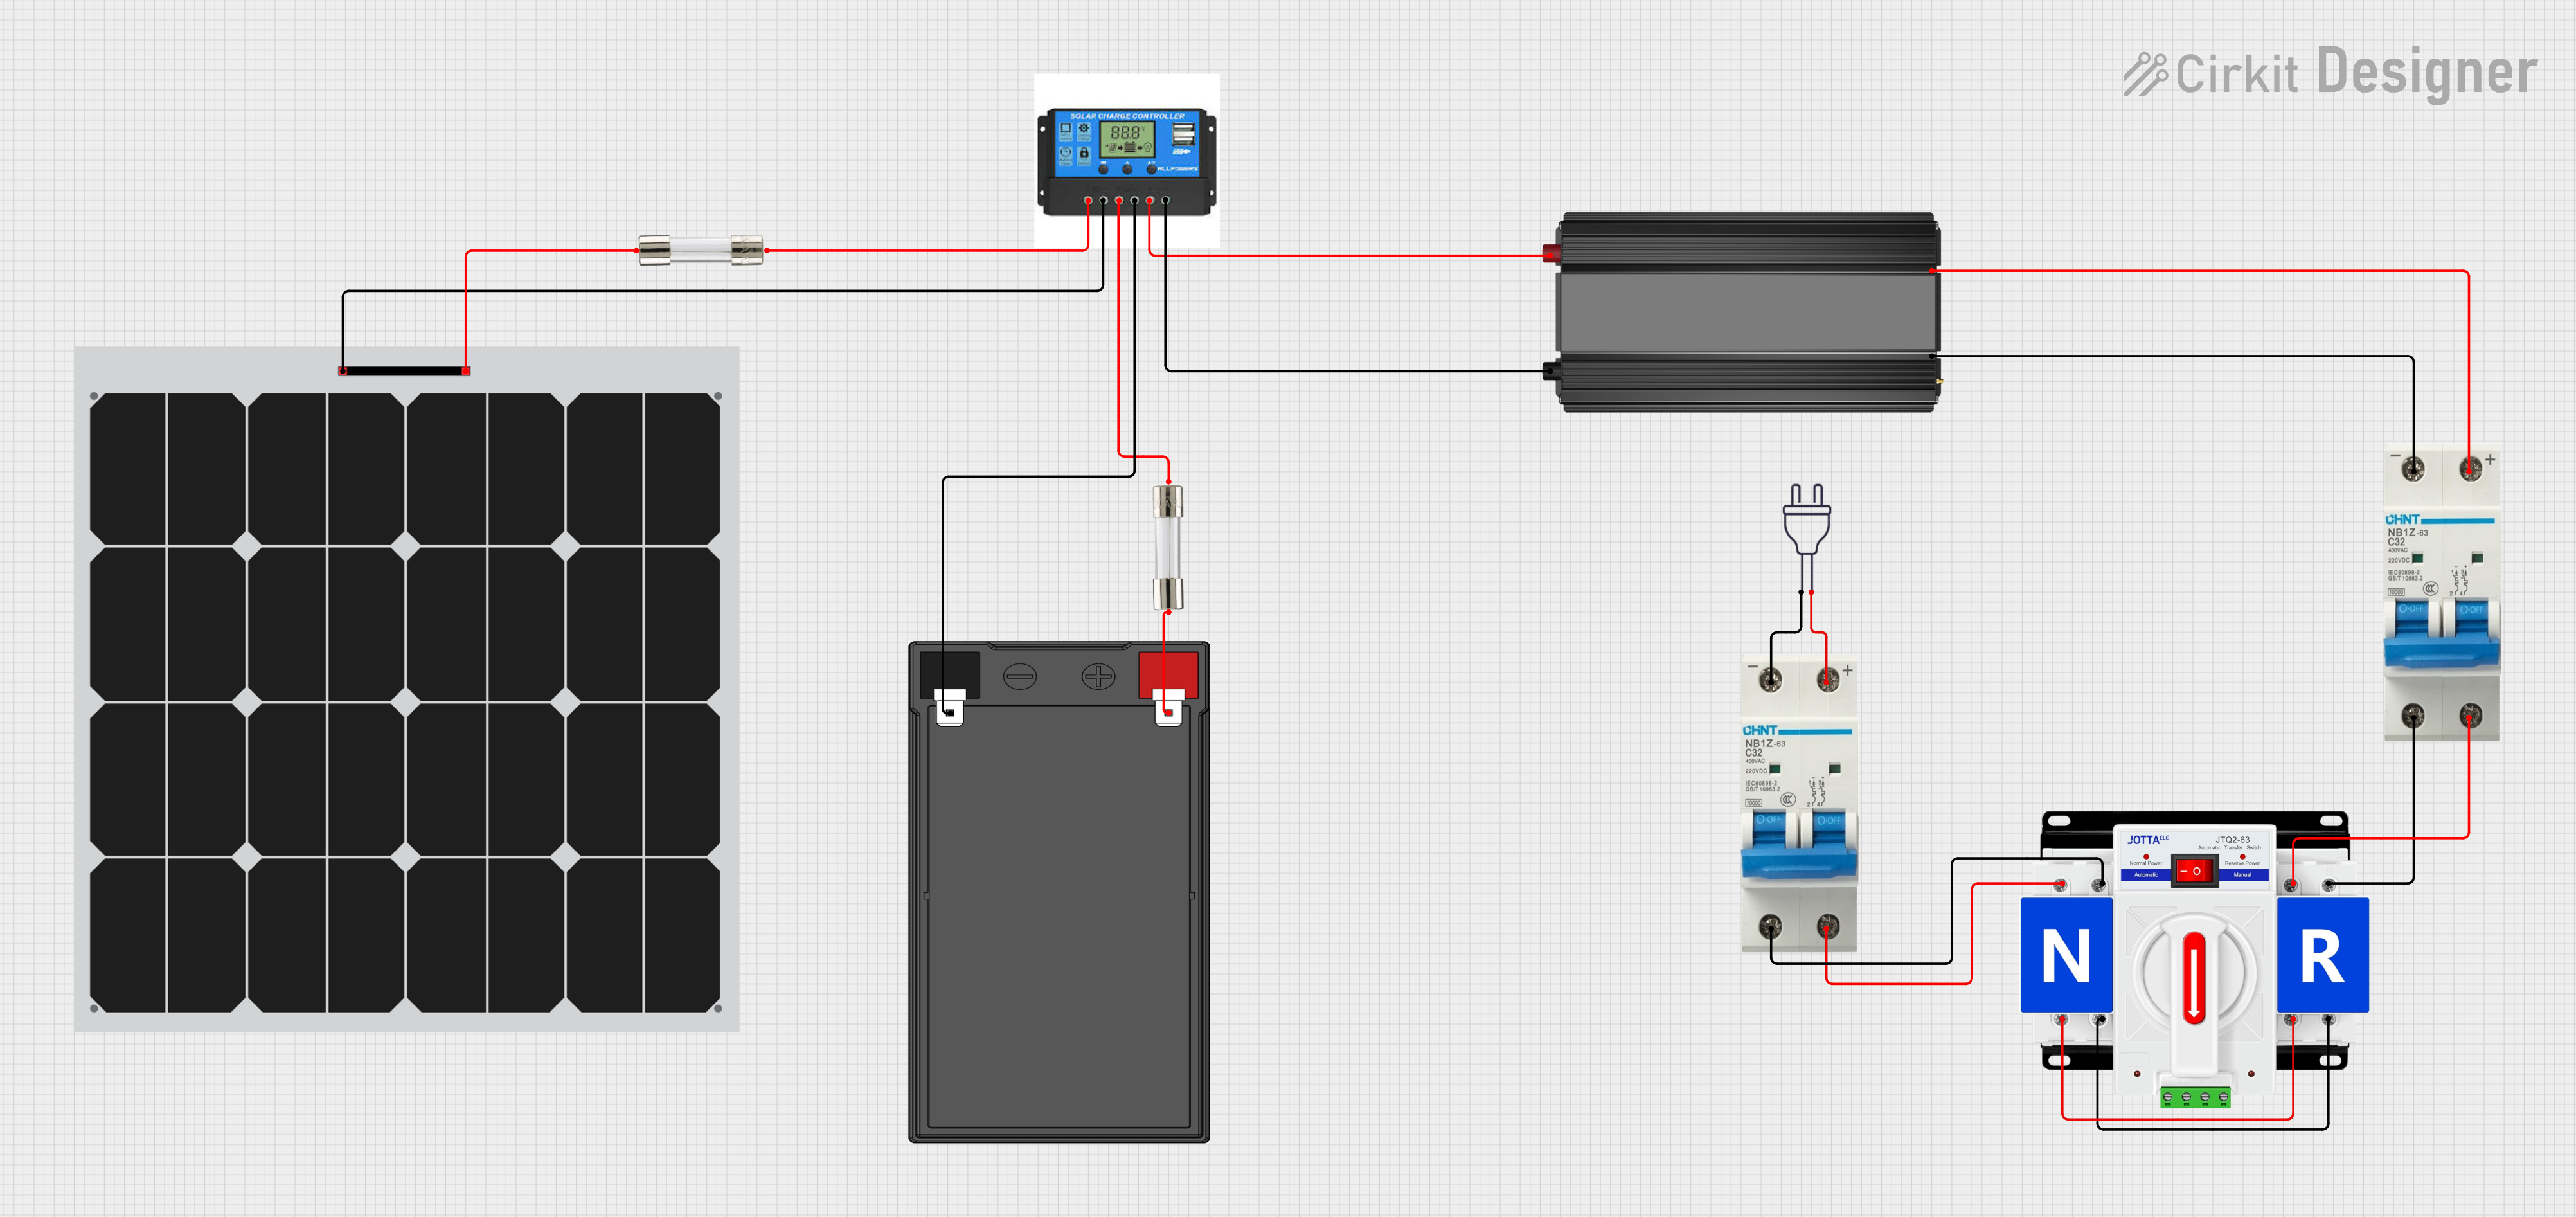
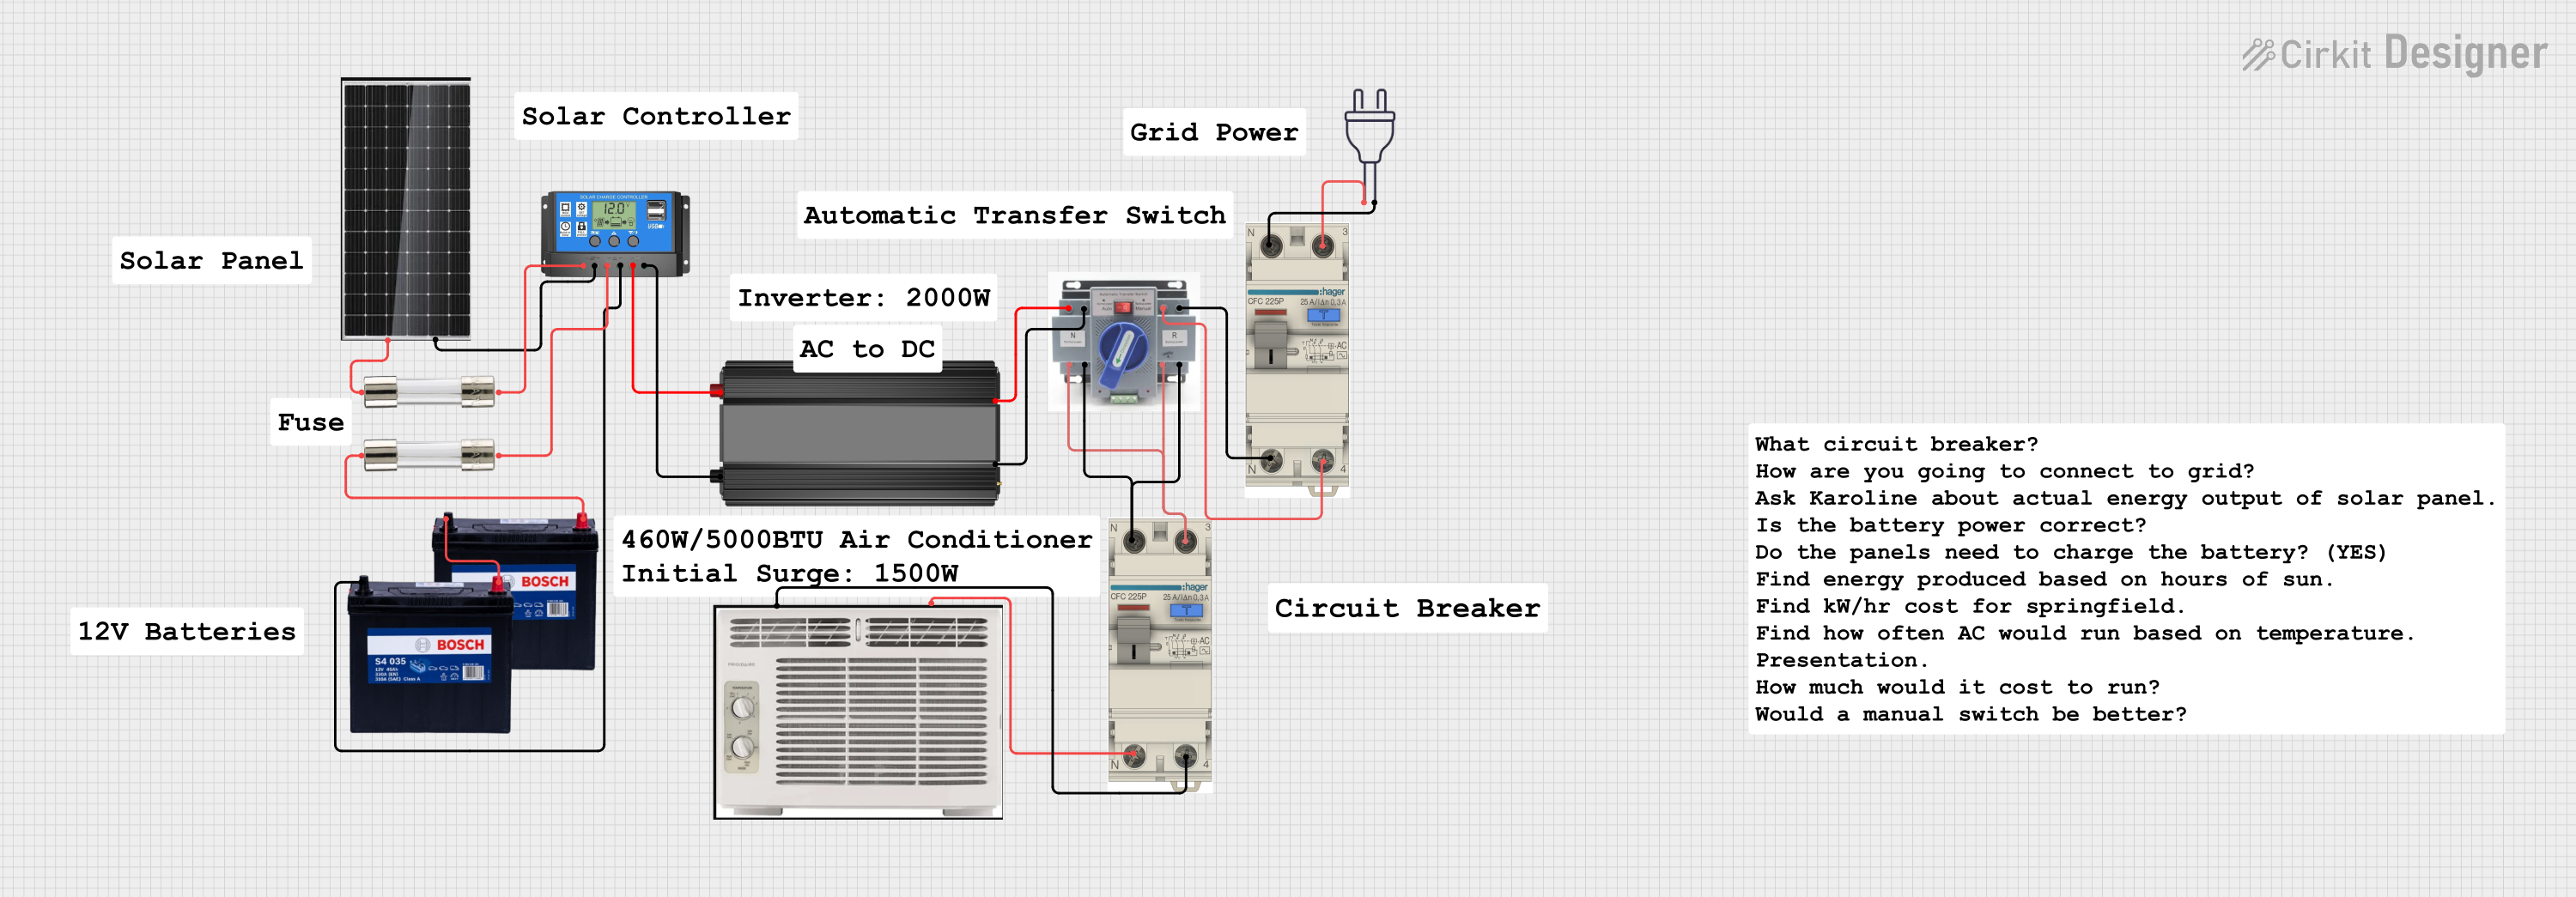
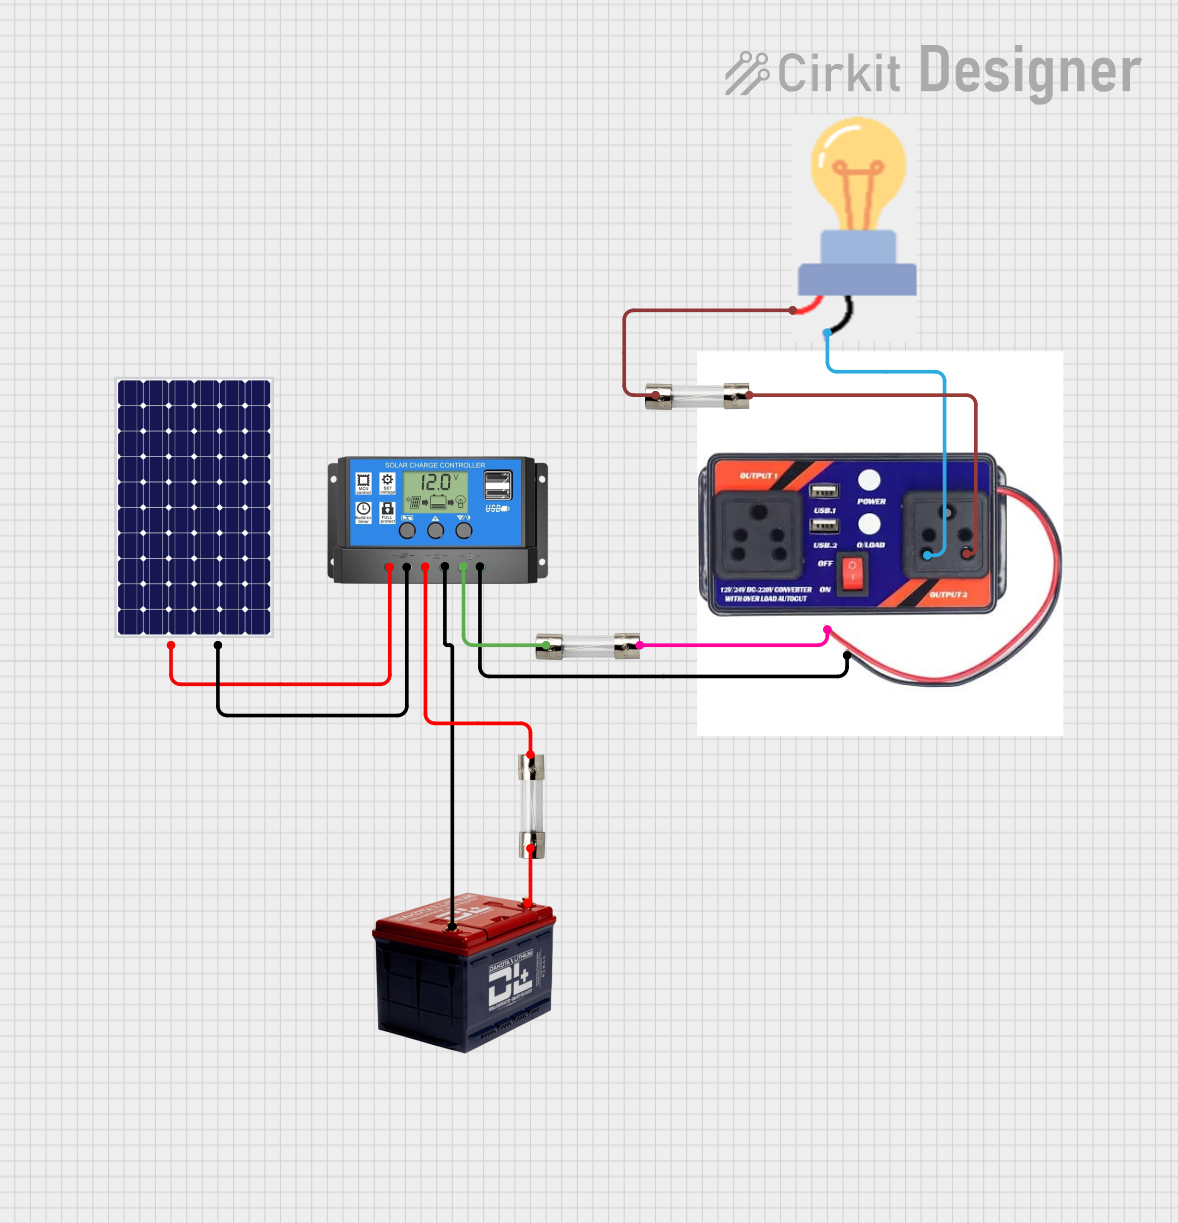
Explore Projects Built with 2 Amp Blade Fuse
Common Applications and Use Cases
- Automotive electrical systems (e.g., protecting lighting circuits, radios, or sensors)
- Low-current electronic devices and appliances
- Industrial control panels and machinery
- DIY electronics projects requiring overcurrent protection
Technical Specifications
The following table outlines the key technical details of the 2 Amp Blade Fuse:
| Parameter | Value |
|---|---|
| Rated Current | 2 Amps |
| Rated Voltage | 32 Volts DC |
| Fuse Type | Blade (ATO/ATC style) |
| Material | Plastic housing, metal fuse element |
| Operating Temperature | -40°C to +105°C |
| Interrupting Capacity | 1000 Amps @ 32V DC |
| Dimensions | 19.1mm x 5.1mm x 18.5mm |
| Color Code | Grey (indicating 2 Amps) |
Pin Configuration and Descriptions
Blade fuses do not have traditional "pins" like ICs but instead feature two metal prongs for insertion into a fuse holder. The table below describes the prongs:
| Prong | Description |
|---|---|
| Prong 1 | Connects to the power source (input) |
| Prong 2 | Connects to the load (output) |
Usage Instructions
How to Use the 2 Amp Blade Fuse in a Circuit
- Select the Correct Fuse Holder: Ensure the fuse holder is compatible with ATO/ATC blade fuses and rated for at least 2 Amps and 32V DC.
- Insert the Fuse: Push the 2 Amp Blade Fuse into the fuse holder until it is securely seated.
- Connect the Fuse Holder:
- Connect one terminal of the fuse holder to the power source.
- Connect the other terminal to the load (e.g., a device or circuit to be protected).
- Verify the Circuit: Ensure all connections are secure and the circuit does not draw more than 2 Amps under normal operation.
Important Considerations and Best Practices
- Fuse Rating: Always use a fuse with the correct current rating (2 Amps in this case). Using a higher-rated fuse can compromise circuit protection.
- Voltage Rating: Ensure the circuit voltage does not exceed the fuse's rated voltage (32V DC).
- Replacement: If the fuse blows, identify and resolve the cause of the overcurrent before replacing the fuse.
- Environment: Avoid exposing the fuse to extreme heat, moisture, or corrosive environments, as this can degrade its performance.
Example: Using a 2 Amp Blade Fuse with an Arduino UNO
In a project where an Arduino UNO is powered by a 12V DC source, a 2 Amp Blade Fuse can protect the circuit from overcurrent. Below is an example wiring setup:
- Connect the positive terminal of the 12V power source to one prong of the fuse holder.
- Connect the other prong of the fuse holder to the VIN pin of the Arduino UNO.
- Connect the negative terminal of the power source to the GND pin of the Arduino UNO.
// Example Arduino code for a simple LED circuit
// This code assumes the circuit is protected by a 2 Amp Blade Fuse

const int ledPin = 13; // Pin connected to the LED

void setup() {
  pinMode(ledPin, OUTPUT); // Set the LED pin as an output
}

void loop() {
  digitalWrite(ledPin, HIGH); // Turn the LED on
  delay(1000);                // Wait for 1 second
  digitalWrite(ledPin, LOW);  // Turn the LED off
  delay(1000);                // Wait for 1 second
}
Troubleshooting and FAQs
Common Issues and Solutions
| Issue | Solution |
|---|---|
| Fuse blows immediately after installation | Check for short circuits or excessive current draw in the circuit. |
| Fuse does not fit in the holder | Ensure the fuse holder is designed for ATO/ATC blade fuses. |
| Circuit does not power on after fuse installation | Verify that the fuse is not blown and is securely seated in the holder. |
| Fuse blows repeatedly | Identify and fix the root cause of overcurrent before replacing the fuse. |
FAQs
Q: Can I use a higher-rated fuse (e.g., 5 Amps) instead of a 2 Amp fuse?
A: No, using a higher-rated fuse can compromise the protection of your circuit and may result in damage to components.
Q: How do I know if the fuse is blown?
A: A blown fuse typically has a visible break in the metal element inside the plastic housing. You can also use a multimeter to check for continuity.
Q: Can the 2 Amp Blade Fuse be used in AC circuits?
A: No, this fuse is rated for DC circuits up to 32V. For AC applications, use a fuse specifically rated for AC voltage.
Q: What happens if I install the fuse backward?
A: Blade fuses are non-polarized, so they can be installed in either orientation without affecting functionality.