
How to Use 7 in One NPK Sensor: Examples, Pinouts, and Specs
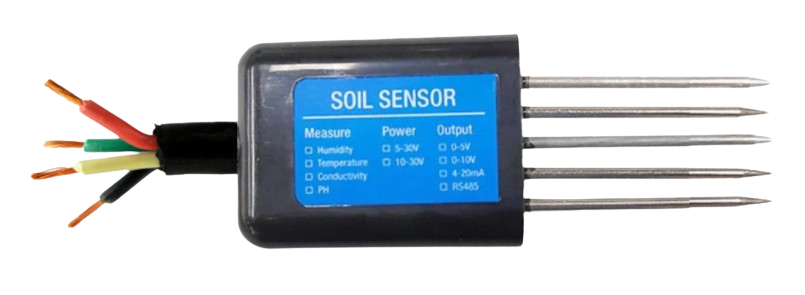
 Design with 7 in One NPK Sensor in Cirkit Designer
Introduction
The 7 in One NPK Sensor is a versatile soil analysis tool designed to measure the levels of nitrogen (N), phosphorus (P), and potassium (K) in soil. Additionally, it provides readings for soil moisture, temperature, electrical conductivity (EC), and total dissolved solids (TDS). Manufactured by Arduino with the part ID UNO, this sensor is ideal for agricultural applications, gardening, and research projects. By providing real-time data, it helps optimize plant growth and improve soil management practices.
Explore Projects Built with 7 in One NPK Sensor
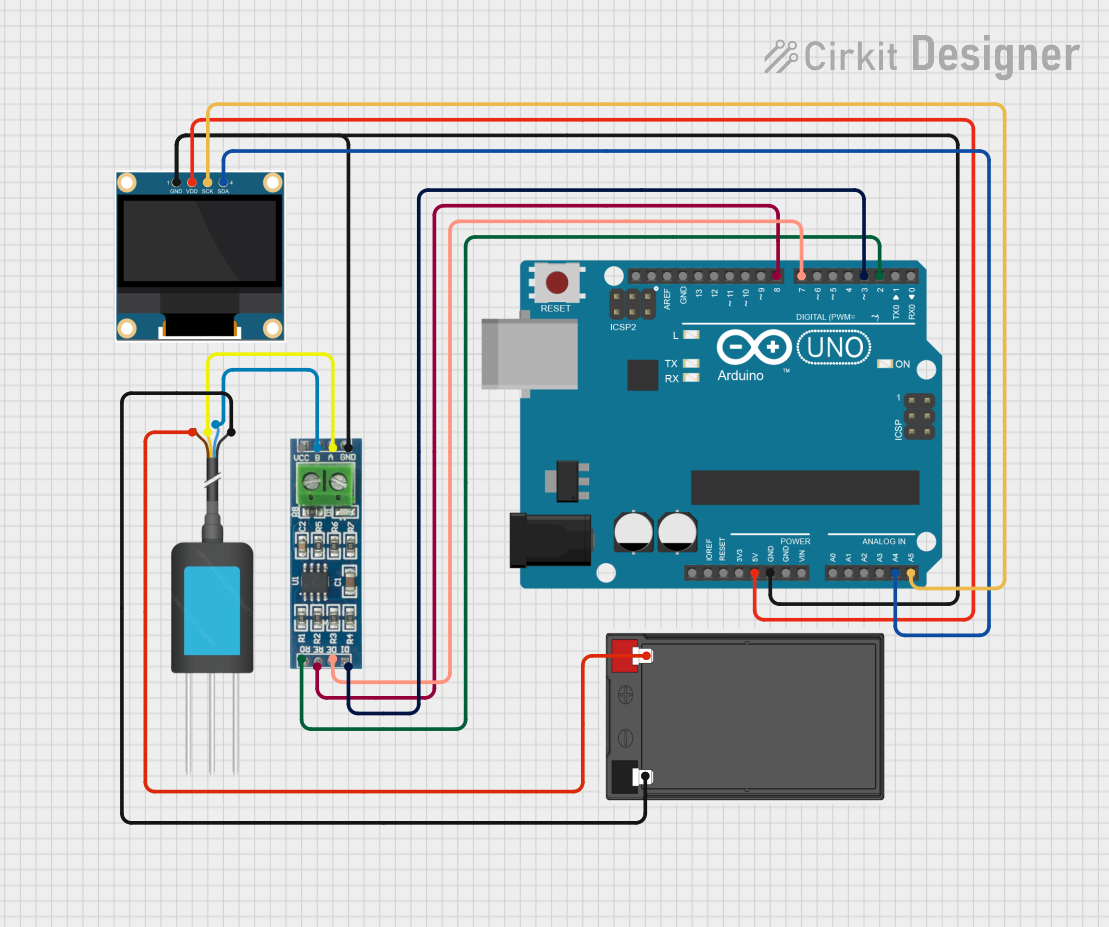 Open Project in Cirkit Designer
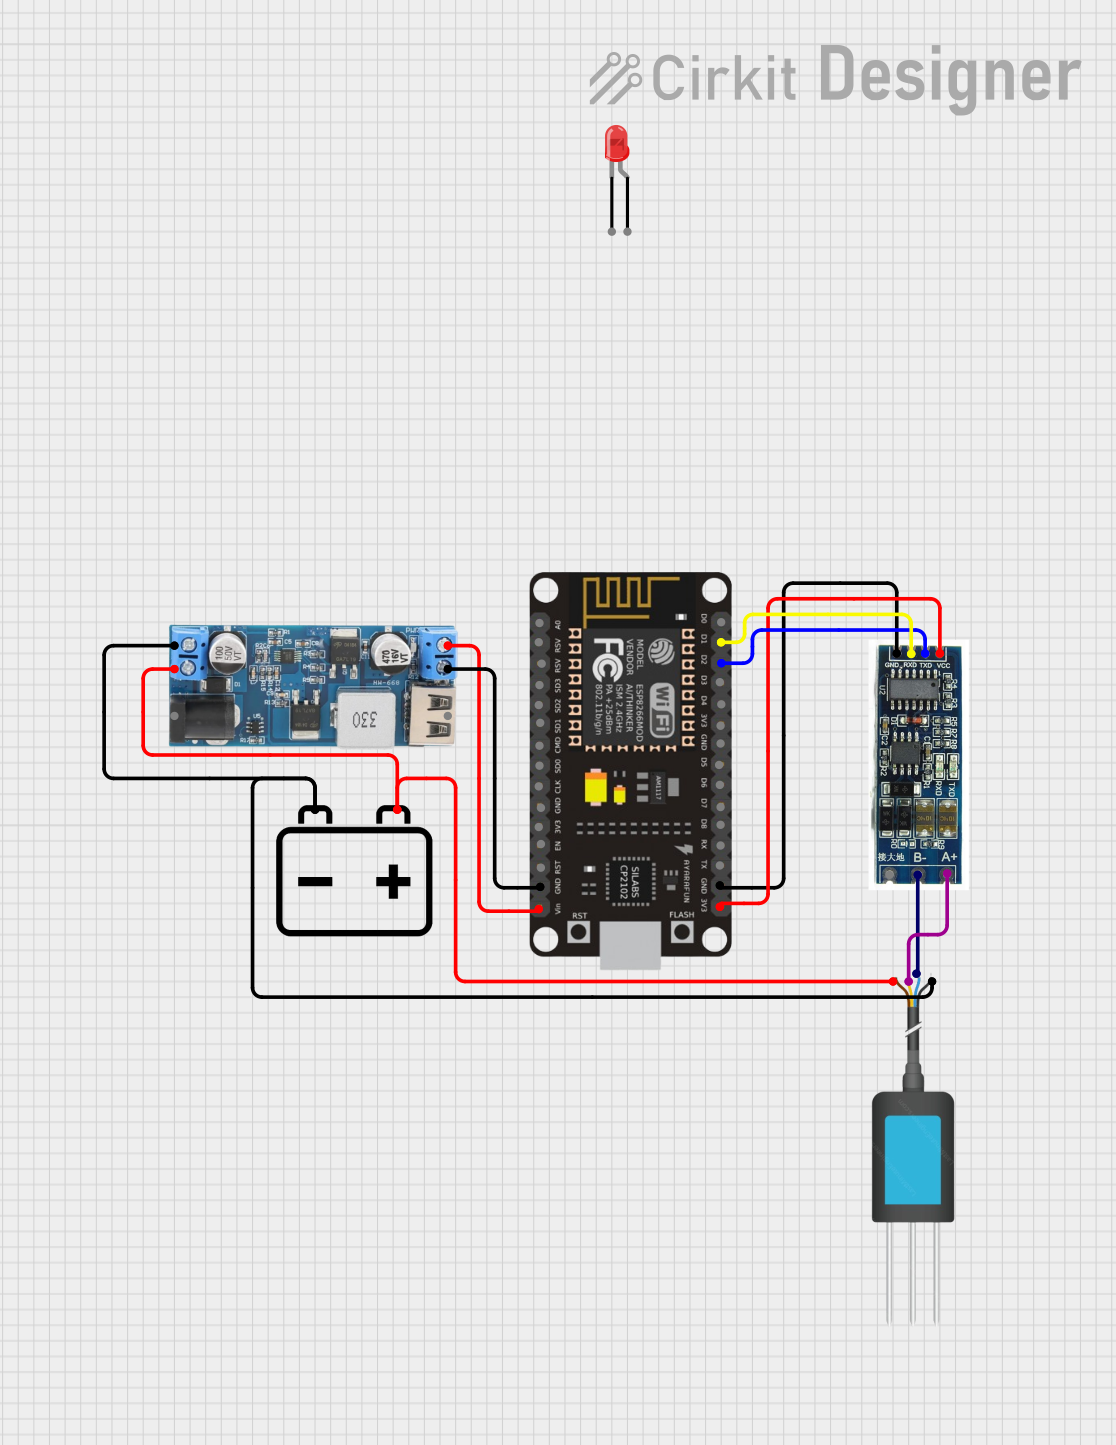 Open Project in Cirkit Designer
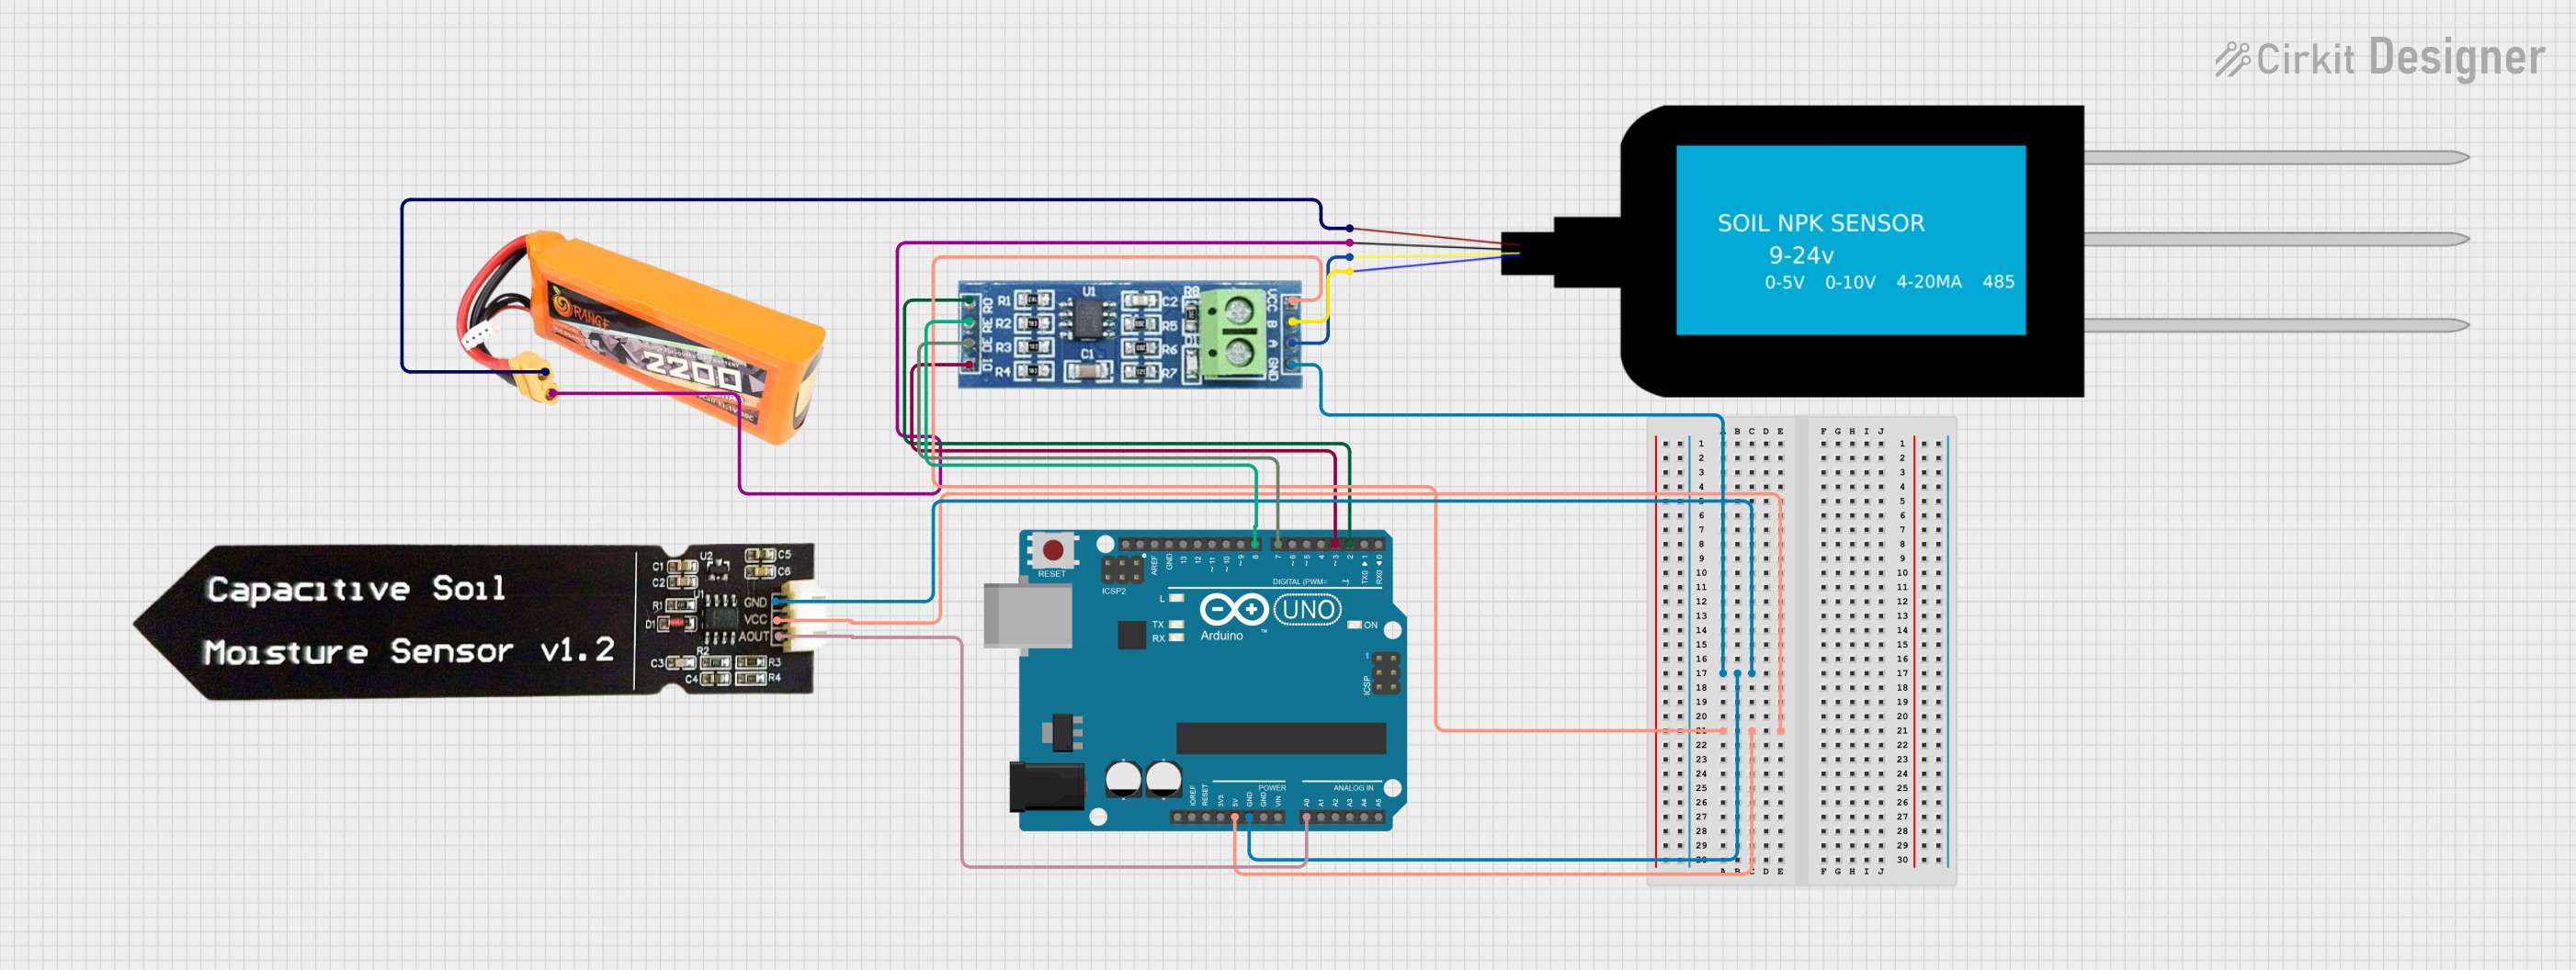 Open Project in Cirkit Designer
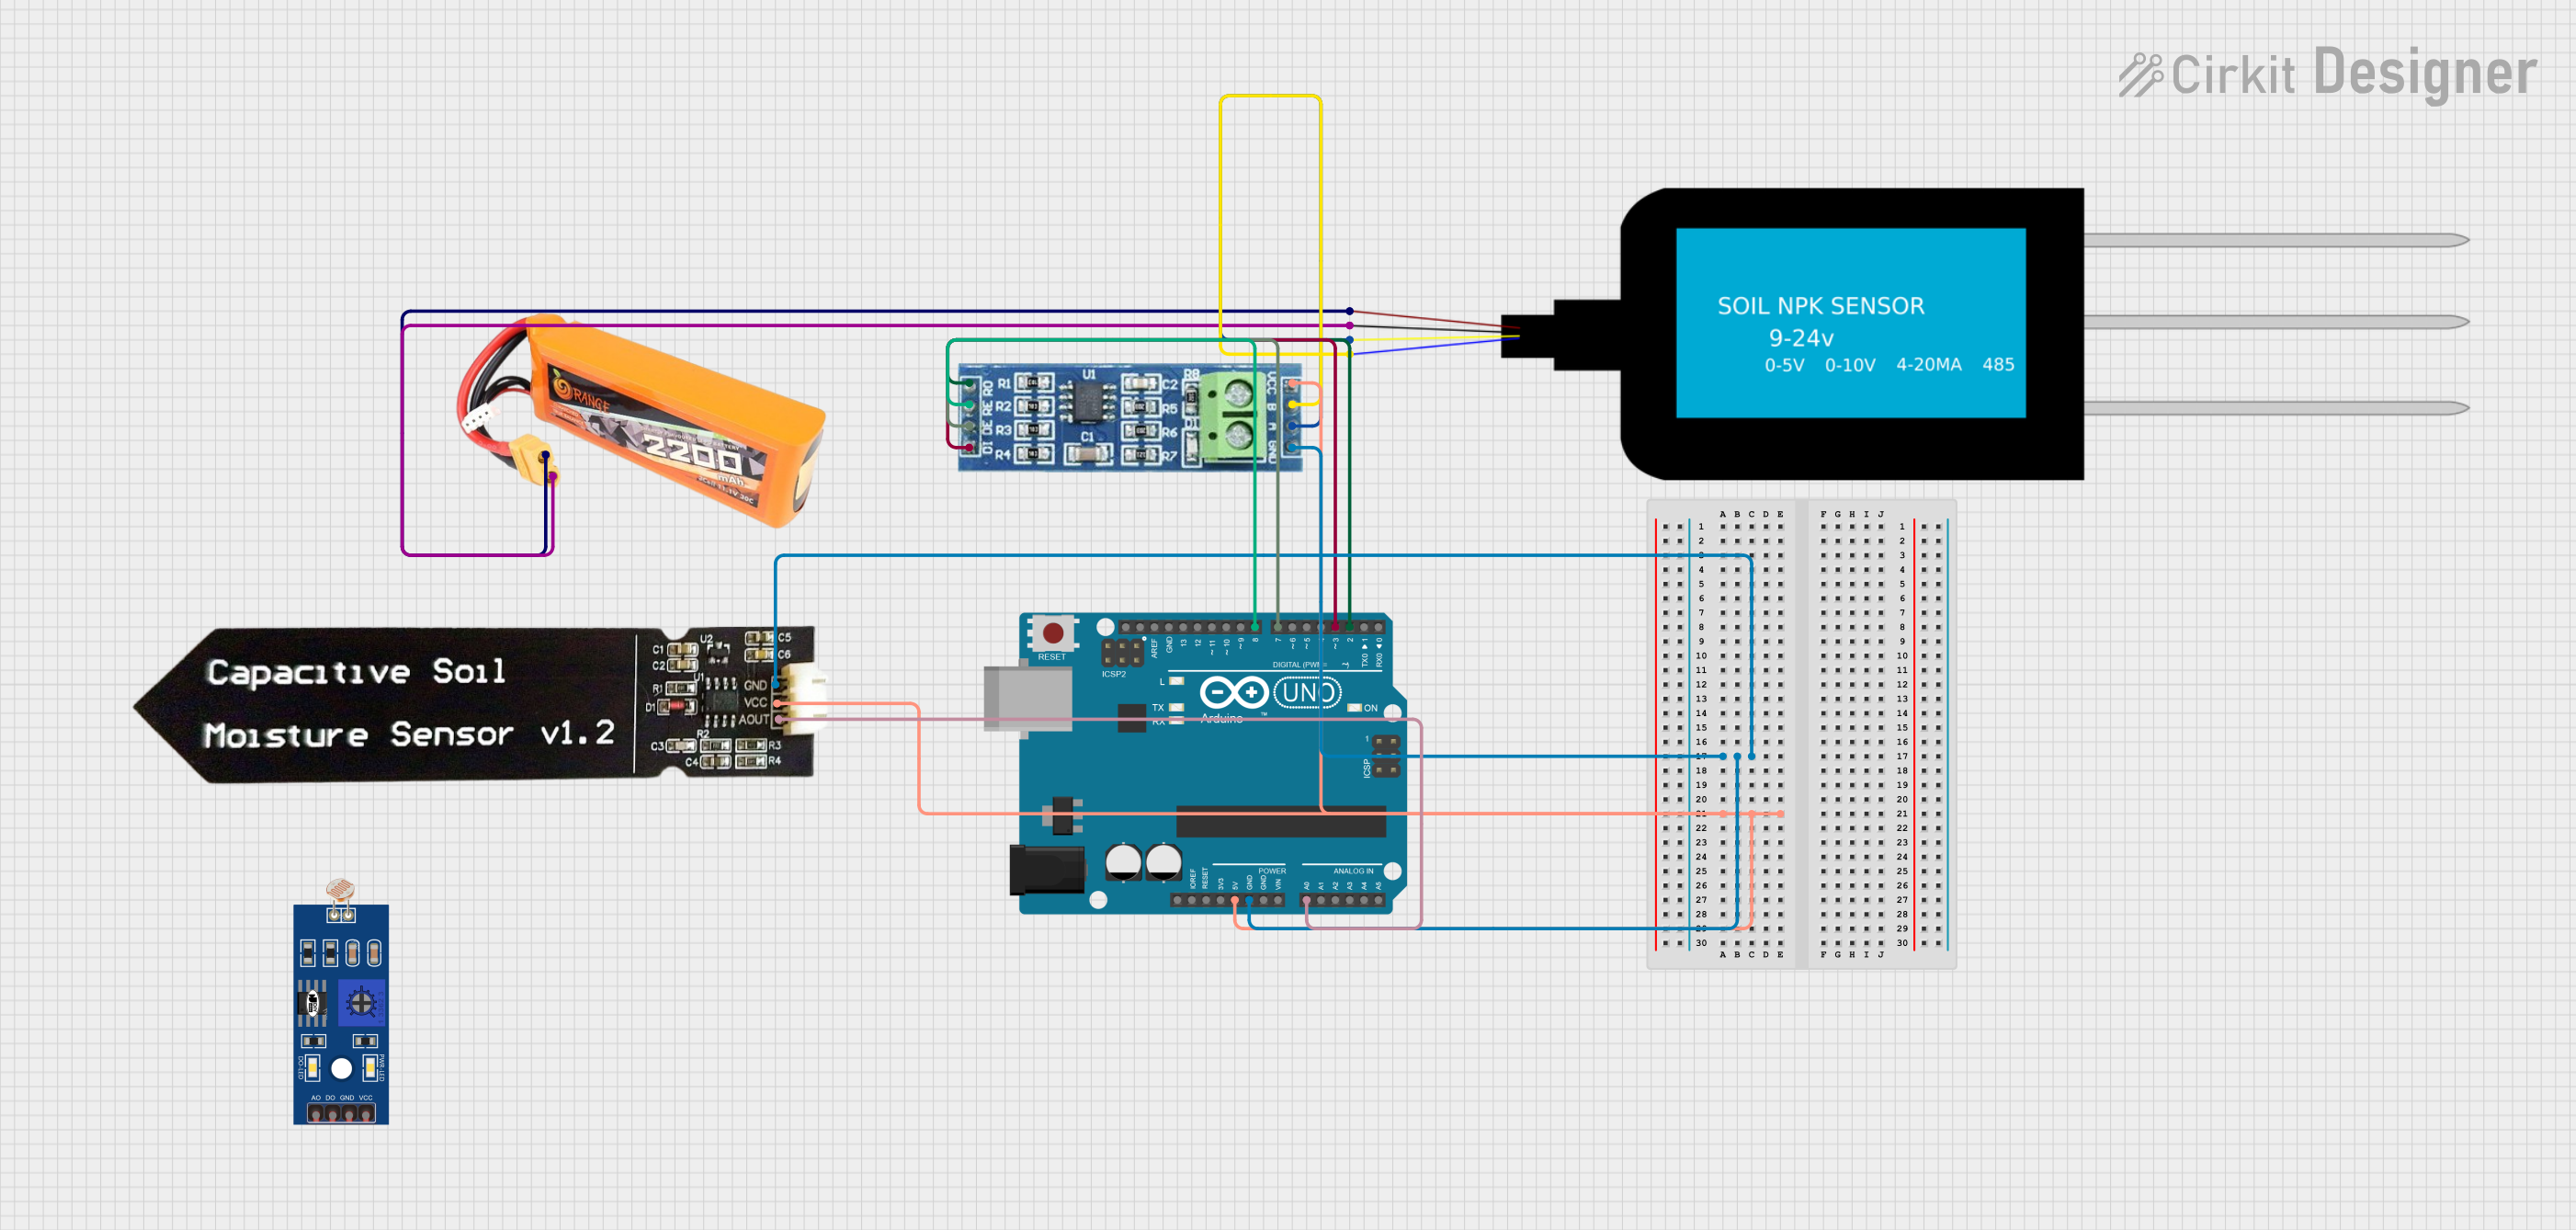 Open Project in Cirkit Designer
Explore Projects Built with 7 in One NPK Sensor
Open Project in Cirkit DesignerOpen Project in Cirkit DesignerOpen Project in Cirkit DesignerOpen Project in Cirkit DesignerCommon Applications
- Precision agriculture and farming
- Soil quality monitoring for gardening
- Research and educational projects
- Automated irrigation systems
- Greenhouse management
Technical Specifications
Key Technical Details
| Parameter | Specification |
|---|---|
| Operating Voltage | 5V DC |
| Operating Current | ≤ 50mA |
| Measurement Range (NPK) | 0–1999 mg/kg |
| Soil Moisture Range | 0–100% |
| Soil Temperature Range | -40°C to 80°C |
| Electrical Conductivity | 0–10,000 μS/cm |
| Total Dissolved Solids | 0–10,000 ppm |
| Communication Interface | UART (9600 baud rate) |
| Probe Material | Stainless steel |
| Cable Length | 1 meter |
| Dimensions | 145mm x 30mm x 15mm |
Pin Configuration and Descriptions
| Pin Name | Description |
|---|---|
| VCC | Power supply input (5V DC) |
| GND | Ground connection |
| RX | UART receive pin (connect to Arduino TX) |
| TX | UART transmit pin (connect to Arduino RX) |
Usage Instructions
How to Use the Component in a Circuit
Wiring the Sensor:
- Connect the VCC pin of the sensor to the 5V pin on the Arduino UNO.
- Connect the GND pin of the sensor to the GND pin on the Arduino UNO.
- Connect the RX pin of the sensor to the TX pin on the Arduino UNO.
- Connect the TX pin of the sensor to the RX pin on the Arduino UNO.
Powering the Sensor:
- Ensure the Arduino UNO is powered via USB or an external power source.
Reading Data:
- The sensor communicates via UART, sending data in a predefined format. Use the Arduino Serial library to read and parse the data.
Important Considerations and Best Practices
- Calibration: The sensor may require calibration for accurate NPK readings. Follow the manufacturer's calibration procedure if necessary.
- Placement: Insert the probe fully into the soil for accurate measurements. Avoid rocky or extremely dry soil.
- Cleaning: Clean the probe with distilled water after use to prevent residue buildup.
- Power Supply: Ensure a stable 5V power supply to avoid inaccurate readings.
- Avoid Damage: Do not bend or apply excessive force to the probe.
Sample Arduino Code
Below is an example of how to interface the 7 in One NPK Sensor with an Arduino UNO:
#include <SoftwareSerial.h>

// Define RX and TX pins for the sensor
SoftwareSerial npkSensor(10, 11); // RX = pin 10, TX = pin 11

void setup() {
  Serial.begin(9600); // Initialize Serial Monitor at 9600 baud
  npkSensor.begin(9600); // Initialize sensor communication at 9600 baud
  Serial.println("7 in One NPK Sensor Initialized");
}

void loop() {
  if (npkSensor.available()) {
    String sensorData = ""; // Variable to store sensor data

    // Read data from the sensor
    while (npkSensor.available()) {
      char c = npkSensor.read();
      sensorData += c;
    }

    // Print the received data to the Serial Monitor
    Serial.println("Sensor Data: " + sensorData);
  }

  delay(1000); // Wait 1 second before the next reading
}
Code Explanation
- The
SoftwareSeriallibrary is used to communicate with the sensor via UART. - The sensor's RX and TX pins are connected to Arduino pins 10 and 11, respectively.
- The code reads data from the sensor and prints it to the Serial Monitor for analysis.
Troubleshooting and FAQs
Common Issues and Solutions
No Data Received:
- Ensure the sensor is properly connected to the Arduino UNO.
- Verify that the baud rate is set to 9600 in both the code and the sensor.
Inaccurate Readings:
- Check if the probe is clean and fully inserted into the soil.
- Calibrate the sensor if necessary.
Sensor Not Responding:
- Confirm that the sensor is receiving a stable 5V power supply.
- Check the wiring for loose or incorrect connections.
Interference in Readings:
- Avoid placing the sensor near strong electromagnetic sources.
- Ensure the soil is not excessively dry or rocky.
FAQs
Q: Can this sensor be used in hydroponics?
A: Yes, the sensor can measure EC and TDS, making it suitable for hydroponic applications.
Q: How often should the sensor be calibrated?
A: Calibration frequency depends on usage. For critical applications, calibrate monthly or as needed.
Q: Is the sensor waterproof?
A: The probe is waterproof, but avoid submerging the entire sensor module in water.
Q: Can I extend the cable length?
A: Yes, but ensure proper shielding to prevent signal degradation.
By following this documentation, users can effectively integrate the 7 in One NPK Sensor into their projects and achieve accurate soil analysis for optimized agricultural practices.