Cirkit Designer Logo
Cirkit Designer
Your all-in-one circuit design IDE
Home / 
Component Documentation

How to Use Adafruit Quad AlphaNumeric Featherwing - White: Examples, Pinouts, and Specs

Image of Adafruit Quad AlphaNumeric Featherwing - White
Cirkit Designer LogoDesign with Adafruit Quad AlphaNumeric Featherwing - White in Cirkit Designer

Introduction

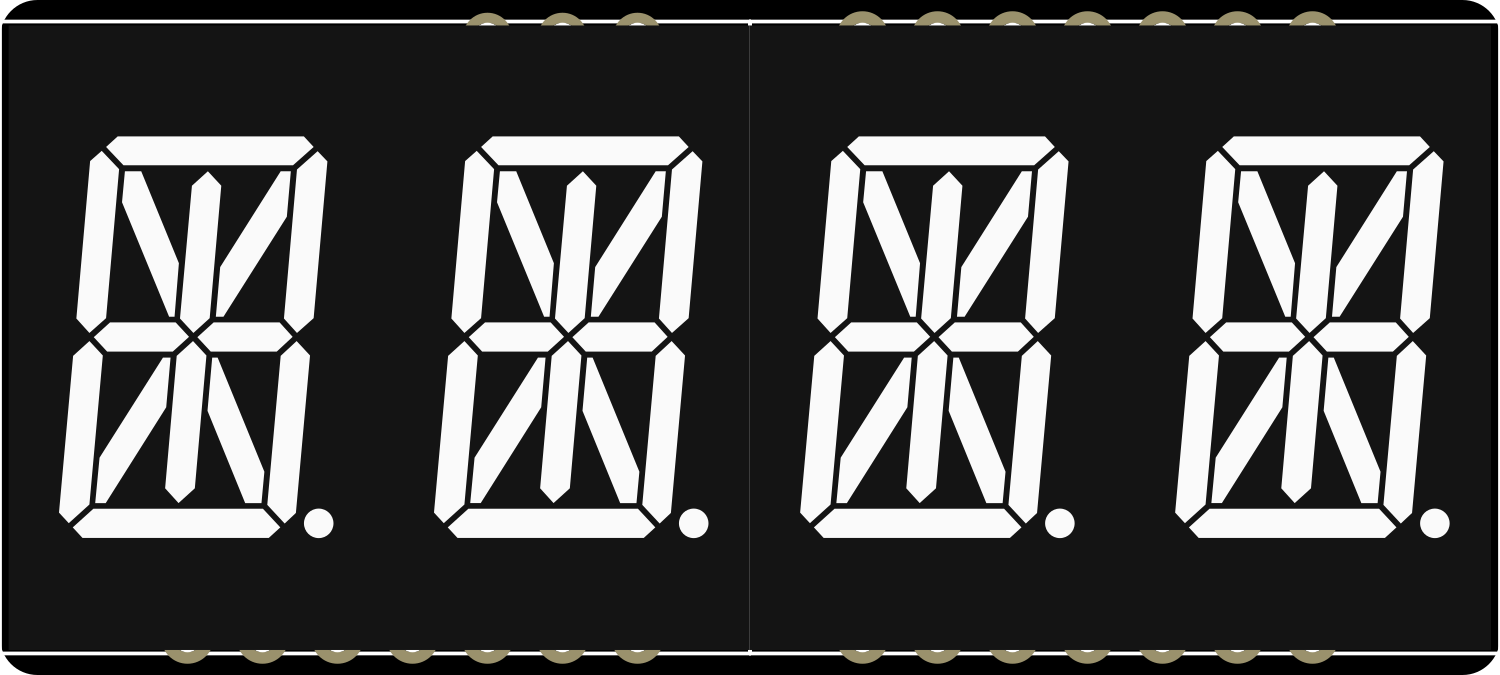
The Adafruit Quad AlphaNumeric Featherwing - White is a versatile and easy-to-use LED matrix display board designed for the Adafruit Feather series of microcontroller boards. This component features four 14-segment alphanumeric displays capable of showing text, numbers, and symbols in a bright white color. It is ideal for adding a user interface to projects without the need for a full graphical display, making it perfect for time displays, counters, and readouts in various electronics projects.

Explore Projects Built with Adafruit Quad AlphaNumeric Featherwing - White

Use Cirkit Designer to design, explore, and prototype these projects online. Some projects support real-time simulation. Click "Open Project" to start designing instantly!
ESP32-Based Vibration Feedback System with Quad Alphanumeric Display and ADXL343 Accelerometer
Image of EC444 - Quest 3: A project utilizing Adafruit Quad AlphaNumeric Featherwing - White in a practical application
This circuit features an Adafruit HUZZAH32 ESP32 Feather board as the central microcontroller, which is connected to an Adafruit Quad AlphaNumeric Featherwing display and an Adafruit ADXL343 accelerometer via I2C communication (SCL and SDA lines). The ESP32 controls a vibration motor connected to one of its GPIO pins (A5_IO4) and shares a common power supply (3.3V) and ground (GND) with the other components. The purpose of this circuit is likely to read acceleration data, display information on the alphanumeric display, and provide haptic feedback through the vibration motor.
Cirkit Designer LogoOpen Project in Cirkit Designer
Arduino UNO and OLED FeatherWing Display: Battery-Powered Hello World Project
Image of ARDUINO_SSD1306: A project utilizing Adafruit Quad AlphaNumeric Featherwing - White in a practical application
This circuit consists of an Arduino UNO connected to an Adafruit OLED FeatherWing display via I2C communication (SDA and SCL lines). The Arduino is powered through a Vcc source and provides 3.3V and GND connections to the OLED display. The Arduino runs a program to display 'Hello, World!' on the OLED screen.
Cirkit Designer LogoOpen Project in Cirkit Designer
Arduino UNO and Adafruit FeatherWing Controlled DC Motor System with RC Receiver
Image of Manta Bot: A project utilizing Adafruit Quad AlphaNumeric Featherwing - White in a practical application
This circuit is a remote-controlled system that uses an Arduino UNO to interface with an RC receiver module and control four DC motors via an Adafruit DC+Stepper FeatherWing. The motors are powered by a 12V battery, and the system includes a rocker switch for power control.
Cirkit Designer LogoOpen Project in Cirkit Designer
Touch-Sensitive Interface with Adafruit MPR121 and Feather 32u4 Bluefruit
Image of MPR121: A project utilizing Adafruit Quad AlphaNumeric Featherwing - White in a practical application
This circuit integrates an Adafruit MPR121 capacitive touch sensor with an Adafruit Feather 32u4 Bluefruit microcontroller. The MPR121 is powered by the Feather and communicates via I2C (SCL and SDA) to detect touch inputs, which can be processed or transmitted wirelessly by the Feather.
Cirkit Designer LogoOpen Project in Cirkit Designer

Explore Projects Built with Adafruit Quad AlphaNumeric Featherwing - White

Use Cirkit Designer to design, explore, and prototype these projects online. Some projects support real-time simulation. Click "Open Project" to start designing instantly!
Image of EC444 - Quest 3: A project utilizing Adafruit Quad AlphaNumeric Featherwing - White in a practical application
ESP32-Based Vibration Feedback System with Quad Alphanumeric Display and ADXL343 Accelerometer
This circuit features an Adafruit HUZZAH32 ESP32 Feather board as the central microcontroller, which is connected to an Adafruit Quad AlphaNumeric Featherwing display and an Adafruit ADXL343 accelerometer via I2C communication (SCL and SDA lines). The ESP32 controls a vibration motor connected to one of its GPIO pins (A5_IO4) and shares a common power supply (3.3V) and ground (GND) with the other components. The purpose of this circuit is likely to read acceleration data, display information on the alphanumeric display, and provide haptic feedback through the vibration motor.
Cirkit Designer LogoOpen Project in Cirkit Designer
Image of ARDUINO_SSD1306: A project utilizing Adafruit Quad AlphaNumeric Featherwing - White in a practical application
Arduino UNO and OLED FeatherWing Display: Battery-Powered Hello World Project
This circuit consists of an Arduino UNO connected to an Adafruit OLED FeatherWing display via I2C communication (SDA and SCL lines). The Arduino is powered through a Vcc source and provides 3.3V and GND connections to the OLED display. The Arduino runs a program to display 'Hello, World!' on the OLED screen.
Cirkit Designer LogoOpen Project in Cirkit Designer
Image of Manta Bot: A project utilizing Adafruit Quad AlphaNumeric Featherwing - White in a practical application
Arduino UNO and Adafruit FeatherWing Controlled DC Motor System with RC Receiver
This circuit is a remote-controlled system that uses an Arduino UNO to interface with an RC receiver module and control four DC motors via an Adafruit DC+Stepper FeatherWing. The motors are powered by a 12V battery, and the system includes a rocker switch for power control.
Cirkit Designer LogoOpen Project in Cirkit Designer
Image of MPR121: A project utilizing Adafruit Quad AlphaNumeric Featherwing - White in a practical application
Touch-Sensitive Interface with Adafruit MPR121 and Feather 32u4 Bluefruit
This circuit integrates an Adafruit MPR121 capacitive touch sensor with an Adafruit Feather 32u4 Bluefruit microcontroller. The MPR121 is powered by the Feather and communicates via I2C (SCL and SDA) to detect touch inputs, which can be processed or transmitted wirelessly by the Feather.
Cirkit Designer LogoOpen Project in Cirkit Designer

Common Applications and Use Cases

  • Clocks and timers
  • Counter displays
  • Message boards
  • Status indicators for IoT devices
  • Interactive name tags

Technical Specifications

Key Technical Details

  • Operating Voltage: 3.3V to 5V
  • Max Current Draw: 100mA per segment
  • Display Color: White
  • Number of Displays: 4
  • Segments per Display: 14
  • Communication: I2C interface

Pin Configuration and Descriptions

Pin Description
GND Ground connection
VCC Power supply (3.3V to 5V)
SDA I2C data line
SCL I2C clock line
RST Reset pin (optional)

Usage Instructions

How to Use the Component in a Circuit

  1. Connect the GND pin to the ground on your Feather board.
  2. Connect the VCC pin to a 3.3V or 5V output on your Feather board.
  3. Connect the SDA and SCL pins to the corresponding I2C pins on your Feather board.
  4. If desired, connect the RST pin to a digital pin on your Feather board for software reset functionality.

Important Considerations and Best Practices

  • Ensure that the power supply voltage matches the operating voltage of the Featherwing to prevent damage.
  • Use pull-up resistors on the I2C lines if they are not included on the Feather board.
  • Avoid exposing the display to direct sunlight for extended periods to prevent damage to the LEDs.
  • When handling the board, take standard ESD precautions to avoid damaging the electronic components.

Example Code for Arduino UNO

#include <Wire.h>
#include <Adafruit_LEDBackpack.h>
#include <Adafruit_GFX.h>

Adafruit_AlphaNum4 alpha4 = Adafruit_AlphaNum4();

void setup() {
  alpha4.begin(0x70);  // Initialize the display with its I2C address
}

void loop() {
  alpha4.writeDigitAscii(0, 'A');  // Display 'A' on the first digit
  alpha4.writeDigitAscii(1, 'd');  // Display 'd' on the second digit
  alpha4.writeDigitAscii(2, 'a');  // Display 'a' on the third digit
  alpha4.writeDigitAscii(3, 'F');  // Display 'F' on the fourth digit
  alpha4.writeDisplay();           // Send data to the display
  delay(1000);                     // Wait for a second
}

Troubleshooting and FAQs

Common Issues

  • Display Not Lighting Up: Ensure that the power supply is connected correctly and the I2C lines are properly connected to the Feather board.
  • Garbled or Incorrect Characters: Check for loose connections and verify that the I2C address used in the code matches the address of the Featherwing.
  • Dim Display: Make sure that the power supply is providing sufficient current and that the brightness setting in the code is set appropriately.

Solutions and Tips for Troubleshooting

  • Double-check wiring connections to ensure they are secure and correct.
  • Use the Wire library's beginTransmission() and endTransmission() functions to test for a successful I2C connection.
  • Adjust the brightness of the display using the setBrightness() function if available in the library.

FAQs

Q: Can I daisy-chain multiple Featherwings together? A: Yes, you can connect multiple displays in series using the I2C bus, but each display must have a unique I2C address.

Q: How do I change the I2C address of the Featherwing? A: The I2C address can be changed by soldering the address jumpers on the back of the board. Refer to the Adafruit documentation for the specific jumper settings.

Q: Is the Featherwing compatible with all Feather boards? A: The Featherwing is designed to be compatible with all boards in the Adafruit Feather series that support I2C communication.

Q: Can I use this display with other microcontrollers, not in the Feather series? A: Yes, as long as the microcontroller supports I2C communication and operates within the voltage range of the Featherwing, it can be used with other microcontrollers. However, pin mappings and library support may vary.