How to Use Bateria: Examples, Pinouts, and Specs
Introduction
A battery is a device that stores electrical energy in chemical form and converts it into electrical energy when needed. It serves as a portable and reliable power source for a wide range of electronic devices and systems. Batteries are available in various types, sizes, and chemistries, making them suitable for diverse applications.
Explore Projects Built with Bateria

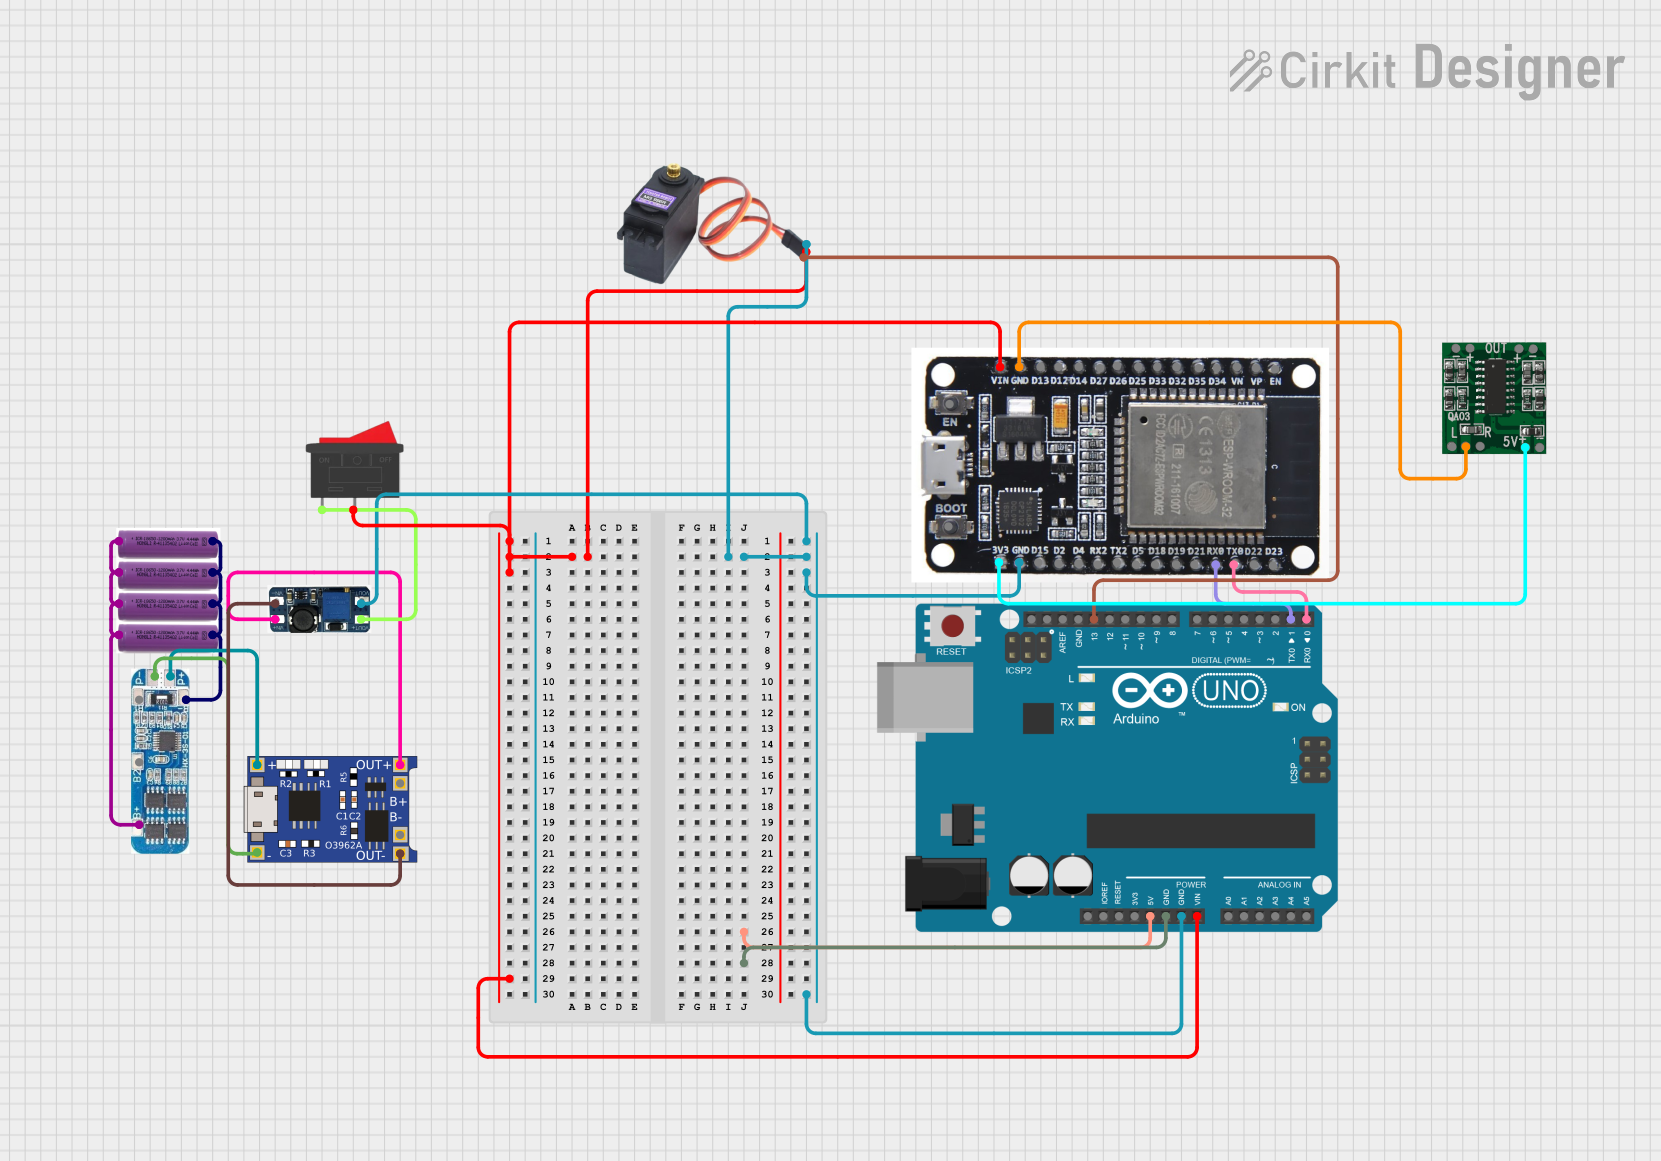
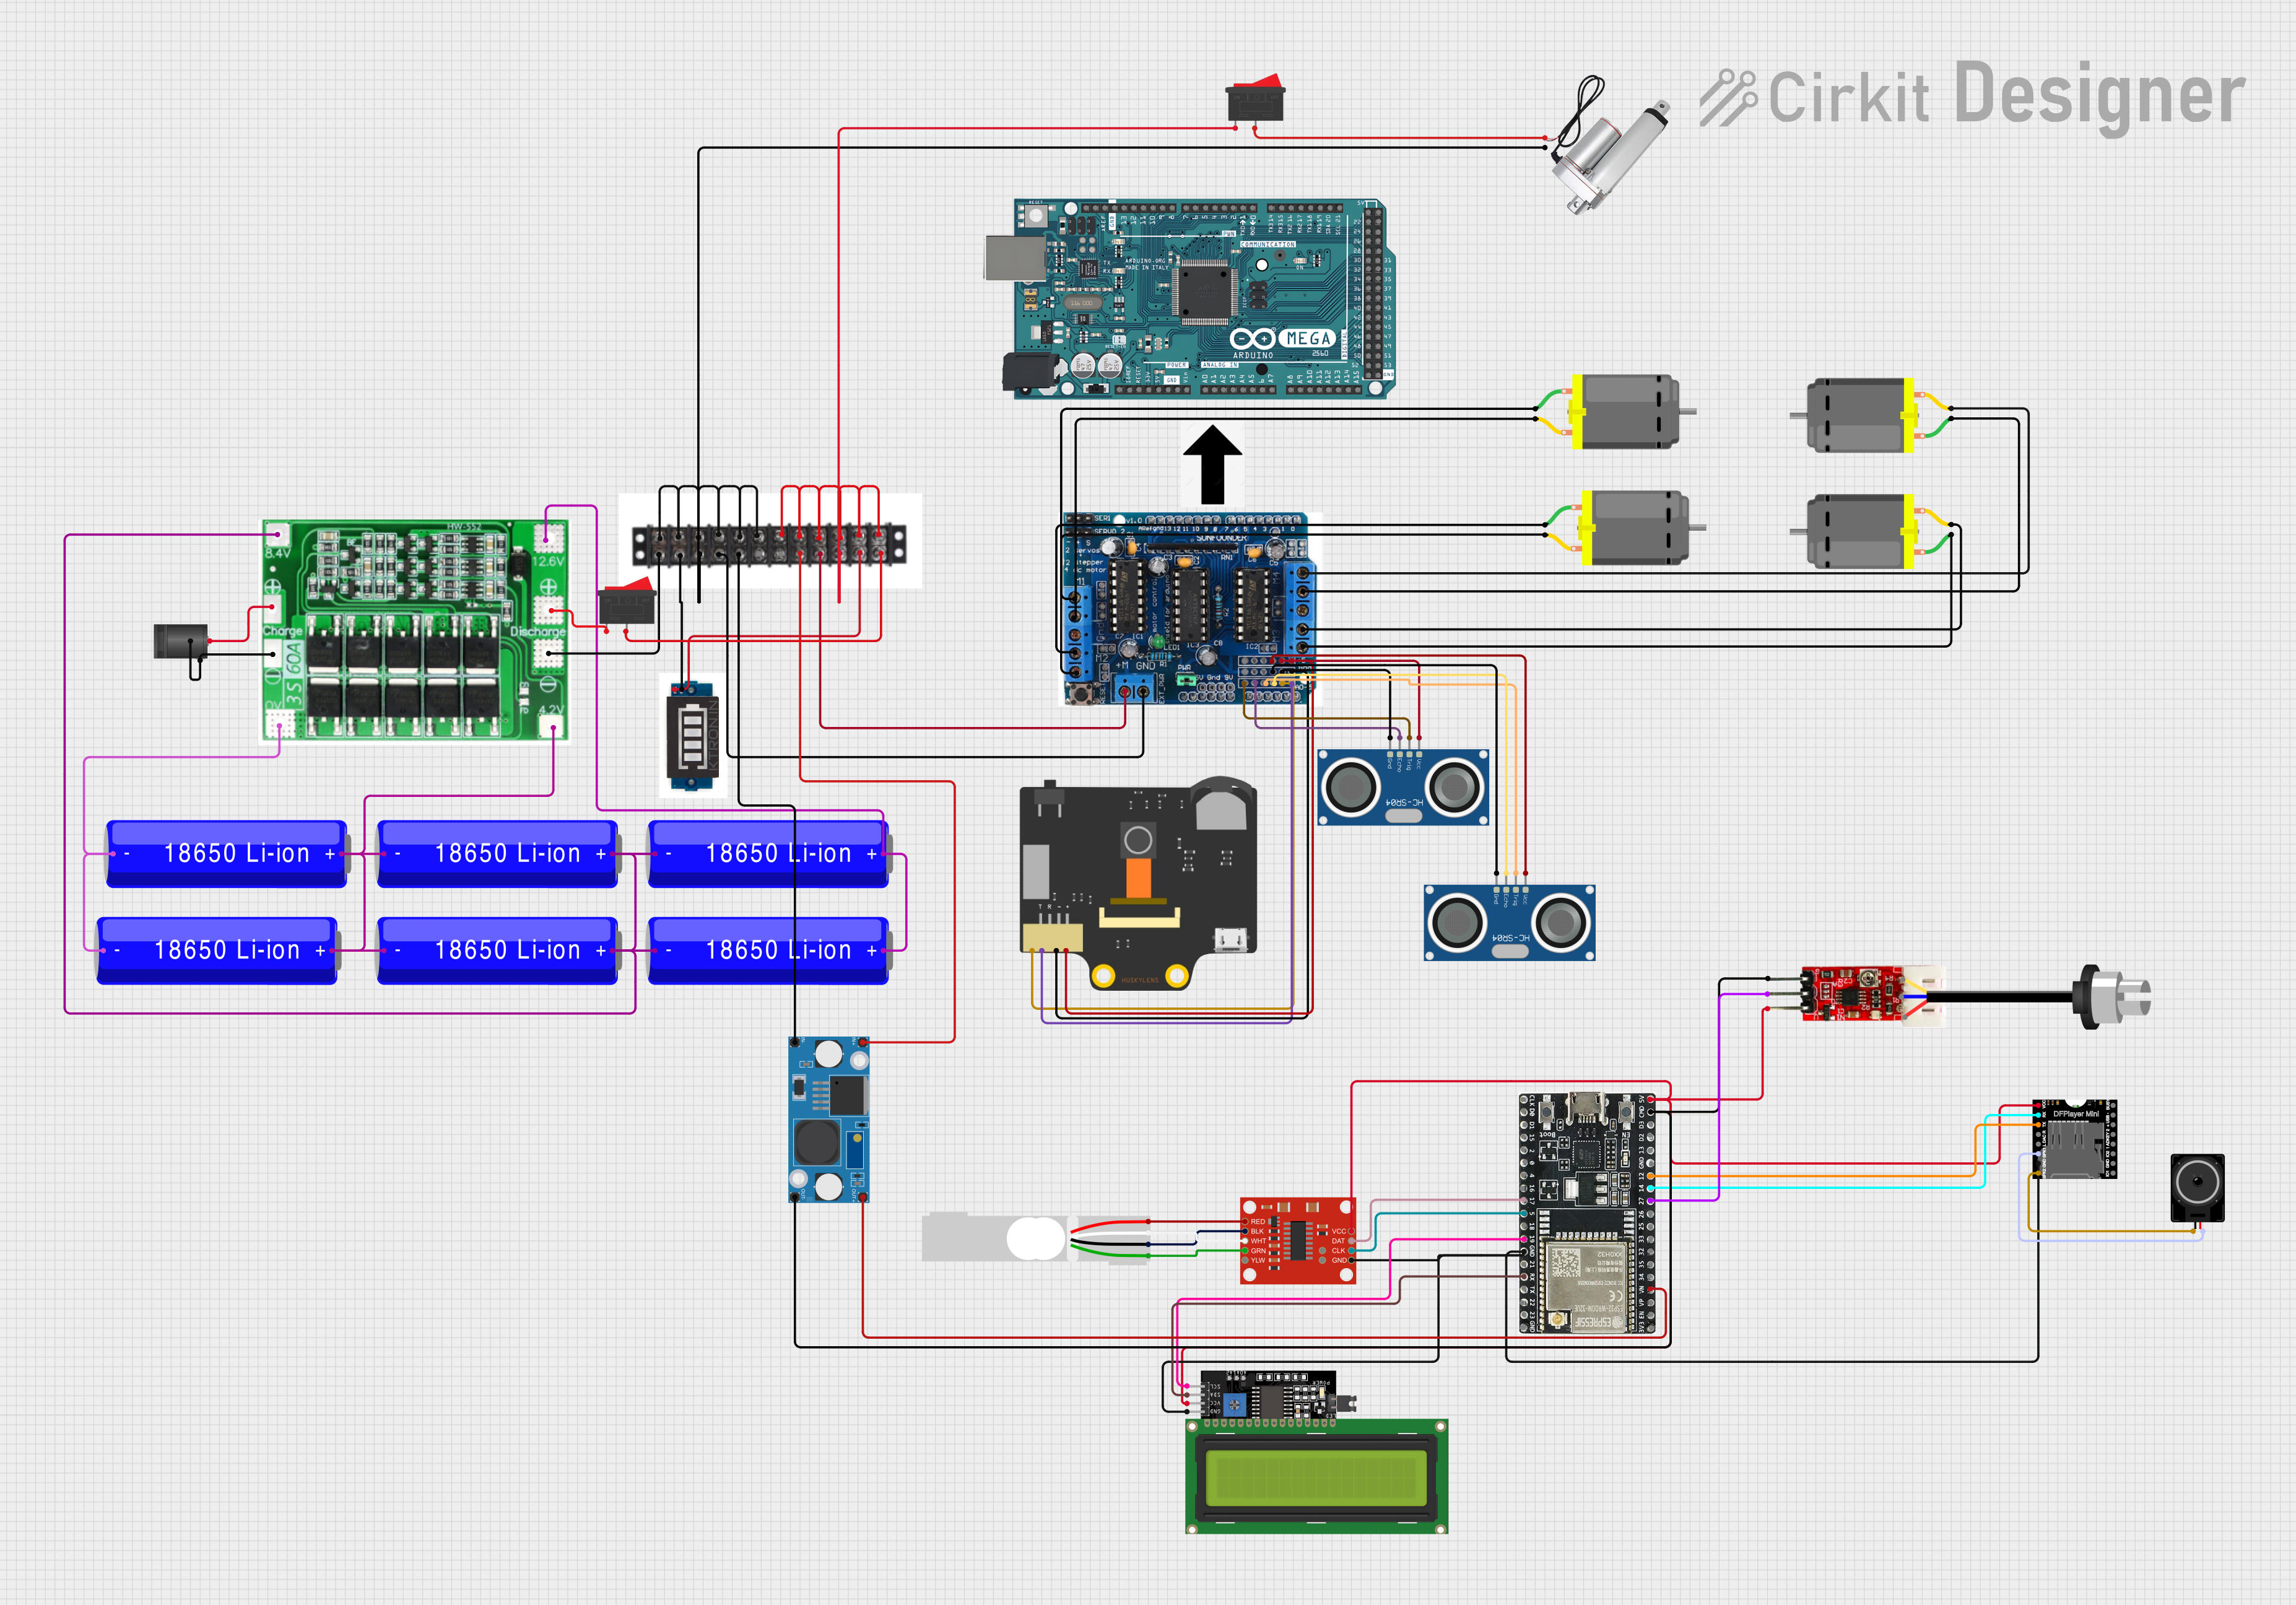
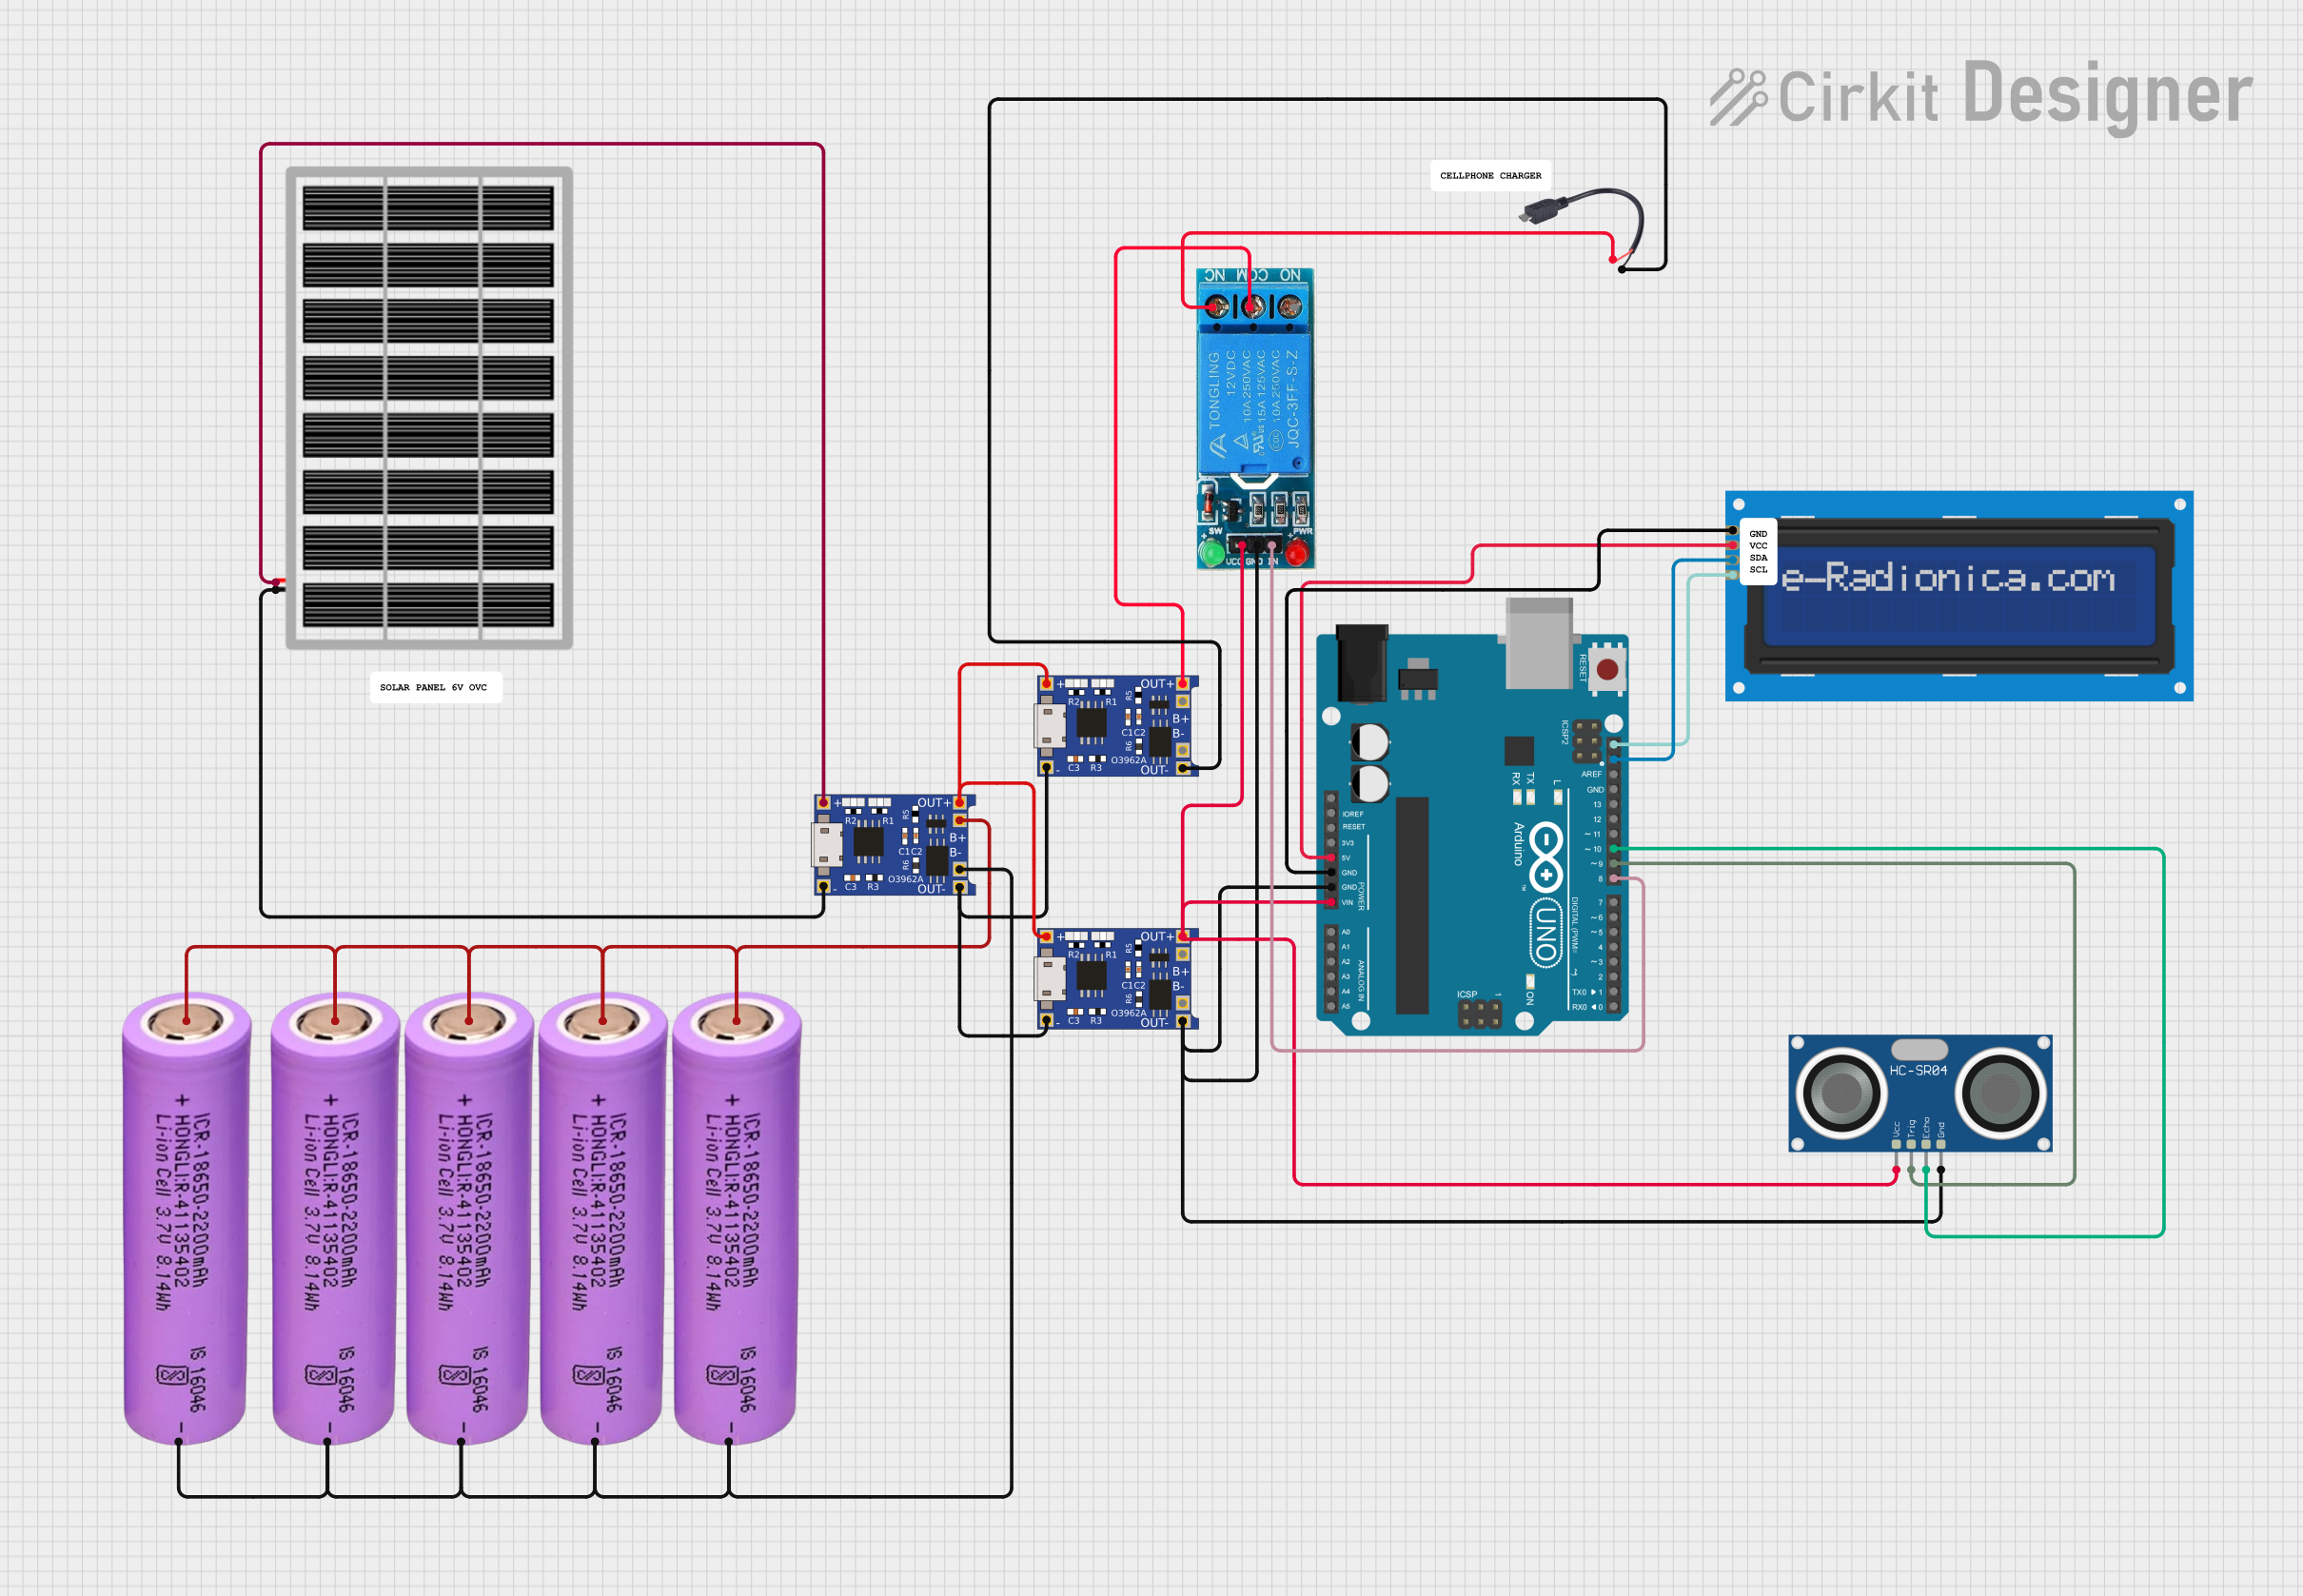
Explore Projects Built with Bateria
Common Applications and Use Cases
- Powering portable electronic devices (e.g., smartphones, laptops, cameras)
- Providing backup power for critical systems (e.g., UPS, emergency lighting)
- Supplying energy to IoT devices and sensors
- Automotive applications (e.g., car batteries, electric vehicles)
- Renewable energy storage (e.g., solar and wind systems)
Technical Specifications
The specifications of a battery depend on its type and intended application. Below are general technical details for a typical battery:
| Parameter | Description |
|---|---|
| Voltage (V) | The nominal voltage of the battery (e.g., 1.5V, 3.7V, 12V) |
| Capacity (mAh or Ah) | The amount of charge the battery can store, measured in milliampere-hours (mAh) |
| Chemistry | The chemical composition (e.g., Lithium-ion, Alkaline, NiMH, Lead-acid) |
| Rechargeable | Indicates whether the battery is rechargeable (Yes/No) |
| Operating Temperature | The temperature range within which the battery operates efficiently |
| Dimensions | Physical size of the battery (e.g., AA, AAA, 18650, custom sizes) |
| Weight | The weight of the battery, important for portable applications |
Pin Configuration and Descriptions
For batteries with terminals or connectors, the pin configuration is as follows:
| Pin/Terminal | Description |
|---|---|
| Positive (+) | The positive terminal of the battery |
| Negative (-) | The negative terminal of the battery |
For batteries with specialized connectors (e.g., Li-ion battery packs), refer to the manufacturer's datasheet for detailed pinouts.
Usage Instructions
How to Use a Battery in a Circuit
- Determine Voltage and Capacity Requirements: Ensure the battery's voltage and capacity match the requirements of your circuit or device.
- Connect Terminals Correctly: Always connect the positive terminal of the battery to the positive input of the circuit and the negative terminal to the ground or negative input.
- Use a Battery Holder or Connector: For safety and convenience, use a battery holder or connector to secure the battery in place.
- Include Protection Circuits: For rechargeable batteries, include a protection circuit to prevent overcharging, over-discharging, and short circuits.
- Monitor Battery Levels: Use a voltage divider or battery monitoring IC to track the battery's charge level.
Important Considerations and Best Practices
- Avoid Short Circuits: Never short the terminals of a battery, as it can cause overheating, damage, or even explosions.
- Charge Rechargeable Batteries Properly: Use a compatible charger designed for the specific battery chemistry.
- Store Batteries Safely: Store batteries in a cool, dry place away from direct sunlight and heat sources.
- Dispose of Batteries Responsibly: Follow local regulations for recycling or disposing of used batteries.
Example: Connecting a Battery to an Arduino UNO
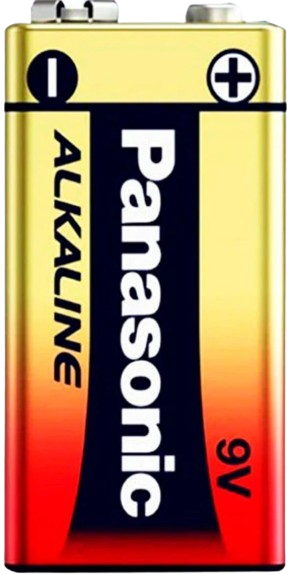
Below is an example of powering an Arduino UNO using a 9V battery:
Circuit Diagram
- Connect the positive terminal of the 9V battery to the Arduino's VIN pin.
- Connect the negative terminal of the battery to the Arduino's GND pin.
Sample Code
// Example code to blink an LED using an Arduino powered by a 9V battery

const int ledPin = 13; // Pin connected to the onboard LED

void setup() {
  pinMode(ledPin, OUTPUT); // Set the LED pin as an output
}

void loop() {
  digitalWrite(ledPin, HIGH); // Turn the LED on
  delay(1000);                // Wait for 1 second
  digitalWrite(ledPin, LOW);  // Turn the LED off
  delay(1000);                // Wait for 1 second
}
Troubleshooting and FAQs
Common Issues
Battery Drains Quickly
- Cause: High current draw from the circuit or a low-capacity battery.
- Solution: Use a battery with a higher capacity or optimize the circuit to reduce power consumption.
Device Does Not Power On
- Cause: Incorrect terminal connections or a discharged battery.
- Solution: Verify the connections and ensure the battery is charged.
Battery Overheats
- Cause: Overcurrent or short circuit.
- Solution: Disconnect the battery immediately and check for short circuits in the circuit.
Rechargeable Battery Does Not Charge
- Cause: Faulty charger or damaged battery.
- Solution: Test the charger with another battery or replace the battery if necessary.
FAQs
Q: Can I use a higher voltage battery than specified for my device?
A: No, using a higher voltage battery can damage your device. Always use a battery with the recommended voltage.
Q: How do I know when to replace a battery?
A: Replace the battery when it no longer holds a charge or when its performance significantly degrades.
Q: Can I mix different types of batteries in the same device?
A: No, mixing different types or brands of batteries can lead to uneven discharge and potential damage.
Q: Is it safe to leave a rechargeable battery on the charger?
A: It depends on the charger. Use a charger with overcharge protection to prevent damage to the battery.