
How to Use Temperature Sensor (LM35): Examples, Pinouts, and Specs
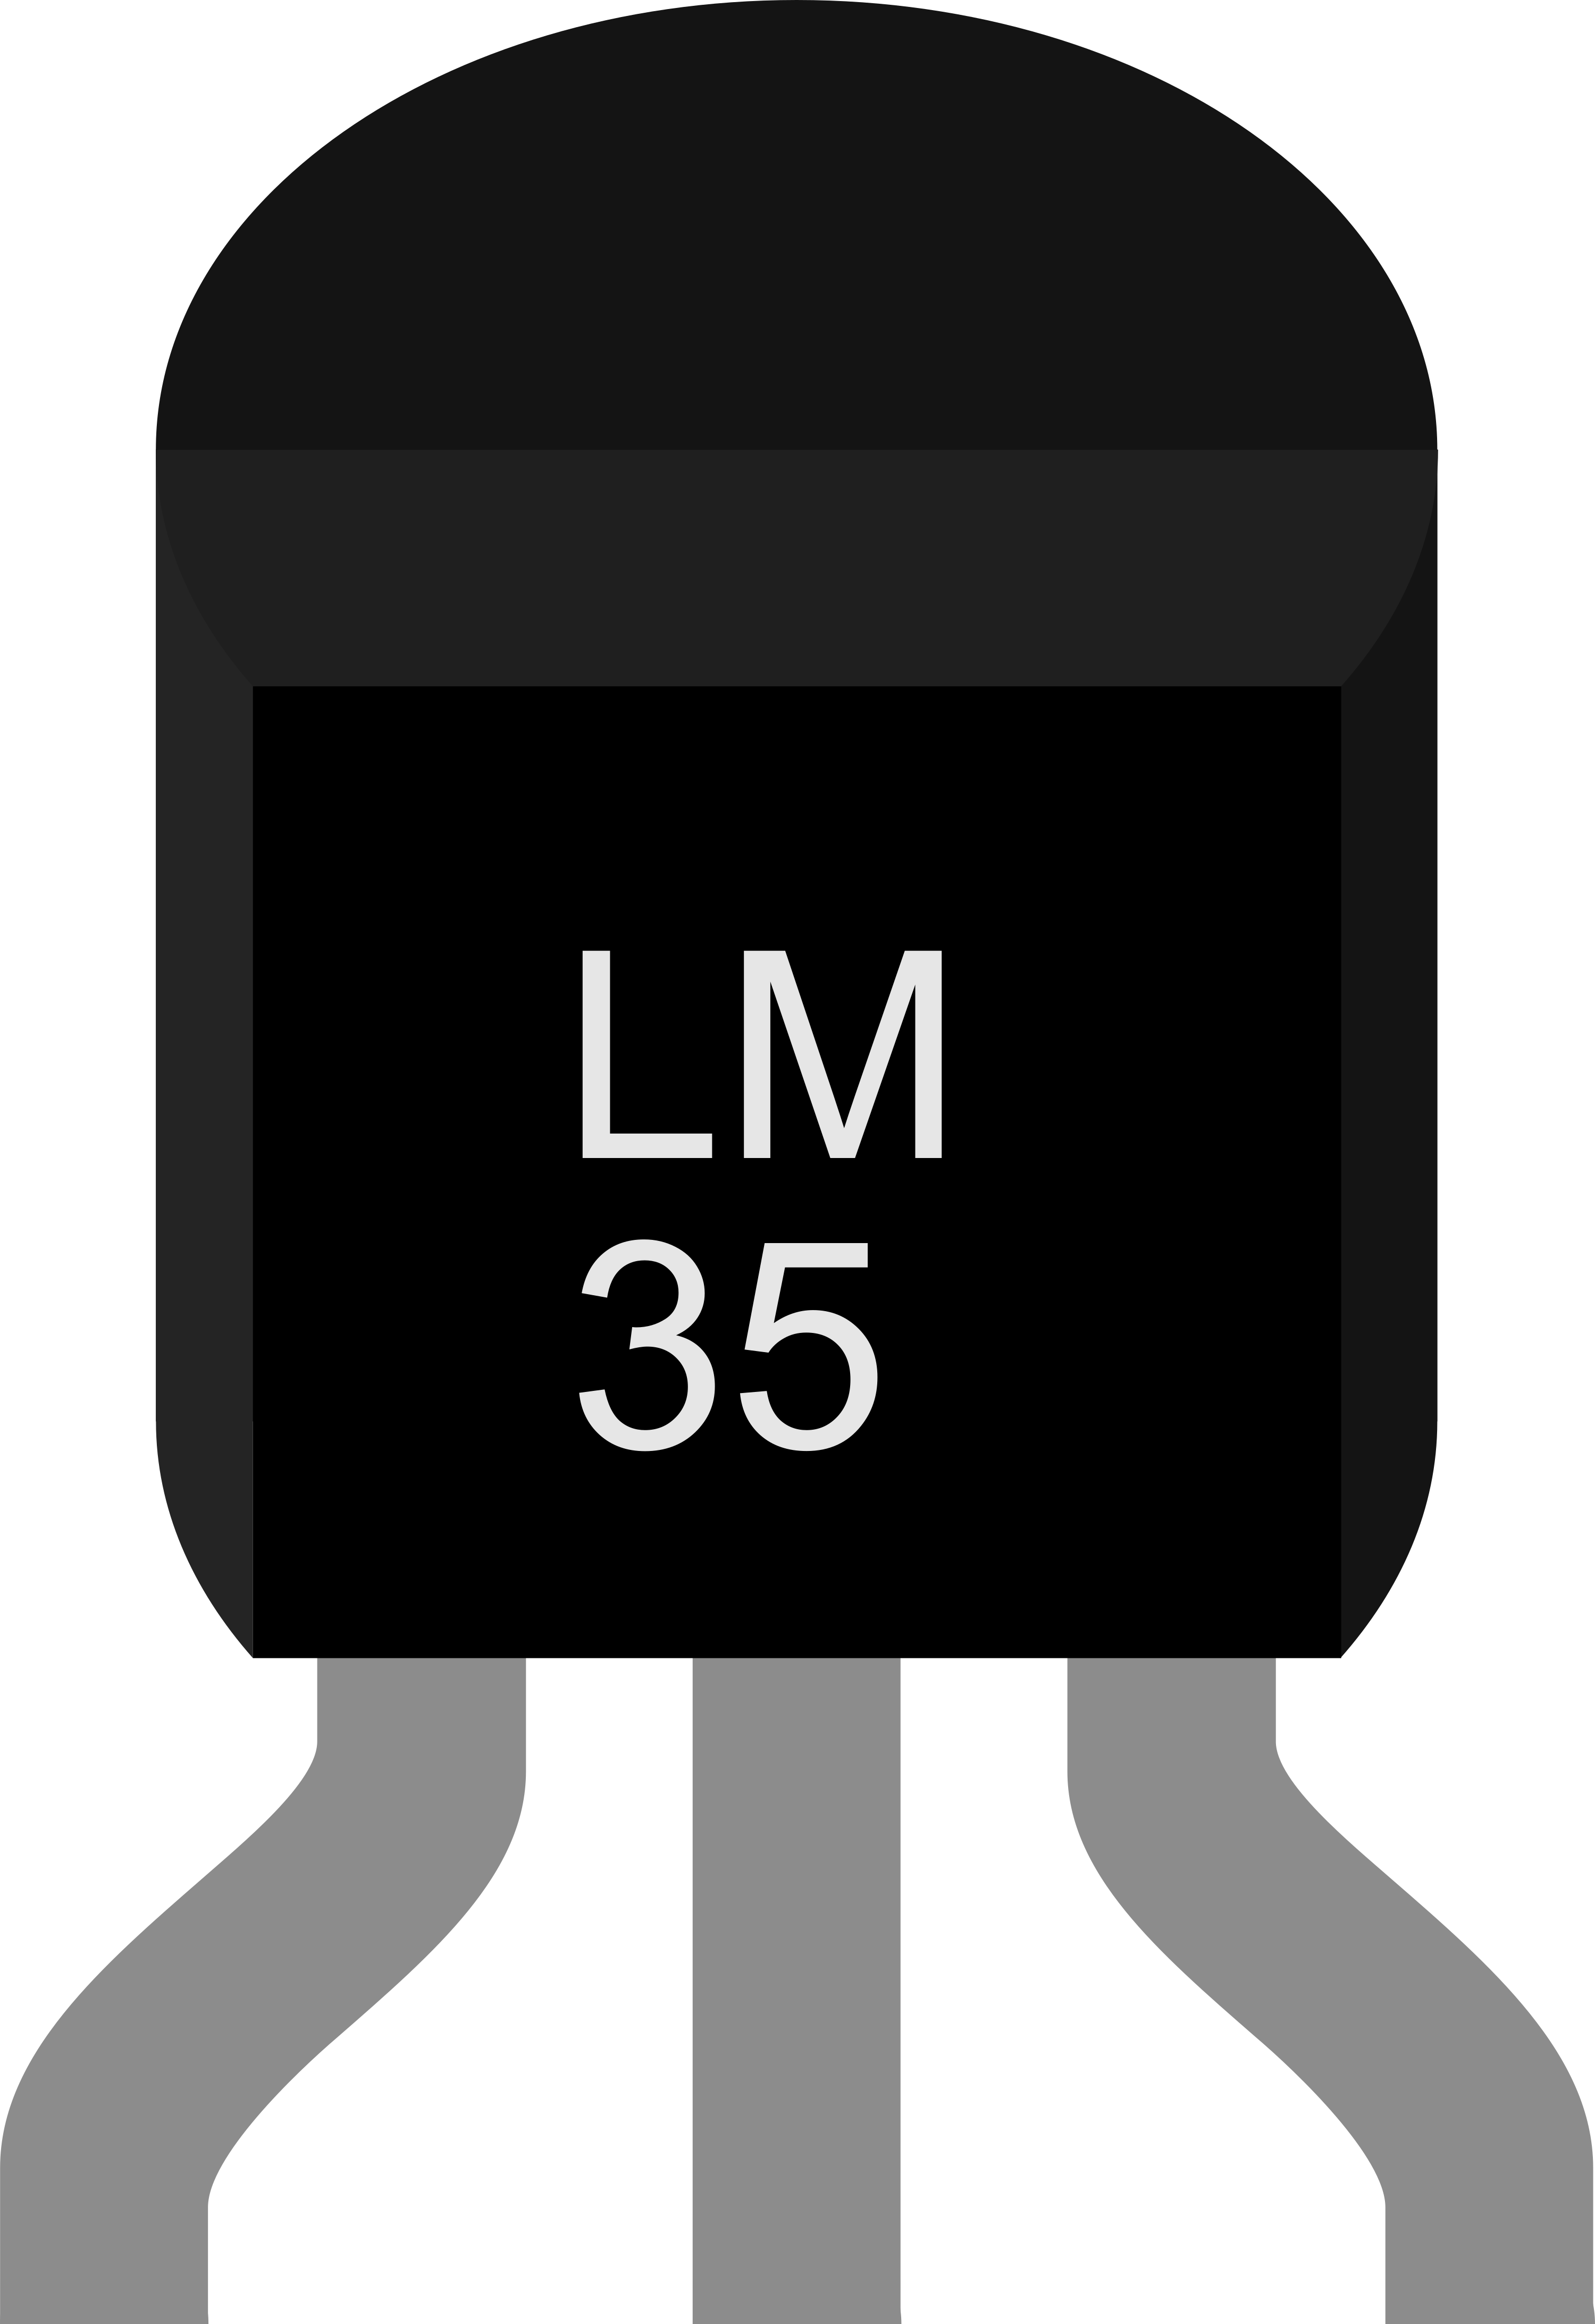
 Design with Temperature Sensor (LM35) in Cirkit Designer
Introduction
The LM35 is a precision temperature sensor that provides an output voltage proportional to the temperature in degrees Celsius. Unlike many other temperature sensors, the LM35 does not require any external calibration or trimming to provide accurate readings. It is highly reliable, easy to use, and offers a linear output, making it a popular choice for temperature measurement and control applications.
Explore Projects Built with Temperature Sensor (LM35)
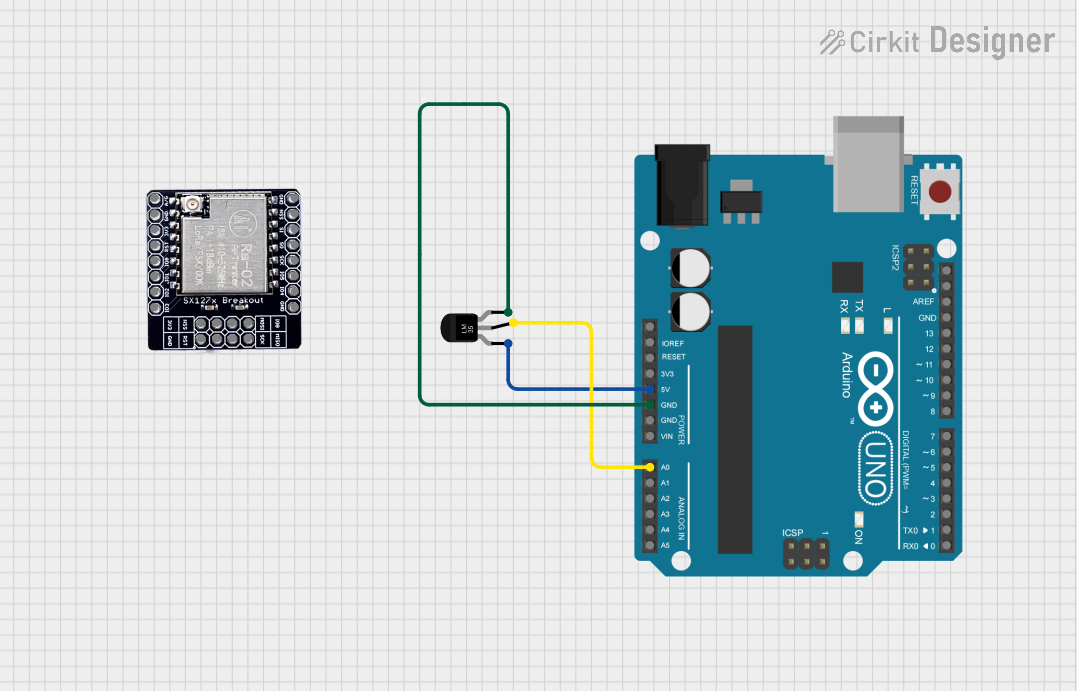 Open Project in Cirkit Designer
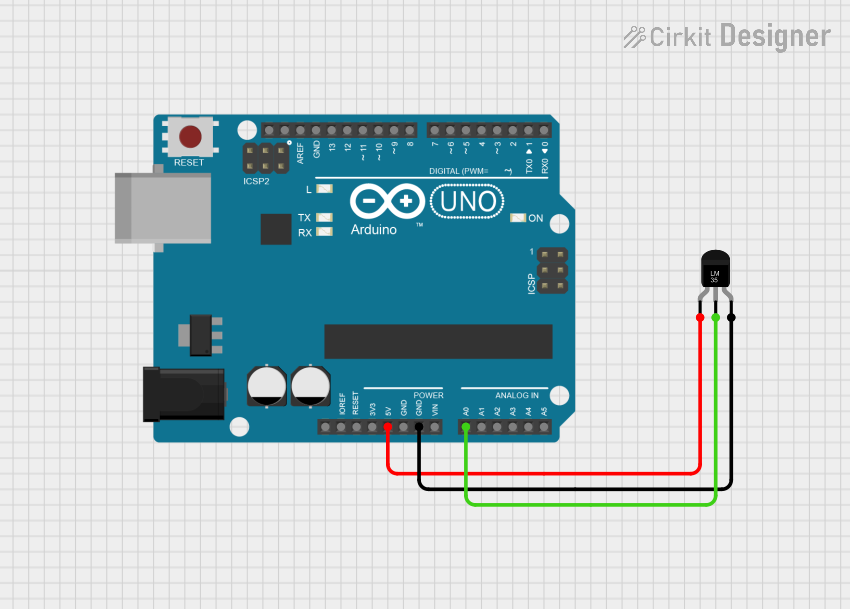 Open Project in Cirkit Designer
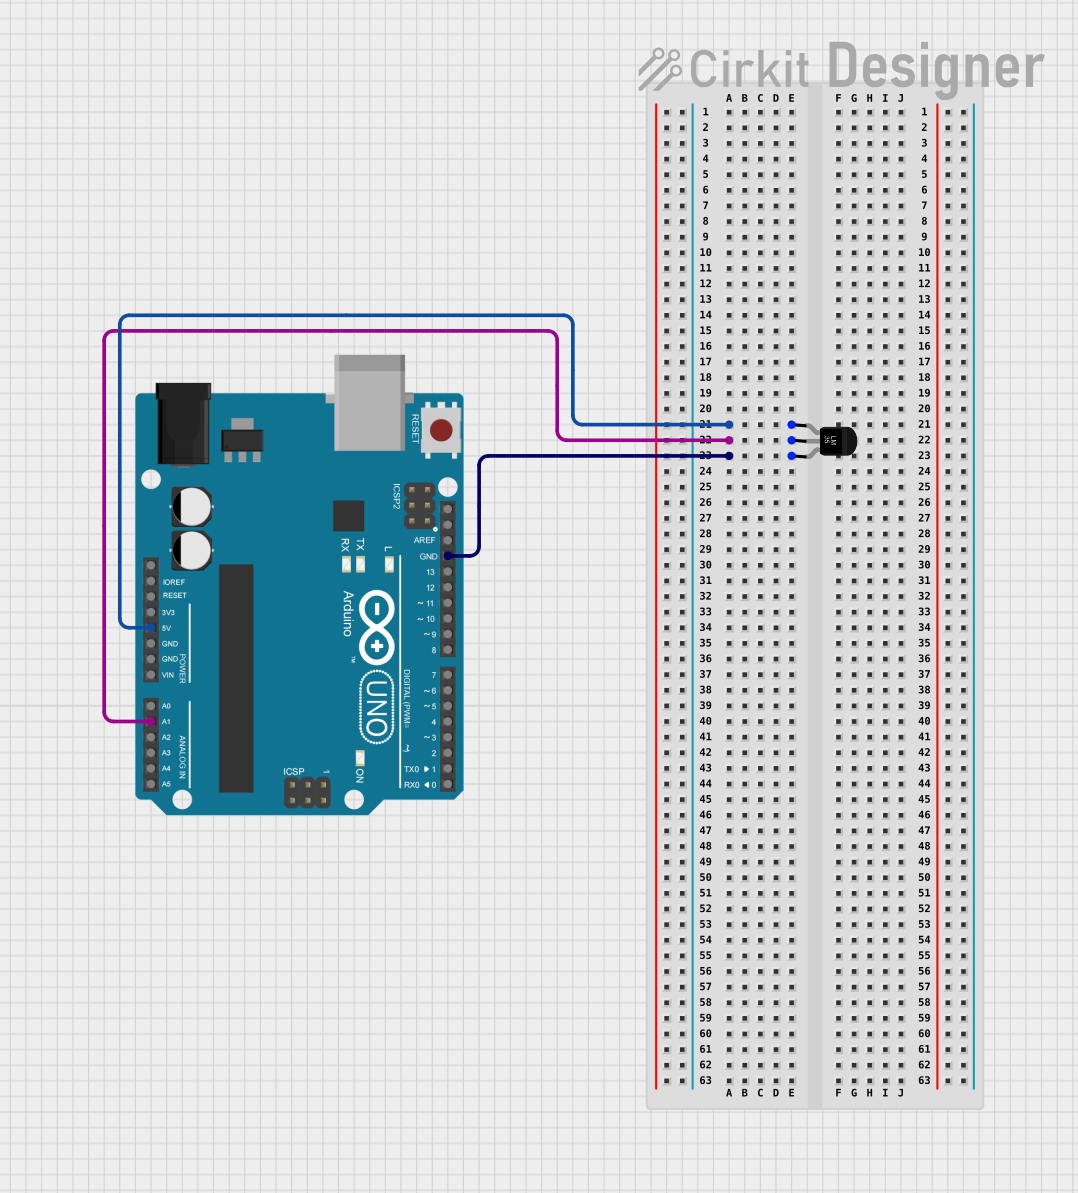 Open Project in Cirkit Designer
 Open Project in Cirkit Designer
Explore Projects Built with Temperature Sensor (LM35)
Open Project in Cirkit DesignerOpen Project in Cirkit DesignerOpen Project in Cirkit DesignerOpen Project in Cirkit DesignerCommon Applications
- HVAC systems for temperature monitoring and control
- Weather stations and environmental monitoring
- Industrial process control
- Consumer electronics, such as thermostats
- Medical devices for temperature sensing
Technical Specifications
The LM35 is designed to operate over a wide range of temperatures and provides accurate readings with minimal power consumption. Below are the key technical details:
| Parameter | Value |
|---|---|
| Supply Voltage (Vcc) | 4V to 30V |
| Output Voltage Range | 0V to 1.5V (for 0°C to 150°C) |
| Temperature Range | -55°C to +150°C |
| Accuracy | ±0.5°C (at 25°C) |
| Output Sensitivity | 10mV/°C |
| Current Consumption | 60 µA (typical) |
| Load Impedance | ≥ 10 kΩ |
Pin Configuration and Descriptions
The LM35 is typically available in a 3-pin TO-92 package. Below is the pinout and description:
| Pin Number | Pin Name | Description |
|---|---|---|
| 1 | Vcc | Positive power supply (4V to 30V) |
| 2 | Vout | Analog output voltage proportional to temperature |
| 3 | GND | Ground (0V reference) |
Usage Instructions
The LM35 is straightforward to use in a circuit. Follow the steps below to integrate it into your project:
Connecting the LM35
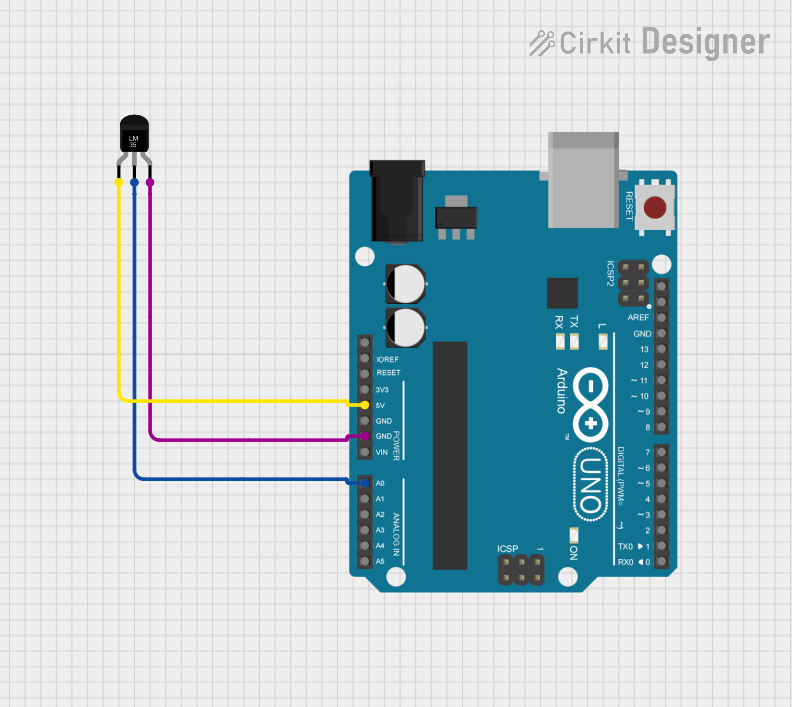
- Power Supply: Connect the Vcc pin (Pin 1) to a stable DC voltage source between 4V and 30V.
- Ground: Connect the GND pin (Pin 3) to the ground of your circuit.
- Output: Connect the Vout pin (Pin 2) to an analog input pin of your microcontroller or to a voltmeter for direct measurement.
Important Considerations
- Decoupling Capacitor: Place a 0.1 µF ceramic capacitor between Vcc and GND to reduce noise.
- Load Impedance: Ensure the load impedance on the Vout pin is at least 10 kΩ for accurate readings.
- Temperature Range: Avoid exposing the sensor to temperatures beyond its specified range (-55°C to +150°C).
- Calibration: While the LM35 is factory-calibrated, you may perform additional calibration in software for higher precision.
Example: Using LM35 with Arduino UNO
Below is an example of how to use the LM35 with an Arduino UNO to read and display temperature:
// LM35 Temperature Sensor Example with Arduino UNO
// Reads temperature in Celsius and displays it on the Serial Monitor

const int sensorPin = A0; // LM35 output connected to analog pin A0
float temperature;        // Variable to store the temperature value

void setup() {
  Serial.begin(9600); // Initialize serial communication at 9600 baud
}

void loop() {
  int sensorValue = analogRead(sensorPin); // Read the analog value from LM35
  // Convert the analog value to voltage (assuming 5V reference voltage)
  float voltage = sensorValue * (5.0 / 1023.0);
  // Convert voltage to temperature in Celsius (10mV per degree Celsius)
  temperature = voltage * 100.0;

  // Print the temperature to the Serial Monitor
  Serial.print("Temperature: ");
  Serial.print(temperature);
  Serial.println(" °C");

  delay(1000); // Wait for 1 second before the next reading
}
Notes:
- Ensure the Arduino's analog reference voltage matches the LM35's output range for accurate readings.
- If using a 3.3V Arduino, adjust the voltage calculation in the code accordingly.
Troubleshooting and FAQs
Common Issues
Incorrect Temperature Readings
- Cause: Noise in the power supply or improper connections.
- Solution: Add a 0.1 µF decoupling capacitor between Vcc and GND. Double-check all connections.
No Output or Constant Zero Voltage
- Cause: Incorrect wiring or damaged sensor.
- Solution: Verify the pin connections and ensure the sensor is not exposed to extreme conditions.
Fluctuating Readings
- Cause: Electrical noise or insufficient load impedance.
- Solution: Use a stable power supply and ensure the load impedance is ≥ 10 kΩ.
FAQs
Q1: Can the LM35 measure negative temperatures?
Yes, the LM35 can measure temperatures below 0°C. However, the output voltage will be negative, so additional circuitry or software adjustments are required to interpret the readings.
Q2: Can I use the LM35 with a 3.3V microcontroller?
Yes, the LM35 works with a 3.3V supply. However, the output voltage range will be limited, and you may need to adjust the analog-to-digital conversion calculations accordingly.
Q3: How do I extend the sensor's range beyond 150°C?
The LM35 is limited to 150°C. For higher temperature ranges, consider using a different sensor, such as the LM135 or thermocouples.
Q4: Is the LM35 waterproof?
No, the LM35 is not waterproof. For outdoor or liquid temperature measurements, use a waterproof housing or a sensor designed for such applications.
By following this documentation, you can effectively integrate the LM35 temperature sensor into your projects and troubleshoot common issues with ease.