
How to Use Solenoid valve 3/2 double coil: Examples, Pinouts, and Specs
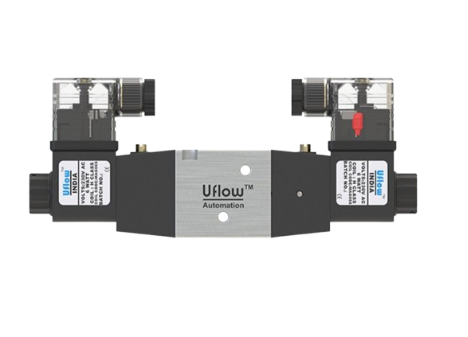
 Design with Solenoid valve 3/2 double coil in Cirkit Designer
Introduction
The EMC Solenoid Valve 3/2 Double Coil is an electromechanical device designed to control the flow of fluids or gases through three ports. It features two coils for actuation, enabling both normally closed (NC) and normally open (NO) configurations. This versatile valve is widely used in pneumatic and hydraulic systems, industrial automation, and fluid control applications.
Explore Projects Built with Solenoid valve 3/2 double coil
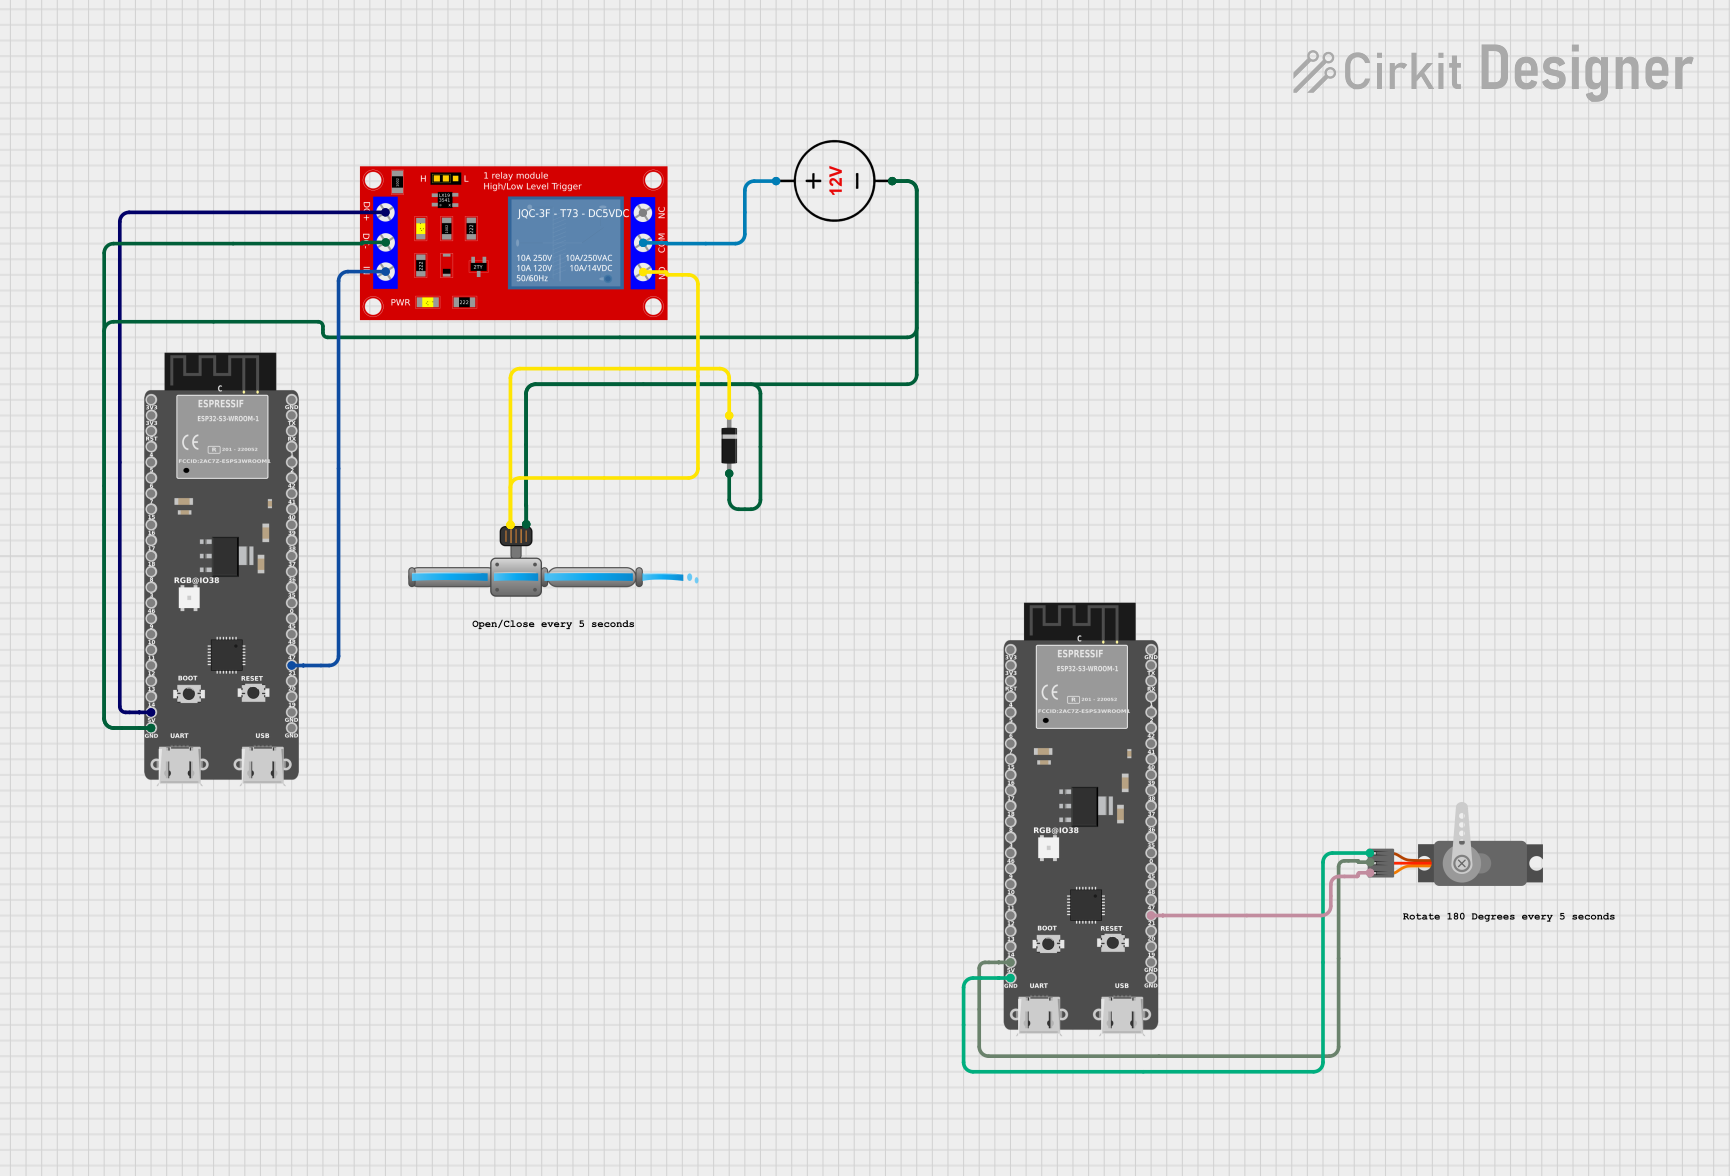 Open Project in Cirkit Designer
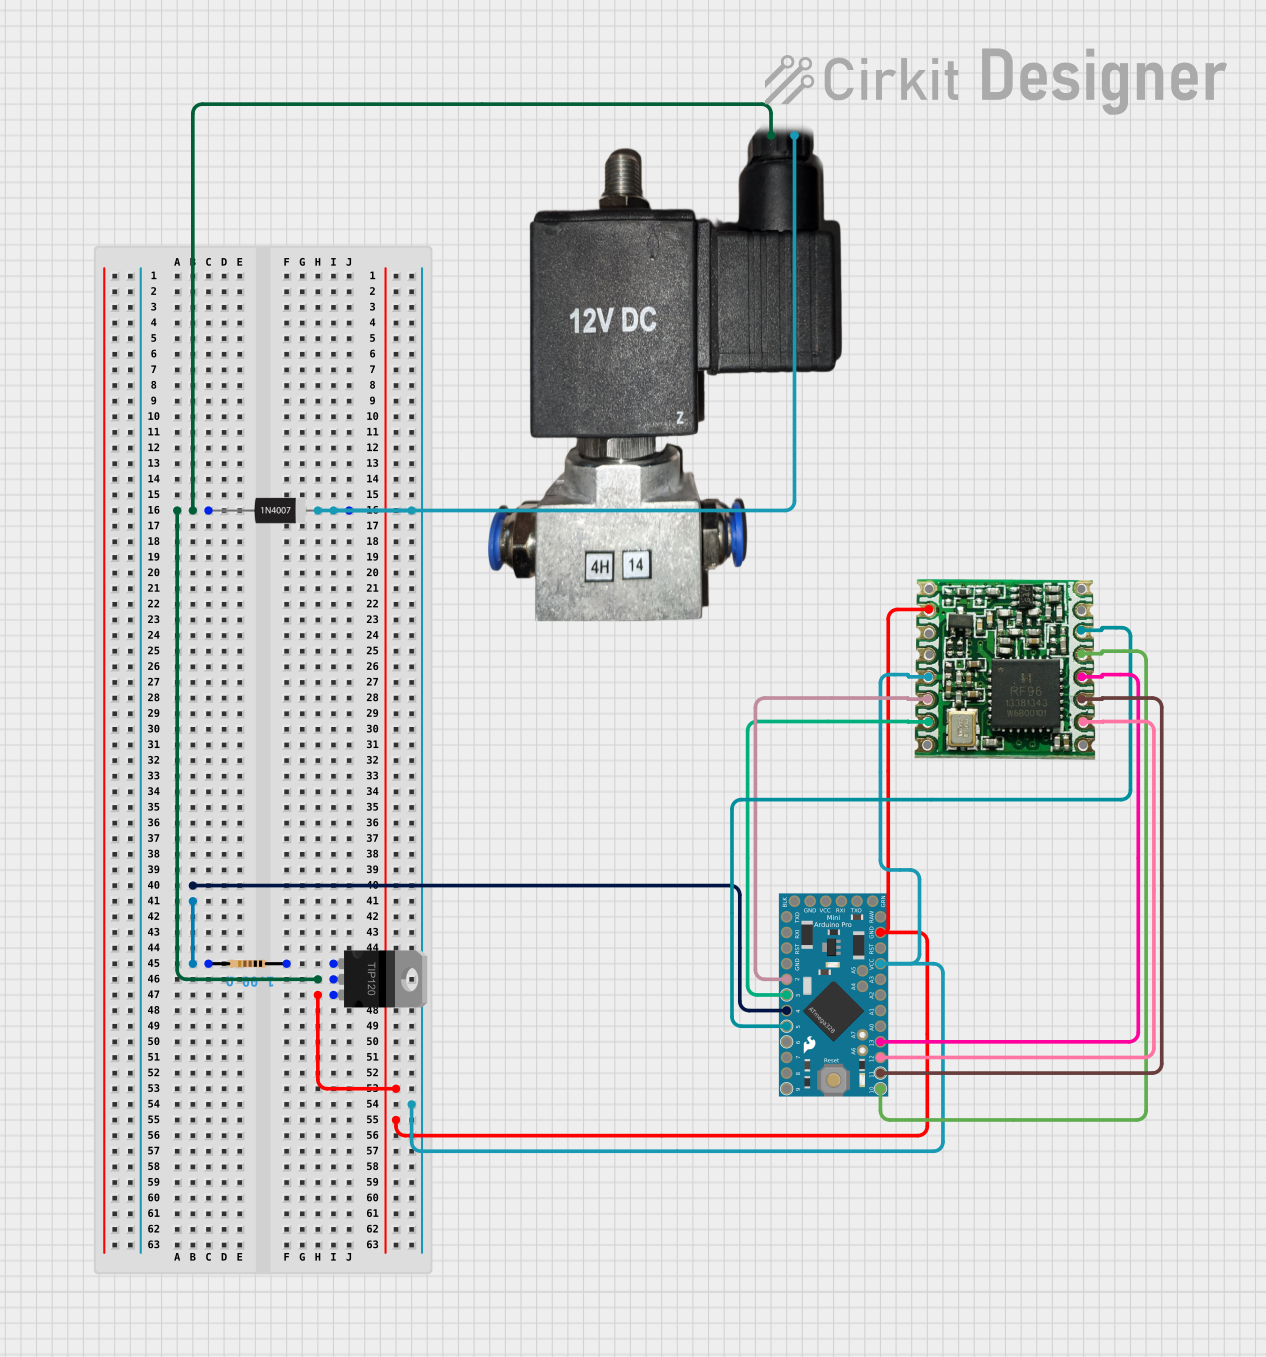 Open Project in Cirkit Designer
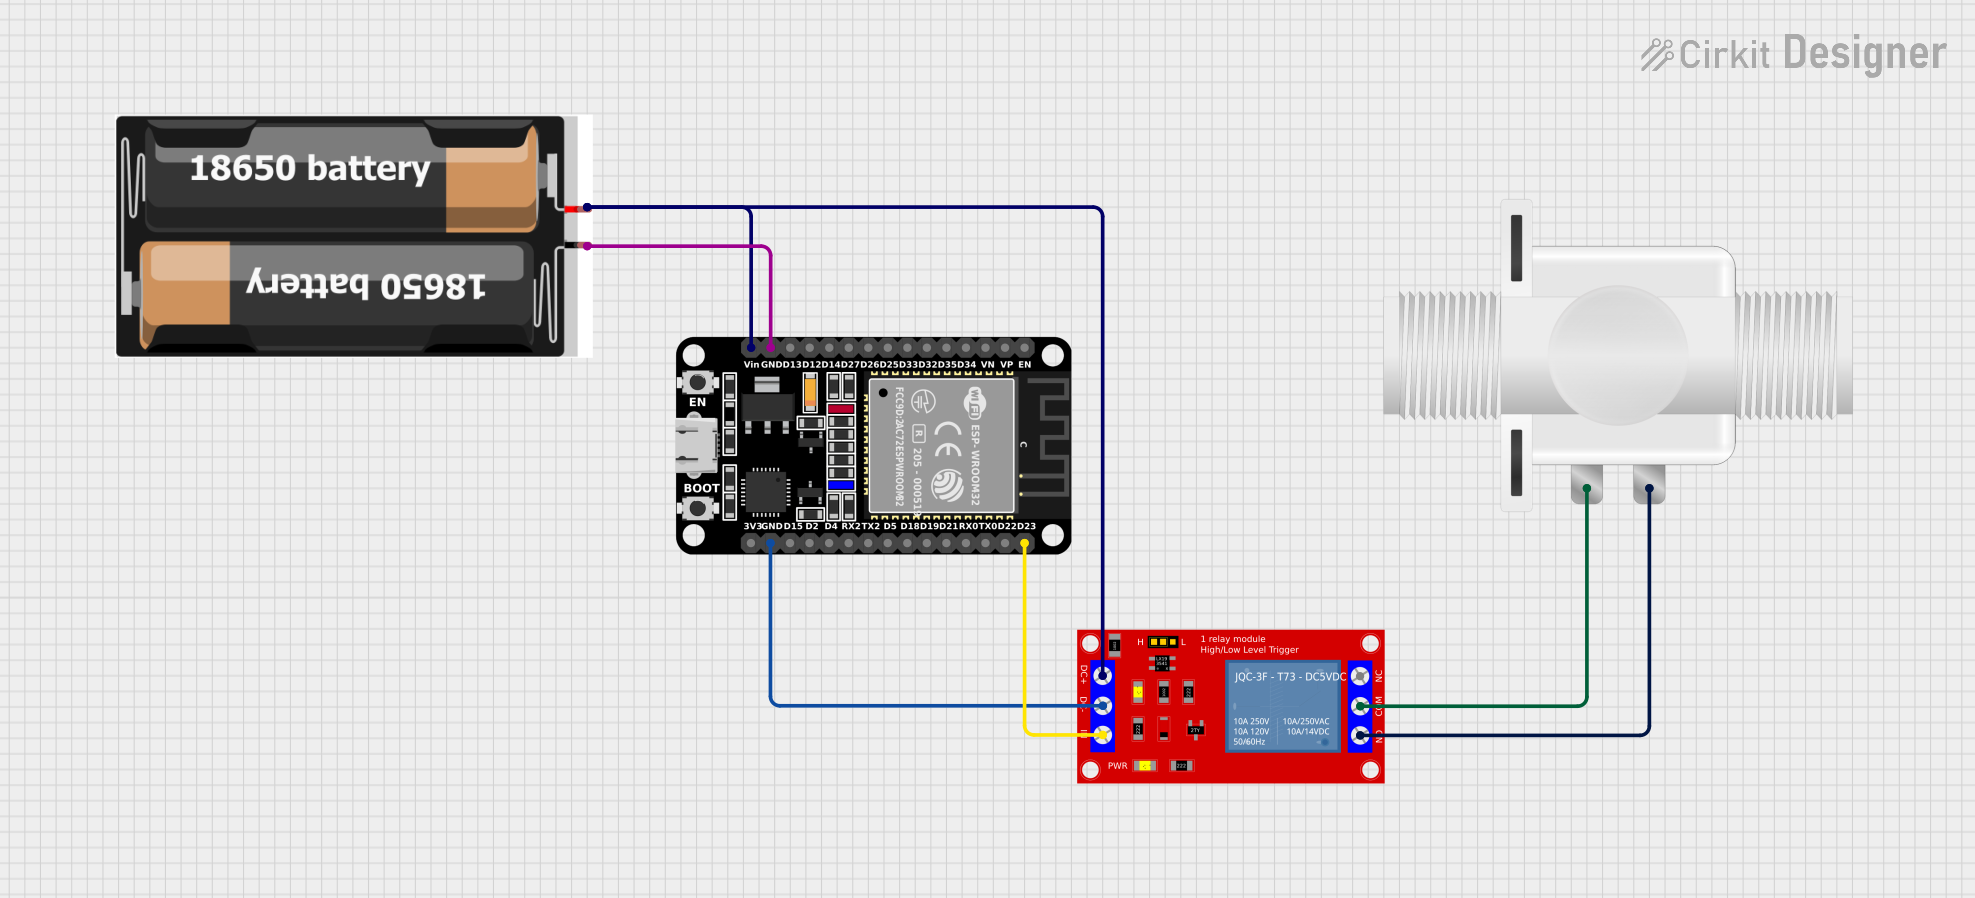 Open Project in Cirkit Designer
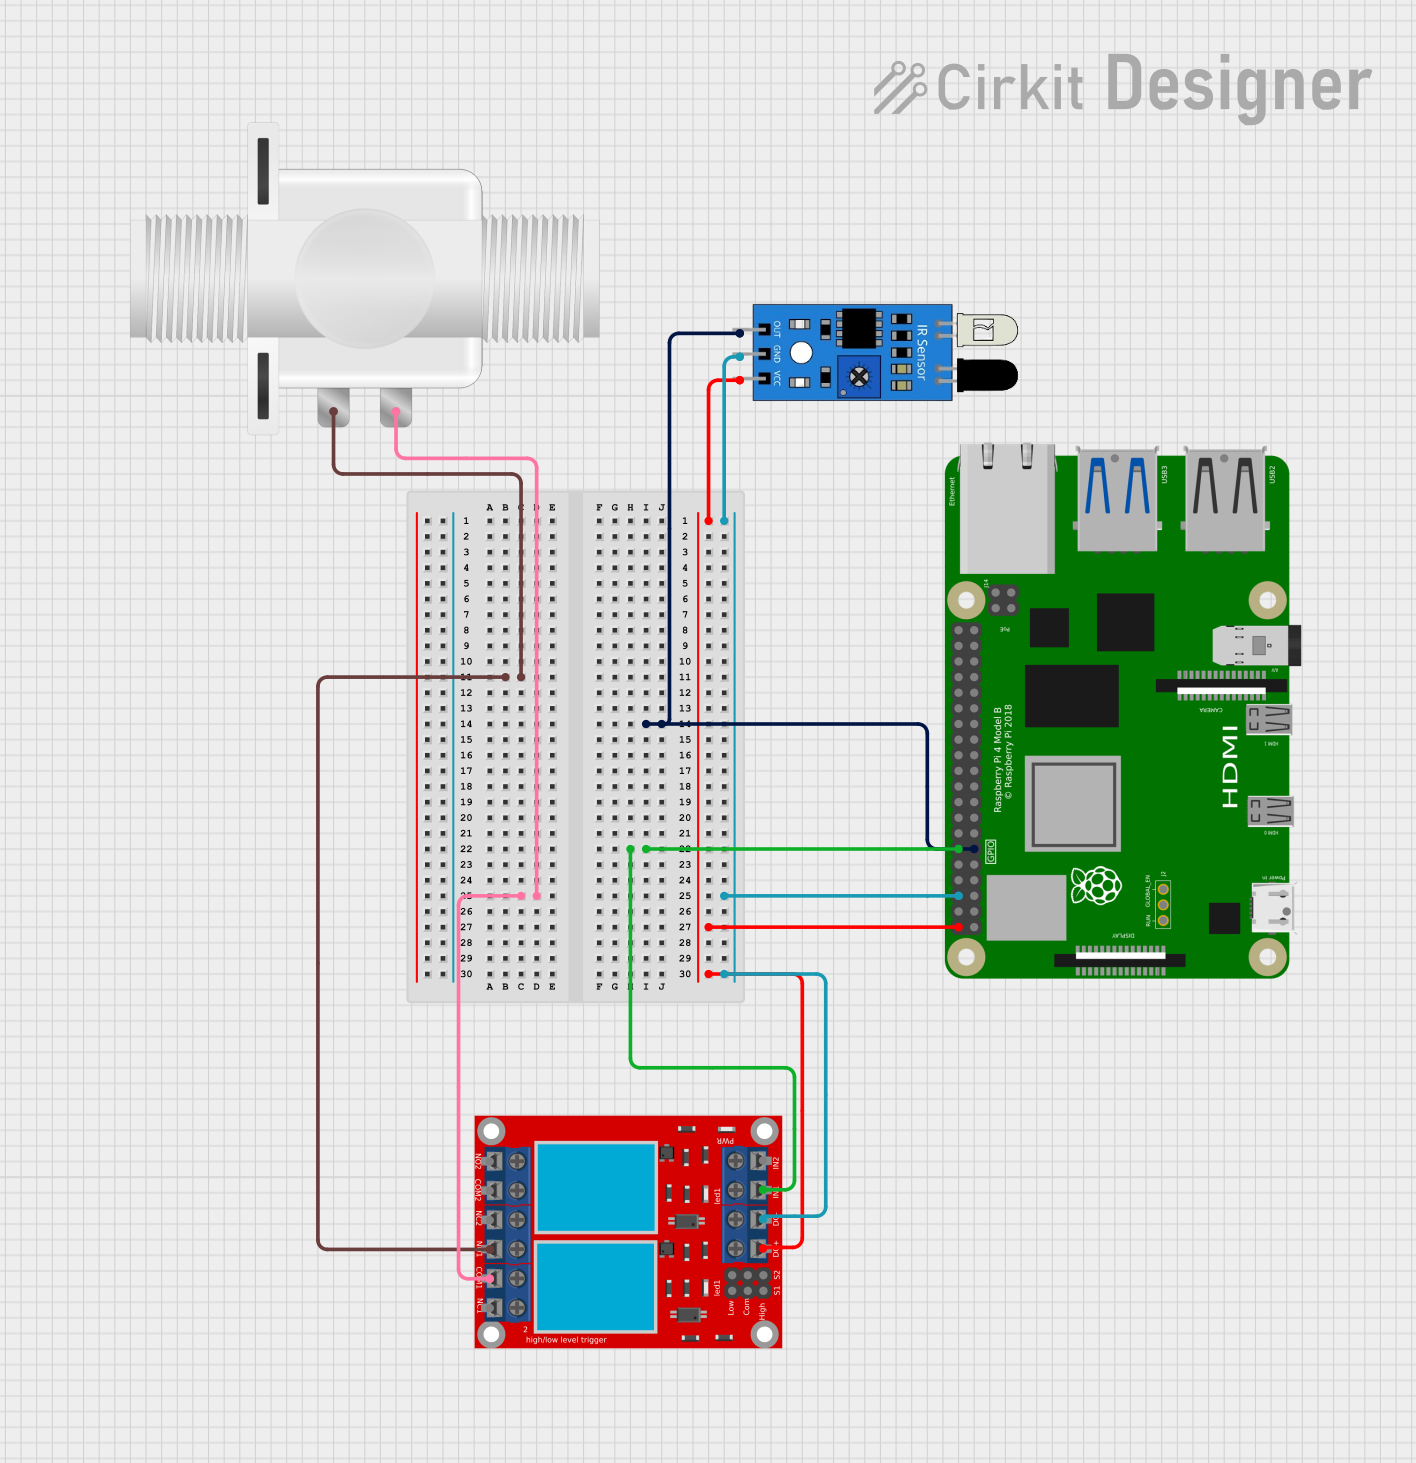 Open Project in Cirkit Designer
Explore Projects Built with Solenoid valve 3/2 double coil
Open Project in Cirkit DesignerOpen Project in Cirkit DesignerOpen Project in Cirkit DesignerOpen Project in Cirkit DesignerCommon Applications
- Pneumatic systems for controlling air flow
- Hydraulic systems for fluid direction control
- Industrial automation for process control
- Medical devices requiring precise fluid regulation
- Automotive systems, such as fuel or air control
Technical Specifications
Key Technical Details
| Parameter | Value |
|---|---|
| Manufacturer | EMC |
| Part ID | Solenoid valve |
| Valve Type | 3/2-way (three ports, two positions) |
| Actuation Mechanism | Double coil (electromagnetic) |
| Operating Voltage | 12V DC / 24V DC / 110V AC / 220V AC |
| Power Consumption | ~4.5W per coil |
| Operating Pressure Range | 0.15 MPa to 0.8 MPa |
| Fluid Type | Air, inert gases, or light oils |
| Response Time | ~20 ms |
| Port Size | 1/8", 1/4", or 1/2" (varies by model) |
| Material | Aluminum body, brass fittings |
| Temperature Range | -10°C to 50°C |
| Duty Cycle | 100% (continuous operation) |
Pin Configuration and Descriptions
The solenoid valve has two coils, each with two terminals. The terminals are typically labeled as follows:
| Pin/Terminal | Description |
|---|---|
| Coil A (+) | Positive terminal for Coil A |
| Coil A (-) | Negative terminal for Coil A |
| Coil B (+) | Positive terminal for Coil B |
| Coil B (-) | Negative terminal for Coil B |
Note: Ensure proper polarity when connecting the coils to avoid damage.
Usage Instructions
How to Use the Solenoid Valve in a Circuit
- Power Supply: Select a power supply that matches the operating voltage of the solenoid valve (e.g., 12V DC or 24V DC).
- Wiring: Connect the positive and negative terminals of each coil to the appropriate power source or control circuit. Use a relay or transistor for switching if controlled by a microcontroller.
- Fluid Connections:
- Connect the inlet port to the fluid source.
- Connect the outlet port to the desired destination.
- Use the exhaust port for venting (if applicable).
- Control Logic:
- Energize Coil A to open the normally closed (NC) path.
- Energize Coil B to open the normally open (NO) path.
- De-energize both coils to return the valve to its default state.
Important Considerations
- Polarity: Always check the polarity of the power supply to avoid damaging the coils.
- Voltage Rating: Ensure the power supply voltage matches the valve's rated voltage.
- Pressure Range: Operate the valve within the specified pressure range to prevent leaks or damage.
- Mounting: Install the valve in a stable position to avoid vibration or misalignment.
- Maintenance: Periodically clean the valve and check for debris or wear.
Example: Connecting to an Arduino UNO
The solenoid valve can be controlled using an Arduino UNO and a relay module. Below is an example circuit and code:
Circuit Diagram
- Connect the positive terminal of Coil A to the relay's NO (Normally Open) terminal.
- Connect the relay's COM (Common) terminal to the power supply's positive terminal.
- Connect the negative terminal of Coil A to the power supply's ground.
- Repeat the same for Coil B using a second relay.
Arduino Code
// Define relay control pins
const int relayA = 7; // Relay controlling Coil A
const int relayB = 8; // Relay controlling Coil B

void setup() {
  // Set relay pins as outputs
  pinMode(relayA, OUTPUT);
  pinMode(relayB, OUTPUT);

  // Initialize relays to OFF state
  digitalWrite(relayA, LOW);
  digitalWrite(relayB, LOW);
}

void loop() {
  // Example: Energize Coil A for 2 seconds
  digitalWrite(relayA, HIGH); // Activate Coil A
  delay(2000);                // Wait for 2 seconds
  digitalWrite(relayA, LOW);  // Deactivate Coil A

  // Example: Energize Coil B for 2 seconds
  digitalWrite(relayB, HIGH); // Activate Coil B
  delay(2000);                // Wait for 2 seconds
  digitalWrite(relayB, LOW);  // Deactivate Coil B

  // Wait for 1 second before repeating
  delay(1000);
}
Note: Use a flyback diode across each coil to protect the circuit from voltage spikes when the coils are de-energized.
Troubleshooting and FAQs
Common Issues and Solutions
| Issue | Possible Cause | Solution |
|---|---|---|
| Valve does not actuate | Incorrect wiring or polarity | Verify wiring and polarity |
| Coil heats up excessively | Overvoltage or continuous energization | Check voltage and duty cycle |
| Fluid leaks from ports | Damaged seals or improper connections | Inspect seals and tighten connections |
| Slow response time | Low voltage or clogged ports | Ensure proper voltage and clean ports |
| Noisy operation | Loose mounting or debris | Secure mounting and clean valve |
FAQs
Can this valve handle liquids?
- Yes, but it is primarily designed for air, inert gases, or light oils. Ensure compatibility with the fluid type.
What happens if both coils are energized simultaneously?
- This is not recommended as it may cause erratic behavior or damage the valve. Always energize one coil at a time.
Can the valve operate in extreme temperatures?
- The valve is rated for temperatures between -10°C and 50°C. Operating outside this range may affect performance.
How do I clean the valve?
- Disconnect the valve from the system, disassemble it if necessary, and clean the ports with compressed air or a suitable solvent.
By following this documentation, users can effectively integrate and maintain the EMC Solenoid Valve 3/2 Double Coil in their systems.