Cirkit Designer LogoCirkit DesignerYour all-in-one circuit design IDE Launch Cirkit Designer App

How to Use VOLT MPPT 10A: Examples, Pinouts, and Specs

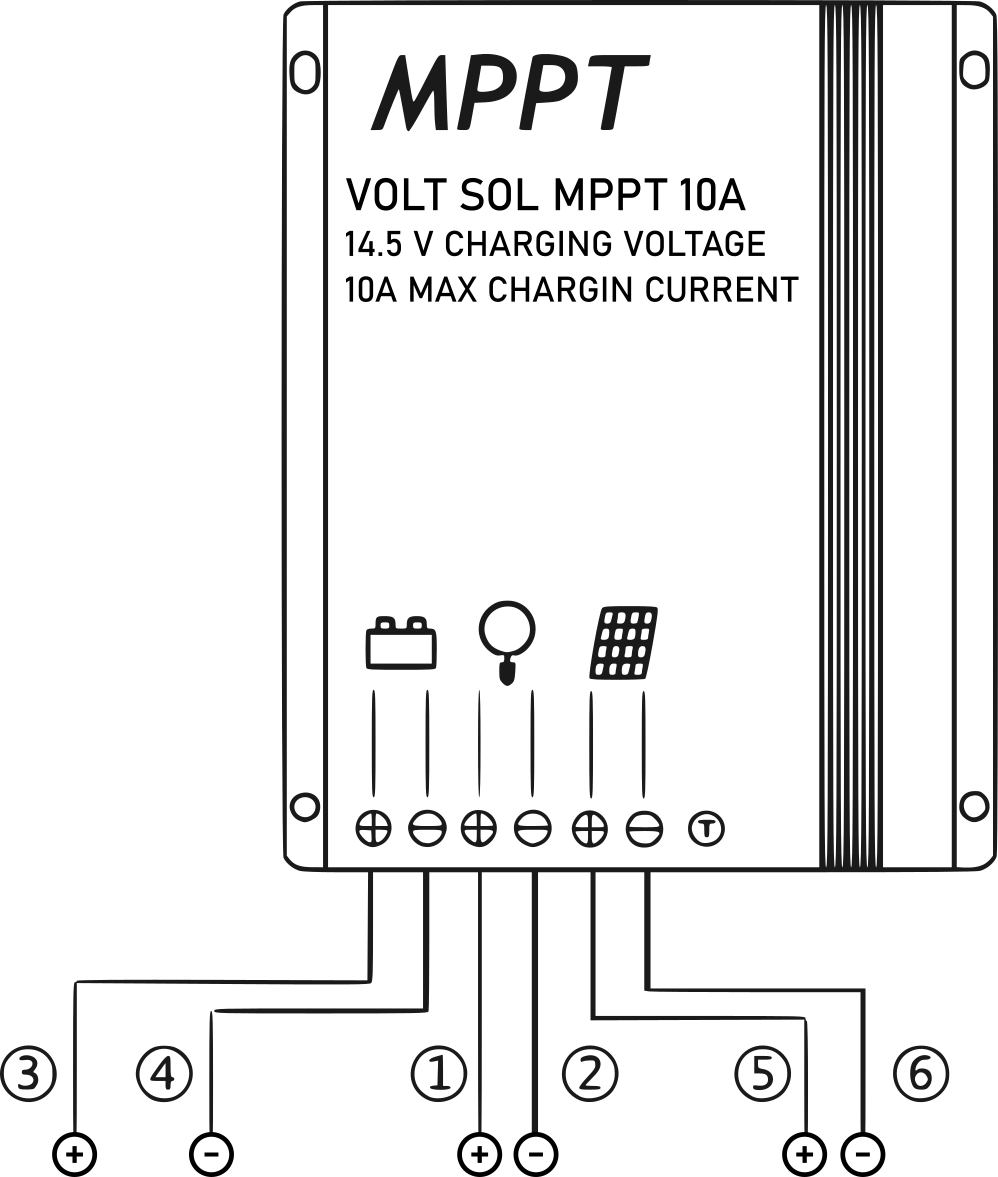
Image of VOLT MPPT 10ADesign with VOLT MPPT 10A in Cirkit Designer

Introduction

The VOLT MPPT 10A (Manufacturer Part ID: 5903760240141) is a high-efficiency Maximum Power Point Tracking (MPPT) solar charge controller designed to optimize energy harvest from solar panels. By dynamically adjusting the operating point of the solar panel, it ensures maximum power transfer to the connected battery or load. This device is capable of handling up to 10A of current, making it suitable for small to medium-sized solar power systems.

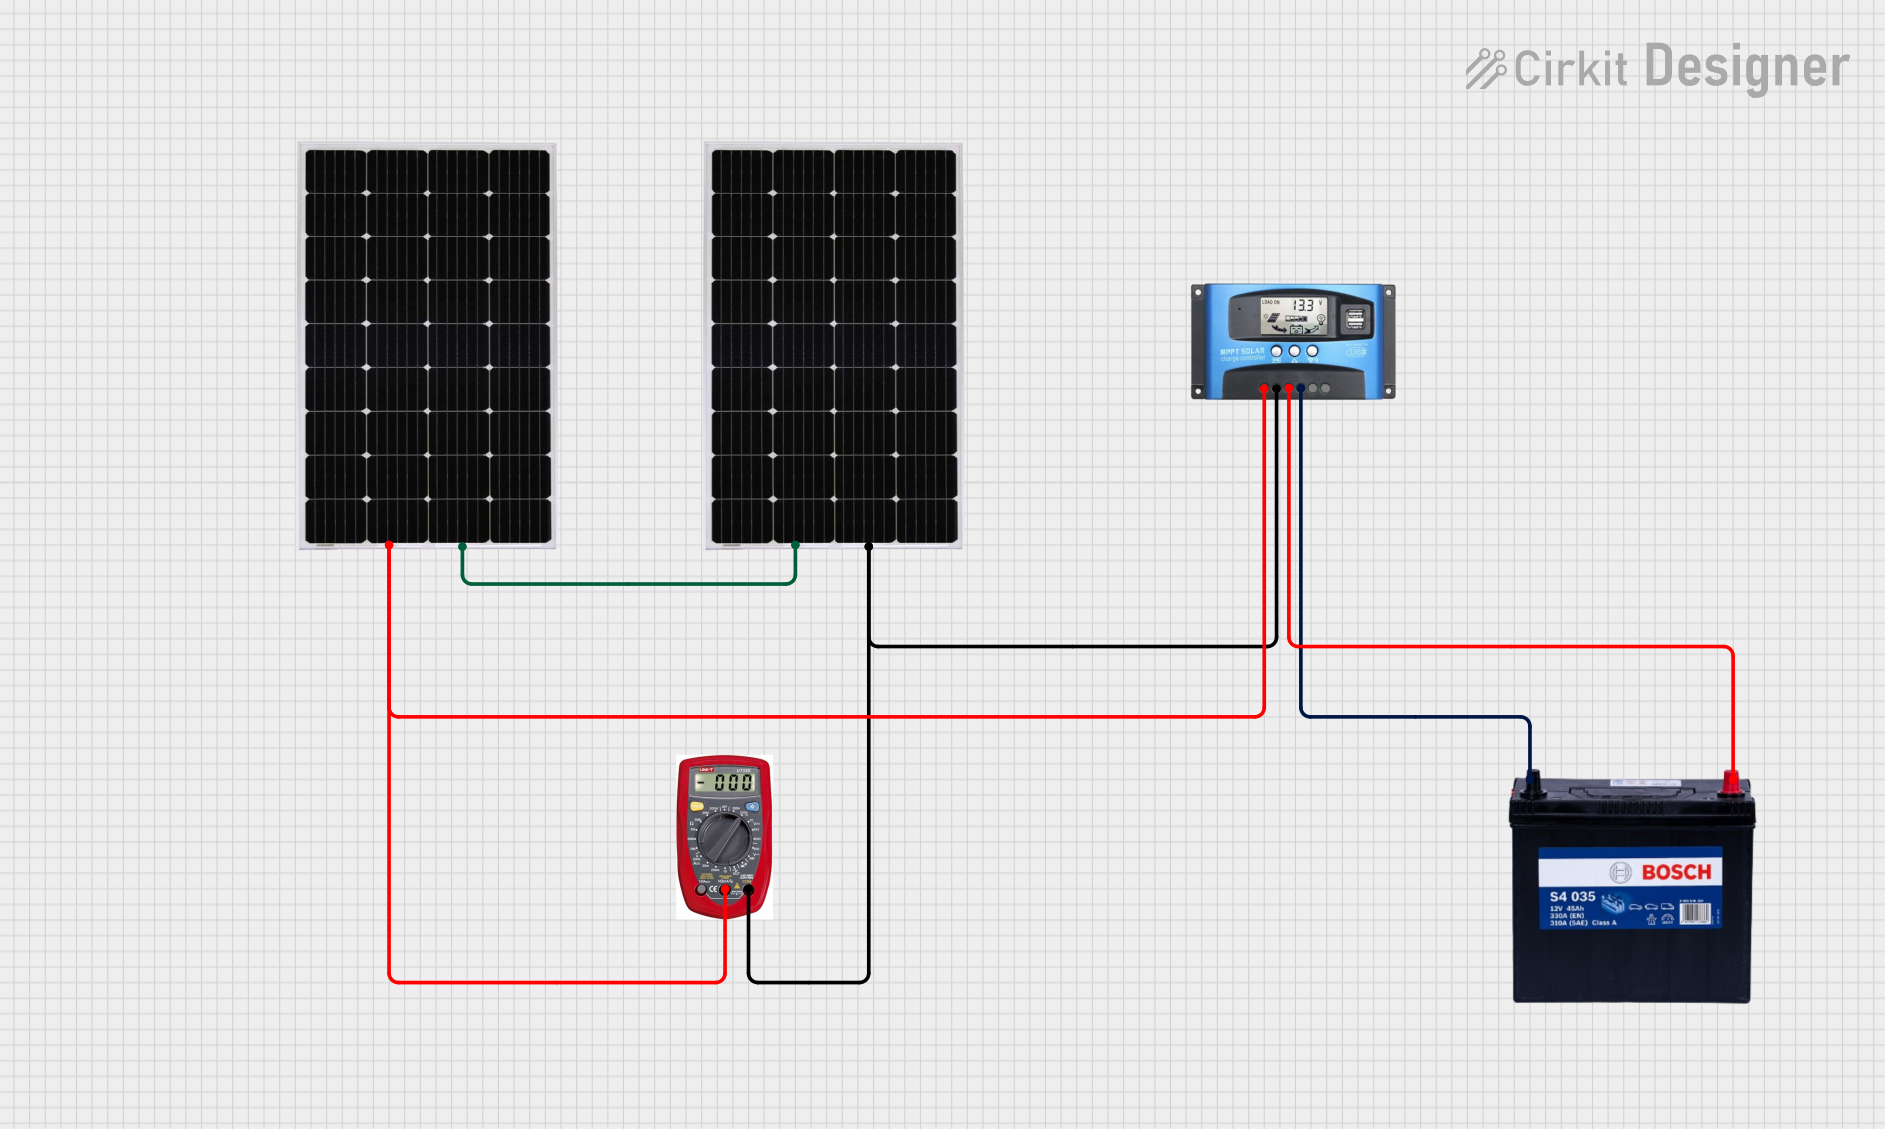
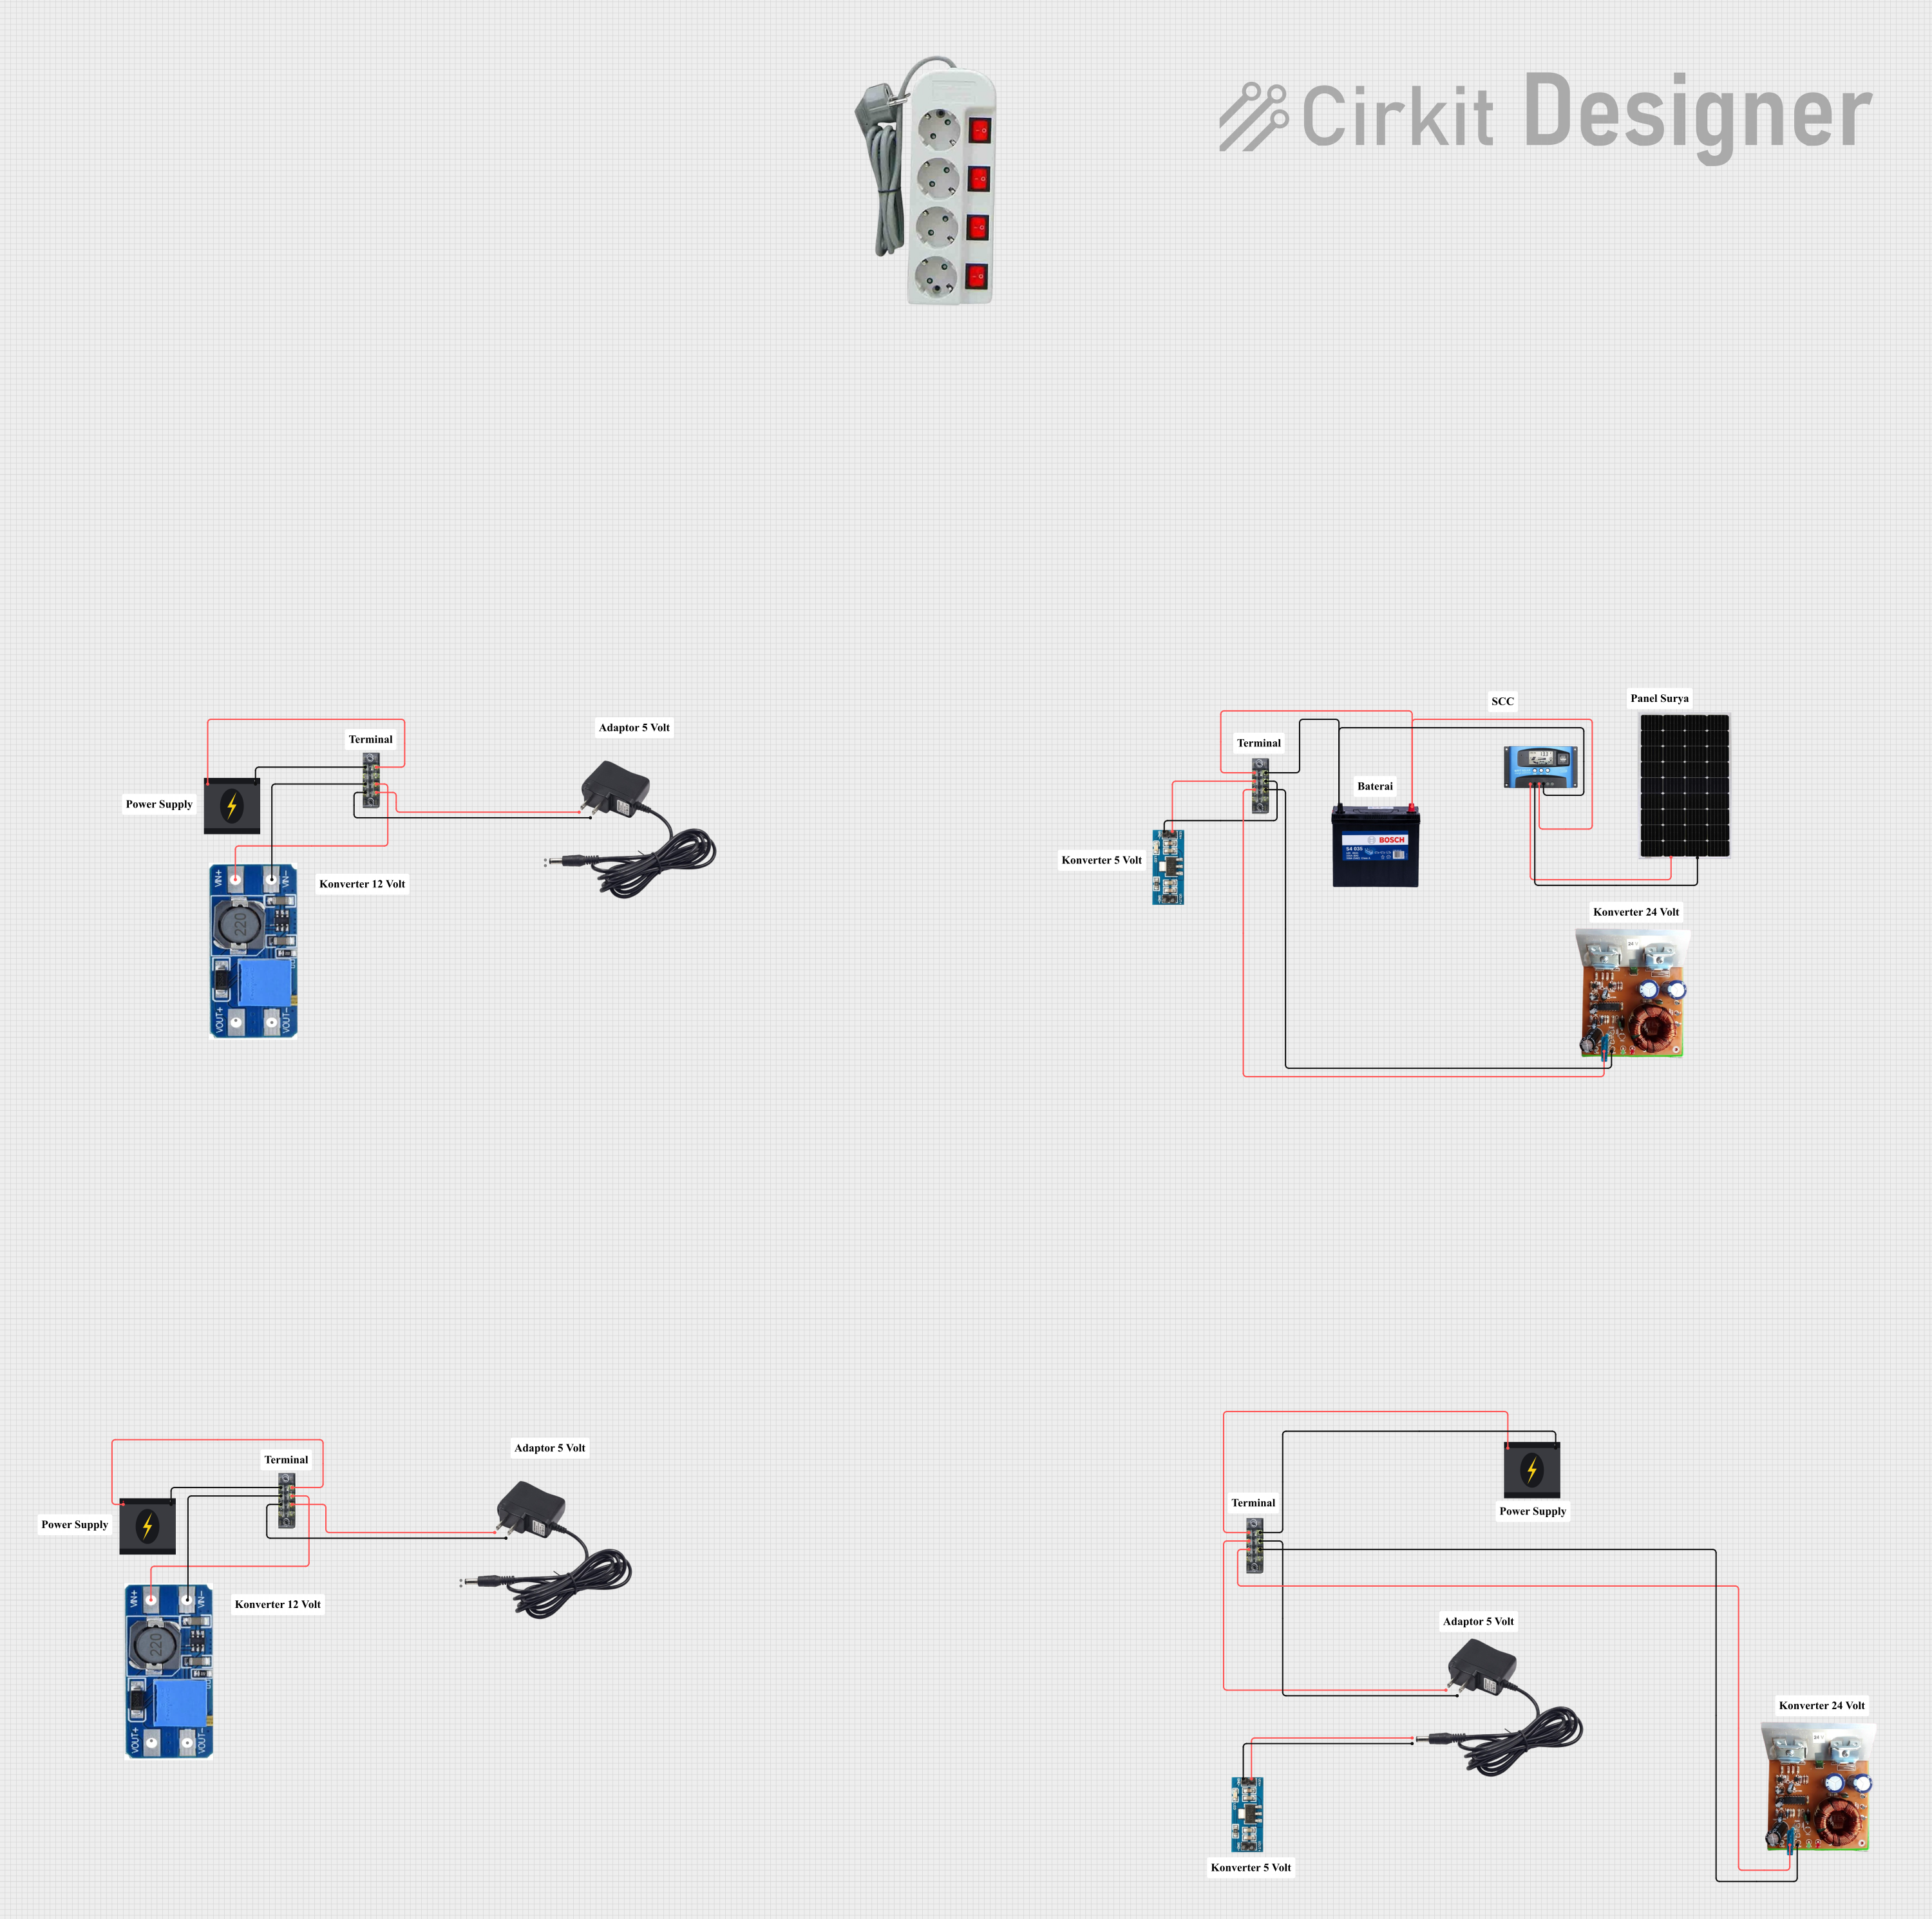
Explore Projects Built with VOLT MPPT 10A

Use Cirkit Designer to design, explore, and prototype these projects online. Some projects support real-time simulation. Click "Open Project" to start designing instantly!
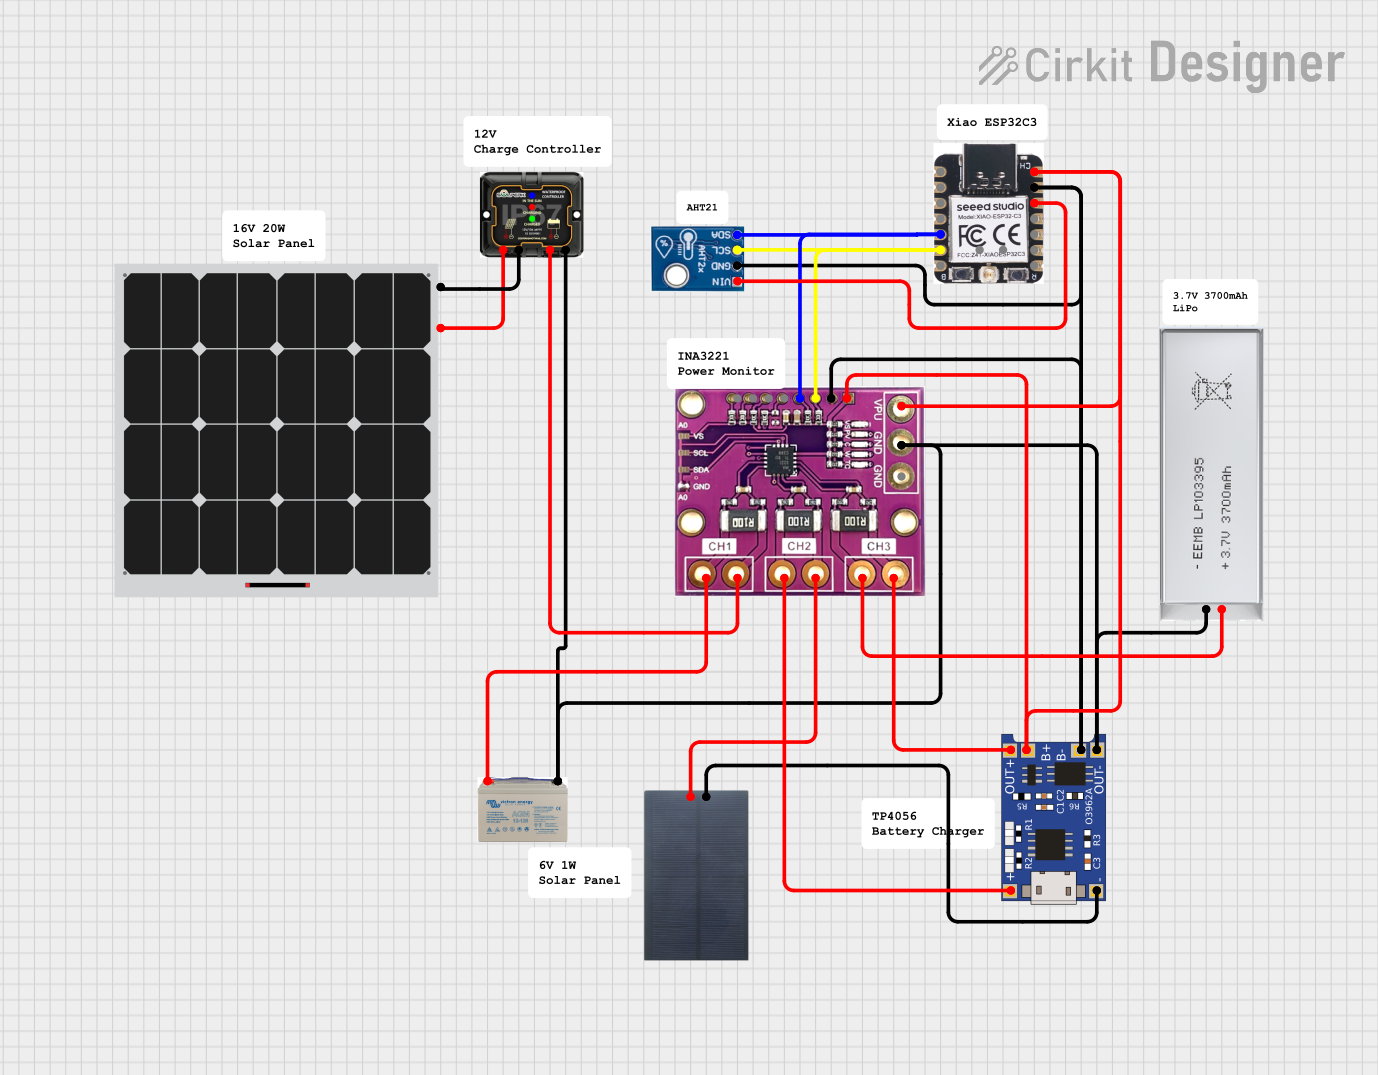
Image of Solar-Powered Environmental Monitoring System with ESP32-C3 and Battery Management: A project utilizing VOLT MPPT 10A in a practical application
Solar-Powered Environmental Monitoring System with ESP32-C3 and Battery Management

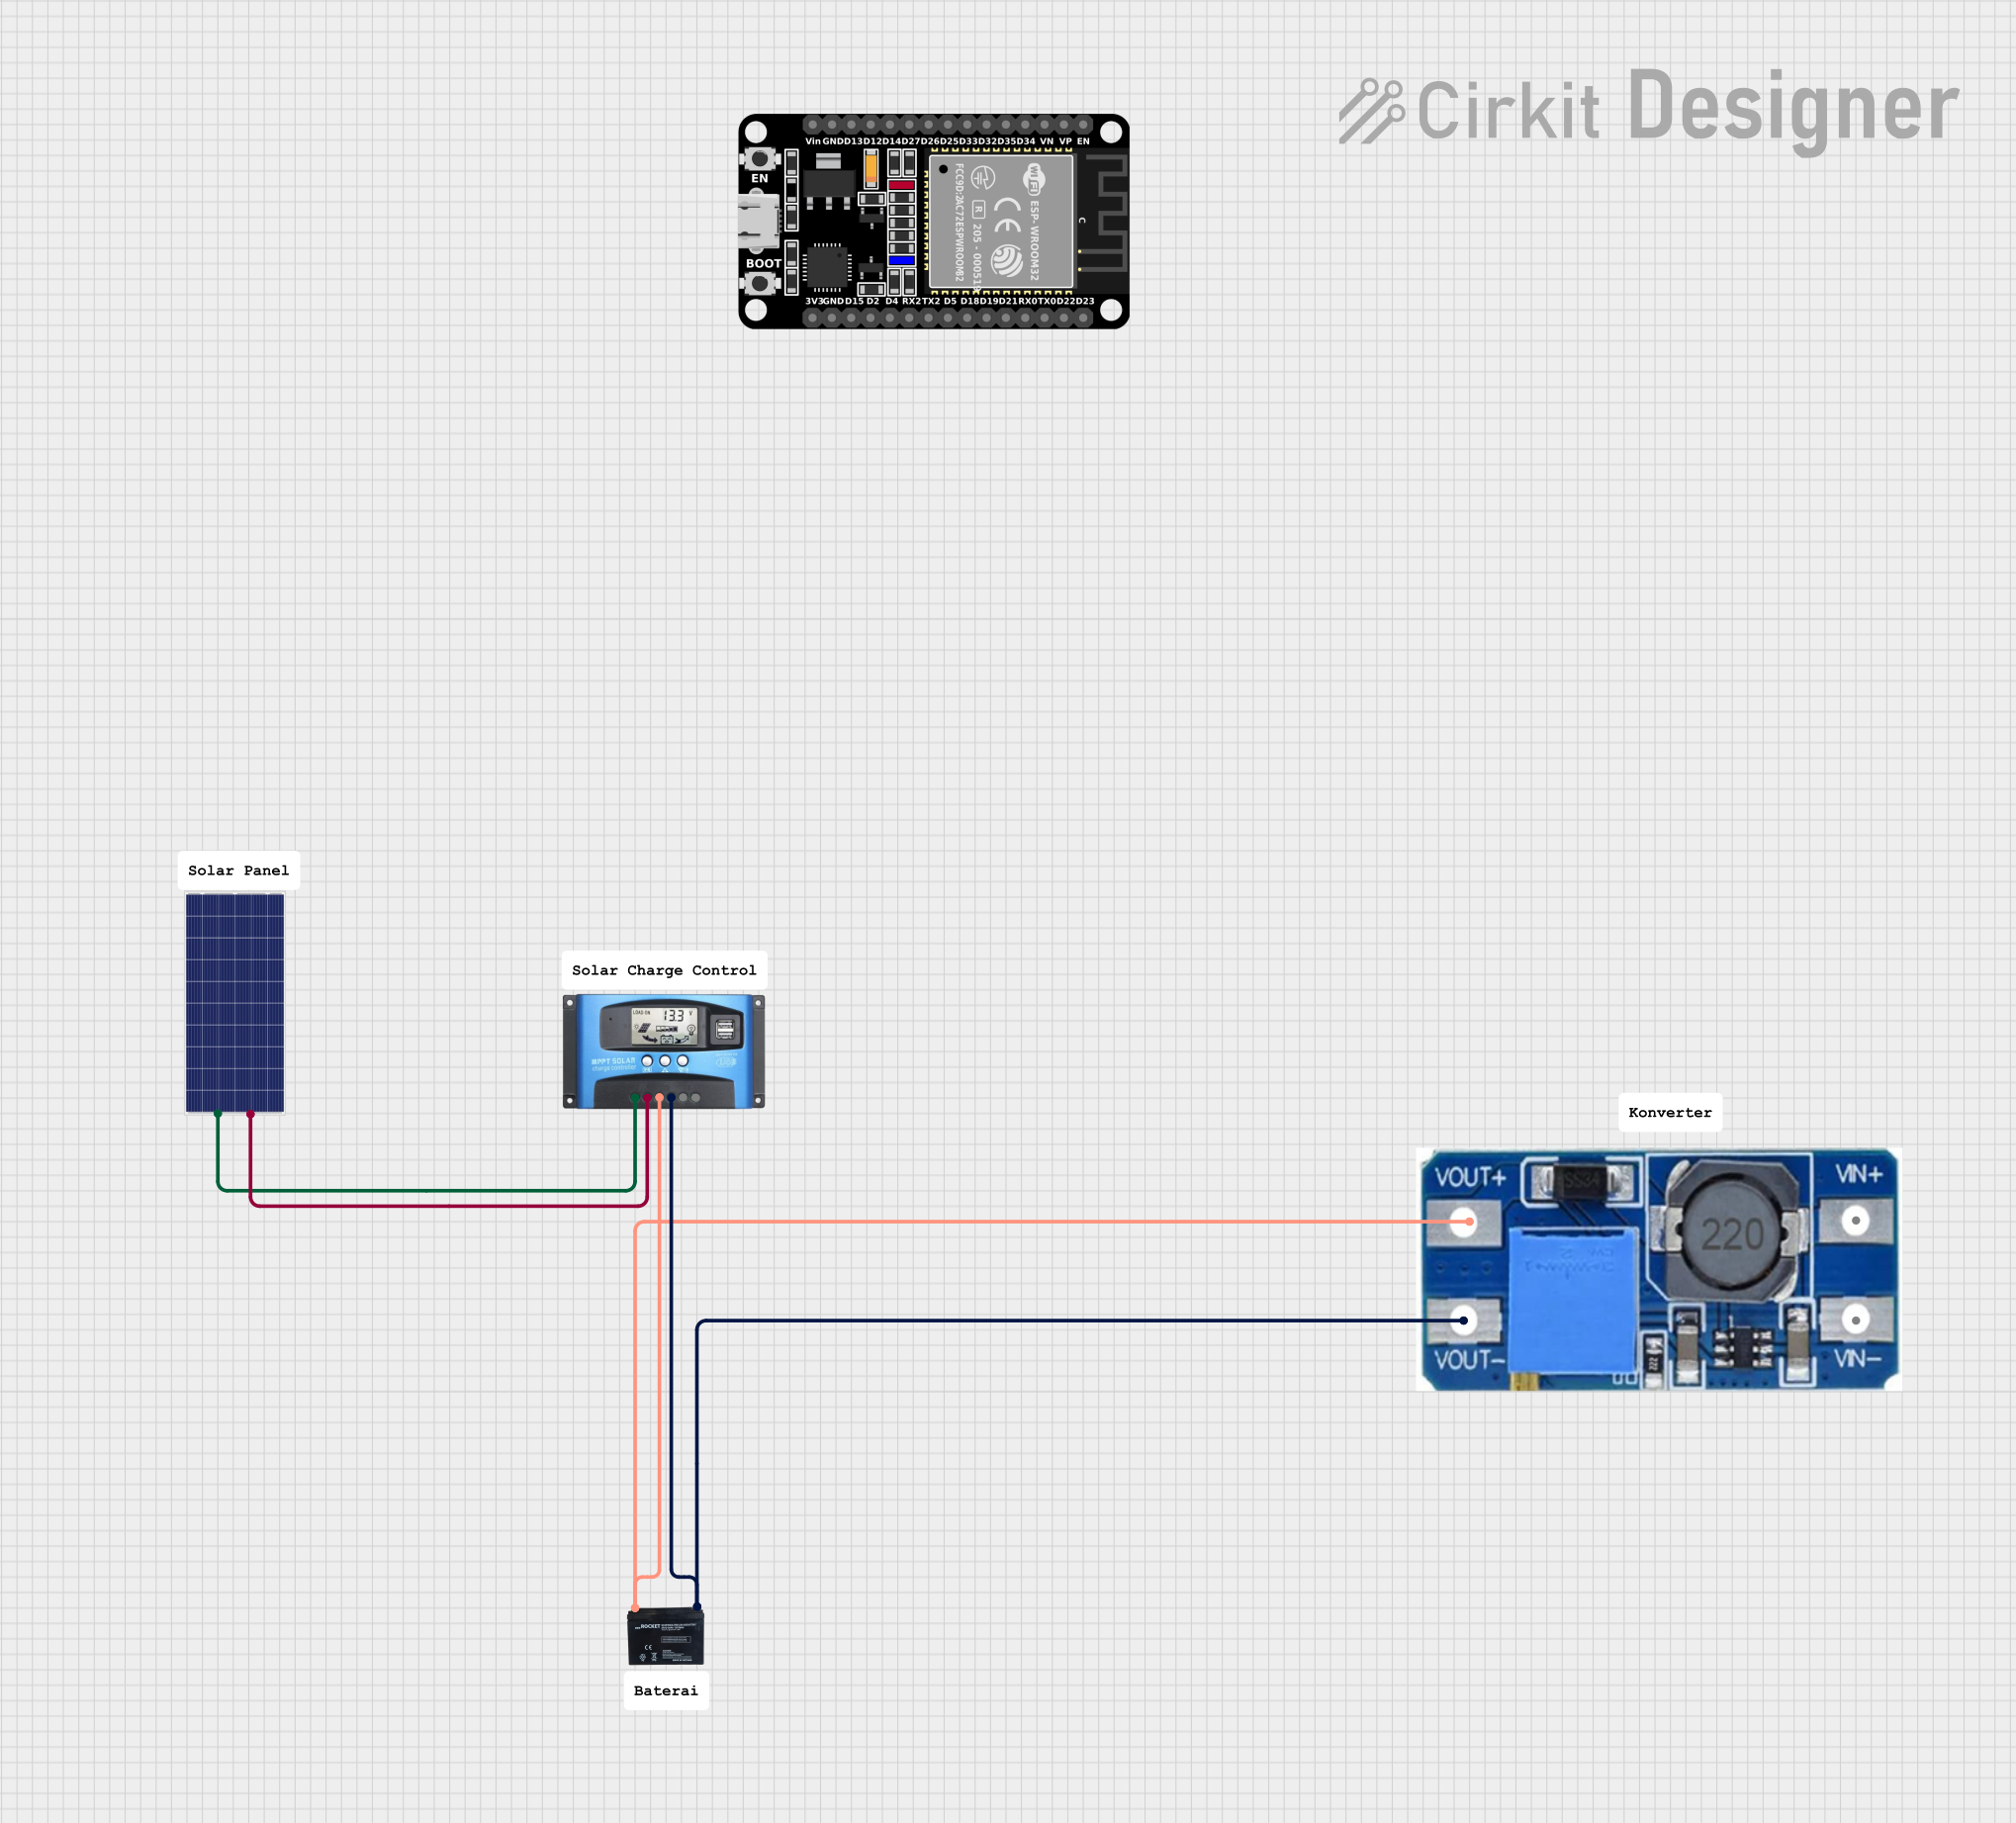
This circuit is designed for solar energy harvesting and battery management. It includes a solar panel connected to an MPPT (Maximum Power Point Tracking) 12V charge controller for efficient charging of a 12V AGM battery. Additionally, a 6V solar panel charges a 3.7V battery through a TP4056 charge controller. The circuit also features an AHT21 sensor for temperature and humidity readings and an INA3221 for current and voltage monitoring across various points, interfaced with an ESP32-C3 microcontroller for data processing and possibly IoT connectivity.

Open Project in Cirkit Designer

Common Applications and Use Cases

Technical Specifications

Below are the key technical details of the VOLT MPPT 10A:

Parameter Value
Input Voltage Range 12V/24V auto-detection
Maximum Input Voltage 50V
Maximum Output Current 10A
Efficiency Up to 98%
Battery Voltage Options 12V/24V
Operating Temperature -20°C to +60°C
Dimensions 150mm x 85mm x 40mm
Weight 350g

Pin Configuration and Descriptions

The VOLT MPPT 10A features the following terminal connections:

Pin/Terminal Description
Solar Panel (+) Positive input terminal for the solar panel
Solar Panel (-) Negative input terminal for the solar panel
Battery (+) Positive output terminal for the battery connection
Battery (-) Negative output terminal for the battery connection
Load (+) Positive terminal for the connected load
Load (-) Negative terminal for the connected load

Usage Instructions

How to Use the VOLT MPPT 10A in a Circuit

  1. Connect the Battery:

    • Always connect the battery to the controller first. Use the Battery (+) and Battery (-) terminals to connect the positive and negative leads of the battery, respectively.
    • Ensure the battery voltage matches the controller's supported range (12V or 24V).
  2. Connect the Solar Panel:

    • Connect the solar panel to the Solar Panel (+) and Solar Panel (-) terminals.
    • Ensure the panel's open-circuit voltage does not exceed 50V.
  3. Connect the Load (Optional):

    • If you wish to power a load directly, connect it to the Load (+) and Load (-) terminals.
    • Ensure the load current does not exceed the controller's 10A limit.
  4. Power On:

    • Once all connections are secure, the controller will automatically detect the system voltage (12V or 24V) and begin operation.

Important Considerations and Best Practices

Arduino UNO Integration Example

While the VOLT MPPT 10A is not directly programmable, it can be monitored using an Arduino UNO and a voltage/current sensor. Below is an example code snippet to monitor the battery voltage:

// Example code to monitor battery voltage using Arduino UNO
// Ensure you connect a voltage divider to scale down the battery voltage
// to a safe range for the Arduino's analog input (0-5V).

const int batteryPin = A0; // Analog pin connected to the voltage divider
const float voltageDividerRatio = 5.0; // Adjust based on your resistor values

void setup() {
  Serial.begin(9600); // Initialize serial communication
  pinMode(batteryPin, INPUT); // Set the battery pin as input
}

void loop() {
  int rawValue = analogRead(batteryPin); // Read the analog value
  float batteryVoltage = (rawValue / 1023.0) * 5.0 * voltageDividerRatio;
  
  // Print the battery voltage to the Serial Monitor
  Serial.print("Battery Voltage: ");
  Serial.print(batteryVoltage);
  Serial.println(" V");
  
  delay(1000); // Wait for 1 second before the next reading
}

Troubleshooting and FAQs

Common Issues and Solutions

  1. Controller Not Powering On:

    • Cause: Battery not connected or low voltage.
    • Solution: Ensure the battery is properly connected and has sufficient charge.
  2. Solar Panel Not Charging the Battery:

    • Cause: Incorrect wiring or insufficient sunlight.
    • Solution: Verify the solar panel connections and ensure the panel is exposed to direct sunlight.
  3. Load Not Receiving Power:

    • Cause: Load current exceeds 10A or incorrect wiring.
    • Solution: Check the load's current requirements and verify the wiring.
  4. Overheating:

    • Cause: Poor ventilation or excessive current.
    • Solution: Install the controller in a well-ventilated area and ensure the current is within limits.

FAQs

By following this documentation, users can effectively utilize the VOLT MPPT 10A for their solar energy projects.