
How to Use Adafruit ADS122C04 24-Bit ADC: Examples, Pinouts, and Specs
 Design with Adafruit ADS122C04 24-Bit ADC in Cirkit Designer
Introduction
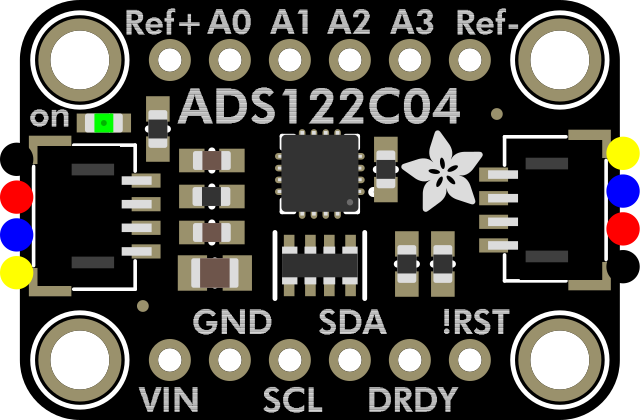
The Adafruit ADS122C04 (Part ID: 6432) is a high-precision analog-to-digital converter (ADC) designed to provide 24-bit resolution for accurate measurement of small signals. This component is ideal for applications requiring precise data acquisition, such as sensor interfacing, temperature measurement, and industrial monitoring. Its compact design and I²C interface make it easy to integrate into a wide range of projects.
Explore Projects Built with Adafruit ADS122C04 24-Bit ADC
 Open Project in Cirkit Designer
 Open Project in Cirkit Designer
 Open Project in Cirkit Designer
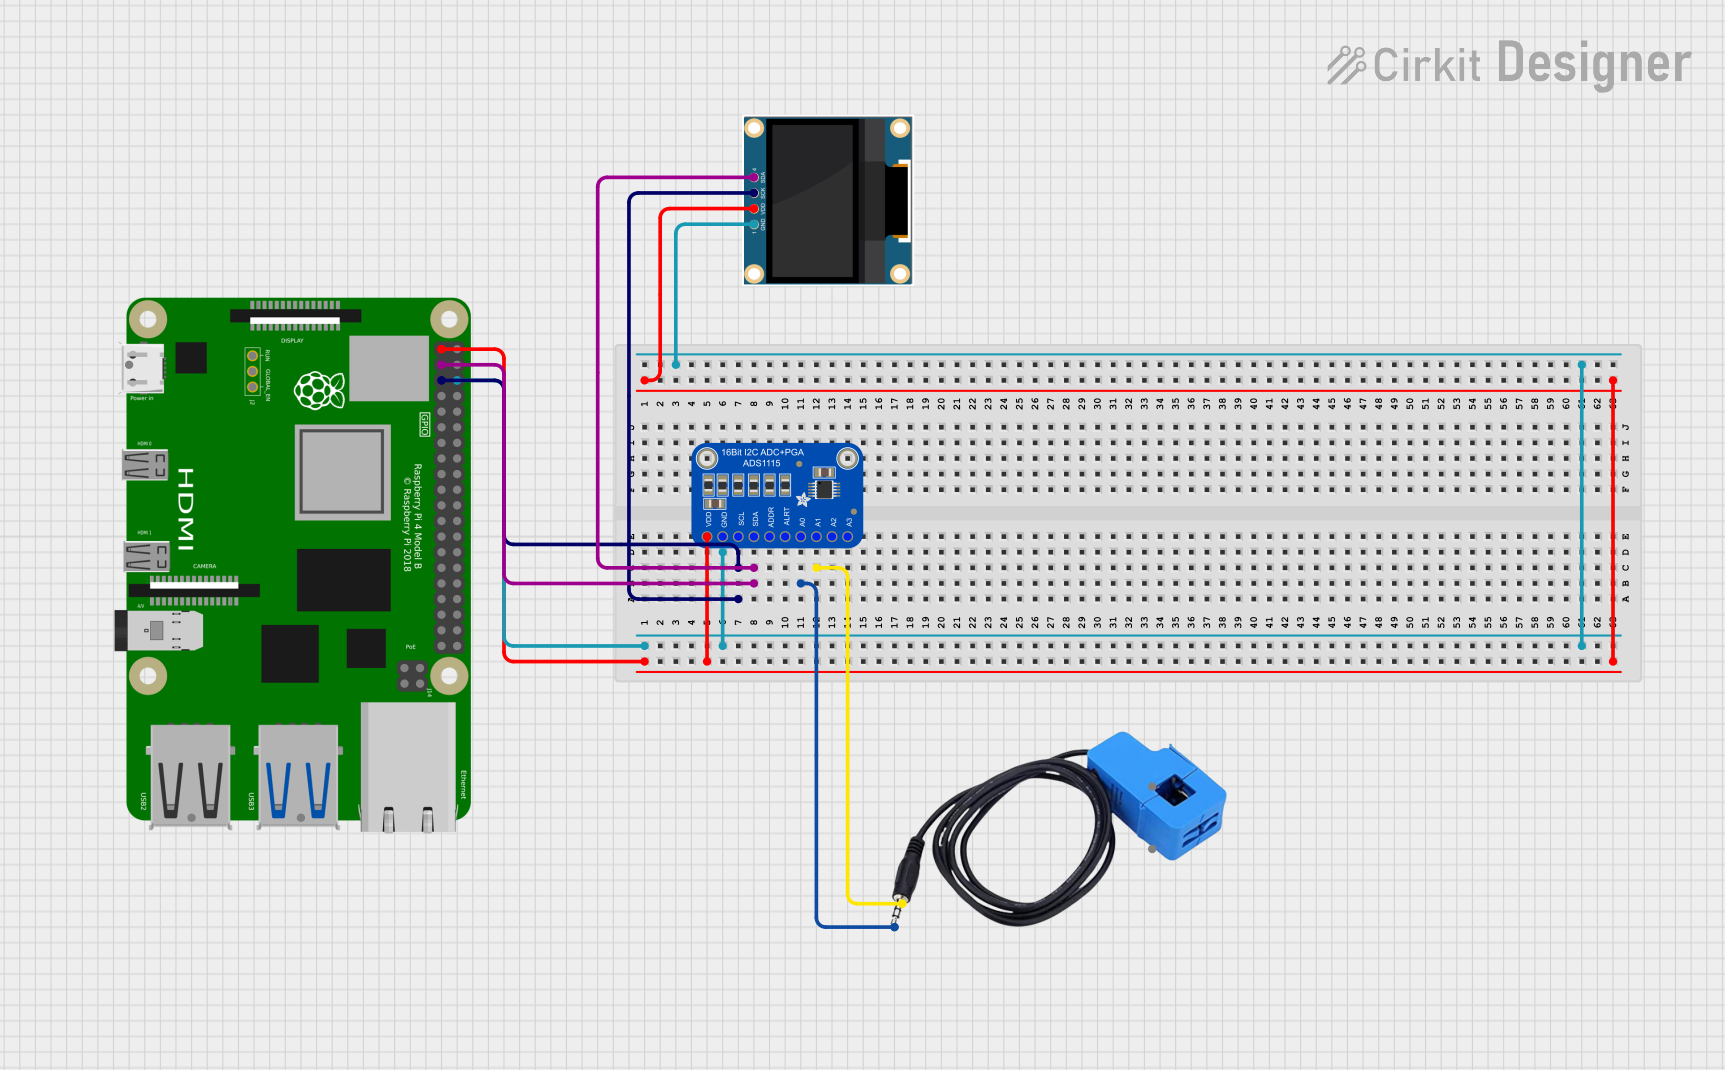 Open Project in Cirkit Designer
Explore Projects Built with Adafruit ADS122C04 24-Bit ADC
Open Project in Cirkit DesignerOpen Project in Cirkit DesignerOpen Project in Cirkit DesignerOpen Project in Cirkit DesignerCommon Applications
- Sensor interfacing (e.g., thermocouples, RTDs, load cells)
- Data acquisition systems
- Industrial process monitoring
- Precision instrumentation
- IoT devices requiring high-resolution analog measurements
Technical Specifications
The ADS122C04 is a versatile ADC with the following key technical details:
| Parameter | Value |
|---|---|
| Resolution | 24-bit |
| Number of Channels | 4 (multiplexed) |
| Input Voltage Range | 0V to VREF (reference voltage) |
| Reference Voltage (VREF) | 2.048V (internal) or external (up to 5V) |
| Interface | I²C |
| Operating Voltage | 2.3V to 5.5V |
| Operating Temperature Range | -40°C to +125°C |
| Data Rate | Programmable: 20 SPS to 2000 SPS |
| Gain | Programmable: 1x to 128x |
| Power Consumption | 315 µA (typical) |
Pin Configuration
The ADS122C04 comes in a compact package with the following pinout:
| Pin | Name | Description |
|---|---|---|
| 1 | VDD | Power supply input (2.3V to 5.5V) |
| 2 | GND | Ground |
| 3 | SDA | I²C data line |
| 4 | SCL | I²C clock line |
| 5 | AIN0 | Analog input channel 0 |
| 6 | AIN1 | Analog input channel 1 |
| 7 | AIN2 | Analog input channel 2 |
| 8 | AIN3 | Analog input channel 3 |
| 9 | REF+ | Positive reference voltage input |
| 10 | REF- | Negative reference voltage input |
| 11 | DRDY | Data ready output (optional, can be polled via I²C) |
| 12 | ADDR | I²C address selection pin (connect to GND or VDD to set address) |
Usage Instructions
How to Use the ADS122C04 in a Circuit
- Power Supply: Connect the VDD pin to a 3.3V or 5V power source and the GND pin to ground.
- I²C Communication: Connect the SDA and SCL pins to the corresponding I²C pins on your microcontroller. Use pull-up resistors (typically 4.7kΩ) on both lines if not already present.
- Analog Inputs: Connect your analog signal(s) to the AIN0–AIN3 pins. For differential measurements, use pairs of inputs (e.g., AIN0 and AIN1).
- Reference Voltage: Use the internal 2.048V reference or connect an external reference voltage to the REF+ and REF- pins.
- I²C Address: Set the I²C address by connecting the ADDR pin to GND or VDD. This allows multiple ADS122C04 devices on the same I²C bus.
Important Considerations
- Input Impedance: Ensure the source impedance of your analog signal is low enough to avoid signal degradation.
- Bypass Capacitors: Place a 0.1µF ceramic capacitor close to the VDD pin for power supply decoupling.
- Noise Reduction: Use proper shielding and grounding techniques to minimize noise in high-precision applications.
- Data Rate: Choose an appropriate data rate for your application. Higher rates may introduce more noise, while lower rates provide better resolution.
Example Code for Arduino UNO
Below is an example of how to interface the ADS122C04 with an Arduino UNO using the Wire library:
#include <Wire.h>

#define ADS122C04_I2C_ADDRESS 0x40  // Default I²C address

void setup() {
  Wire.begin();  // Initialize I²C communication
  Serial.begin(9600);  // Initialize serial communication for debugging

  // Configure the ADS122C04 (example: set gain, data rate, etc.)
  Wire.beginTransmission(ADS122C04_I2C_ADDRESS);
  Wire.write(0x40);  // Write to configuration register (example value)
  Wire.write(0x08);  // Example configuration: gain = 1, data rate = 20 SPS
  Wire.endTransmission();

  Serial.println("ADS122C04 initialized.");
}

void loop() {
  // Request data from the ADS122C04
  Wire.beginTransmission(ADS122C04_I2C_ADDRESS);
  Wire.write(0x10);  // Command to read conversion result
  Wire.endTransmission();

  Wire.requestFrom(ADS122C04_I2C_ADDRESS, 3);  // Read 3 bytes (24-bit result)
  if (Wire.available() == 3) {
    uint32_t result = 0;
    result |= (Wire.read() << 16);  // MSB
    result |= (Wire.read() << 8);   // Middle byte
    result |= Wire.read();          // LSB

    // Convert result to signed 24-bit value
    if (result & 0x800000) {
      result |= 0xFF000000;  // Sign-extend for negative values
    }
    int32_t signedResult = (int32_t)result;

    // Print the result
    Serial.print("ADC Result: ");
    Serial.println(signedResult);
  }

  delay(500);  // Wait before the next reading
}
Notes on the Code
- Replace the configuration register values with those specific to your application.
- Ensure the I²C address matches the configuration of your ADS122C04.
Troubleshooting and FAQs
Common Issues
No Communication with the ADC
- Solution: Verify the I²C connections (SDA, SCL) and ensure pull-up resistors are present.
- Tip: Check the I²C address configuration (ADDR pin) and ensure it matches your code.
Incorrect or Noisy Readings
- Solution: Ensure proper grounding and shielding of analog signals.
- Tip: Use a low-noise power supply and bypass capacitors near the ADC.
Device Not Responding
- Solution: Confirm the power supply voltage is within the specified range (2.3V to 5.5V).
- Tip: Check for shorts or incorrect wiring.
FAQs
Q: Can I use the ADS122C04 with a 5V microcontroller?
A: Yes, the ADS122C04 supports operating voltages up to 5.5V, making it compatible with 5V systems.
Q: How do I measure differential signals?
A: Connect the positive signal to one analog input (e.g., AIN0) and the negative signal to another (e.g., AIN1). Configure the ADC for differential mode in your code.
Q: What is the maximum sampling rate?
A: The ADS122C04 supports a maximum data rate of 2000 samples per second (SPS).
Q: Can I use an external reference voltage?
A: Yes, connect your external reference voltage to the REF+ and REF- pins. Ensure it is within the specified range.
This concludes the documentation for the Adafruit ADS122C04 24-Bit ADC.