
How to Use Water Pump 12 V: Examples, Pinouts, and Specs
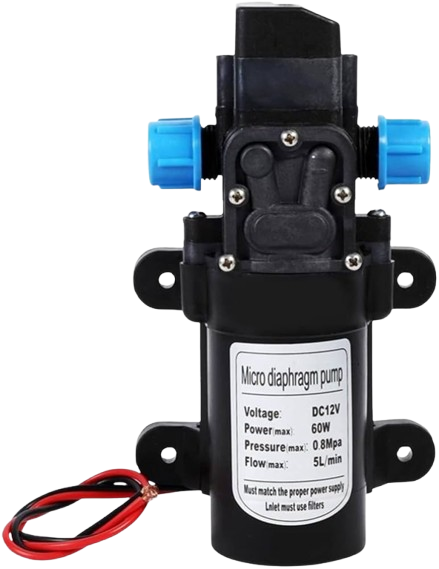
 Design with Water Pump 12 V in Cirkit Designer
Introduction
The Water Pump 12V (Manufacturer: PUMP, Part ID: 03) is a compact and efficient device designed for moving water in a variety of applications. It operates on a 12-volt DC power supply and is suitable for use in aquariums, irrigation systems, cooling systems, and other water circulation tasks. Its small size and reliable performance make it a popular choice for hobbyists and professionals alike.
Explore Projects Built with Water Pump 12 V
 Open Project in Cirkit Designer
 Open Project in Cirkit Designer
 Open Project in Cirkit Designer
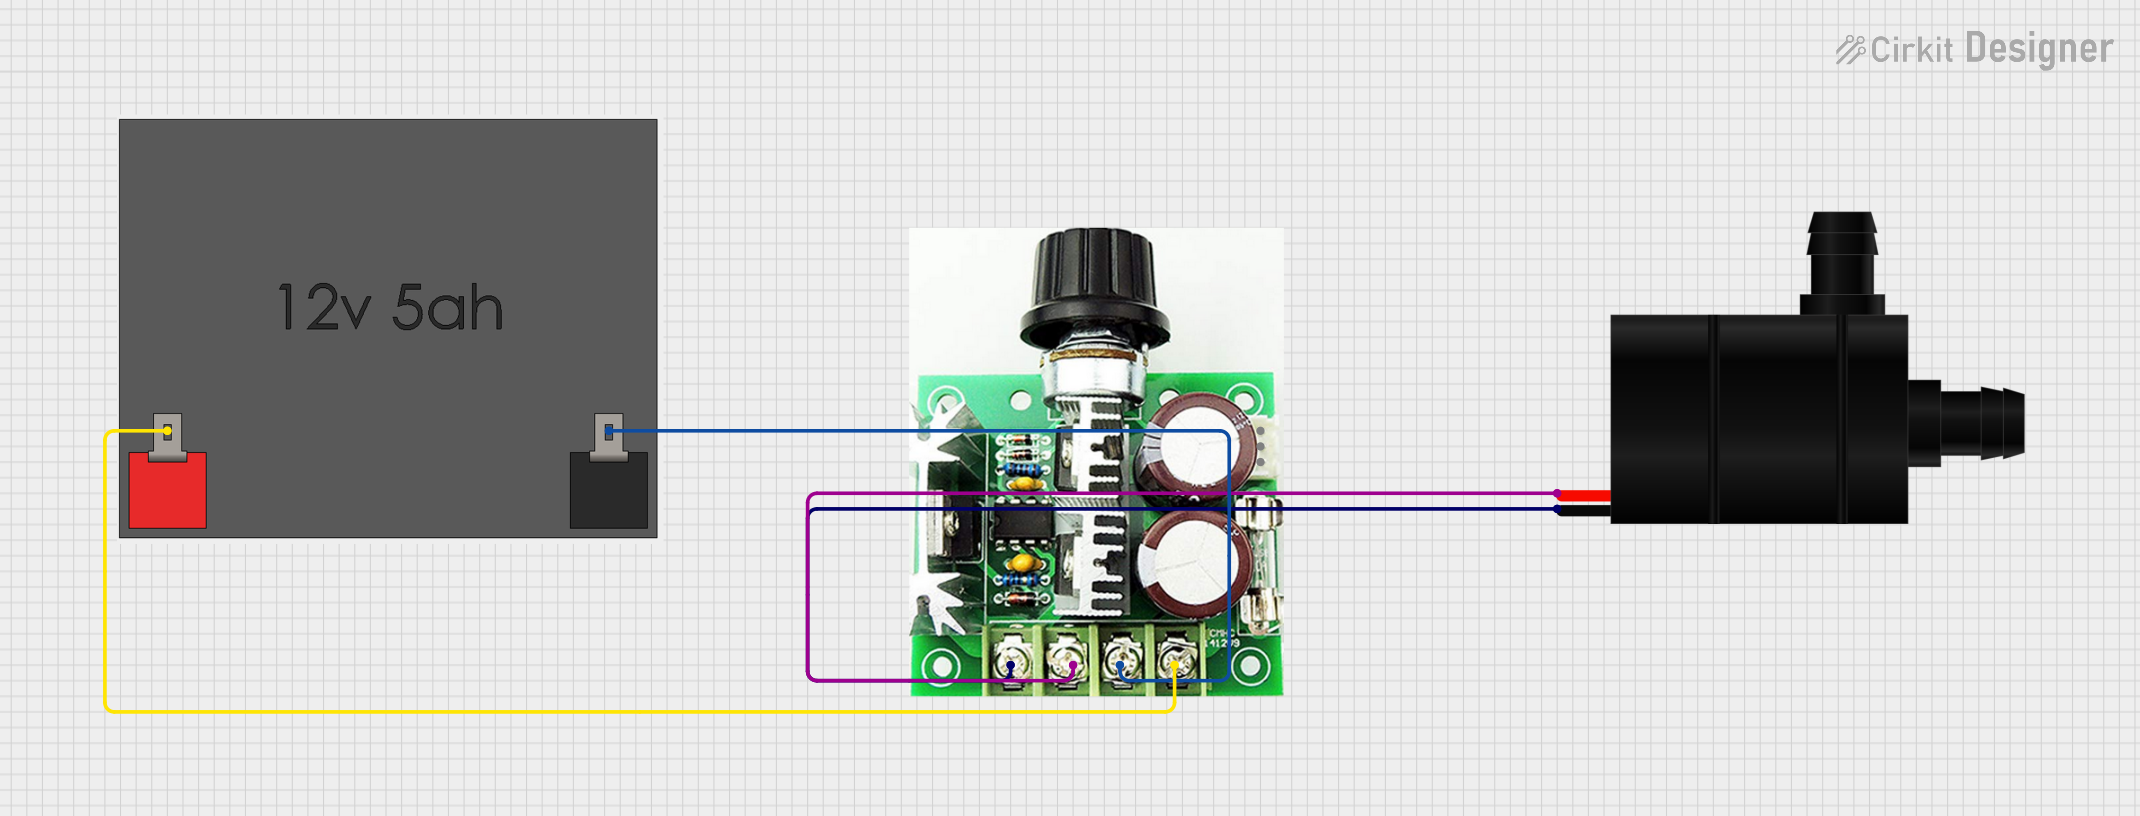 Open Project in Cirkit Designer
Explore Projects Built with Water Pump 12 V
Open Project in Cirkit DesignerOpen Project in Cirkit DesignerOpen Project in Cirkit DesignerOpen Project in Cirkit DesignerCommon Applications
- Aquariums: Circulating and filtering water to maintain a healthy aquatic environment.
- Irrigation Systems: Delivering water to plants in small-scale gardening or hydroponic setups.
- Cooling Systems: Pumping water for cooling electronic components or machinery.
- DIY Projects: Custom water circulation systems for creative or experimental purposes.
Technical Specifications
Key Technical Details
| Parameter | Value |
|---|---|
| Operating Voltage | 12V DC |
| Operating Current | 0.5A to 1.5A (depending on load) |
| Power Consumption | 6W to 18W |
| Maximum Flow Rate | 240 liters per hour (L/h) |
| Maximum Lift Height | 3 meters |
| Inlet/Outlet Diameter | 8 mm |
| Material | Plastic (housing), metal (motor) |
| Dimensions | 70 mm x 40 mm x 35 mm |
| Weight | 150 grams |
Pin Configuration and Descriptions
The Water Pump 12V typically has two wires for electrical connections:
| Wire Color | Function | Description |
|---|---|---|
| Red | Positive (+) | Connect to the positive terminal of the 12V DC power supply. |
| Black | Negative (-) | Connect to the negative terminal (ground) of the 12V DC power supply. |
Usage Instructions
How to Use the Water Pump in a Circuit
- Power Supply: Ensure you have a stable 12V DC power source capable of supplying at least 1.5A.
- Connections:
- Connect the red wire to the positive terminal of the power supply.
- Connect the black wire to the negative terminal (ground).
- Water Flow:
- Attach tubing to the inlet and outlet ports of the pump. Ensure the tubing is securely fastened to prevent leaks.
- Submerge the pump in water (if it is a submersible pump) or ensure the inlet is properly primed (if it is a non-submersible pump).
- Operation:
- Turn on the power supply to activate the pump. Water should begin flowing through the tubing.
Important Considerations and Best Practices
- Polarity: Double-check the polarity of the connections to avoid damaging the pump.
- Dry Run Prevention: Never operate the pump without water, as this can cause overheating and damage.
- Voltage Range: Do not exceed the rated 12V DC input to prevent overloading the motor.
- Maintenance: Periodically clean the pump and tubing to prevent clogs and ensure optimal performance.
- Environment: Use the pump in environments that match its specifications (e.g., avoid corrosive liquids or extreme temperatures).
Example: Using the Water Pump with an Arduino UNO
The Water Pump 12V can be controlled using an Arduino UNO and a relay module. Below is an example circuit and code to turn the pump on and off using a digital pin.
Circuit Diagram
- Connect the red wire of the pump to the NO (Normally Open) terminal of the relay.
- Connect the black wire of the pump to the GND of the power supply.
- Connect the COM (Common) terminal of the relay to the positive terminal of the 12V power supply.
- Connect the relay's control pin to an Arduino digital pin (e.g., pin 7).
Arduino Code
// Water Pump Control with Arduino UNO
// This code turns the water pump on for 5 seconds, then off for 5 seconds.

const int relayPin = 7; // Define the pin connected to the relay module

void setup() {
  pinMode(relayPin, OUTPUT); // Set the relay pin as an output
  digitalWrite(relayPin, LOW); // Ensure the pump is off initially
}

void loop() {
  digitalWrite(relayPin, HIGH); // Turn the pump on
  delay(5000); // Keep the pump on for 5 seconds
  digitalWrite(relayPin, LOW); // Turn the pump off
  delay(5000); // Keep the pump off for 5 seconds
}
Troubleshooting and FAQs
Common Issues and Solutions
| Issue | Possible Cause | Solution |
|---|---|---|
| Pump does not start | Incorrect wiring or no power | Verify connections and ensure a stable 12V DC power supply. |
| Low water flow rate | Clogged inlet or outlet | Clean the pump and tubing to remove blockages. |
| Pump overheats | Running dry or excessive voltage | Ensure the pump is submerged or primed, and use a 12V DC supply. |
| Noise during operation | Air trapped in the pump | Check for air bubbles and ensure proper priming. |
FAQs
Can this pump handle hot water?
- The pump is designed for standard water temperatures. Avoid using it with hot or boiling water unless specified by the manufacturer.
Is the pump waterproof?
- Yes, if it is a submersible pump. However, always confirm the specific model's waterproof rating.
Can I control the pump speed?
- The pump speed is fixed. To control flow rate, consider using a valve on the outlet tubing.
What is the maximum operating time?
- The pump can operate continuously, but ensure proper cooling and maintenance for long-term use.
This concludes the documentation for the Water Pump 12V (PUMP, Part ID: 03). For further assistance, refer to the manufacturer's support resources.