How to Use Pushbutton: Examples, Pinouts, and Specs
Introduction
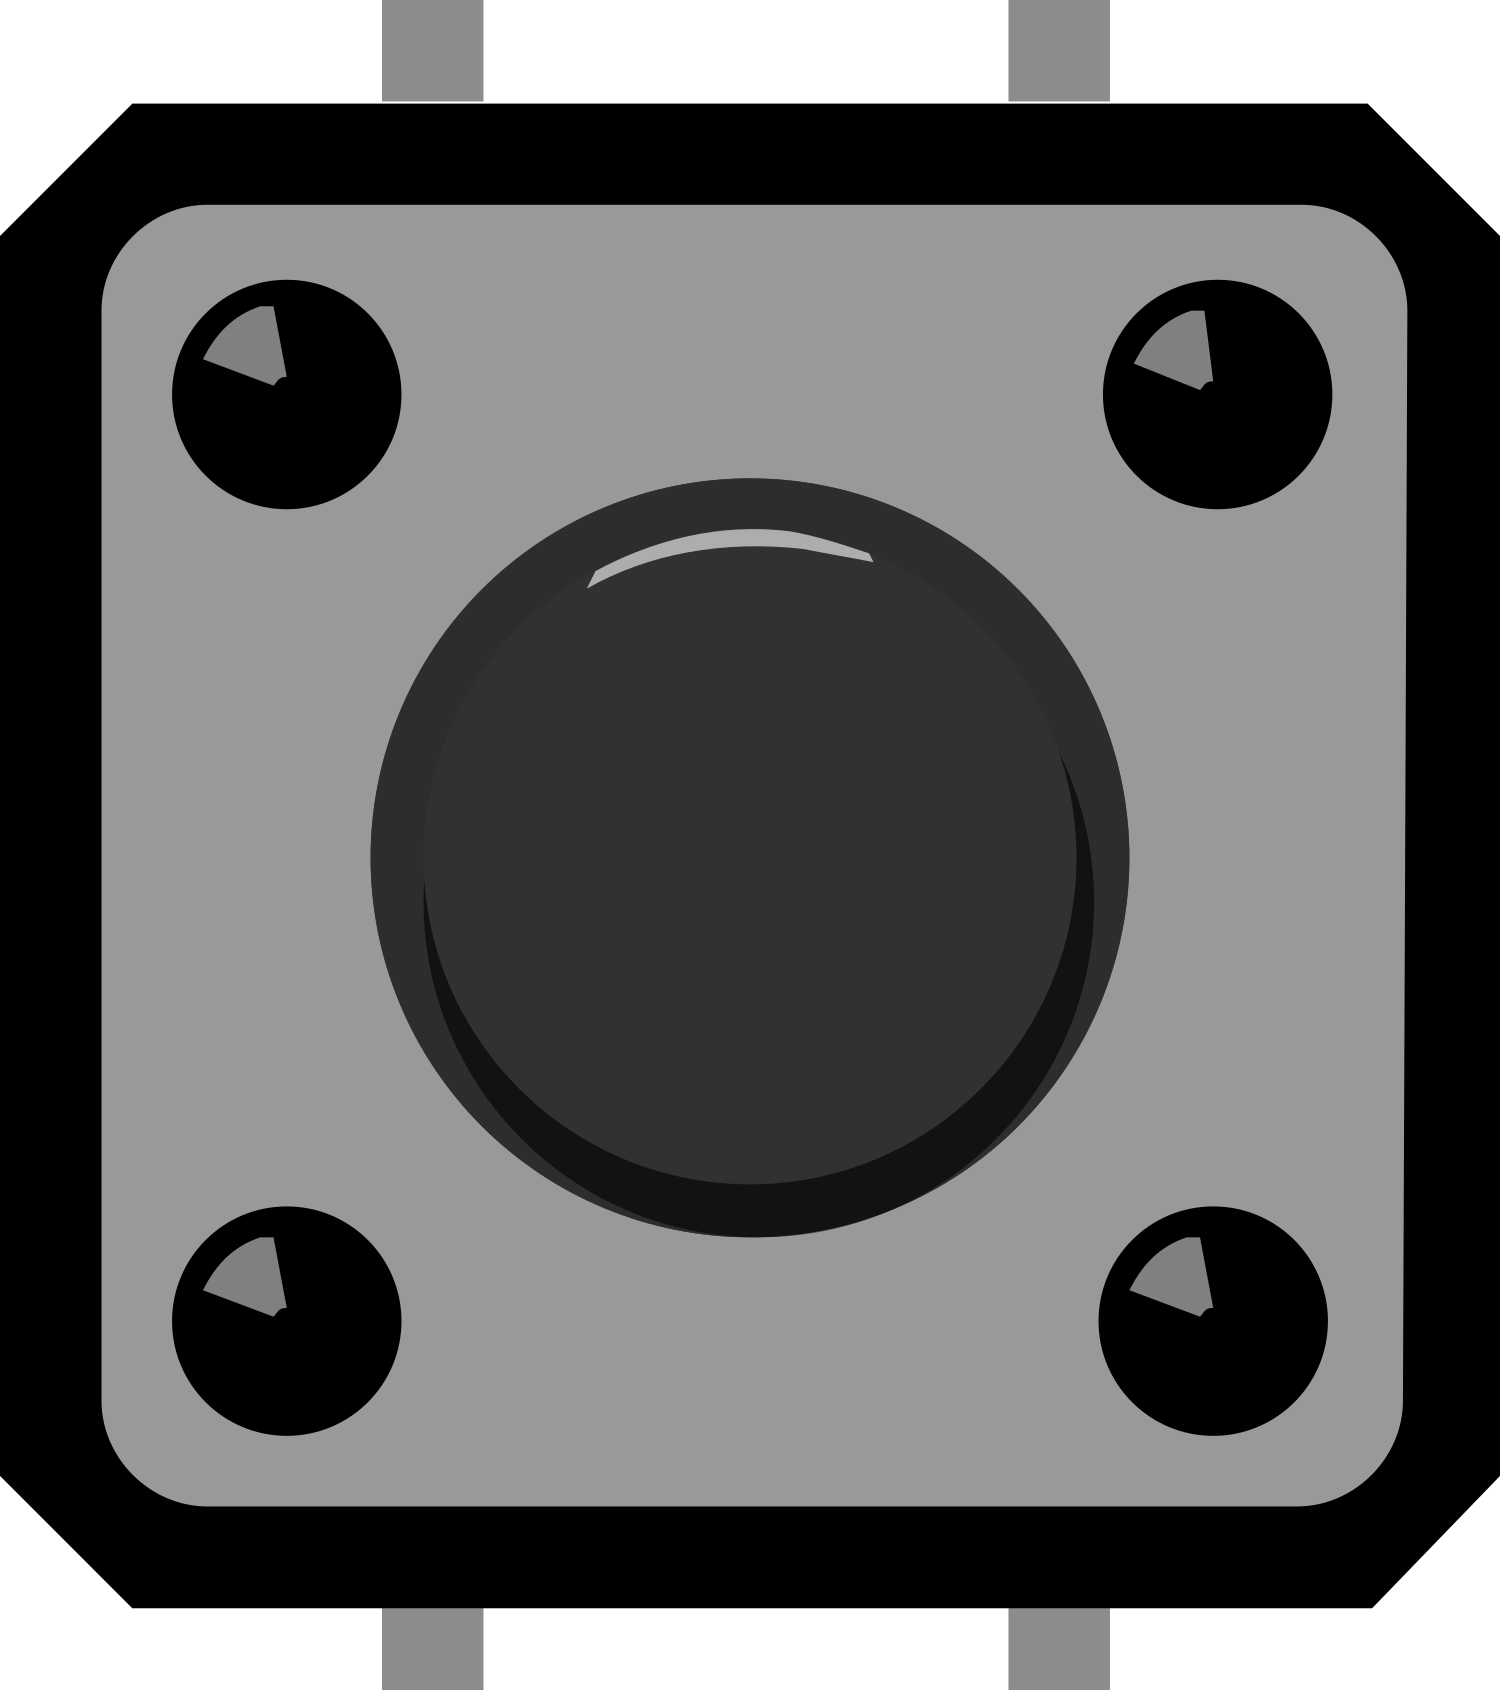
A pushbutton (or push button) is a simple switch mechanism for controlling some aspect of a machine or a process. Buttons are typically made out of hard material, usually plastic or metal. The surface is usually flat or shaped to accommodate the human finger or hand, so as to be easily depressed or pushed. Pushbuttons are most often used to complete an electrical circuit, signaling a control board to perform a certain action.
Common applications of pushbuttons include calculators, push-button telephones, kitchen appliances, and power tools. In the context of electronics and microcontrollers, such as the Arduino, pushbuttons are used to provide input from the user to the device, often initiating a change in the state of an electronic system.
Explore Projects Built with Pushbutton

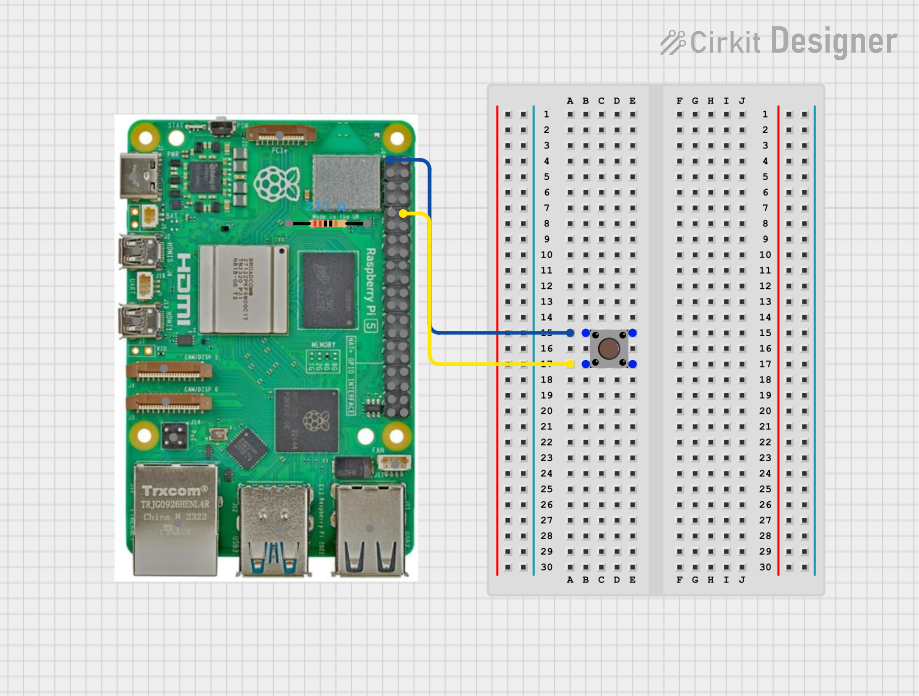

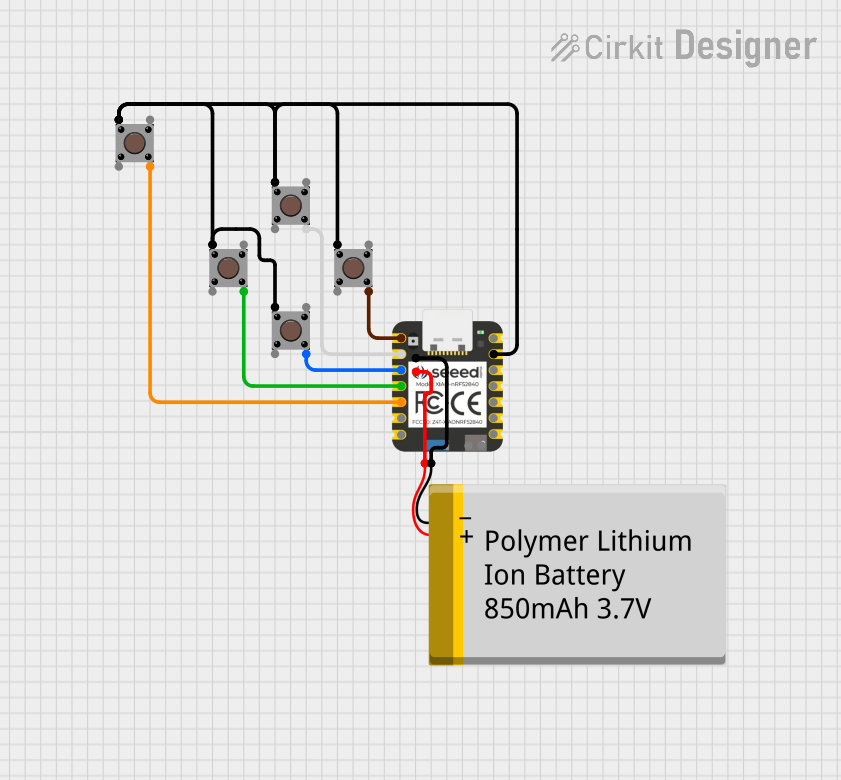
Explore Projects Built with Pushbutton
Technical Specifications
Key Technical Details
- Voltage Rating: Typically 3.3V to 5V for standard pushbuttons used with microcontrollers.
- Current Rating: Varies, often around 10mA to 50mA for tactile pushbuttons.
- Contact Resistance: Usually less than 10Ω when closed.
- Insulation Resistance: Typically greater than 100MΩ.
- Mechanical Life: Can range from 50,000 to 1,000,000 cycles depending on quality.
- Operating Force: Generally between 100g to 300g for tactile feedback.
Pin Configuration and Descriptions
| Pin Number | Description |
|---|---|
| 1 | Terminal 1 (T1) |
| 2 | Terminal 2 (T2) |
When the button is pressed, T1 and T2 are electrically connected, closing the circuit.
Usage Instructions
How to Use the Component in a Circuit
- Identify the Pins: Determine which pins are T1 and T2 on your pushbutton.
- Circuit Integration: Connect one terminal (T1) to a digital input pin on your microcontroller. Connect the other terminal (T2) to the ground (GND).
- Pull-up Resistor: Use an internal or external pull-up resistor to keep the input HIGH when the button is not pressed.
- Debounce: Implement a debounce algorithm in your code to prevent false triggering due to mechanical vibrations.
Important Considerations and Best Practices
- Debouncing: Pushbuttons often produce spurious open/close transitions when pressed, known as "bouncing," and debouncing is necessary to ensure reliable operation.
- Wiring: Ensure that the pushbutton is wired correctly, with one side connected to an input pin and the other to ground, with a pull-up resistor if necessary.
- Voltage Matching: Make sure that the voltage applied to the pushbutton is within its rating to prevent damage.
Example Code for Arduino UNO
// Define the pushbutton pin
const int buttonPin = 2;

// Variable for reading the pushbutton status
int buttonState = 0;

void setup() {
  // Initialize the pushbutton pin as an input with an internal pull-up resistor
  pinMode(buttonPin, INPUT_PULLUP);
}

void loop() {
  // Read the state of the pushbutton value
  buttonState = digitalRead(buttonPin);

  // Check if the pushbutton is pressed
  // if it is, the buttonState is LOW
  if (buttonState == LOW) {
    // Turn on the LED (assuming an LED is connected to pin 13)
    digitalWrite(13, HIGH);
  } else {
    // Turn off the LED
    digitalWrite(13, LOW);
  }
}
Troubleshooting and FAQs
Common Issues
- Button does not respond: Ensure the button is correctly wired and the input pin is properly configured.
- False triggering: Implement debouncing in the code to prevent false positives.
- Button always active: Check for a short circuit or a missing pull-up resistor.
Solutions and Tips for Troubleshooting
- Debouncing: Use software debouncing techniques or hardware debouncing with capacitors and resistors.
- Check Connections: Verify all connections are secure and the button is not damaged.
- Pull-up Resistor: Confirm that the pull-up resistor is in place and functioning.
FAQs
Q: Can I use a pull-down resistor instead of a pull-up? A: Yes, you can use a pull-down resistor, but you will need to adjust the logic in your code accordingly.
Q: How do I know if my button is normally open or normally closed? A: A normally open button does not make contact until it is pressed, while a normally closed button is always making contact until pressed. You can test this with a multimeter.
Q: What is the purpose of the pull-up resistor? A: The pull-up resistor ensures that the input pin reads a high state when the button is not pressed. Without it, the input might float, leading to unpredictable readings.