How to Use DFPlayer: Examples, Pinouts, and Specs
Introduction
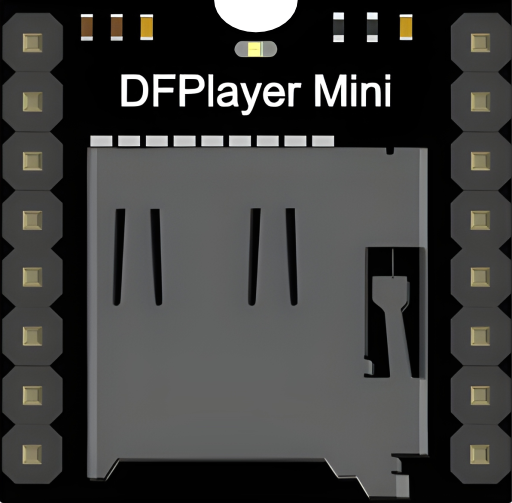
The DFPlayer is a compact and affordable MP3 player module designed for embedded systems and DIY projects requiring audio playback. It supports audio files stored on a microSD card and can be controlled via simple serial communication. The module features a built-in amplifier, making it suitable for directly driving small speakers or headphones. Its versatility and ease of use make it a popular choice for applications such as interactive displays, talking devices, and audio-enabled IoT projects.
Explore Projects Built with DFPlayer

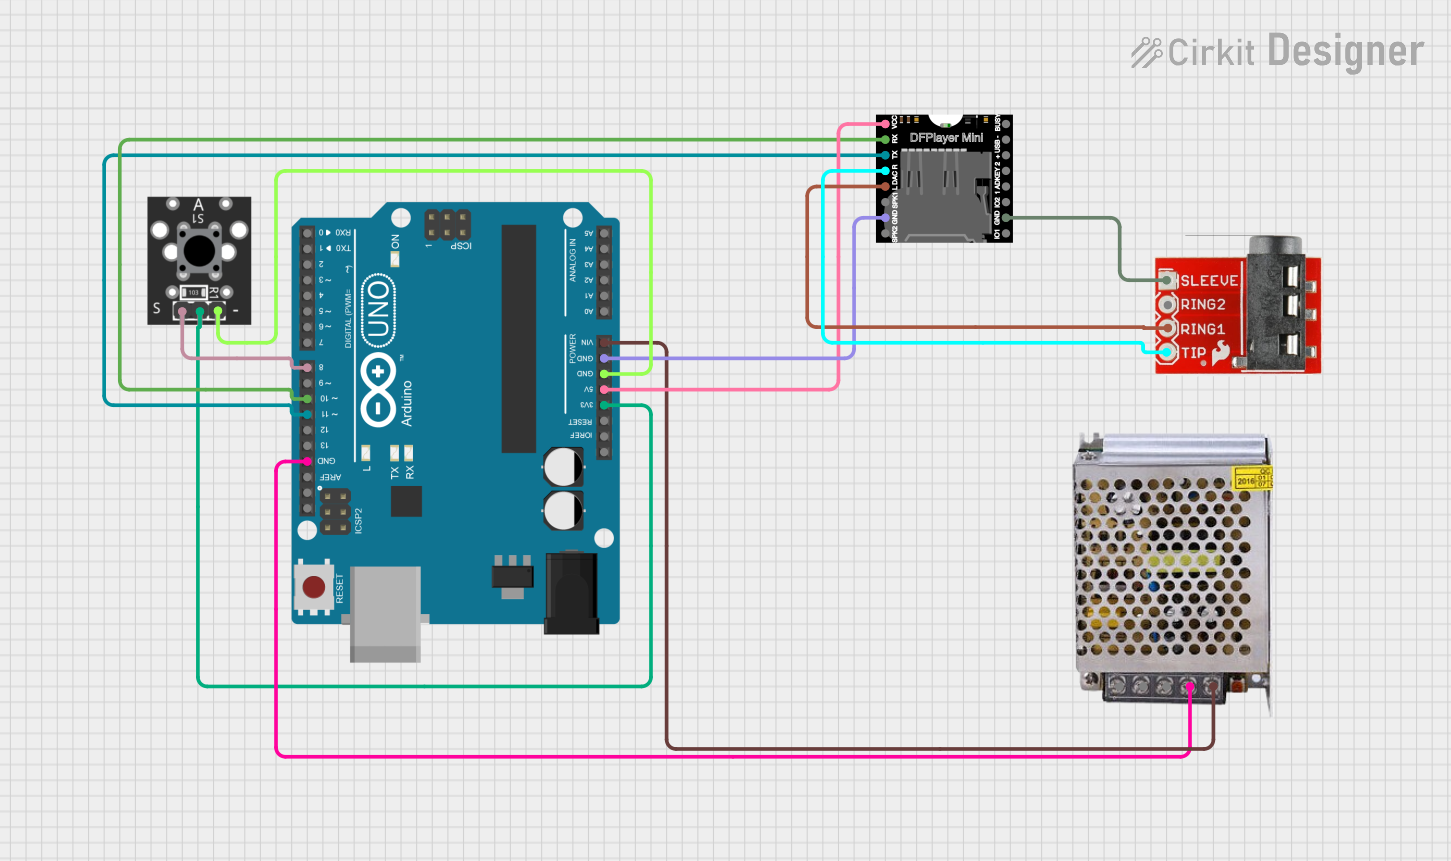
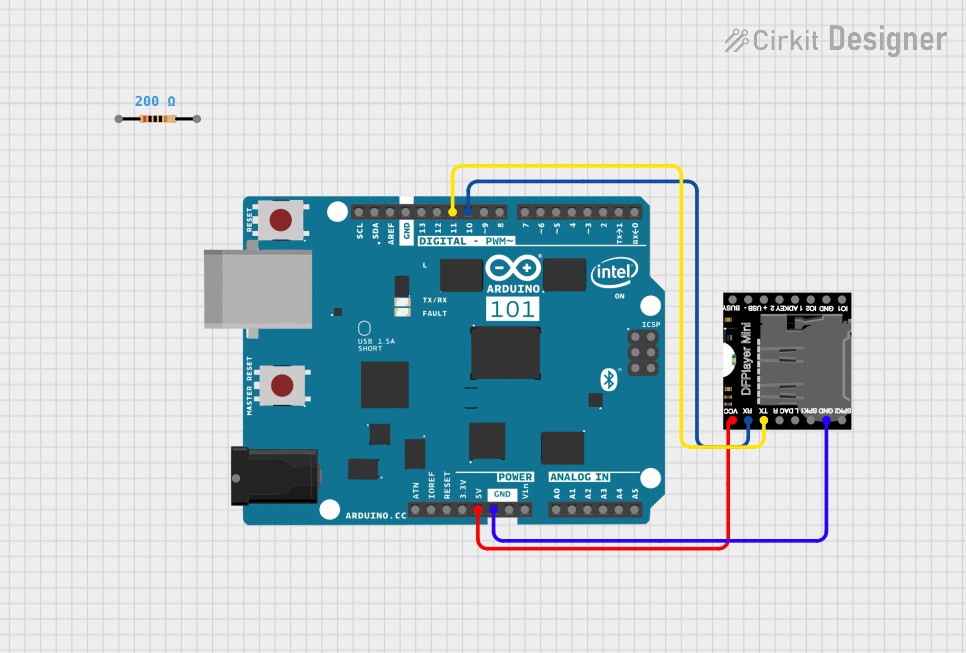
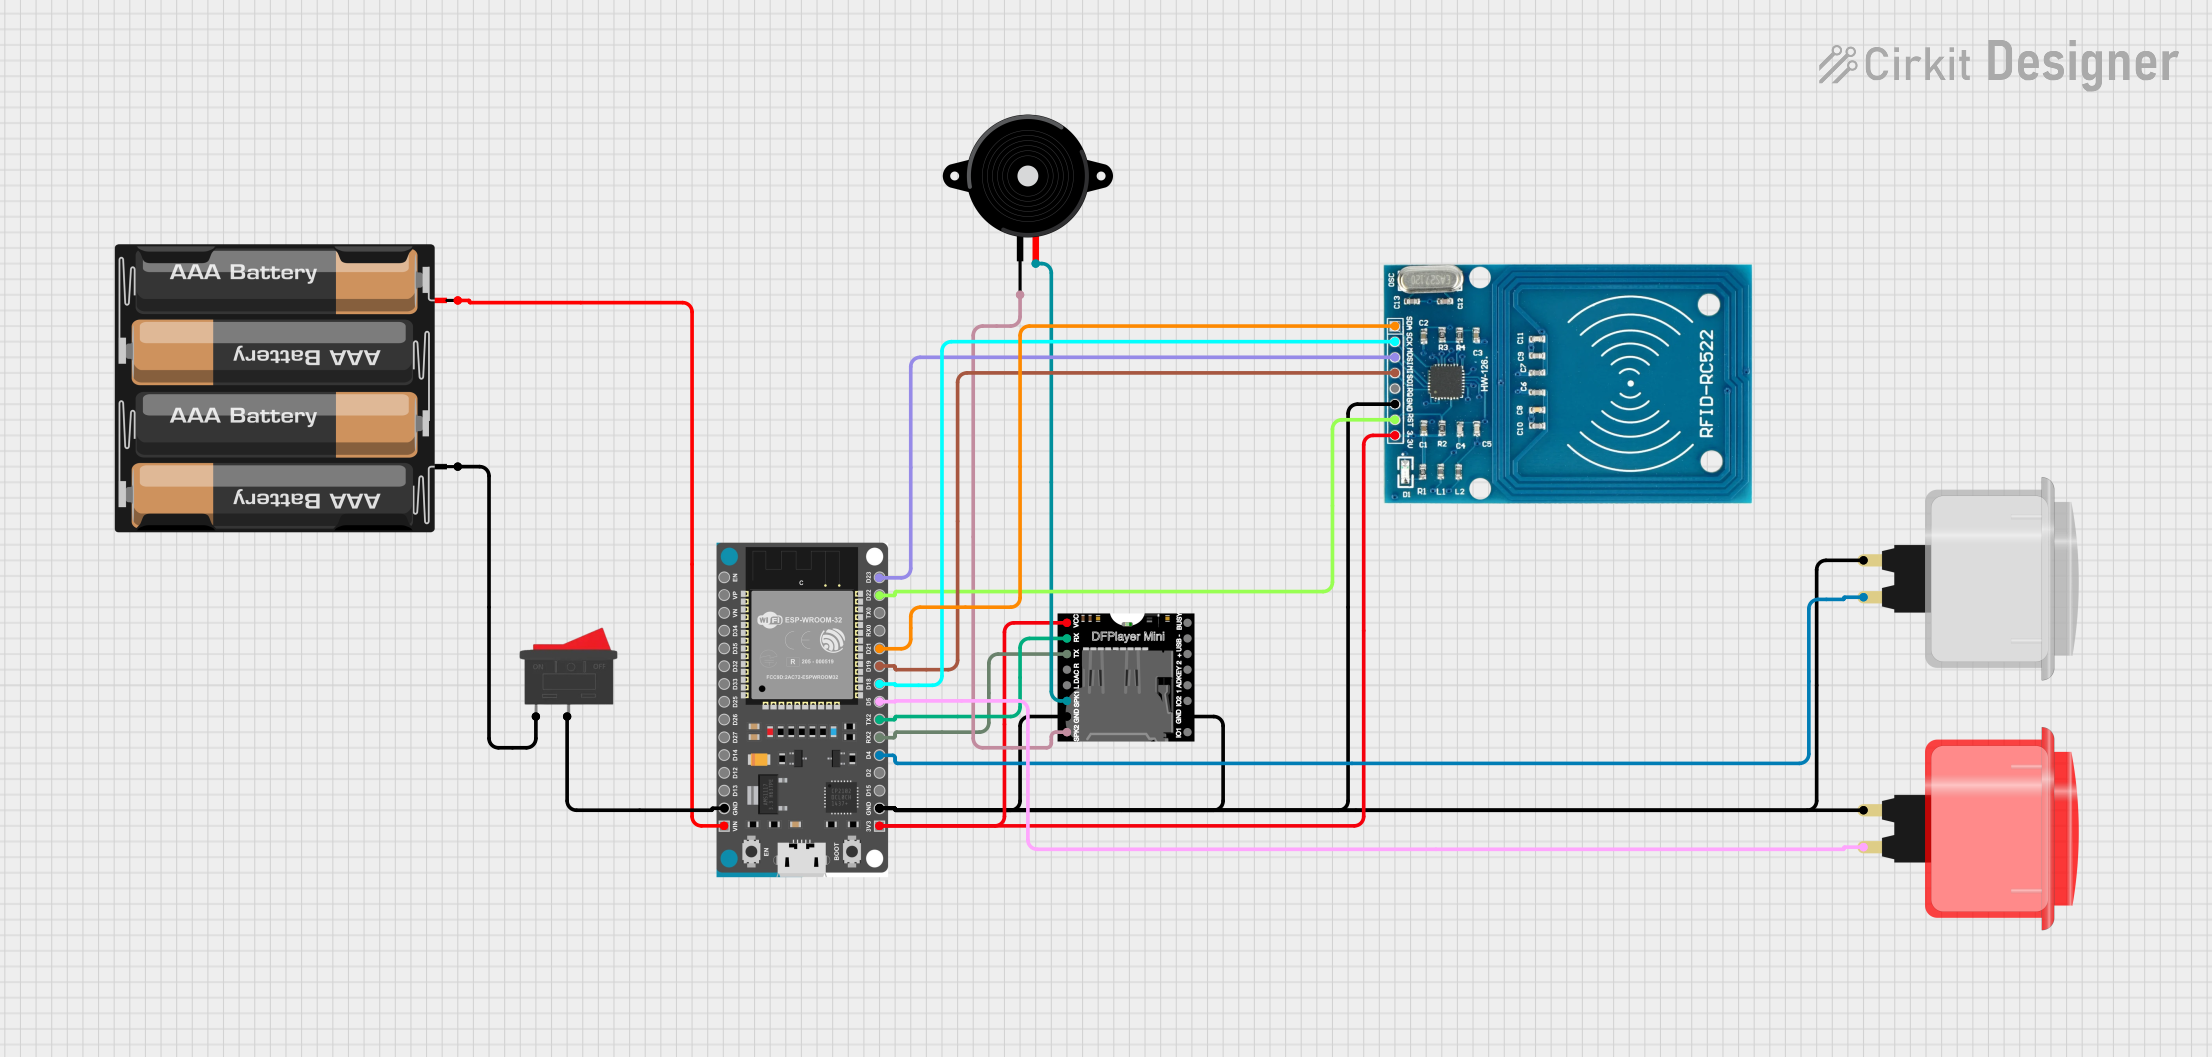
Explore Projects Built with DFPlayer
Common Applications
- Interactive kiosks and displays
- Talking toys and gadgets
- Audio-enabled IoT devices
- Alarm systems with voice prompts
- Educational projects and prototypes
Technical Specifications
Key Technical Details
| Parameter | Value |
|---|---|
| Operating Voltage | 3.2V - 5.0V |
| Operating Current | 20mA - 30mA (idle), up to 100mA (playback) |
| Audio Output | 3W (mono) via built-in amplifier |
| Storage Support | microSD card (up to 32GB, FAT16/FAT32) |
| Audio Formats Supported | MP3, WAV, WMA |
| Communication Interface | UART (9600 bps default) |
| Dimensions | 22mm x 30mm x 11mm |
Pin Configuration and Descriptions
| Pin Name | Pin Number | Description |
|---|---|---|
| VCC | 1 | Power supply input (3.2V - 5.0V) |
| GND | 2 | Ground |
| RX | 3 | UART receive pin (connect to TX of MCU) |
| TX | 4 | UART transmit pin (connect to RX of MCU) |
| SPK_1 | 5 | Speaker output (positive terminal) |
| SPK_2 | 6 | Speaker output (negative terminal) |
| DAC_R | 7 | Right channel audio output (line out) |
| DAC_L | 8 | Left channel audio output (line out) |
| ADKEY_1 | 9 | Key input for external control (optional) |
| ADKEY_2 | 10 | Key input for external control (optional) |
Usage Instructions
How to Use the DFPlayer in a Circuit
- Power Supply: Connect the VCC pin to a 3.2V-5.0V power source and the GND pin to ground.
- Speaker Connection: For mono audio output, connect a small speaker (4Ω or 8Ω) to the SPK_1 and SPK_2 pins. For line-level audio, use the DAC_R and DAC_L pins.
- MicroSD Card: Insert a microSD card formatted as FAT16 or FAT32 with audio files stored in the root directory or subfolders.
- Serial Communication: Connect the RX pin of the DFPlayer to the TX pin of your microcontroller (e.g., Arduino) and the TX pin of the DFPlayer to the RX pin of the microcontroller.
- Control: Use UART commands to control playback, volume, and other functions.
Important Considerations and Best Practices
- Ensure the microSD card is properly formatted and contains supported audio files.
- Use a decoupling capacitor (e.g., 100µF) across the power supply pins to reduce noise.
- Avoid exceeding the maximum power rating of the speaker to prevent damage.
- Use a logic level shifter if your microcontroller operates at 3.3V logic levels.
Example Code for Arduino UNO
Below is an example of how to control the DFPlayer using an Arduino UNO:
#include "SoftwareSerial.h"

// Define RX and TX pins for SoftwareSerial
SoftwareSerial mySerial(10, 11); // RX = Pin 10, TX = Pin 11

void setup() {
  mySerial.begin(9600); // Initialize DFPlayer communication at 9600 bps
  Serial.begin(9600);   // Initialize Serial Monitor for debugging

  delay(1000); // Allow time for DFPlayer to initialize

  // Send initialization command to DFPlayer
  mySerial.write(0x7E); // Start byte
  mySerial.write(0xFF); // Version
  mySerial.write(0x06); // Length
  mySerial.write(0x09); // Command: Select device
  mySerial.write(0x00); // Feedback
  mySerial.write(0x02); // Parameter: TF card
  mySerial.write(0xFE); // Checksum high byte
  mySerial.write(0xED); // Checksum low byte
  mySerial.write(0xEF); // End byte

  delay(500); // Wait for the command to take effect
}

void loop() {
  // Example: Play the first track
  mySerial.write(0x7E); // Start byte
  mySerial.write(0xFF); // Version
  mySerial.write(0x06); // Length
  mySerial.write(0x03); // Command: Play track
  mySerial.write(0x00); // Feedback
  mySerial.write(0x00); // Parameter high byte
  mySerial.write(0x01); // Parameter low byte (track number)
  mySerial.write(0xFE); // Checksum high byte
  mySerial.write(0xF7); // Checksum low byte
  mySerial.write(0xEF); // End byte

  delay(5000); // Wait for 5 seconds before repeating
}
Troubleshooting and FAQs
Common Issues and Solutions
No Sound Output:
- Ensure the speaker is properly connected to SPK_1 and SPK_2.
- Verify that the microSD card is correctly formatted and contains valid audio files.
- Check the power supply voltage (3.2V-5.0V).
Module Not Responding:
- Confirm the RX and TX connections between the DFPlayer and the microcontroller.
- Ensure the baud rate is set to 9600 bps in your code.
- Add a delay after powering up the module to allow initialization.
Distorted Audio:
- Use a speaker with the correct impedance (4Ω or 8Ω).
- Avoid exceeding the maximum volume setting to prevent clipping.
FAQs
Q: Can the DFPlayer play audio files from a USB drive?
A: No, the DFPlayer only supports microSD cards formatted as FAT16 or FAT32.
Q: How many audio files can the DFPlayer handle?
A: The DFPlayer can handle up to 3000 audio files stored in the root directory or subfolders.
Q: Can I control the DFPlayer without a microcontroller?
A: Yes, the DFPlayer can be controlled using external buttons connected to the ADKEY pins.
Q: What is the maximum speaker power supported?
A: The built-in amplifier supports up to 3W output for a 4Ω speaker.