The BMS 2S 20A is a Battery Management System designed for 2-series lithium-ion battery packs. Manufactured by Arduino (Part ID: UNO), this component ensures the safe operation of lithium-ion batteries by monitoring and managing their charging and discharging processes. It provides overcharge, over-discharge, and overcurrent protection, making it an essential component for battery-powered systems.
Explore Projects Built with BMS 2S 20A
Use Cirkit Designer to design, explore, and prototype these projects online. Some projects support real-time simulation. Click "Open Project" to start designing instantly!
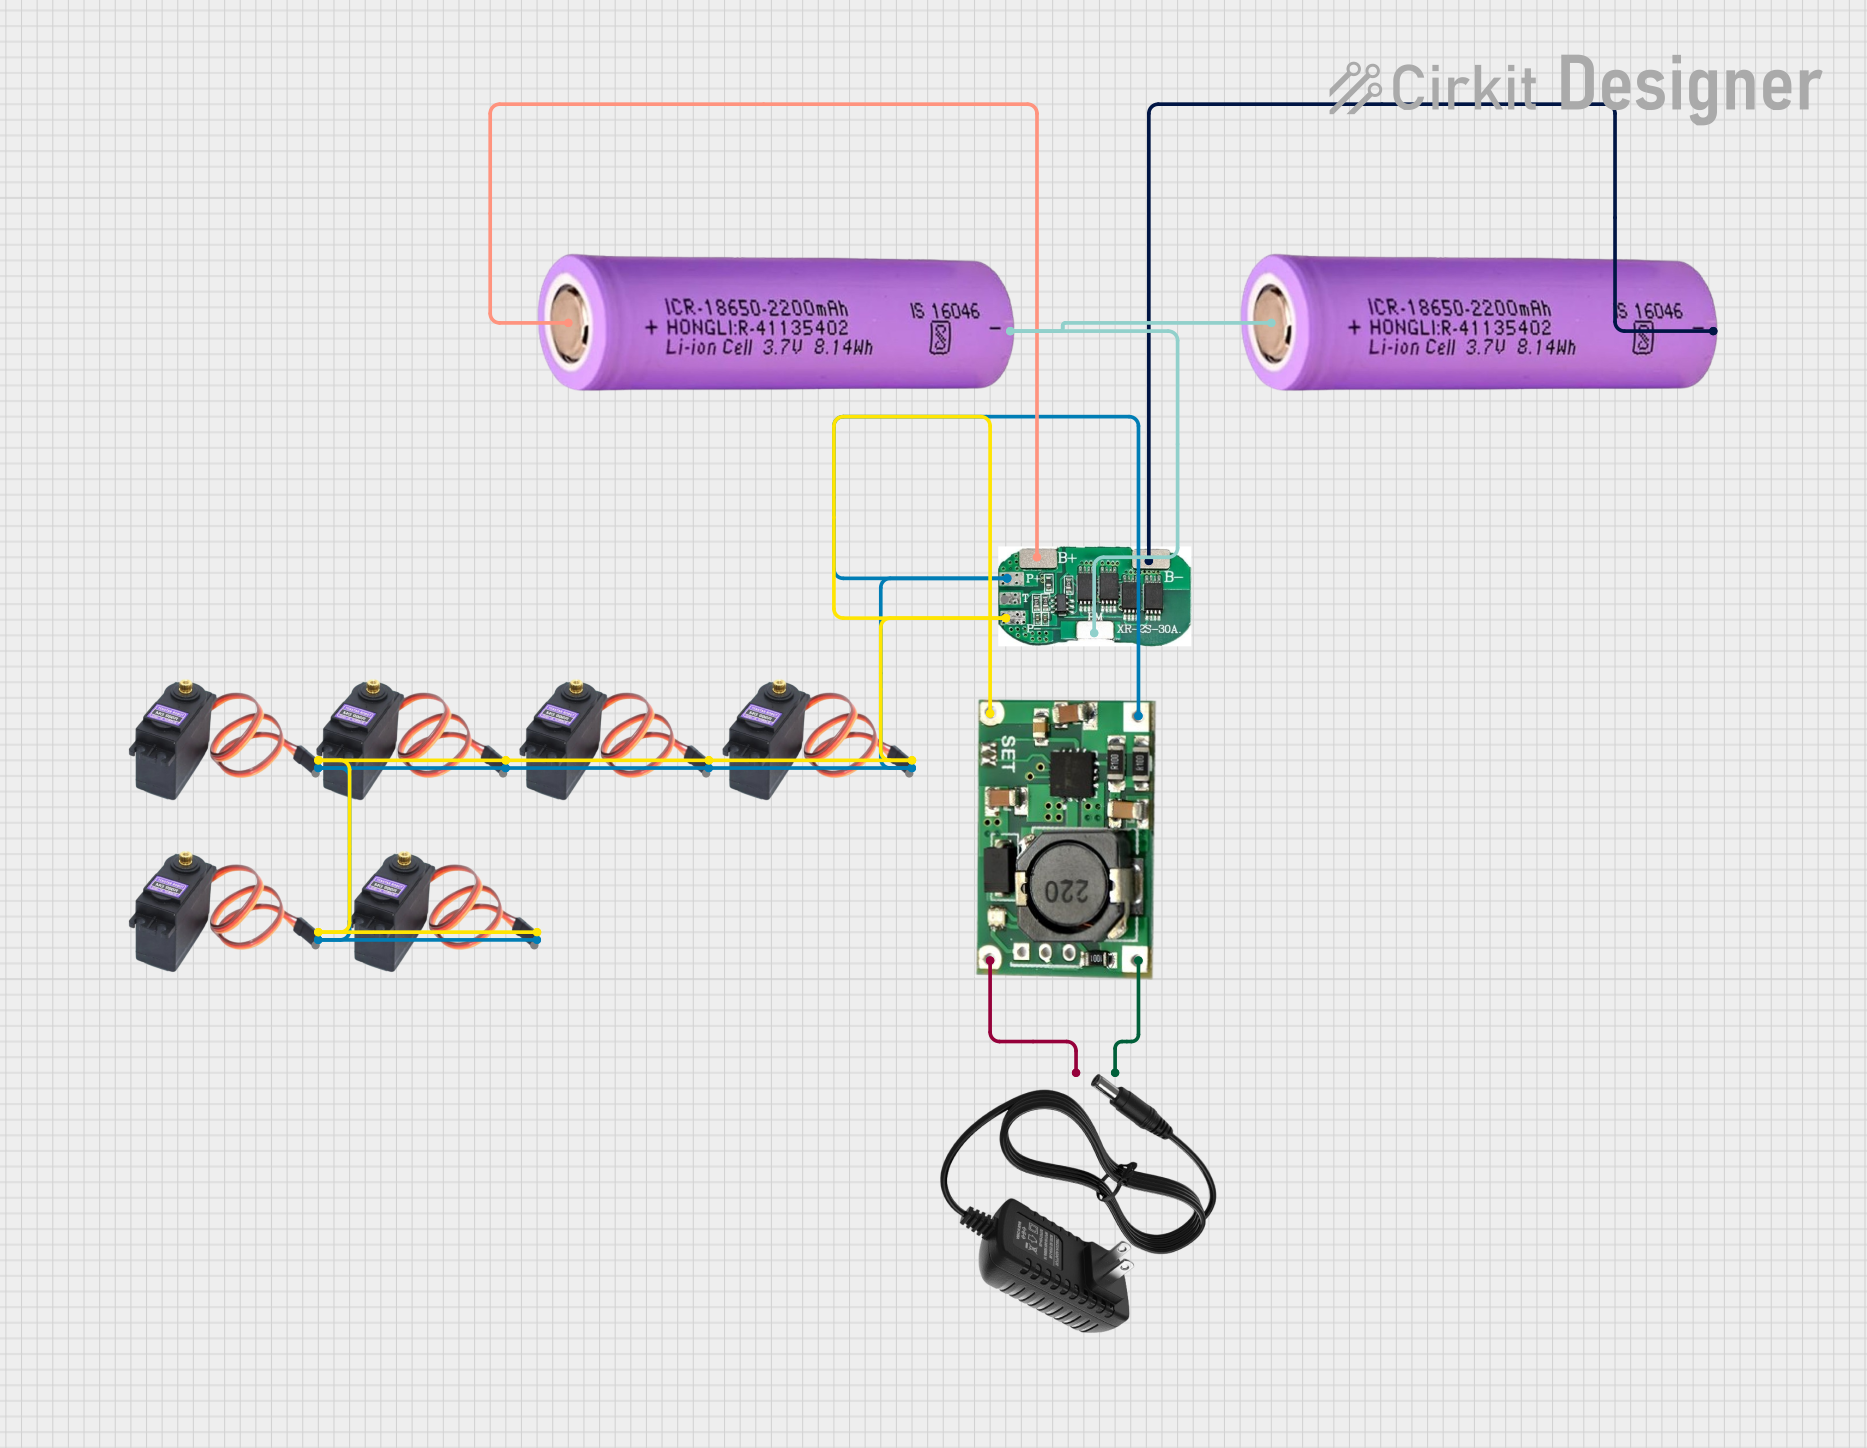
This circuit is a battery management and charging system for a 2S lithium-ion battery pack, which powers multiple MG996R servos. The TP5100 module charges the battery pack from a 12V power supply, while the 2S 30A BMS ensures safe operation and distribution of power to the servos.
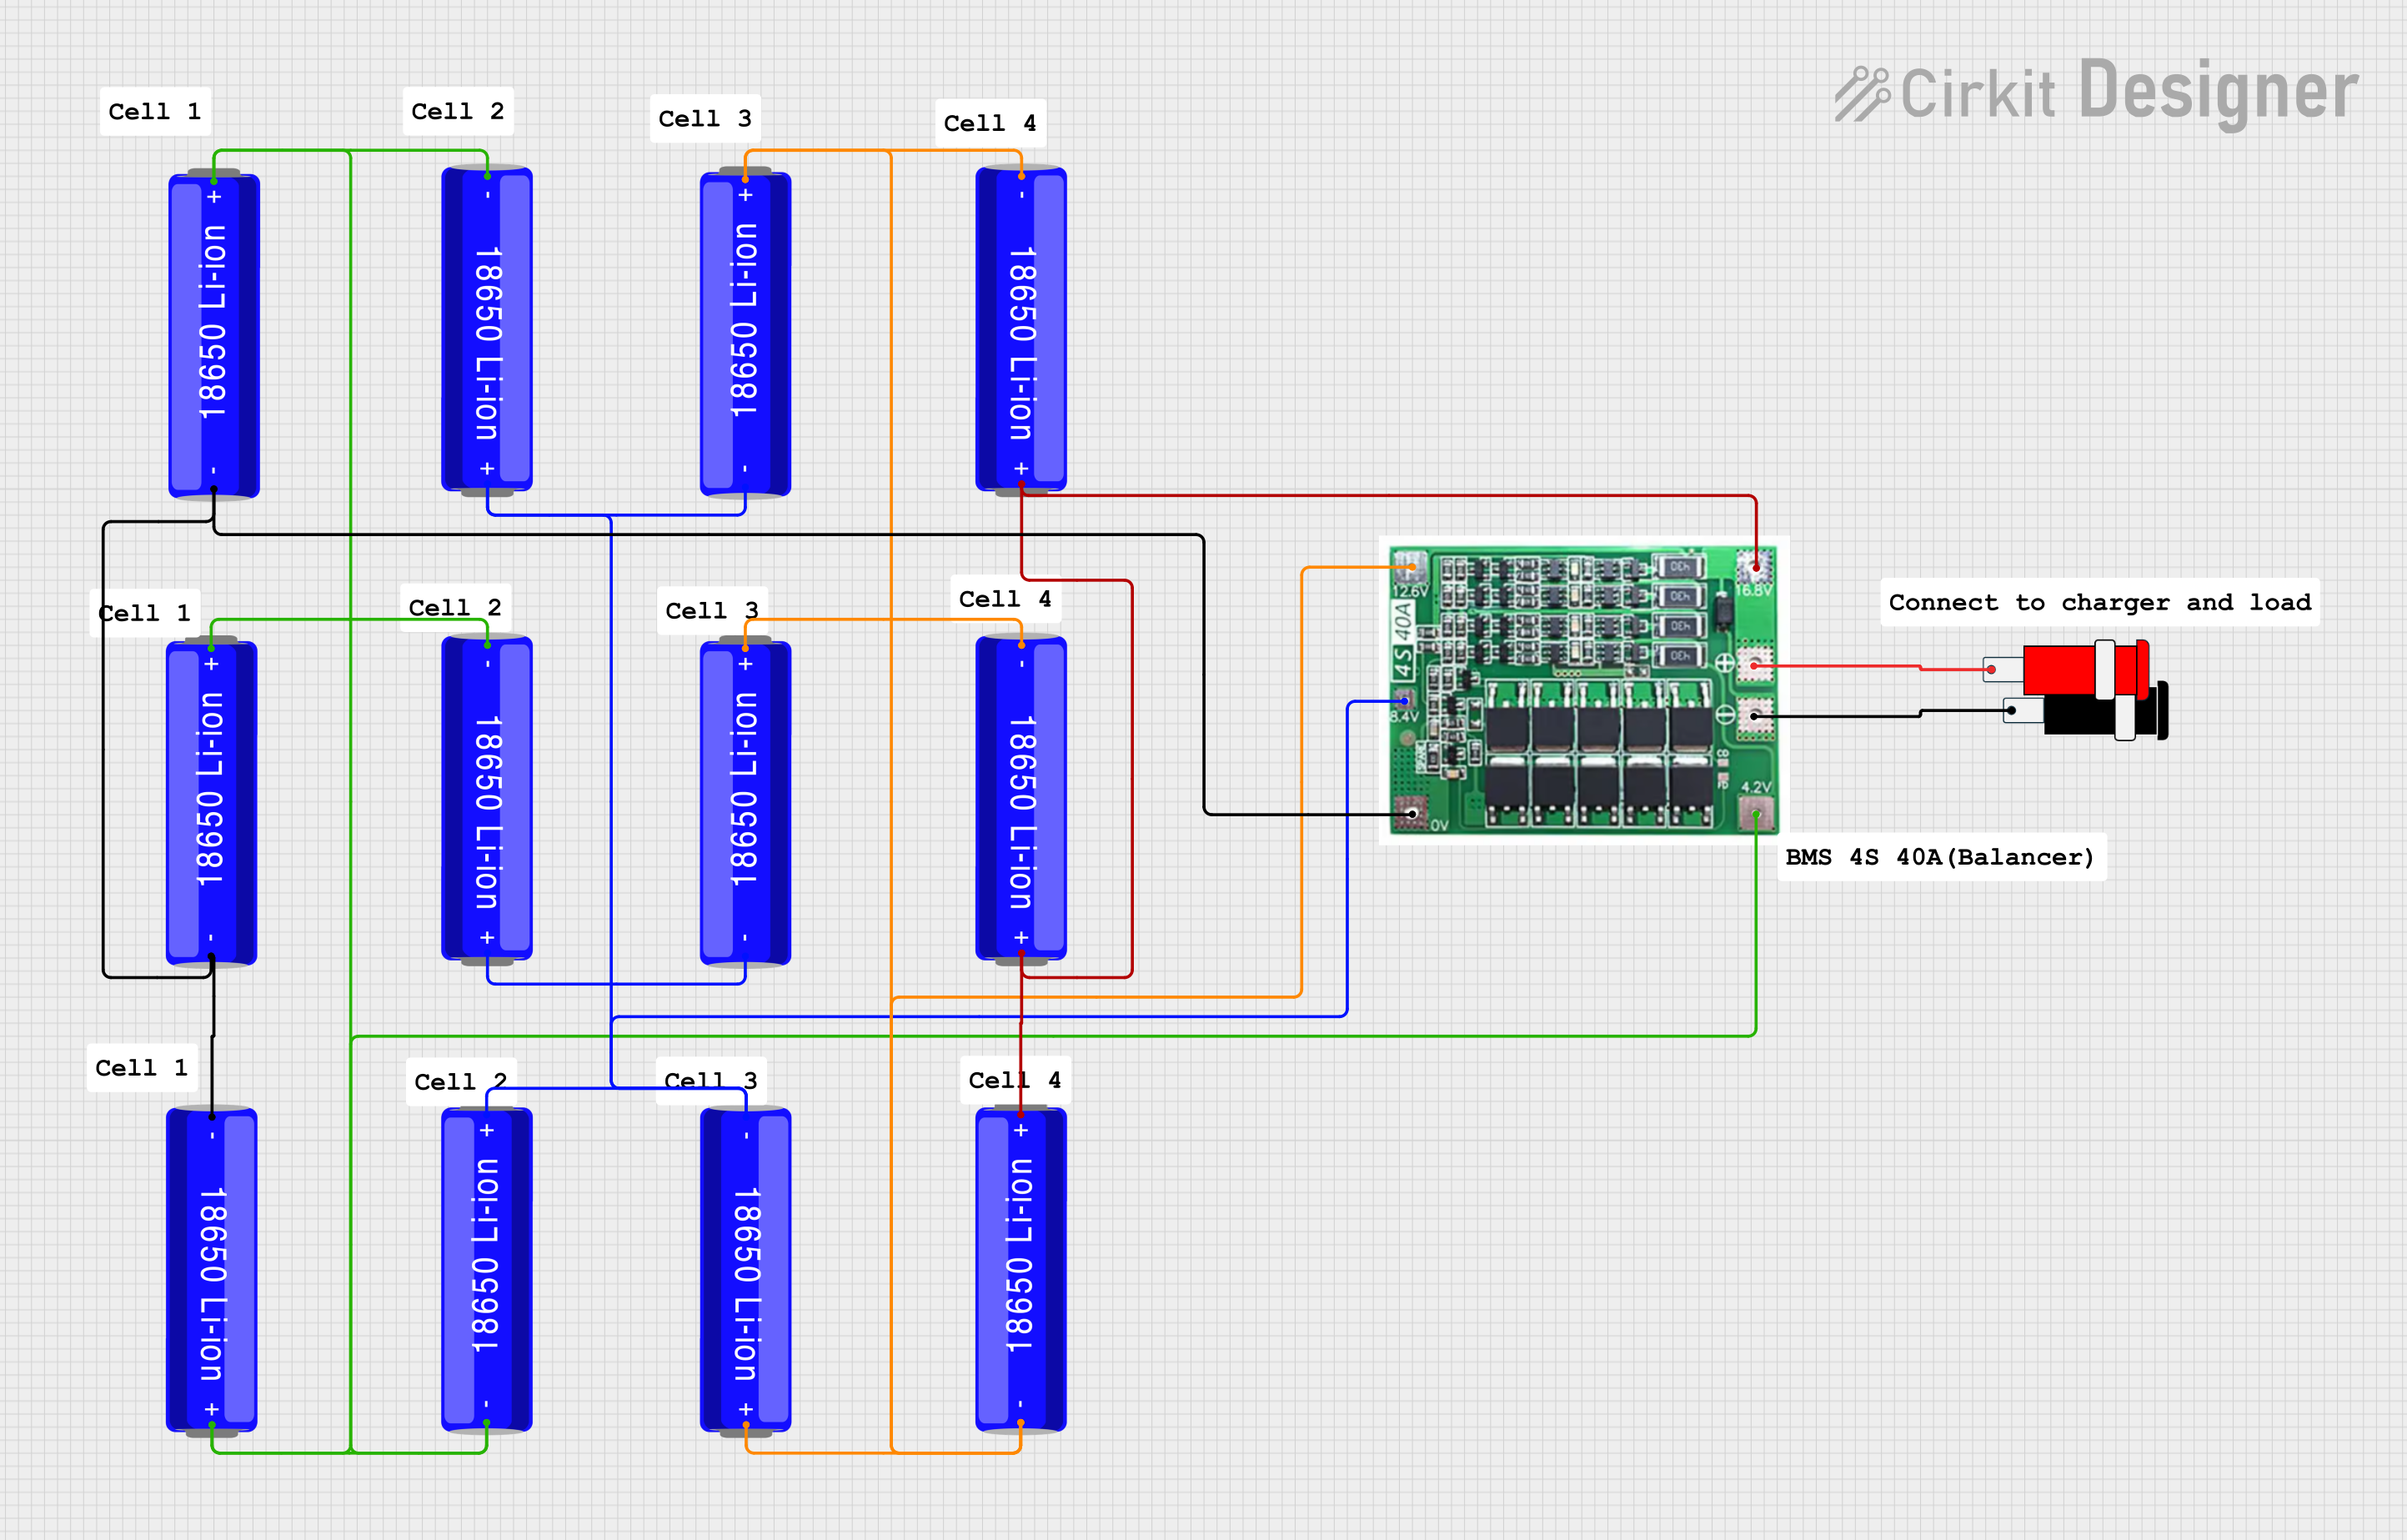
This circuit consists of a battery management system (BMS) connected to a series of 18650 Li-ion batteries arranged in a 4S configuration to provide a regulated output voltage. The BMS ensures safe charging and discharging of the batteries, while a connector provides a 5V output for external devices.
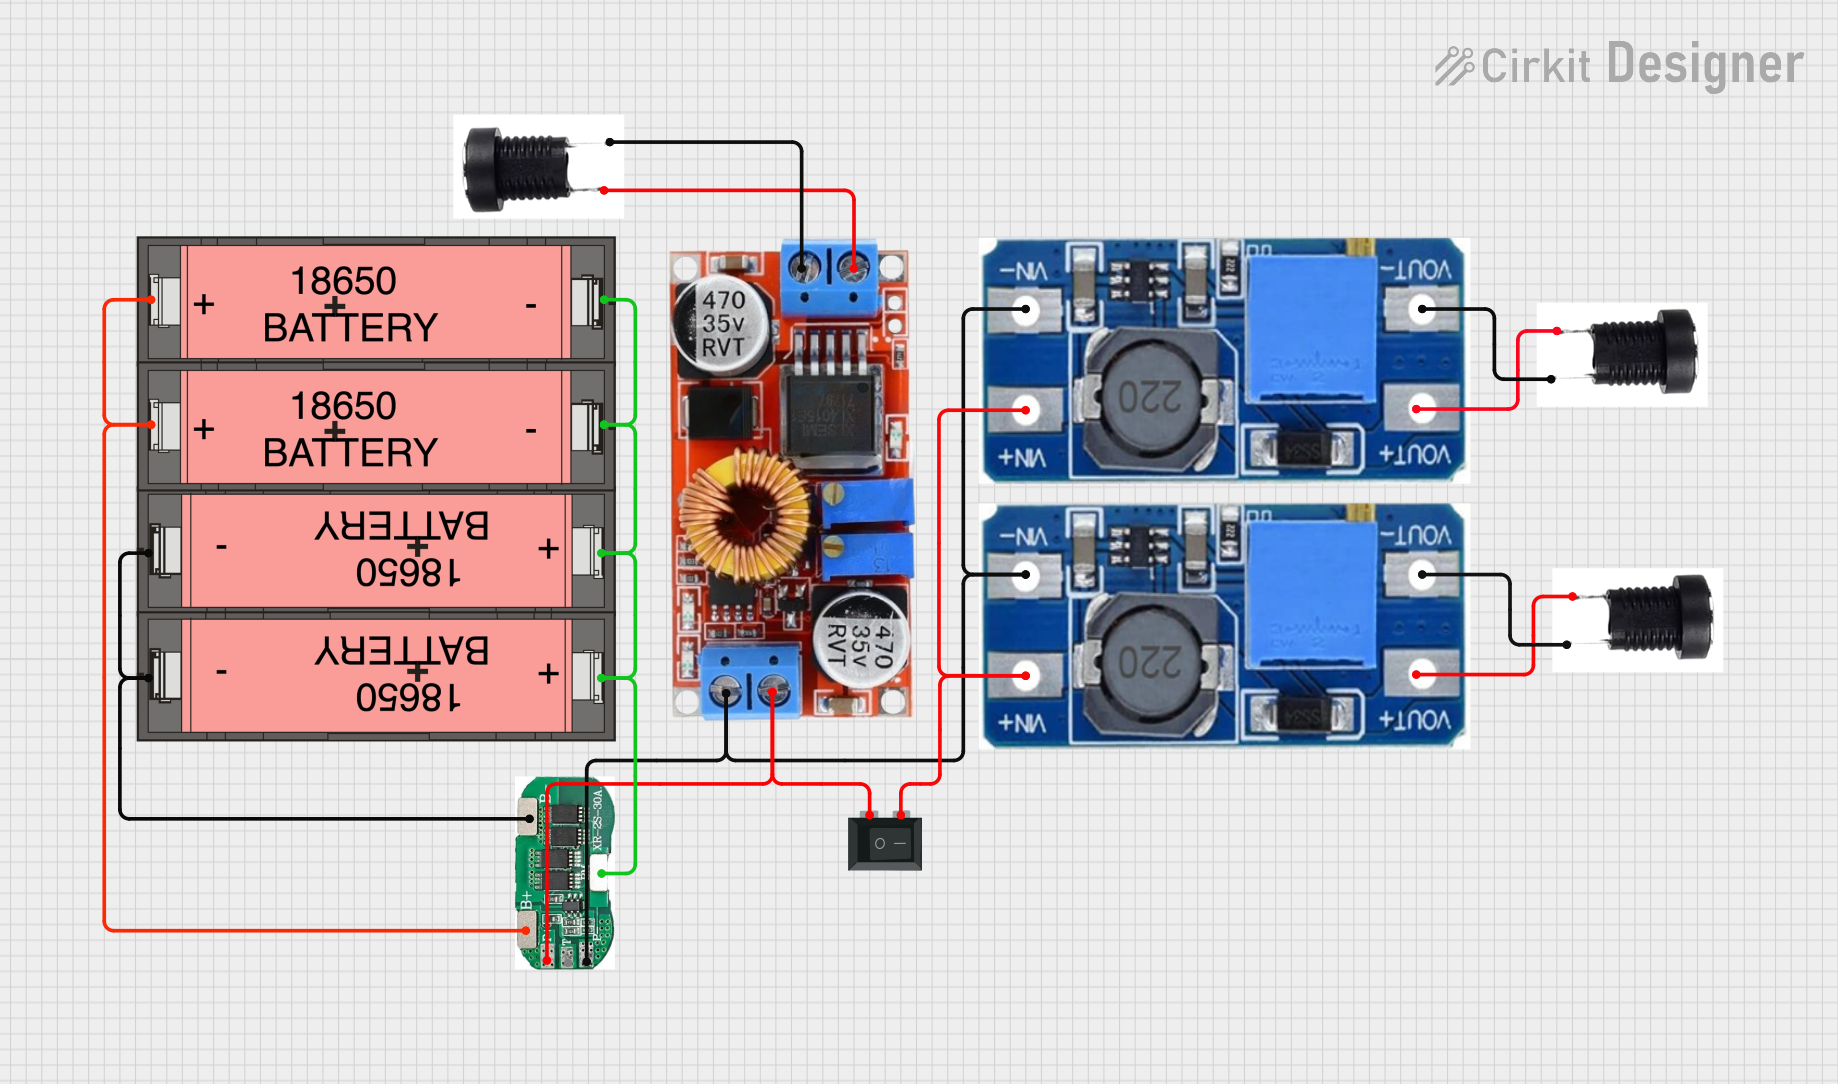
This circuit is a power management system that uses four Li-ion 18650 batteries connected to a 2S 30A BMS for battery management and protection. The system includes step-up and step-down voltage regulators to provide adjustable output voltages, controlled by a rocker switch, and multiple DC jacks for power input and output.
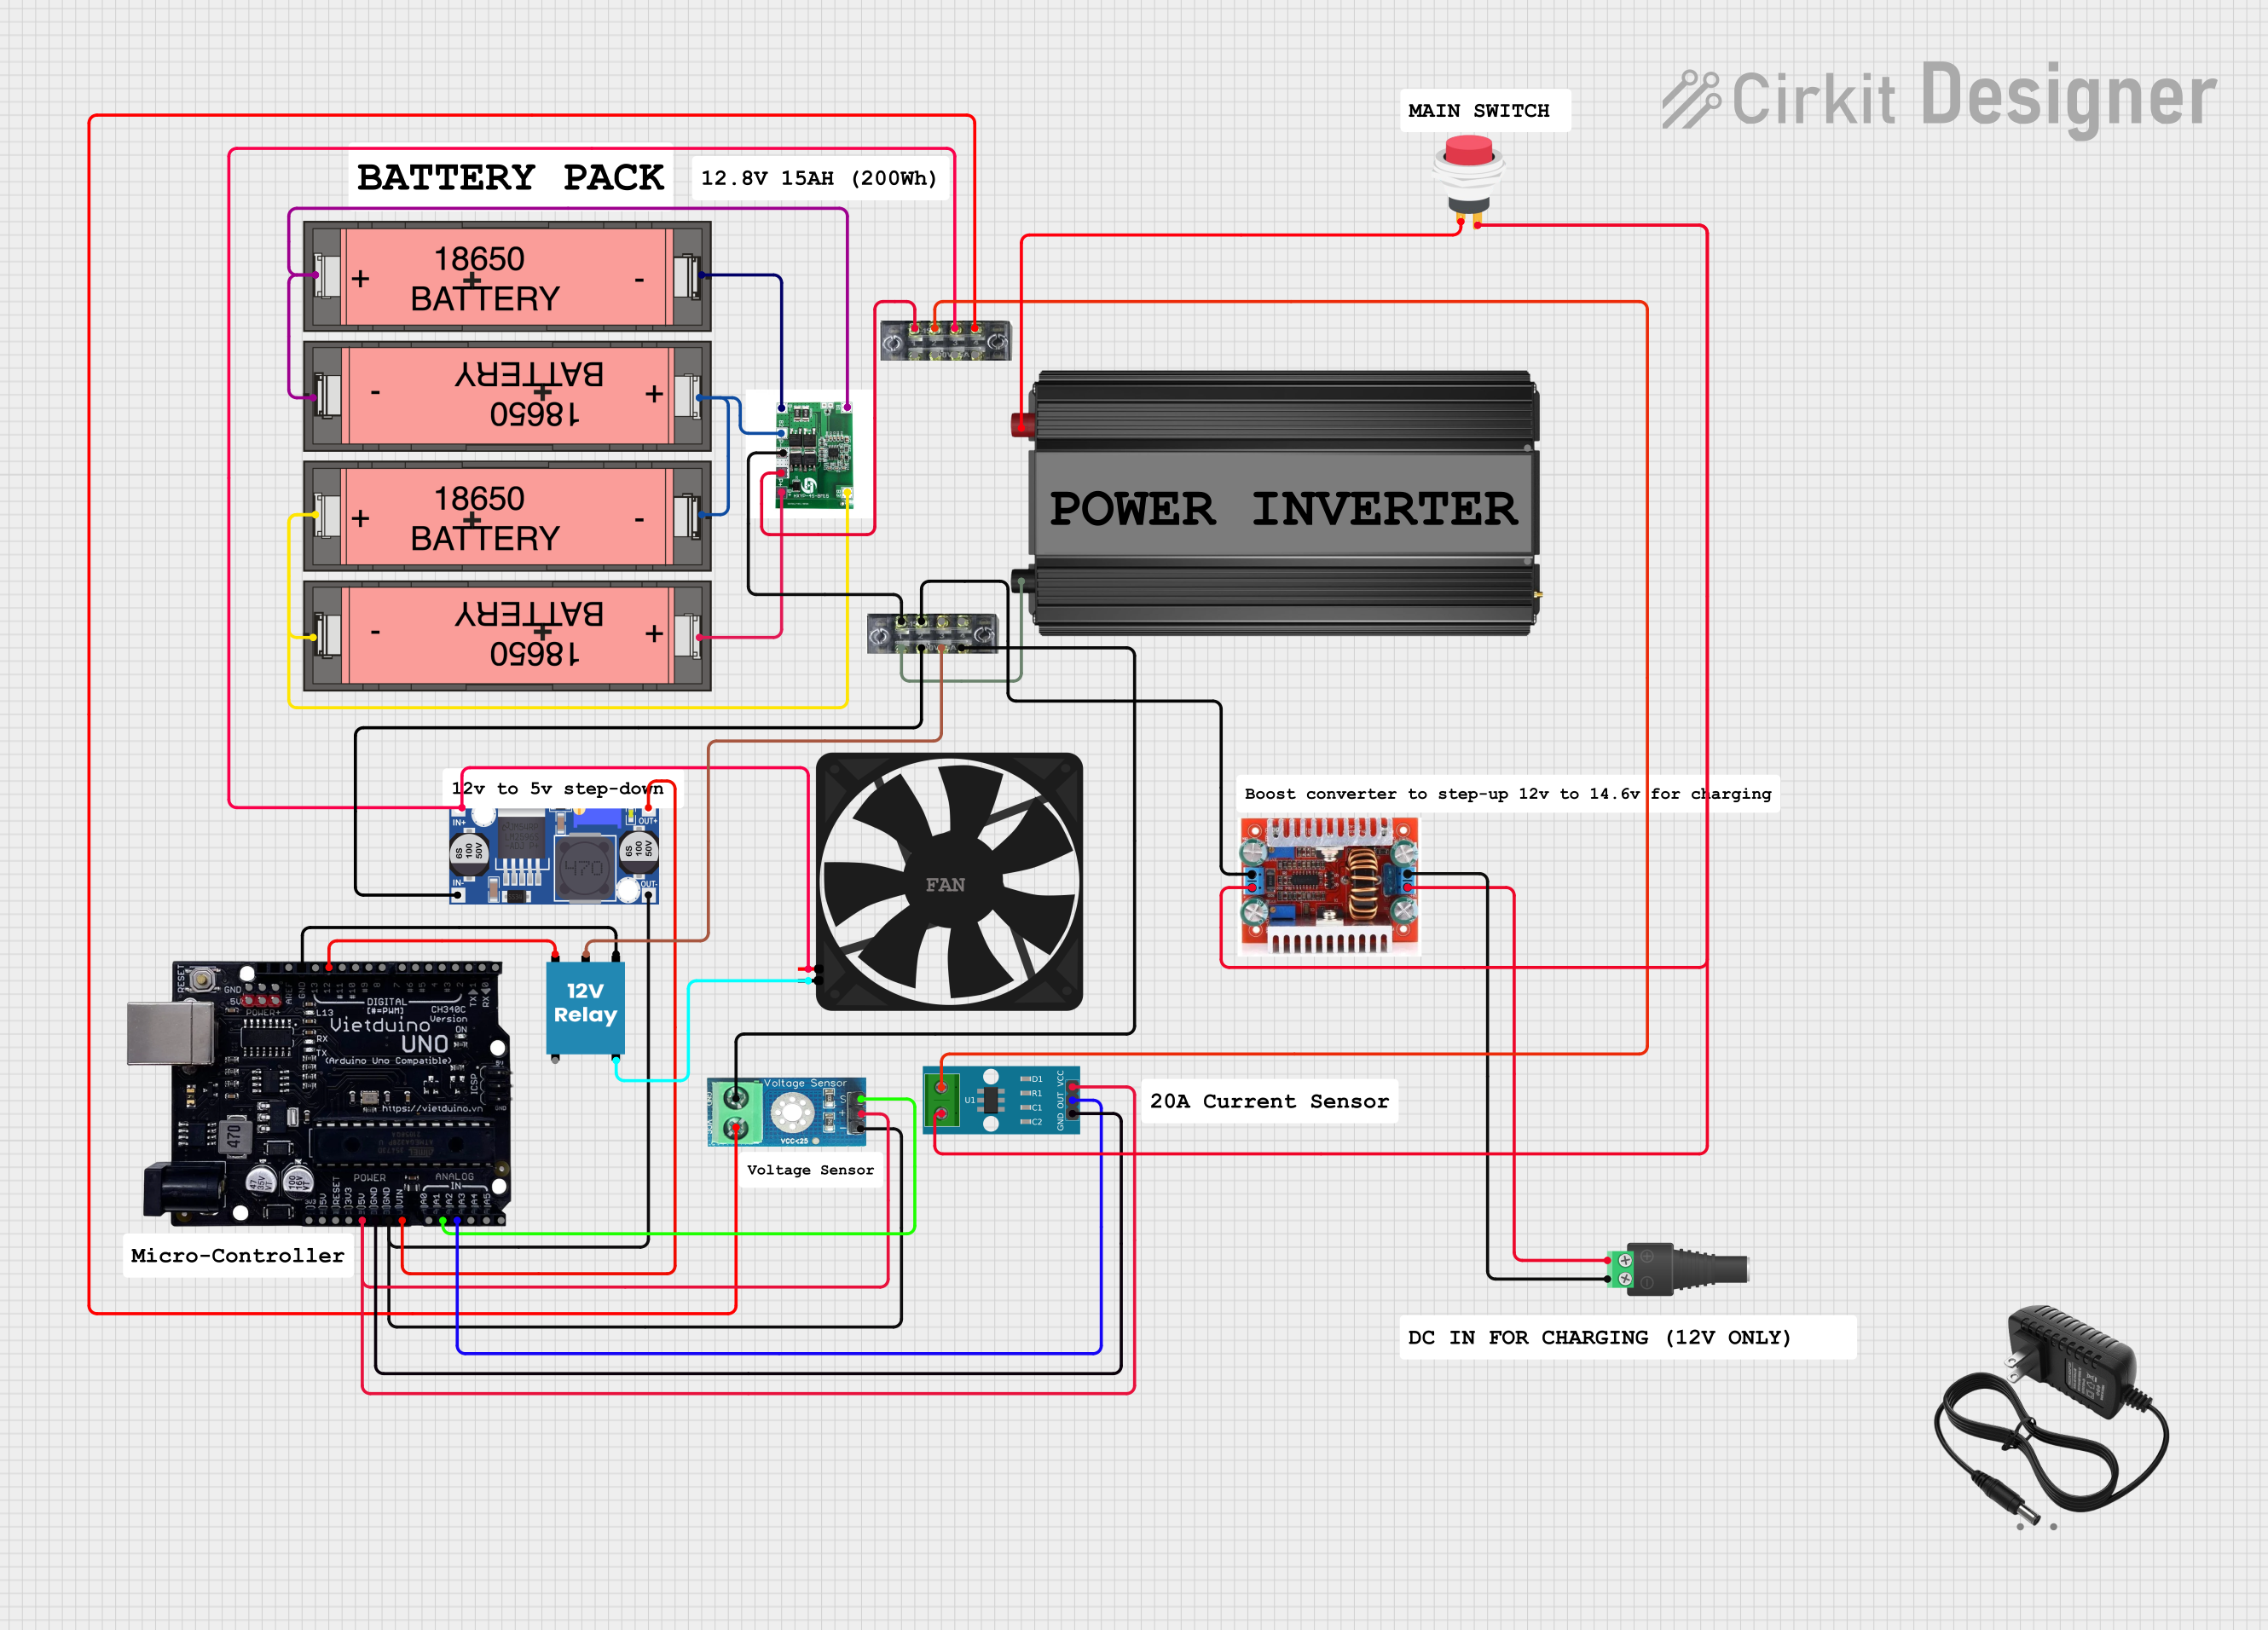
This is a power management system with a series-connected battery pack managed by a BMS, providing regulated power to a microcontroller and a fan. It includes voltage and current sensing, a relay for load control, and a step-up converter for an external power source.
Lithium-ion battery packs for portable electronics
Electric bicycles and scooters
Solar energy storage systems
Uninterruptible Power Supplies (UPS)
Robotics and IoT devices
Technical Specifications
The following table outlines the key technical specifications of the BMS 2S 20A:
Parameter
Value
Manufacturer
Arduino
Part ID
UNO
Battery Configuration
2 Series (2S)
Maximum Continuous Current
20A
Overcharge Protection Voltage
4.25V ± 0.05V per cell
Over-discharge Protection Voltage
2.5V ± 0.05V per cell
Overcurrent Protection
20A ± 2A
Operating Temperature
-40°C to 85°C
Dimensions
50mm x 20mm x 3mm
Pin Configuration and Descriptions
The BMS 2S 20A has the following pin configuration:
Pin Name
Description
B+
Positive terminal of the battery pack
B-
Negative terminal of the battery pack
P+
Positive terminal of the load/charger
P-
Negative terminal of the load/charger
Usage Instructions
How to Use the BMS 2S 20A in a Circuit
Connect the Battery Pack:
Connect the positive terminal of the 2-series battery pack to the B+ pin.
Connect the negative terminal of the battery pack to the B- pin.
Connect the Load/Charger:
Connect the positive terminal of the load or charger to the P+ pin.
Connect the negative terminal of the load or charger to the P- pin.
Verify Connections:
Double-check all connections to ensure proper polarity and secure contacts.
Incorrect connections may damage the BMS or the battery pack.
Power On:
Once all connections are secure, the BMS will automatically manage the charging and discharging of the battery pack.
Important Considerations and Best Practices
Battery Compatibility: Ensure the BMS is used with a 2-series lithium-ion battery pack. Using it with a different configuration may result in improper operation or damage.
Current Rating: Do not exceed the maximum continuous current rating of 20A to avoid triggering overcurrent protection.
Heat Dissipation: If operating near the maximum current rating, ensure adequate ventilation or heat dissipation to prevent overheating.
Testing: Before integrating the BMS into a final product, test it with a dummy load to verify proper operation.
Example: Using the BMS 2S 20A with an Arduino UNO
The BMS 2S 20A can be used in projects involving an Arduino UNO to monitor battery voltage. Below is an example code snippet to read the voltage of a 2S battery pack using the Arduino UNO's analog input:
// Define the analog pin connected to the battery voltage divider
const int batteryPin = A0;

// Define the voltage divider ratio (adjust based on your resistor values)
// Example: R1 = 10k, R2 = 10k, so the ratio is 2
const float voltageDividerRatio = 2.0;

// Define the reference voltage of the Arduino UNO (5V for most boards)
const float referenceVoltage = 5.0;

// Define the ADC resolution (10-bit for Arduino UNO)
const int adcResolution = 1024;

void setup() {
  // Initialize serial communication for debugging
  Serial.begin(9600);
}

void loop() {
  // Read the raw ADC value from the battery pin
  int rawValue = analogRead(batteryPin);

  // Calculate the battery voltage
  float batteryVoltage = (rawValue * referenceVoltage / adcResolution) * voltageDividerRatio;

  // Print the battery voltage to the serial monitor
  Serial.print("Battery Voltage: ");
  Serial.print(batteryVoltage);
  Serial.println(" V");

  // Wait for 1 second before the next reading
  delay(1000);
}
Note: Use a voltage divider circuit to step down the battery voltage to a safe level for the Arduino's analog input (maximum 5V).
Troubleshooting and FAQs
Common Issues and Solutions
BMS Not Powering On:
Cause: Incorrect wiring or loose connections.
Solution: Verify all connections and ensure proper polarity.
Overcurrent Protection Triggering Frequently:
Cause: Load current exceeds the 20A limit.
Solution: Reduce the load current or use a BMS with a higher current rating.
Battery Not Charging:
Cause: Charger voltage is too low or connections are incorrect.
Solution: Ensure the charger voltage matches the battery pack's requirements and verify connections.
Over-discharge Protection Activating Prematurely:
Cause: Faulty battery cells or incorrect BMS settings.
Solution: Test the battery cells individually and replace any faulty cells.
FAQs
Q1: Can the BMS 2S 20A be used with other battery chemistries?
A1: No, this BMS is specifically designed for 2-series lithium-ion battery packs. Using it with other chemistries may result in improper operation or damage.
Q2: How do I reset the BMS after overcurrent protection is triggered?
A2: Disconnect the load and wait a few seconds. The BMS will automatically reset once the fault condition is cleared.
Q3: Can I use this BMS for a 3S battery pack?
A3: No, this BMS is designed for 2-series (2S) battery packs only. Using it with a 3S pack may cause improper operation or damage.
Q4: Is the BMS waterproof?
A4: No, the BMS 2S 20A is not waterproof. Avoid exposing it to moisture or liquids.


 Open Project in Cirkit Designer