
How to Use 12V Solenoid Valve: Examples, Pinouts, and Specs
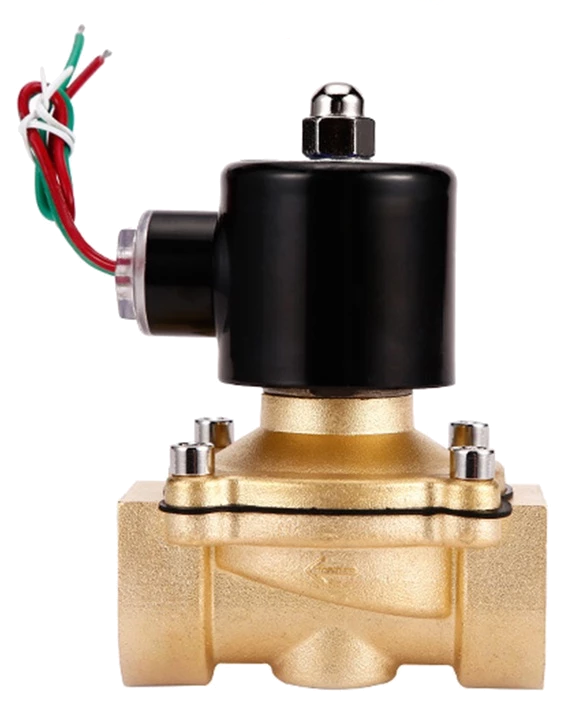
 Design with 12V Solenoid Valve in Cirkit Designer
Introduction
The 12V Solenoid Valve is an electromechanical device designed to control the flow of fluids (such as water, air, or oil) through a valve. It operates by using an electromagnetic coil to actuate the valve mechanism, allowing or blocking fluid flow. This component is commonly used in automation systems, irrigation setups, fluid control systems, and industrial applications where precise control of fluid flow is required.
Explore Projects Built with 12V Solenoid Valve
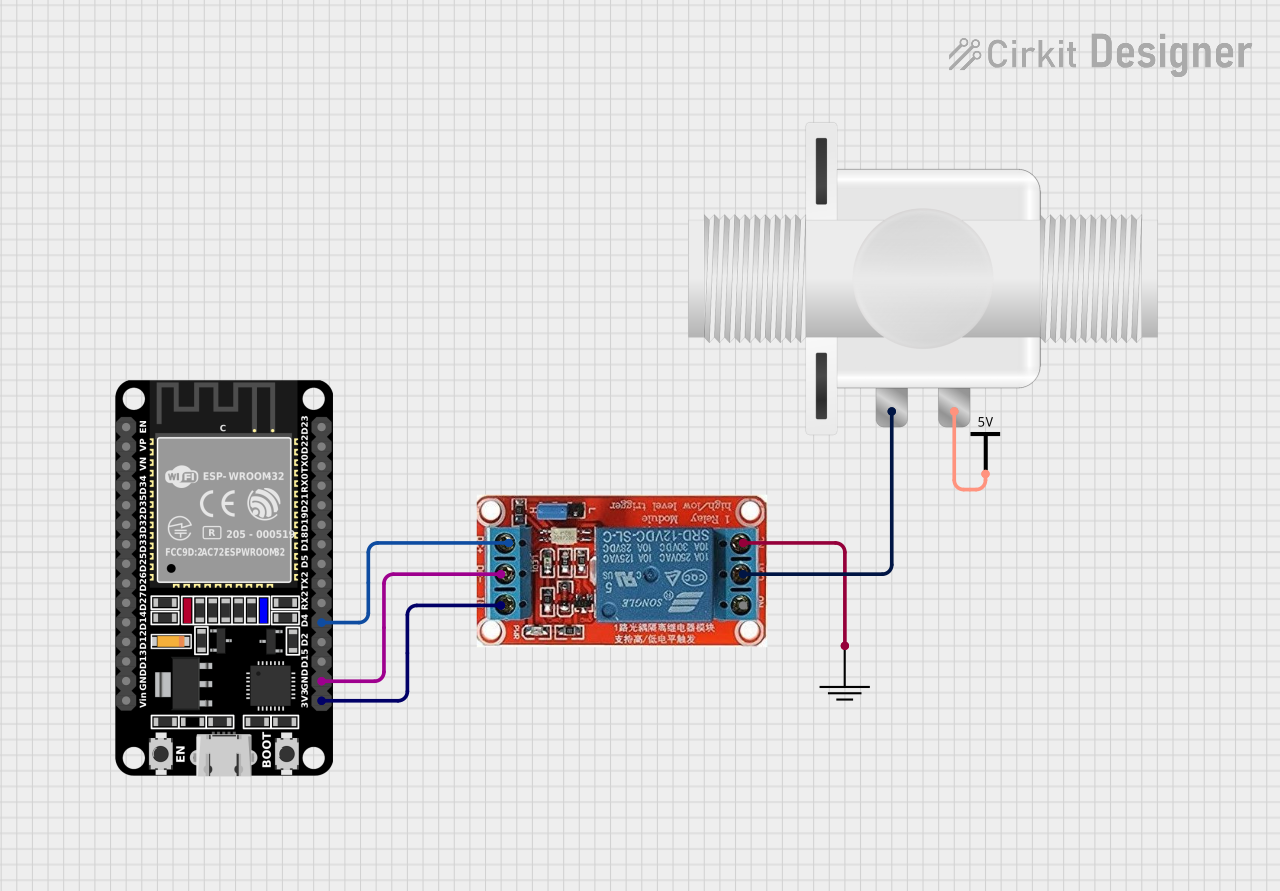 Open Project in Cirkit Designer
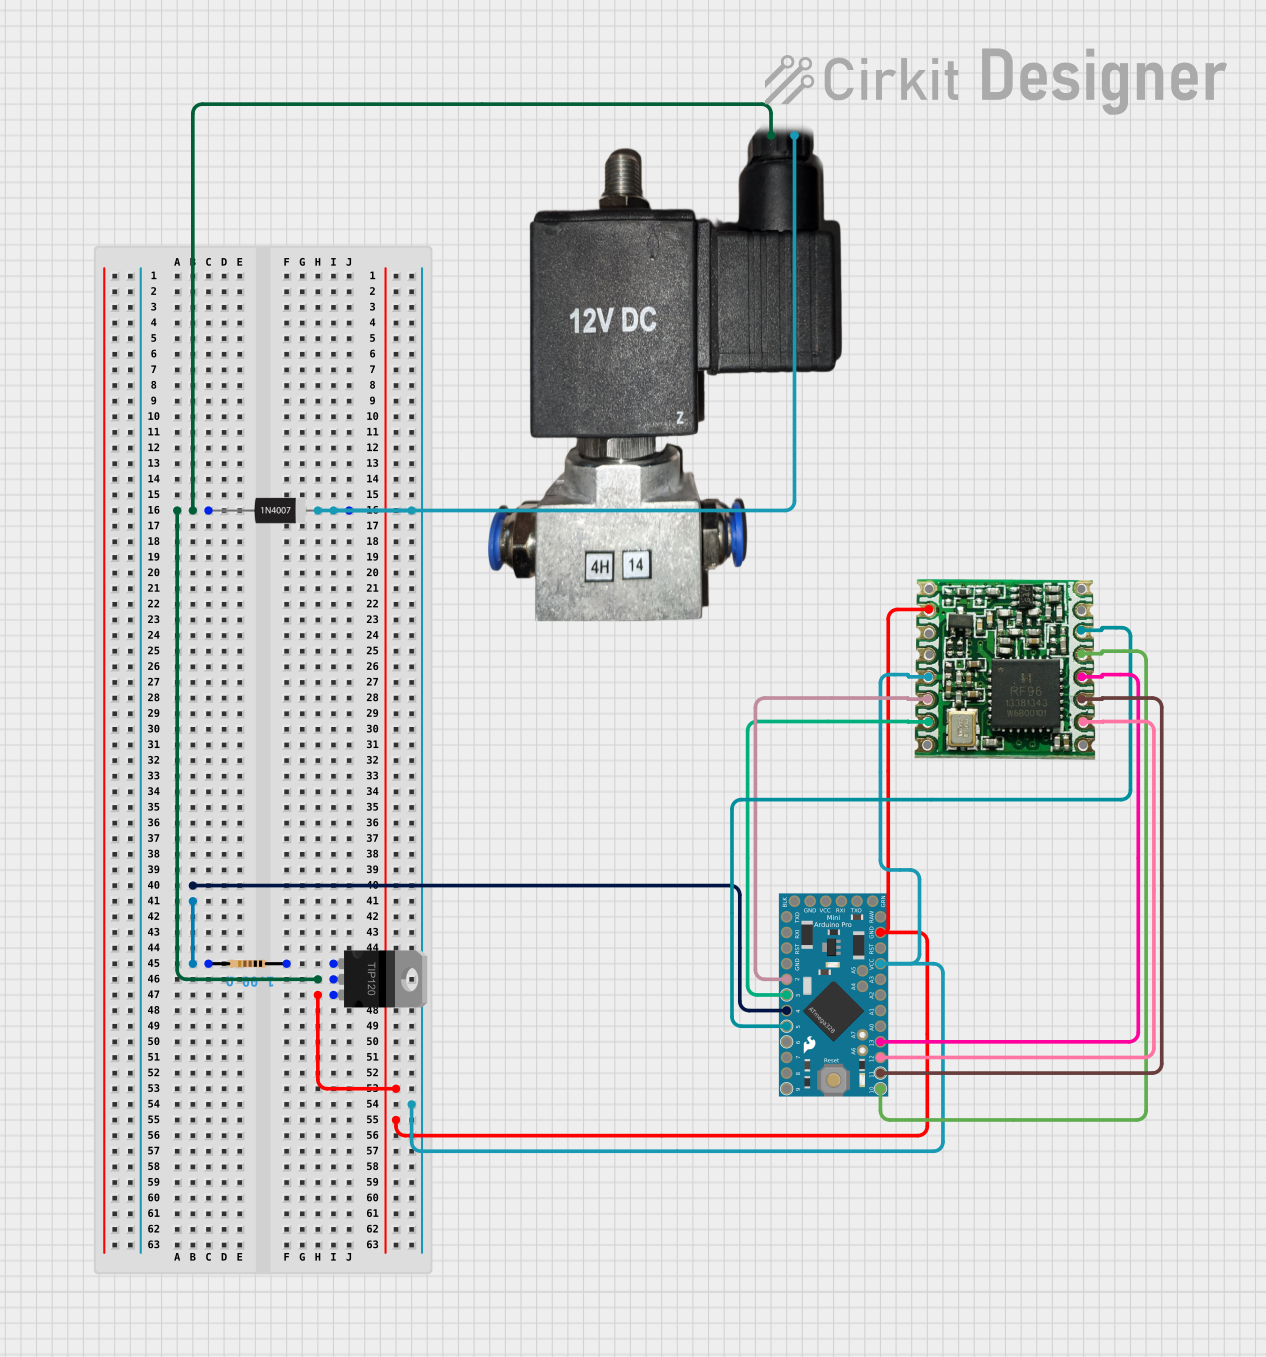 Open Project in Cirkit Designer
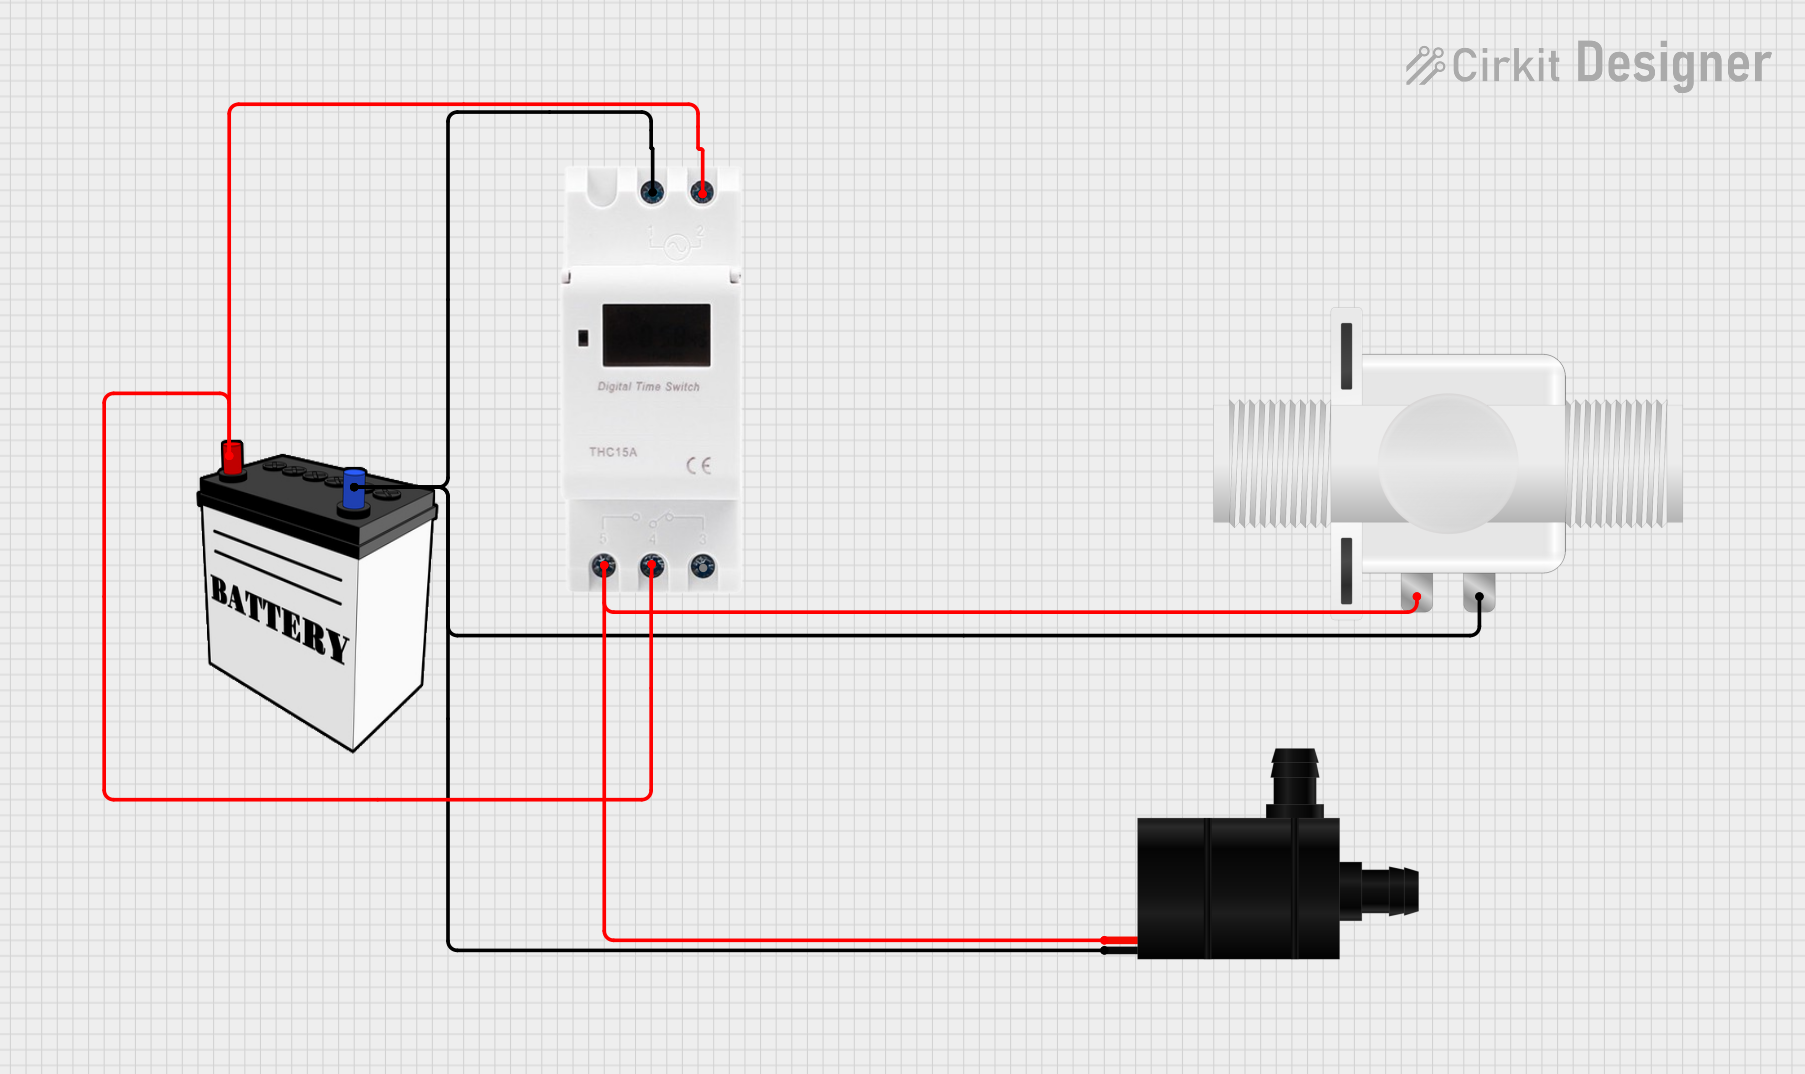 Open Project in Cirkit Designer
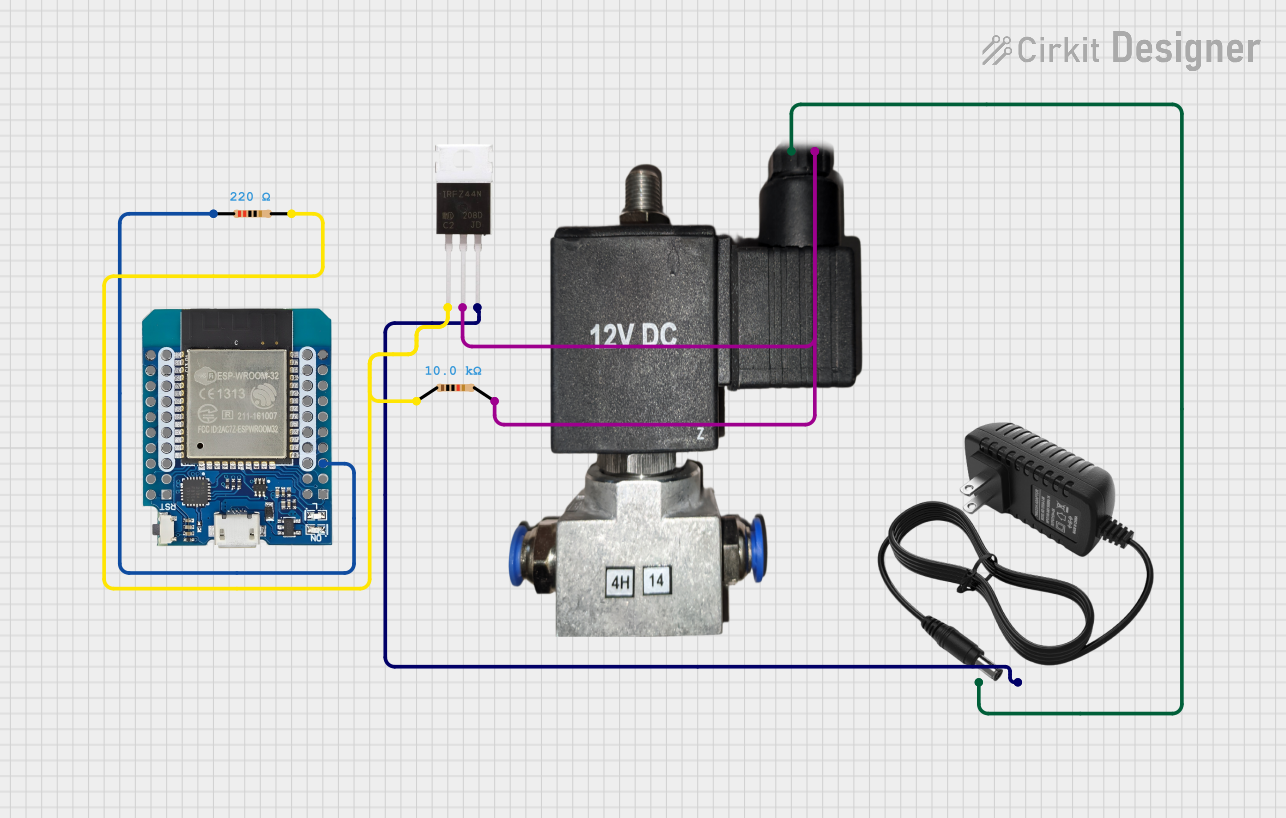 Open Project in Cirkit Designer
Explore Projects Built with 12V Solenoid Valve
Open Project in Cirkit DesignerOpen Project in Cirkit DesignerOpen Project in Cirkit DesignerOpen Project in Cirkit DesignerCommon Applications
- Irrigation Systems: Automating water flow for agricultural or garden irrigation.
- Industrial Automation: Controlling fluid flow in manufacturing processes.
- Home Appliances: Used in washing machines, dishwashers, and water dispensers.
- DIY Projects: Ideal for hobbyists building fluid control systems or smart home devices.
Technical Specifications
The following table outlines the key technical details of the 12V Solenoid Valve:
| Parameter | Value |
|---|---|
| Operating Voltage | 12V DC |
| Current Consumption | 0.3A to 0.5A (depending on model) |
| Power Consumption | 3.6W to 6W |
| Operating Pressure | 0.02 MPa to 0.8 MPa |
| Fluid Type | Water, air, or other compatible fluids |
| Valve Type | Normally Closed (NC) |
| Material | Plastic or brass (varies by model) |
| Port Size | 1/2 inch or 3/4 inch (common sizes) |
| Operating Temperature | 0°C to 60°C |
Pin Configuration and Descriptions
The 12V Solenoid Valve typically has two wires for connection. The table below describes the wiring:
| Wire Color | Function |
|---|---|
| Red | Positive terminal (+12V DC) |
| Black | Negative terminal (Ground) |
Note: Some models may have different wire colors. Always refer to the manufacturer's datasheet for specific details.
Usage Instructions
How to Use the 12V Solenoid Valve in a Circuit
- Power Supply: Connect the red wire to a 12V DC power source and the black wire to ground. Ensure the power supply can provide sufficient current (at least 0.5A).
- Control Mechanism: Use a relay module, transistor, or MOSFET to control the valve from a microcontroller (e.g., Arduino UNO). Directly connecting the valve to a microcontroller is not recommended due to high current requirements.
- Fluid Connection: Attach the inlet and outlet ports to the fluid system using compatible fittings. Ensure the flow direction matches the arrow on the valve body.
Important Considerations
- Polarity: Ensure correct polarity when connecting the wires. Reversing polarity may damage the valve.
- Power Supply: Use a stable 12V DC power source to avoid voltage fluctuations that could affect performance.
- Pressure Limits: Do not exceed the valve's maximum operating pressure to prevent damage or leaks.
- Cleaning: Periodically clean the valve to prevent clogging, especially when used with unfiltered fluids.
Example: Controlling the Valve with an Arduino UNO
Below is an example of how to control a 12V Solenoid Valve using an Arduino UNO and a relay module:
// Example: Controlling a 12V Solenoid Valve with Arduino UNO
// This code turns the solenoid valve ON for 5 seconds, then OFF for 5 seconds.

const int relayPin = 7; // Pin connected to the relay module

void setup() {
  pinMode(relayPin, OUTPUT); // Set relay pin as output
  digitalWrite(relayPin, LOW); // Ensure relay is OFF at startup
}

void loop() {
  digitalWrite(relayPin, HIGH); // Turn ON the relay (activates solenoid valve)
  delay(5000); // Keep the valve open for 5 seconds
  digitalWrite(relayPin, LOW); // Turn OFF the relay (deactivates solenoid valve)
  delay(5000); // Wait for 5 seconds before repeating
}
Note: Ensure the relay module is rated for 12V DC and can handle the solenoid valve's current.
Troubleshooting and FAQs
Common Issues and Solutions
Valve Not Activating
- Cause: Insufficient power supply or incorrect wiring.
- Solution: Verify the power supply provides 12V DC and sufficient current. Check wire connections for proper polarity.
Valve Stuck Open or Closed
- Cause: Debris or clogging in the valve mechanism.
- Solution: Disassemble and clean the valve. Use filtered fluids to prevent clogging.
Overheating
- Cause: Prolonged activation or excessive current draw.
- Solution: Avoid keeping the valve continuously activated for long periods. Use a heat sink or cooling mechanism if necessary.
Fluid Leaks
- Cause: Loose fittings or damaged seals.
- Solution: Tighten fittings and inspect seals for wear. Replace damaged seals if needed.
FAQs
Q: Can I use the 12V Solenoid Valve with AC power?
A: No, this valve is designed for 12V DC operation. Using AC power may damage the coil.Q: Is the valve waterproof?
A: The valve is water-resistant but not fully waterproof. Avoid submerging it in water.Q: Can I control the valve with a PWM signal?
A: No, the solenoid valve is not designed for PWM control. Use a relay or transistor for on/off control.Q: What happens if I exceed the pressure limit?
A: Exceeding the pressure limit may cause leaks or damage to the valve. Always operate within the specified pressure range.
This concludes the documentation for the 12V Solenoid Valve. For further assistance, refer to the manufacturer's datasheet or contact technical support.