How to Use AC Power Plug: Examples, Pinouts, and Specs
Introduction
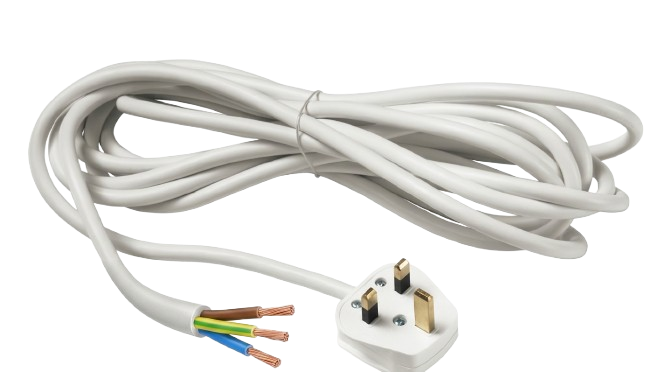
The AC Power Plug (Type G), manufactured by Generic, is a device designed to connect electrical appliances to a power source. It typically features three rectangular prongs: live, neutral, and ground, which fit into a corresponding Type G socket. This plug is widely used in the United Kingdom, Ireland, and other regions that follow the British Standard BS 1363.
Explore Projects Built with AC Power Plug


Explore Projects Built with AC Power Plug
Common Applications and Use Cases
- Powering household appliances such as kettles, toasters, and televisions.
- Connecting office equipment like computers, printers, and monitors.
- Industrial and commercial applications requiring a secure and reliable power connection.
- International travel adapters for regions using Type G sockets.
Technical Specifications
The following table outlines the key technical details of the AC Power Plug (Type G):
| Parameter | Specification |
|---|---|
| Manufacturer | Generic |
| Manufacturer Part ID | Type G |
| Voltage Rating | 220-240V AC |
| Current Rating | Up to 13A |
| Frequency | 50 Hz |
| Plug Type | Type G (BS 1363 Standard) |
| Number of Prongs | 3 (Live, Neutral, Ground) |
| Material | High-grade thermoplastic or polycarbonate |
| Safety Features | Built-in fuse (typically 3A, 5A, or 13A) |
Pin Configuration and Descriptions
The Type G plug has three rectangular prongs arranged in a triangular pattern. The table below describes each pin:
| Pin Name | Position | Description |
|---|---|---|
| Live (L) | Top right | Carries the current from the power source to the appliance. |
| Neutral (N) | Top left | Completes the circuit by returning current to the power source. |
| Ground (G) | Bottom (longest pin) | Provides a safety path for fault currents to prevent electric shock or damage. |
Usage Instructions
How to Use the AC Power Plug in a Circuit
- Inspect the Plug: Ensure the plug is undamaged and the prongs are clean and straight.
- Connect to Appliance: Attach the plug to the appliance's power cord, ensuring proper wiring:
- Brown wire to the Live (L) terminal.
- Blue wire to the Neutral (N) terminal.
- Green/Yellow wire to the Ground (G) terminal.
- Secure the Wiring: Tighten the terminal screws and ensure no exposed wires are visible.
- Insert into Socket: Plug the Type G connector into a compatible socket.
- Turn on Power: Switch on the socket (if applicable) to power the connected appliance.
Important Considerations and Best Practices
- Fuse Selection: Use a fuse rated for the appliance's current draw (e.g., 3A for small devices, 13A for high-power devices).
- Cable Strain Relief: Ensure the cable is clamped securely to prevent strain on the internal wiring.
- Compatibility: Only use the Type G plug with sockets designed for BS 1363 standards.
- Safety: Never use a damaged plug or attempt to modify it. Always disconnect from the power source before wiring or maintenance.
Example: Connecting to an Arduino UNO
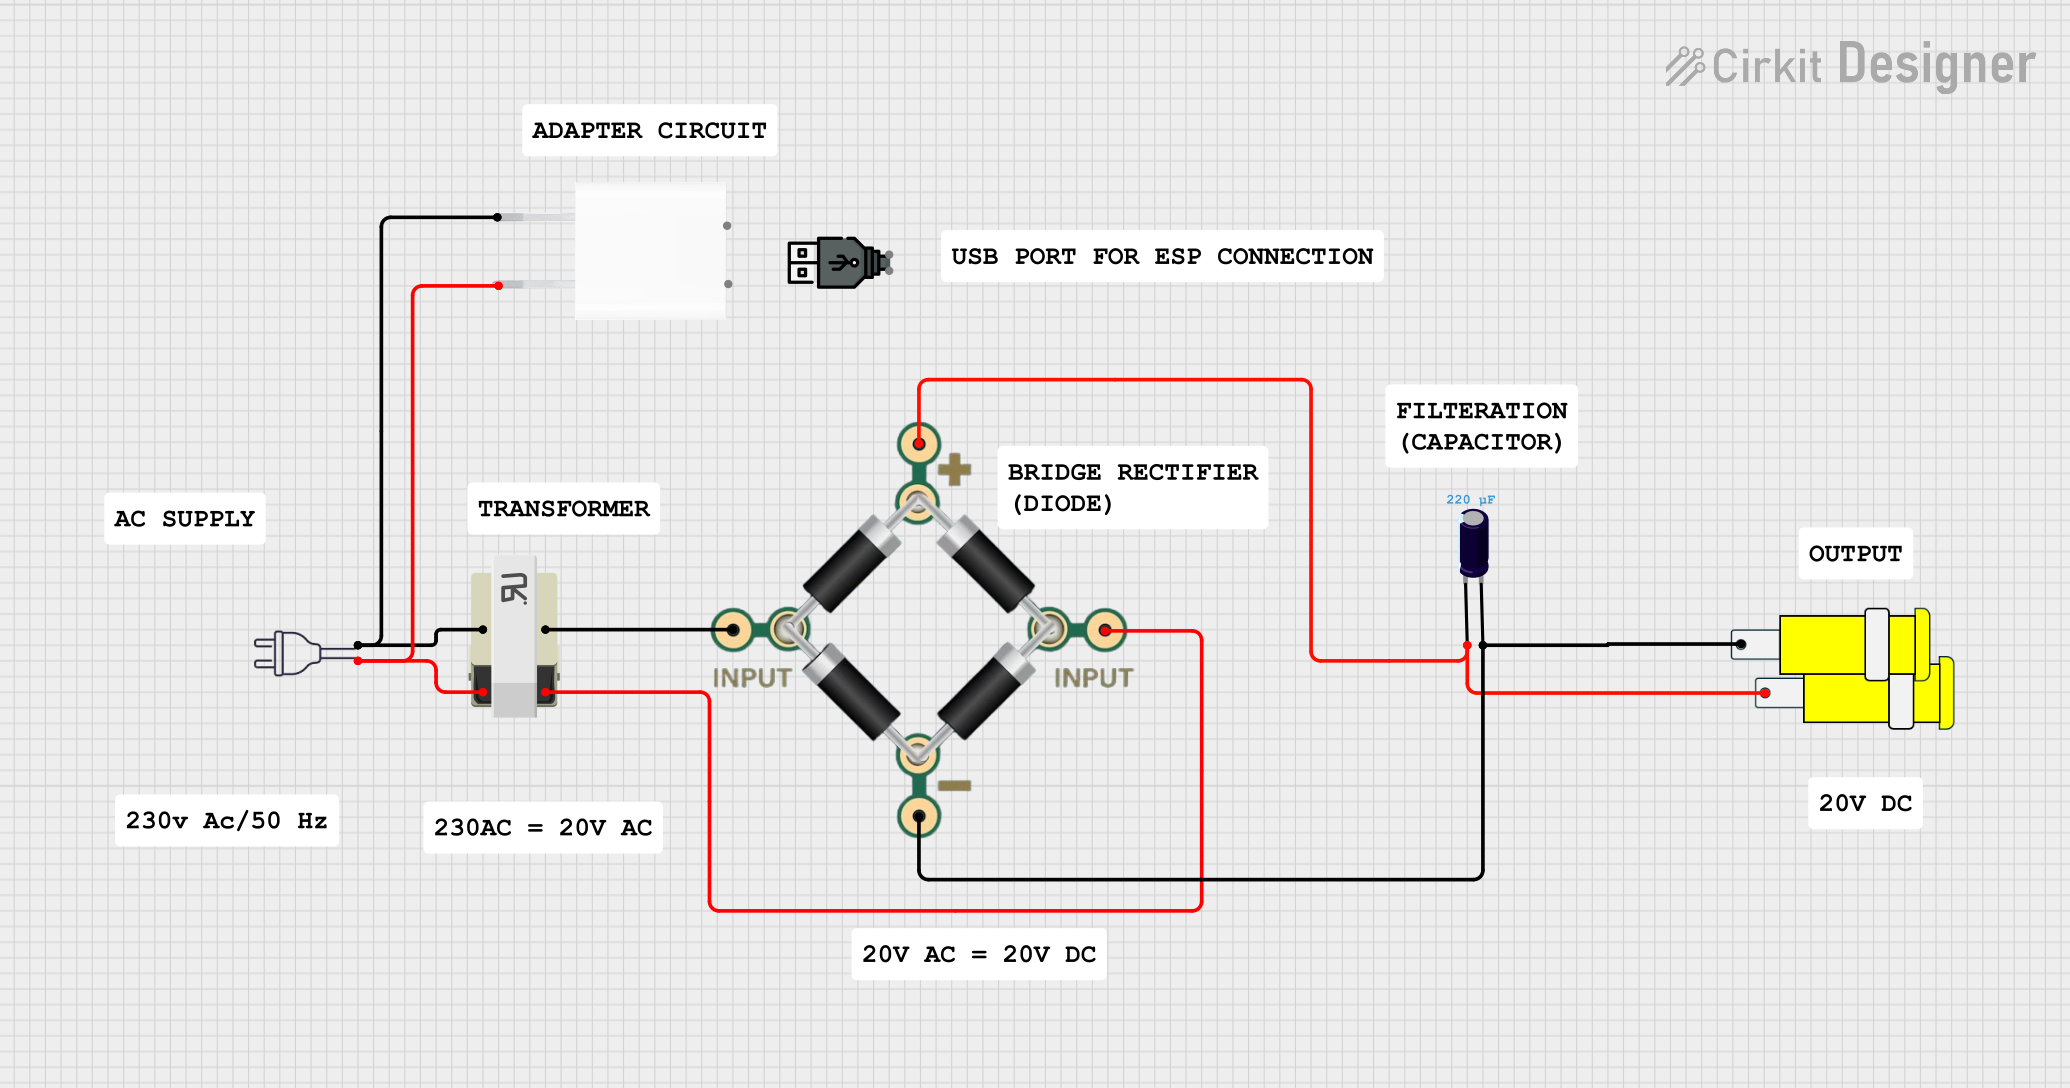
While the AC Power Plug itself is not directly connected to an Arduino UNO, it can be used to power an external power supply or adapter that provides DC voltage to the Arduino. Below is an example of powering an Arduino UNO using a 12V DC adapter connected to a Type G plug:
// Example Arduino code to blink an LED
// Ensure the Arduino is powered via a 12V DC adapter connected to a Type G plug

int ledPin = 13; // Pin connected to the onboard LED

void setup() {
  pinMode(ledPin, OUTPUT); // Set the LED pin as an output
}

void loop() {
  digitalWrite(ledPin, HIGH); // Turn the LED on
  delay(1000);                // Wait for 1 second
  digitalWrite(ledPin, LOW);  // Turn the LED off
  delay(1000);                // Wait for 1 second
}
Troubleshooting and FAQs
Common Issues Users Might Face
Plug Does Not Fit into Socket:
- Ensure the socket is a Type G socket.
- Check for obstructions or damage to the socket or plug.
Appliance Does Not Power On:
- Verify the fuse inside the plug is intact. Replace it if necessary.
- Check the wiring connections inside the plug for loose or incorrect wiring.
- Ensure the socket is switched on and supplying power.
Overheating Plug:
- Ensure the appliance's current draw does not exceed the plug's 13A rating.
- Check for loose connections or damaged wiring.
Solutions and Tips for Troubleshooting
- Replacing the Fuse: Open the plug's fuse compartment, remove the blown fuse, and replace it with a new one of the correct rating.
- Testing the Socket: Use a socket tester or plug in a different device to confirm the socket is functioning.
- Inspecting the Wiring: Disconnect the plug from the socket and inspect the internal wiring for damage or incorrect connections.
By following these guidelines, the AC Power Plug (Type G) can be safely and effectively used in a variety of applications.