
How to Use esp 32 wroom : Examples, Pinouts, and Specs
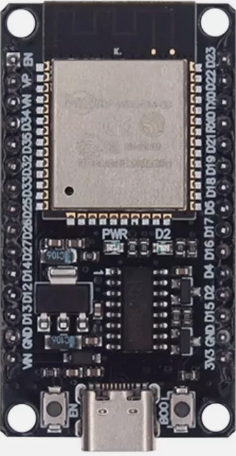
 Design with esp 32 wroom in Cirkit Designer
Introduction
The ESP32 WROOM is a powerful microcontroller module with integrated Wi-Fi and Bluetooth capabilities, designed for Internet of Things (IoT) applications. It features a dual-core processor, ample GPIO pins, and supports various communication protocols, making it ideal for smart devices and embedded systems.
Explore Projects Built with esp 32 wroom
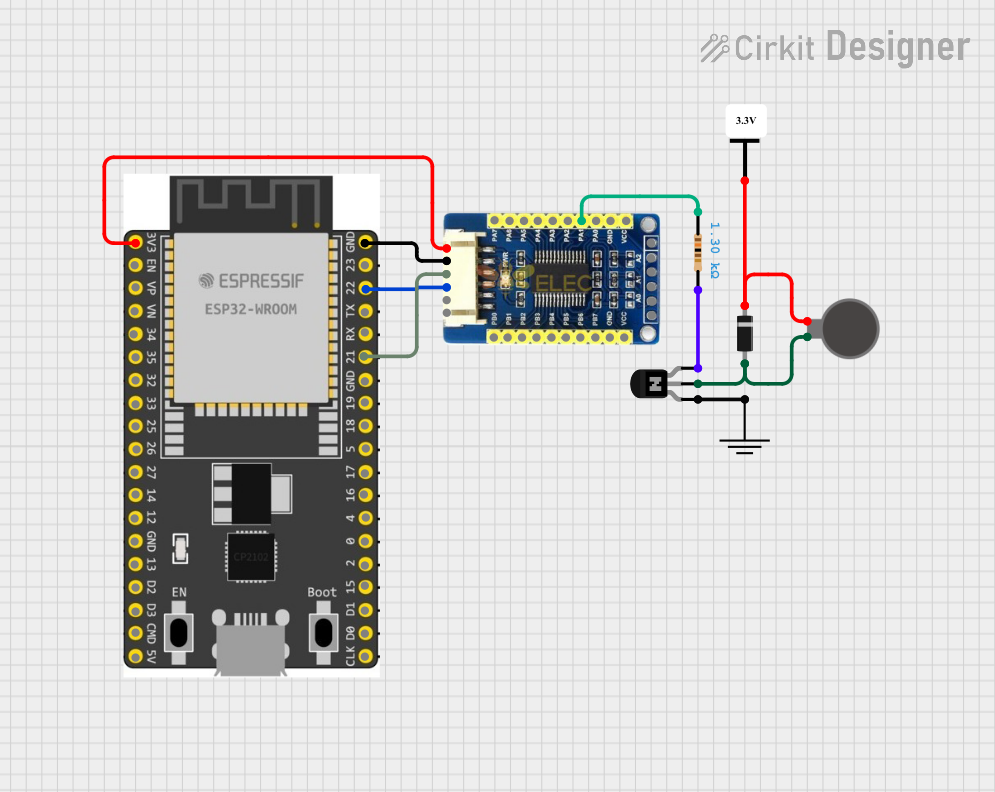 Open Project in Cirkit Designer
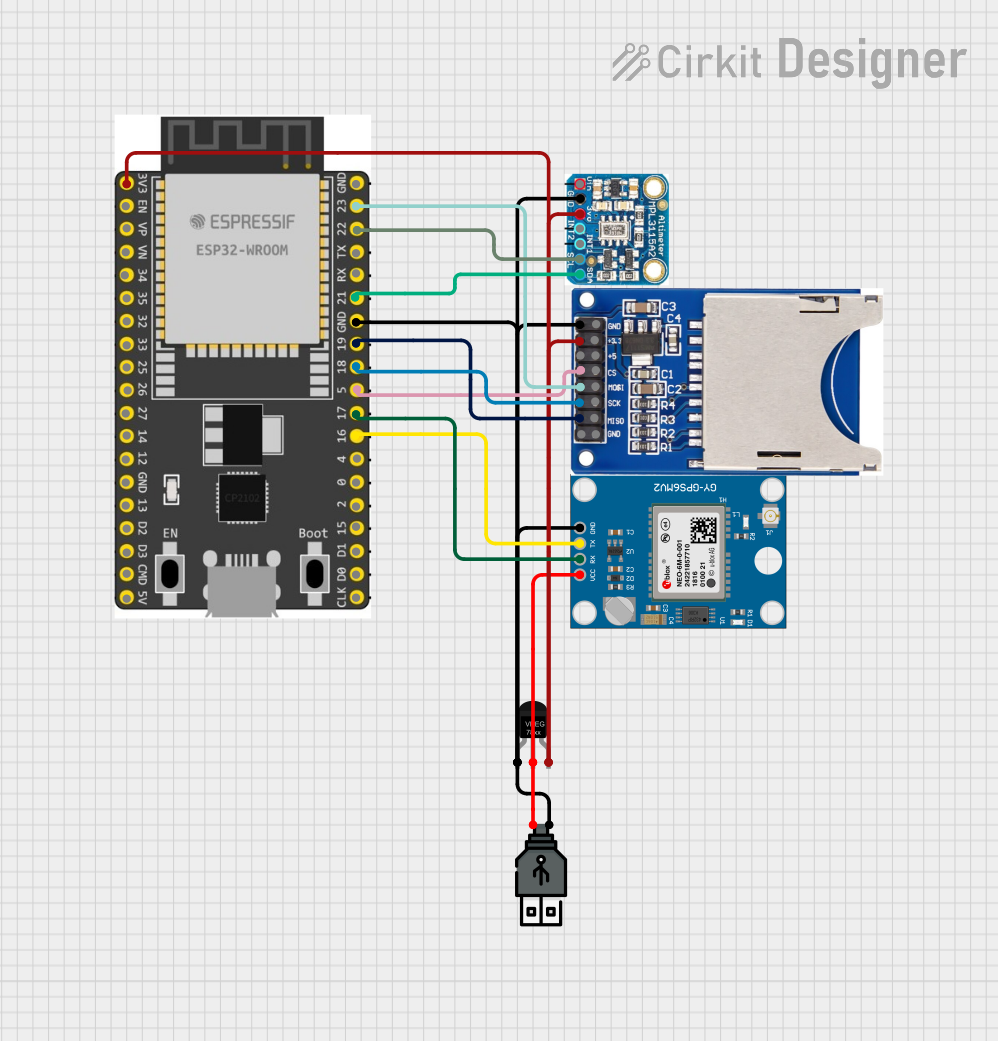 Open Project in Cirkit Designer
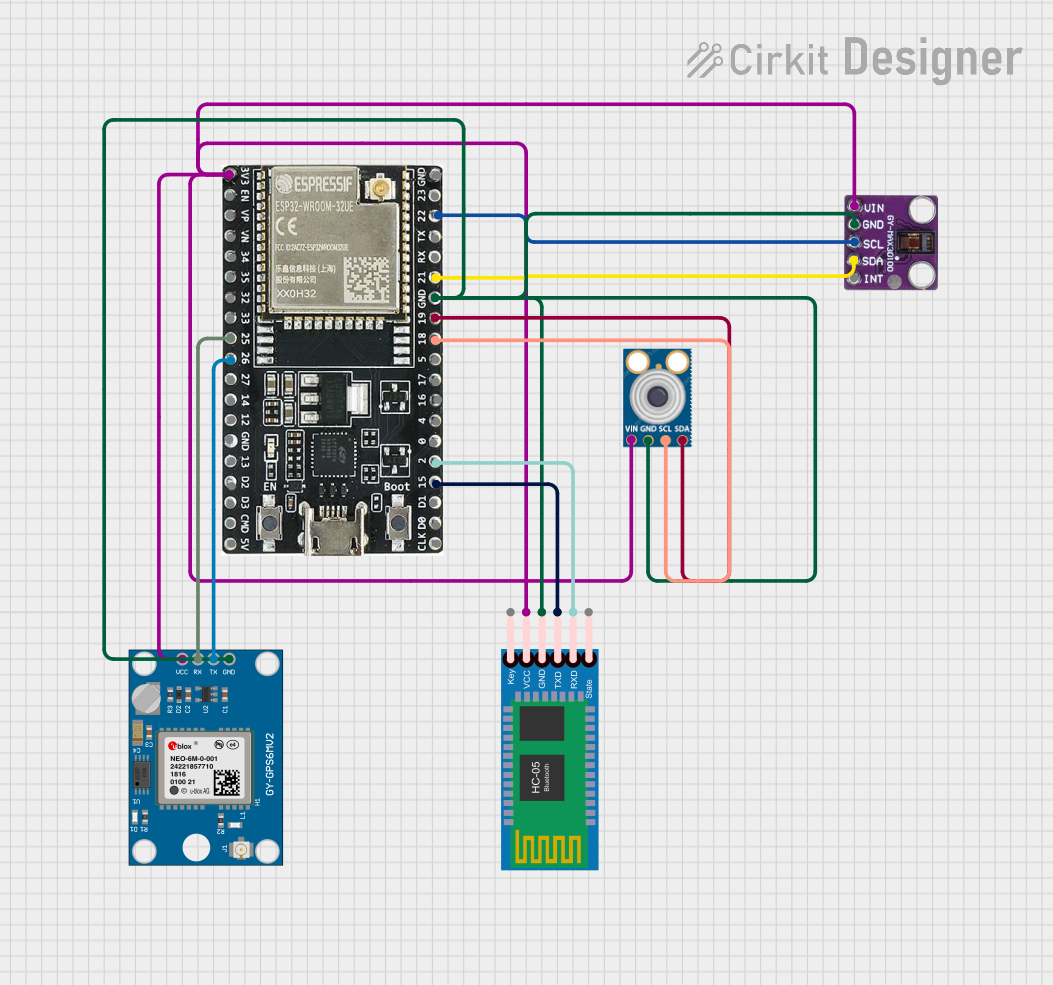 Open Project in Cirkit Designer
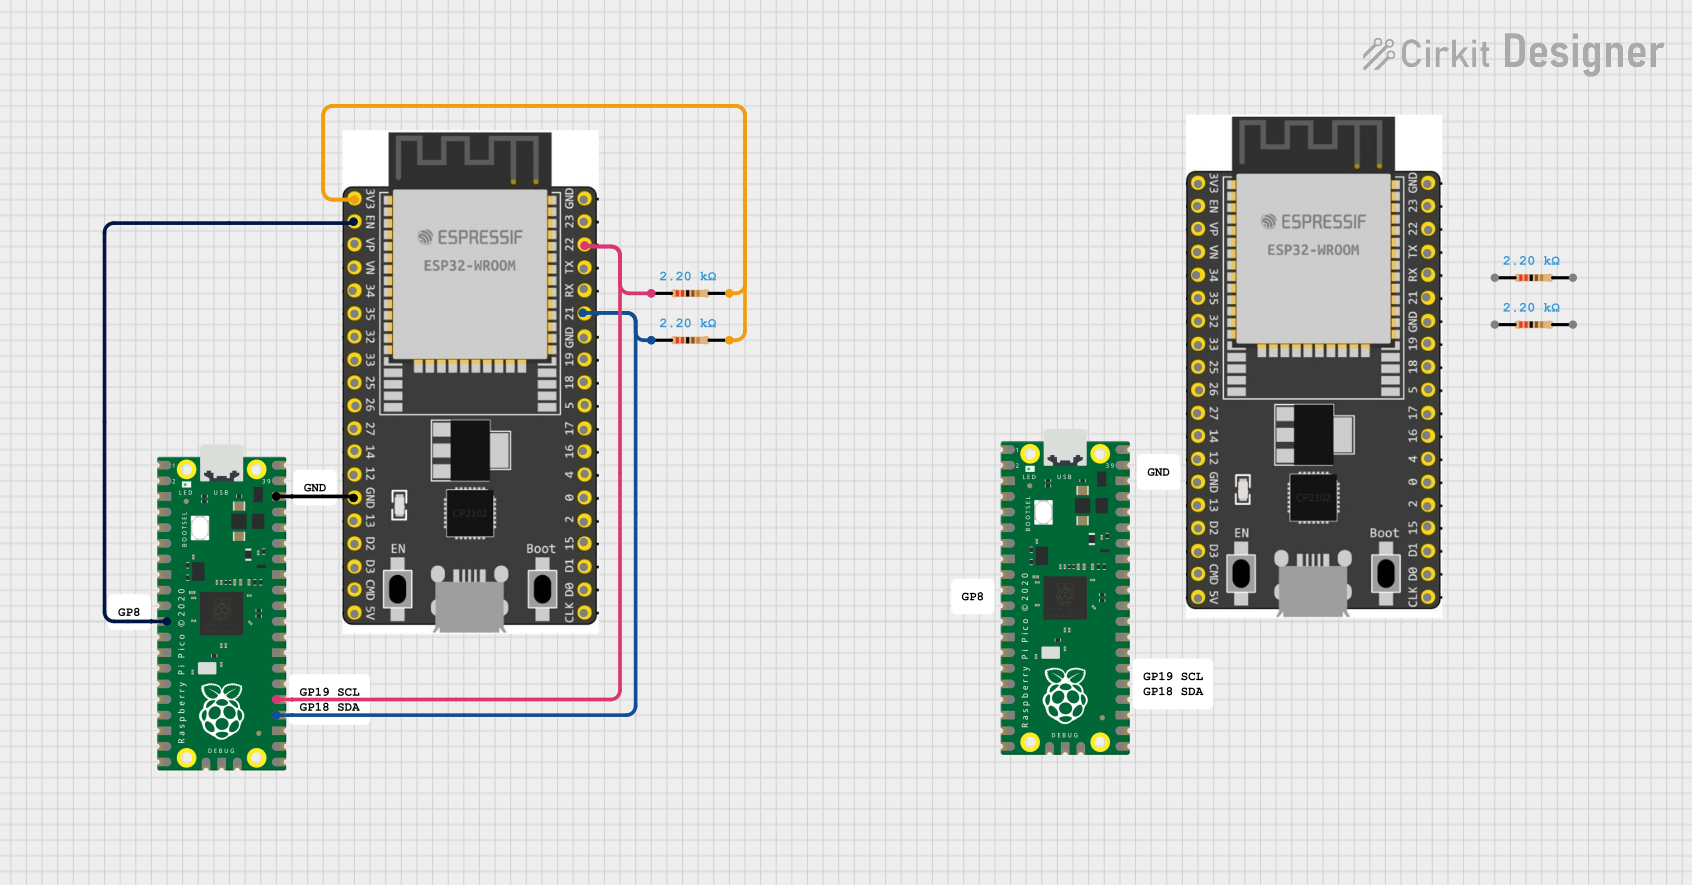 Open Project in Cirkit Designer
Explore Projects Built with esp 32 wroom
Open Project in Cirkit DesignerOpen Project in Cirkit DesignerOpen Project in Cirkit DesignerOpen Project in Cirkit DesignerCommon Applications and Use Cases
- Smart home devices (e.g., smart lights, thermostats)
- IoT sensors and data loggers
- Wearable devices
- Industrial automation systems
- Wireless communication hubs
- Robotics and embedded systems
Technical Specifications
The ESP32 WROOM module is packed with features that make it versatile and efficient for a wide range of applications. Below are its key technical specifications:
| Specification | Details |
|---|---|
| Microcontroller | Xtensa® 32-bit LX6 dual-core processor |
| Clock Speed | Up to 240 MHz |
| Flash Memory | 4 MB (varies by model) |
| SRAM | 520 KB |
| Wi-Fi | 802.11 b/g/n (2.4 GHz) |
| Bluetooth | Bluetooth v4.2 BR/EDR and BLE |
| Operating Voltage | 3.3V |
| GPIO Pins | 34 (multipurpose, including ADC, DAC, PWM, I2C, SPI, UART, etc.) |
| ADC Channels | 18 (12-bit resolution) |
| DAC Channels | 2 |
| Communication Protocols | UART, SPI, I2C, I2S, CAN, Ethernet, PWM |
| Power Consumption | Ultra-low power consumption in deep sleep mode (as low as 10 µA) |
| Operating Temperature | -40°C to 85°C |
| Dimensions | 18 mm x 25.5 mm |
Pin Configuration and Descriptions
The ESP32 WROOM module has a total of 38 pins. Below is a table describing the key pins:
| Pin Name | Type | Description |
|---|---|---|
| 3V3 | Power | 3.3V power supply input |
| GND | Power | Ground |
| EN | Input | Enable pin (active high, used to reset the module) |
| GPIO0 | I/O | General-purpose I/O, also used for boot mode selection |
| GPIO2 | I/O | General-purpose I/O, often used for onboard LED |
| GPIO12-39 | I/O | Multipurpose GPIO pins (ADC, DAC, PWM, I2C, SPI, UART, etc.) |
| TXD0 (GPIO1) | Output | UART0 transmit pin |
| RXD0 (GPIO3) | Input | UART0 receive pin |
| ADC1_CH0-7 | Input | ADC1 channels (12-bit resolution) |
| DAC1 (GPIO25) | Output | Digital-to-analog converter channel 1 |
| DAC2 (GPIO26) | Output | Digital-to-analog converter channel 2 |
| BOOT | Input | Boot mode selection pin (used during flashing firmware) |
Note: Some GPIO pins have specific functions or limitations. Refer to the ESP32 datasheet for detailed pin behavior.
Usage Instructions
How to Use the ESP32 WROOM in a Circuit
- Power Supply: Provide a stable 3.3V power supply to the
3V3pin and connectGNDto ground. - Programming: Use a USB-to-serial adapter or development board (e.g., ESP32 DevKit) to program the module. Connect the
TXD0andRXD0pins to the adapter. - Boot Mode: To flash firmware, hold the
BOOTbutton (or pullGPIO0low) while resetting the module. - GPIO Usage: Configure GPIO pins as input or output in your code. Avoid using reserved pins or pins with special functions unless necessary.
- Wi-Fi and Bluetooth: Use the ESP-IDF or Arduino IDE libraries to configure and manage wireless communication.
Important Considerations and Best Practices
- Voltage Levels: Ensure all GPIO pins operate at 3.3V logic levels. Using 5V logic may damage the module.
- Power Supply: Use a low-noise, stable power source to avoid unexpected resets or performance issues.
- Deep Sleep Mode: Utilize deep sleep mode for battery-powered applications to minimize power consumption.
- Antenna Placement: Ensure the onboard antenna has sufficient clearance from metal objects to avoid signal interference.
- Firmware Updates: Regularly update the firmware to benefit from performance improvements and bug fixes.
Example Code for Arduino IDE
Below is an example of how to connect the ESP32 WROOM to a Wi-Fi network using the Arduino IDE:
#include <WiFi.h> // Include the WiFi library for ESP32

const char* ssid = "Your_SSID";       // Replace with your Wi-Fi network name
const char* password = "Your_Password"; // Replace with your Wi-Fi password

void setup() {
  Serial.begin(115200); // Initialize serial communication at 115200 baud
  delay(1000);          // Wait for a moment to stabilize

  Serial.println("Connecting to Wi-Fi...");
  WiFi.begin(ssid, password); // Start connecting to Wi-Fi

  while (WiFi.status() != WL_CONNECTED) {
    delay(500); // Wait for connection
    Serial.print(".");
  }

  Serial.println("\nWi-Fi connected!");
  Serial.print("IP Address: ");
  Serial.println(WiFi.localIP()); // Print the assigned IP address
}

void loop() {
  // Add your main code here
}
Tip: Replace
Your_SSIDandYour_Passwordwith your Wi-Fi credentials. Ensure the ESP32 is within range of the Wi-Fi router.
Troubleshooting and FAQs
Common Issues and Solutions
ESP32 Not Connecting to Wi-Fi
- Solution: Double-check the SSID and password. Ensure the router is set to 2.4 GHz (ESP32 does not support 5 GHz networks).
Module Keeps Resetting
- Solution: Verify the power supply. Ensure it provides sufficient current (at least 500 mA).
GPIO Pins Not Working as Expected
- Solution: Check if the pin is reserved or has a special function. Refer to the ESP32 datasheet for details.
Cannot Flash Firmware
- Solution: Ensure the
BOOTpin is held low during the flashing process. Use a reliable USB-to-serial adapter.
- Solution: Ensure the
FAQs
Q: Can the ESP32 WROOM operate on 5V?
A: No, the ESP32 WROOM operates at 3.3V. Use a level shifter for 5V logic.Q: How do I reduce power consumption?
A: Use deep sleep mode and disable unused peripherals to minimize power usage.Q: Can I use the ESP32 WROOM with Arduino IDE?
A: Yes, the ESP32 is fully compatible with the Arduino IDE. Install the ESP32 board package to get started.Q: What is the maximum range of the Wi-Fi module?
A: The range depends on environmental factors but typically extends up to 100 meters in open spaces.
For additional support, refer to the official ESP32 documentation or community forums.