How to Use Pushbutton: Examples, Pinouts, and Specs

Introduction
A pushbutton is a fundamental electronic component that operates as a simple mechanical switch. It is widely used in various applications to control circuits or initiate actions. When the button is pressed, two internal contacts meet, allowing electrical current to flow through the circuit. Pushbuttons are commonly found in consumer electronics, industrial machinery, and hobbyist projects, including interfacing with microcontrollers like the Arduino UNO.
Explore Projects Built with Pushbutton

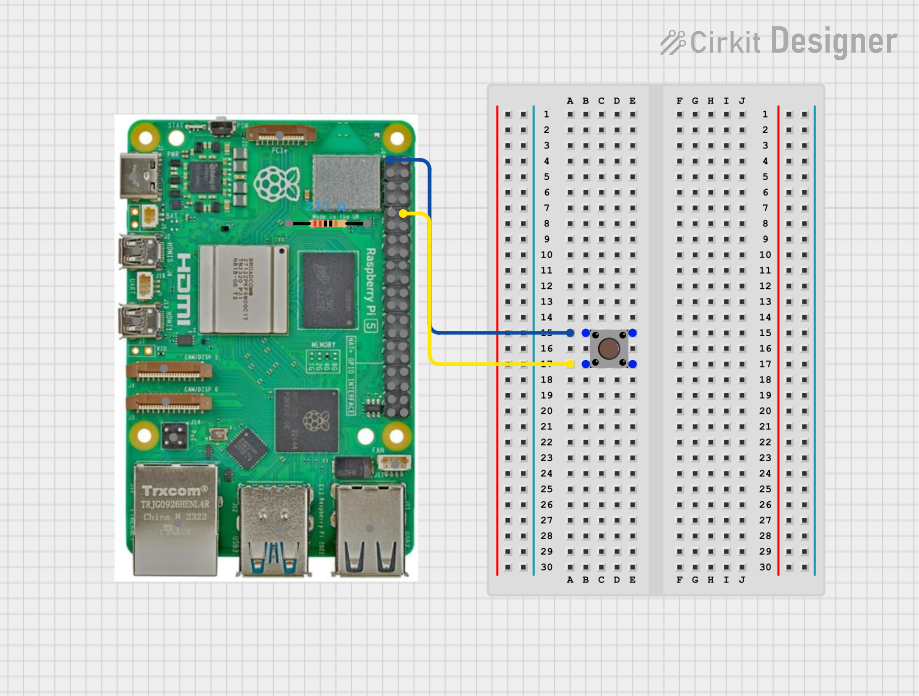

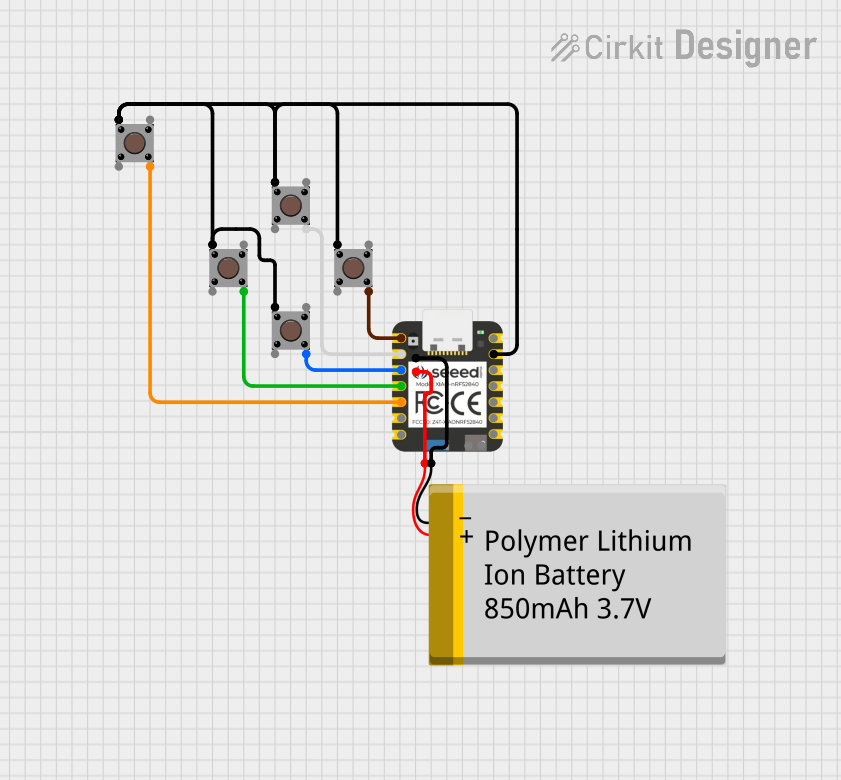
Explore Projects Built with Pushbutton
Technical Specifications
General Characteristics
- Type: Momentary tactile switch
- Contact Type: Normally open (NO)
- Actuation Force: Typically between 100g to 300g
- Bounce Time: Approximately 5 to 30 milliseconds
Electrical Ratings
- Maximum Voltage: 250V AC
- Maximum Current: 3A AC
- Contact Resistance: <50 mΩ initial
Pin Configuration and Descriptions
| Pin Number | Description |
|---|---|
| 1 | Normally open (NO) |
| 2 | Common (COM) |
Note: The pin numbers are for reference and can vary depending on the pushbutton model.
Usage Instructions
Incorporating into a Circuit
To use a pushbutton in a circuit:
- Identify the pins using the datasheet or by testing continuity with a multimeter.
- Connect one pin to the input of the circuit you wish to control.
- Connect the other pin to the ground or the positive voltage, depending on the circuit's design.
- Ensure that the pushbutton is accessible for manual actuation.
Best Practices
- Use a pull-up or pull-down resistor to ensure a stable state when the button is not pressed.
- Debounce the switch either through hardware (e.g., a capacitor) or software to prevent false triggering from contact bounce.
- Avoid exceeding the electrical ratings to prevent damage to the pushbutton.
Example Code for Arduino UNO
// Define the pin connected to the pushbutton
const int buttonPin = 2;
// Variable for storing the pushbutton status
int buttonState = 0;

void setup() {
  // Initialize the pushbutton pin as an input
  pinMode(buttonPin, INPUT_PULLUP);
  // Initialize serial communication at 9600 bits per second
  Serial.begin(9600);
}

void loop() {
  // Read the state of the pushbutton value
  buttonState = digitalRead(buttonPin);

  // Check if the pushbutton is pressed
  // If it is, the buttonState is LOW
  if (buttonState == LOW) {
    // Turn on the LED
    Serial.println("Button pressed");
  } else {
    // Turn off the LED
    Serial.println("Button released");
  }
  // Delay a little bit to avoid bouncing
  delay(50);
}
Note: The INPUT_PULLUP mode enables the internal pull-up resistor, negating the need for an external resistor.
Troubleshooting and FAQs
Common Issues
- Button does not respond: Ensure the pushbutton is correctly wired and the pins are not damaged.
- Intermittent or multiple triggers: This is likely due to switch bounce. Implement debouncing in hardware or software.
- Button always active: Check for a short circuit or that the pull-up/pull-down resistor is properly connected.
FAQs
Q: Can I use a pushbutton with a higher voltage rating in a low-voltage circuit?
A: Yes, pushbuttons with higher voltage ratings can be used in low-voltage applications.
Q: How do I know if my pushbutton is normally open or normally closed?
A: A normally open pushbutton will not conduct when at rest; you can test this with a continuity function on a multimeter.
Q: What size resistor should I use for the pull-up or pull-down?
A: A typical value is 10kΩ, but this can vary based on the application's requirements.
Q: How can I debounce a pushbutton in software?
A: You can debounce a pushbutton by implementing a delay after the initial button press is detected, as shown in the example code.
For further assistance or inquiries, consult the manufacturer's datasheet or contact technical support.