Cirkit Designer Logo
Cirkit Designer
Your all-in-one circuit design IDE
Home / 
Component Documentation

How to Use 16294 SparkFun Qwiic Thermocouple Amplifier - MCP9600 (PCC Connector): Examples, Pinouts, and Specs

Image of 16294 SparkFun Qwiic Thermocouple Amplifier - MCP9600 (PCC Connector)
Cirkit Designer LogoDesign with 16294 SparkFun Qwiic Thermocouple Amplifier - MCP9600 (PCC Connector) in Cirkit Designer

Introduction

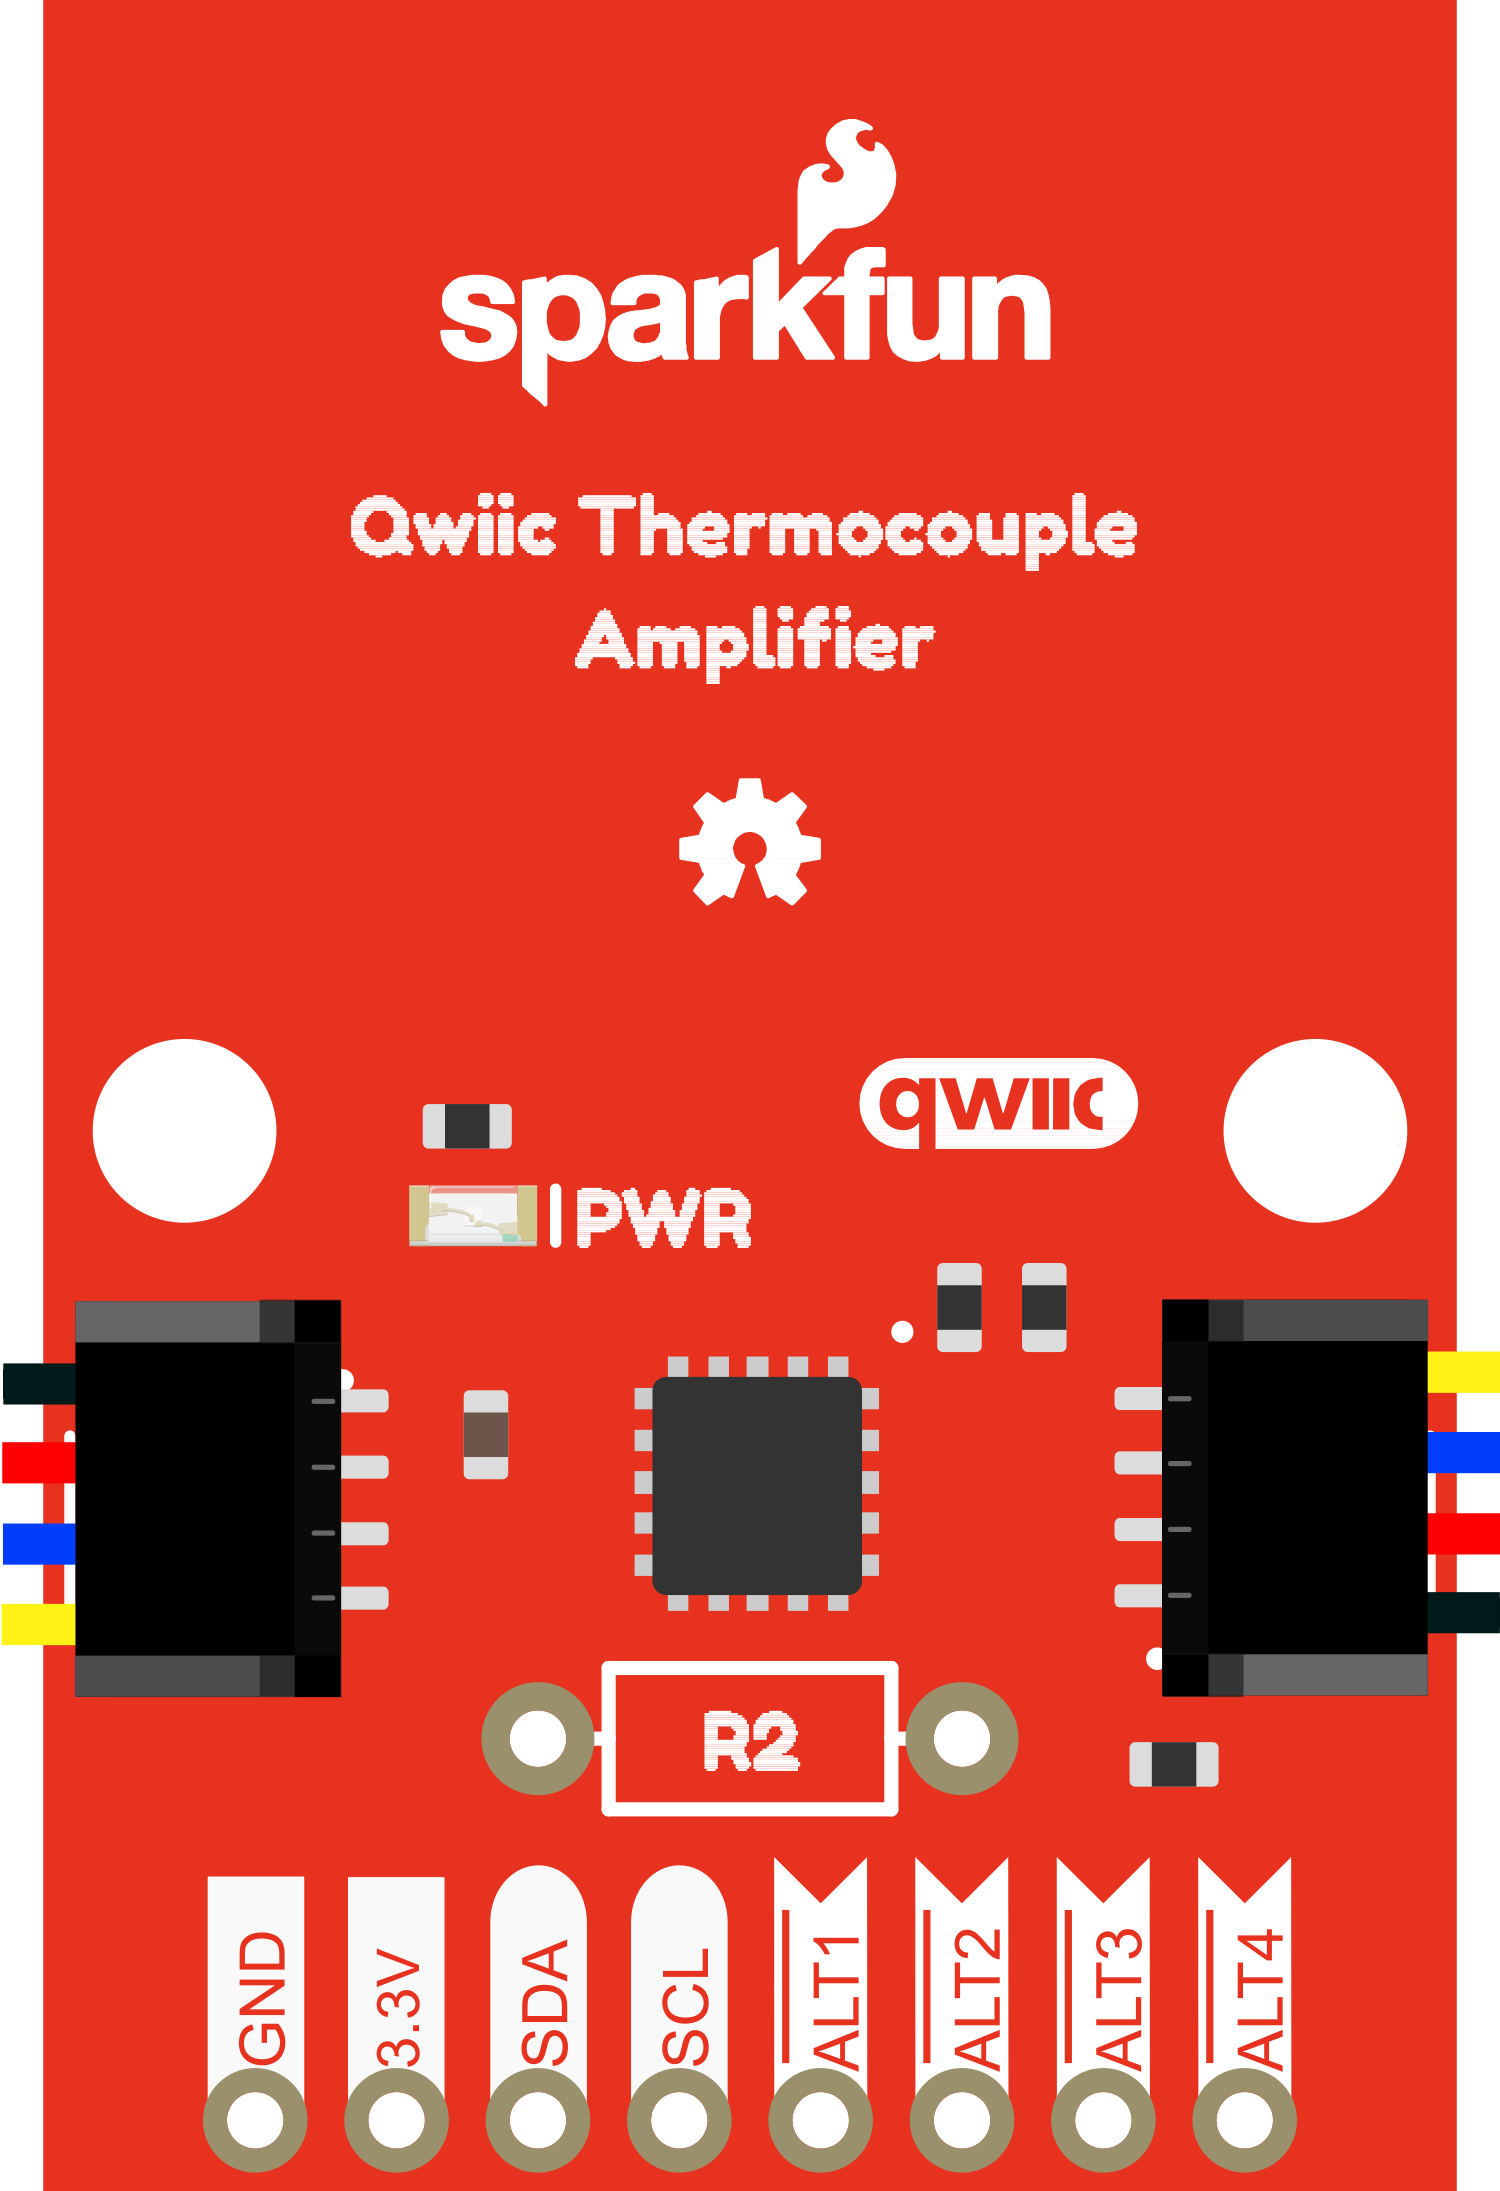
The SparkFun Qwiic Thermocouple Amplifier MCP9600 with PCC Connector is a sophisticated electronic component designed for high-precision temperature measurements. This amplifier utilizes the MCP9600 chip to convert thermocouple EMF to temperature and provides a digital output. It is commonly used in applications requiring temperature monitoring such as industrial systems, consumer appliances, and scientific instrumentation.

Explore Projects Built with 16294 SparkFun Qwiic Thermocouple Amplifier - MCP9600 (PCC Connector)

Use Cirkit Designer to design, explore, and prototype these projects online. Some projects support real-time simulation. Click "Open Project" to start designing instantly!
Arduino Mega 2560 Based Multi-Channel Thermocouple Reader
Image of thermostat-test: A project utilizing 16294 SparkFun Qwiic Thermocouple Amplifier - MCP9600 (PCC Connector) in a practical application
This circuit is designed to interface with multiple MAX6675 thermocouple-to-digital converter modules using an Arduino Mega 2560 as the central processing unit. The Arduino reads temperature data from the MAX6675 modules over a shared SPI bus, with individual chip select (CS) lines for each module to enable multiplexing. The circuit is likely used for monitoring multiple temperature points, possibly in an industrial setting where precise temperature control and monitoring are critical.
Cirkit Designer LogoOpen Project in Cirkit Designer
Battery-Powered Health Monitoring System with Nucleo WB55RG and OLED Display
Image of Pulsefex: A project utilizing 16294 SparkFun Qwiic Thermocouple Amplifier - MCP9600 (PCC Connector) in a practical application
This circuit is a multi-sensor data acquisition system that uses a Nucleo WB55RG microcontroller to interface with a digital temperature sensor (TMP102), a pulse oximeter and heart-rate sensor (MAX30102), and a 0.96" OLED display via I2C. Additionally, it includes a Sim800l module for GSM communication, powered by a 3.7V LiPo battery.
Cirkit Designer LogoOpen Project in Cirkit Designer
Arduino Mega 2560 and MAX6675 Thermocouple Temperature Sensor
Image of wiring arduino mega+max6675: A project utilizing 16294 SparkFun Qwiic Thermocouple Amplifier - MCP9600 (PCC Connector) in a practical application
This circuit consists of an Arduino Mega 2560 microcontroller connected to a MAX6675 thermocouple temperature sensor module. The Arduino provides power to the MAX6675 module and reads temperature data via digital pins, enabling temperature monitoring and data acquisition.
Cirkit Designer LogoOpen Project in Cirkit Designer
ESP8266 NodeMCU with MAX6675 Thermocouple Interface for Temperature Monitoring
Image of UAS Metrin: A project utilizing 16294 SparkFun Qwiic Thermocouple Amplifier - MCP9600 (PCC Connector) in a practical application
This circuit is designed to measure temperature using a Type K thermocouple connected to a MAX6675 module, which digitizes the temperature reading. The MAX6675 module interfaces with an ESP8266 NodeMCU microcontroller over a SPI connection, using D5 (SCK), D6 (SO), and D8 (CS) for clock, data output, and chip select, respectively. The ESP8266 is responsible for processing the temperature data, which can then be used for monitoring, control, or communication purposes.
Cirkit Designer LogoOpen Project in Cirkit Designer

Explore Projects Built with 16294 SparkFun Qwiic Thermocouple Amplifier - MCP9600 (PCC Connector)

Use Cirkit Designer to design, explore, and prototype these projects online. Some projects support real-time simulation. Click "Open Project" to start designing instantly!
Image of thermostat-test: A project utilizing 16294 SparkFun Qwiic Thermocouple Amplifier - MCP9600 (PCC Connector) in a practical application
Arduino Mega 2560 Based Multi-Channel Thermocouple Reader
This circuit is designed to interface with multiple MAX6675 thermocouple-to-digital converter modules using an Arduino Mega 2560 as the central processing unit. The Arduino reads temperature data from the MAX6675 modules over a shared SPI bus, with individual chip select (CS) lines for each module to enable multiplexing. The circuit is likely used for monitoring multiple temperature points, possibly in an industrial setting where precise temperature control and monitoring are critical.
Cirkit Designer LogoOpen Project in Cirkit Designer
Image of Pulsefex: A project utilizing 16294 SparkFun Qwiic Thermocouple Amplifier - MCP9600 (PCC Connector) in a practical application
Battery-Powered Health Monitoring System with Nucleo WB55RG and OLED Display
This circuit is a multi-sensor data acquisition system that uses a Nucleo WB55RG microcontroller to interface with a digital temperature sensor (TMP102), a pulse oximeter and heart-rate sensor (MAX30102), and a 0.96" OLED display via I2C. Additionally, it includes a Sim800l module for GSM communication, powered by a 3.7V LiPo battery.
Cirkit Designer LogoOpen Project in Cirkit Designer
Image of wiring arduino mega+max6675: A project utilizing 16294 SparkFun Qwiic Thermocouple Amplifier - MCP9600 (PCC Connector) in a practical application
Arduino Mega 2560 and MAX6675 Thermocouple Temperature Sensor
This circuit consists of an Arduino Mega 2560 microcontroller connected to a MAX6675 thermocouple temperature sensor module. The Arduino provides power to the MAX6675 module and reads temperature data via digital pins, enabling temperature monitoring and data acquisition.
Cirkit Designer LogoOpen Project in Cirkit Designer
Image of UAS Metrin: A project utilizing 16294 SparkFun Qwiic Thermocouple Amplifier - MCP9600 (PCC Connector) in a practical application
ESP8266 NodeMCU with MAX6675 Thermocouple Interface for Temperature Monitoring
This circuit is designed to measure temperature using a Type K thermocouple connected to a MAX6675 module, which digitizes the temperature reading. The MAX6675 module interfaces with an ESP8266 NodeMCU microcontroller over a SPI connection, using D5 (SCK), D6 (SO), and D8 (CS) for clock, data output, and chip select, respectively. The ESP8266 is responsible for processing the temperature data, which can then be used for monitoring, control, or communication purposes.
Cirkit Designer LogoOpen Project in Cirkit Designer

Technical Specifications

Key Features

  • Chipset: MCP9600 Thermocouple-to-Digital Converter
  • Thermocouple Type: K-type
  • Temperature Range: -200°C to +1350°C (K-type thermocouple range)
  • Voltage Supply: 2.7V to 5.5V
  • Interface: I2C (Qwiic Connect System)
  • Resolution: 0.0625°C
  • Accuracy: ±1°C (typical) from -40°C to 125°C
  • Operating Current: 1mA (typical)

Pin Configuration and Descriptions

Pin Name Description
GND Ground connection
3V3 3.3V power supply input
SDA I2C data line
SCL I2C clock line
RST Reset pin (active low)
INT Interrupt pin
PCC PCC connector for thermocouple

Usage Instructions

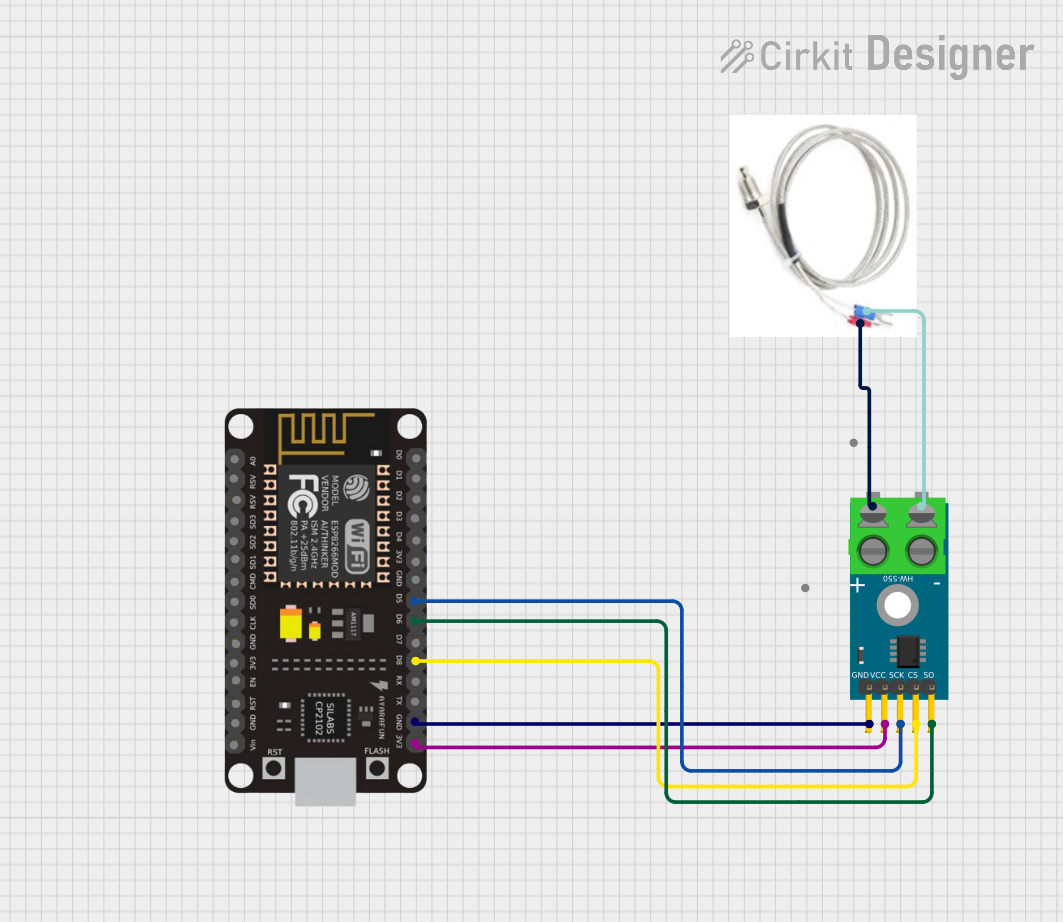
Connecting to a Circuit

  1. Connect the GND pin to the ground of your power supply.
  2. Connect the 3V3 pin to a 3.3V source. The board can also be powered with 5V if necessary.
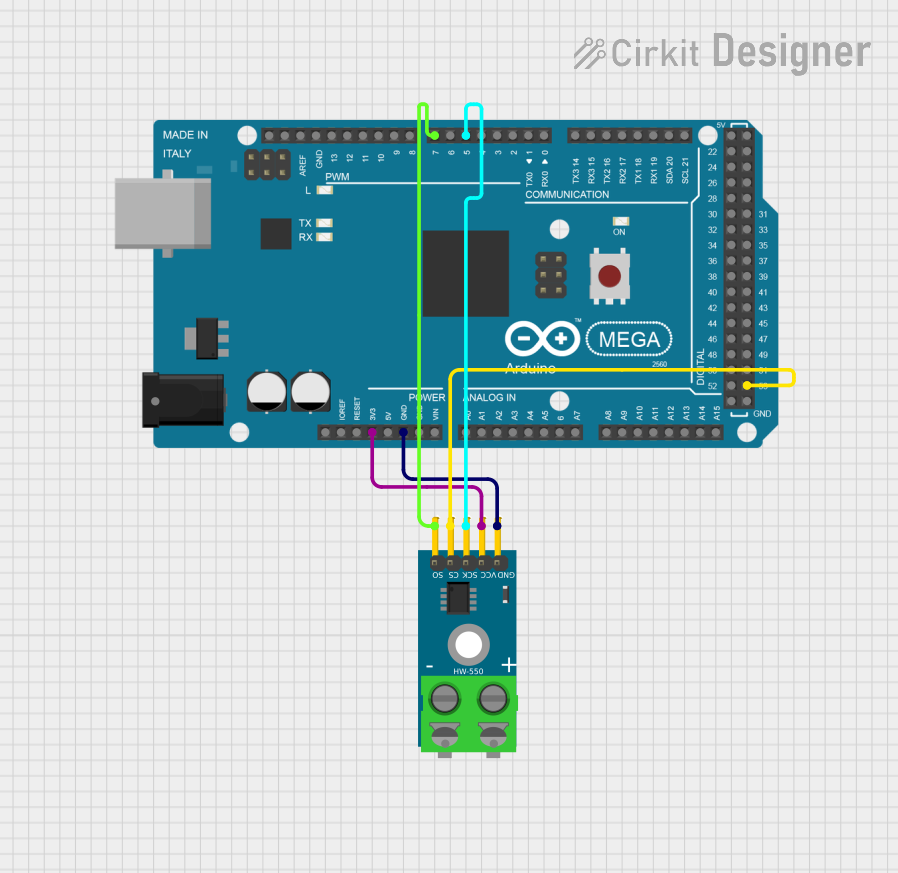
  3. Connect the SDA and SCL pins to the I2C data and clock lines on your microcontroller, such as an Arduino UNO.
  4. The RST pin can be left unconnected if not used; otherwise, connect it to a digital pin on your microcontroller for software reset functionality.
  5. The INT pin can be connected to a digital pin on your microcontroller if you wish to use the interrupt feature.
  6. Connect a K-type thermocouple to the PCC connector.

Best Practices

  • Ensure that the thermocouple is properly connected with correct polarity.
  • Avoid running high-current wires near the thermocouple wires to minimize noise.
  • Use twisted pair wires for the thermocouple to improve noise immunity.
  • Keep the thermocouple and amplifier away from heat sources to prevent self-heating errors.

Example Code for Arduino UNO

#include <Wire.h>
#include "SparkFun_MCP9600.h"

// Create MCP9600 object
SparkFun_MCP9600 thermocouple;

void setup() {
  Serial.begin(9600);
  Wire.begin(); // Join I2C bus

  // Begin communication with the MCP9600
  if (thermocouple.begin() == false) {
    Serial.println("MCP9600 not detected. Please check your connections.");
    while (1);
  }
}

void loop() {
  // Read temperature from the MCP9600
  double temperature = thermocouple.getThermocoupleTemp();
  
  // Print the temperature reading to the Serial Monitor
  Serial.print("Temperature: ");
  Serial.print(temperature);
  Serial.println(" C");

  delay(1000); // Wait for 1 second before reading again
}

Troubleshooting and FAQs

Common Issues

  • No Temperature Reading: Ensure that the thermocouple is properly connected and that there are no broken wires.
  • Inaccurate Temperature: Check for sources of thermal noise or electromagnetic interference near the thermocouple or amplifier.
  • I2C Communication Error: Verify that the SDA and SCL lines are connected correctly and that there are pull-up resistors on the I2C bus if required.

FAQs

Q: Can I use a different type of thermocouple with this amplifier? A: The MCP9600 is designed to work with K-type thermocouples. Using other types may require additional calibration and may not provide accurate readings.

Q: How do I calibrate the MCP9600? A: The MCP9600 has built-in cold-junction compensation and does not typically require user calibration. If calibration is necessary, refer to the MCP9600 datasheet for guidance.

Q: What is the purpose of the Qwiic Connect System? A: The Qwiic Connect System is SparkFun's ecosystem of I2C sensors, actuators, shields, and cables that use a 4-pin JST connector to make prototyping faster and less prone to error.

Q: Can the MCP9600 be used with a 5V system? A: Yes, the MCP9600 can be powered with a 5V supply, and it is compatible with 5V logic levels.

For further assistance, consult the MCP9600 datasheet or contact SparkFun's technical support.