
How to Use vibrator motor: Examples, Pinouts, and Specs
 Design with vibrator motor in Cirkit Designer
Introduction
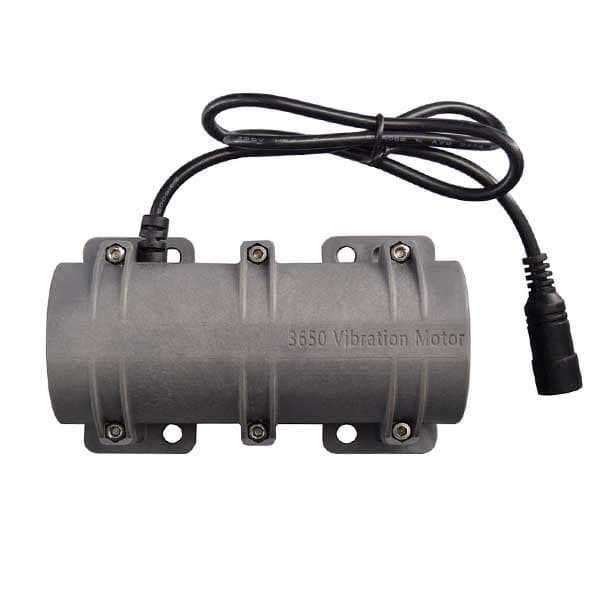
A vibrator motor is a small electric motor designed to create vibrations. It achieves this by using an unbalanced weight attached to its shaft, which generates a vibrating motion when the motor rotates. Vibrator motors are widely used in various applications, including mobile devices, gaming controllers, wearables, and industrial equipment, to provide haptic feedback or alert signals.
Explore Projects Built with vibrator motor
 Open Project in Cirkit Designer
 Open Project in Cirkit Designer
 Open Project in Cirkit Designer
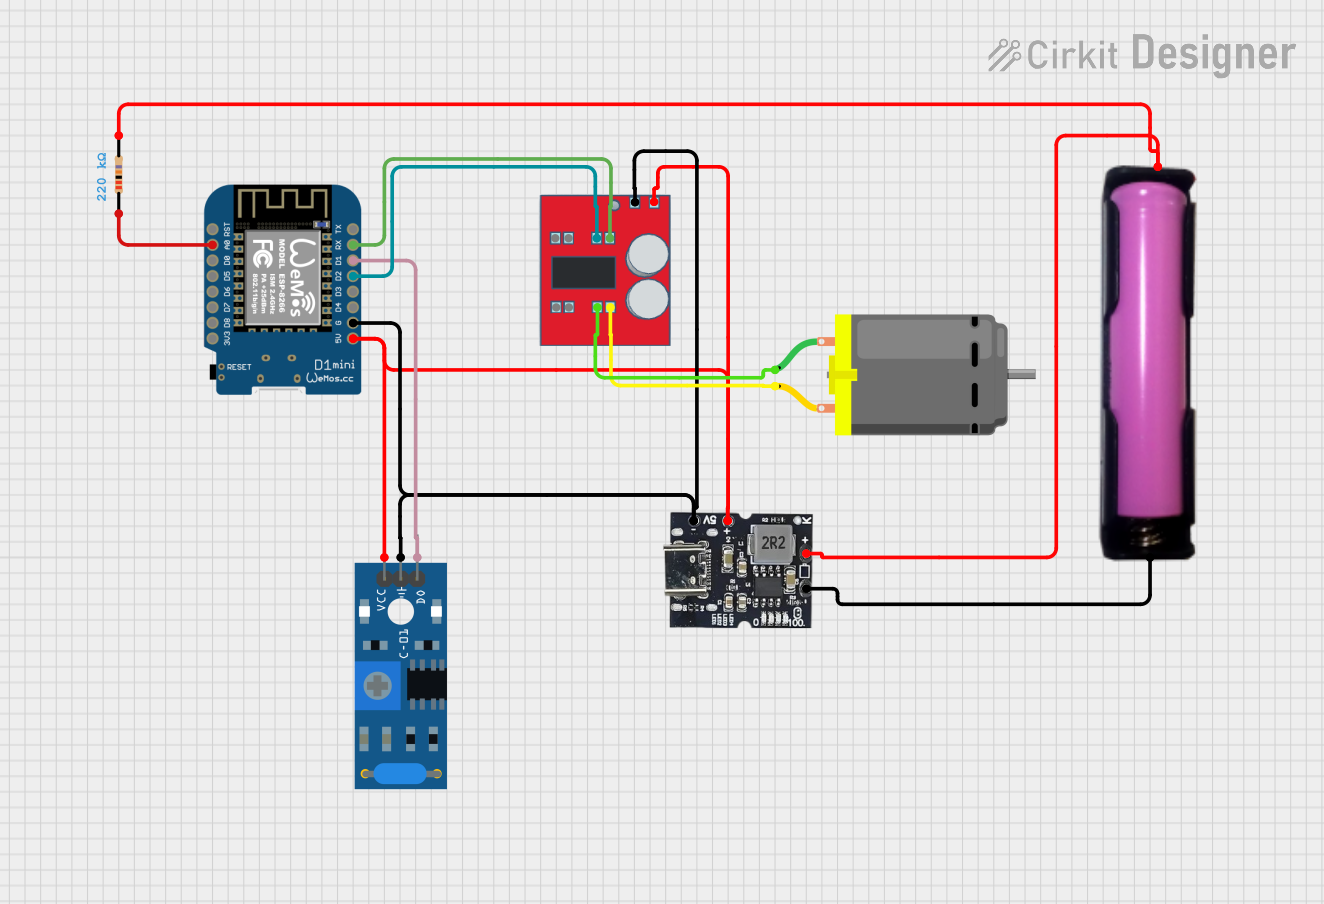 Open Project in Cirkit Designer
Explore Projects Built with vibrator motor
Open Project in Cirkit DesignerOpen Project in Cirkit DesignerOpen Project in Cirkit DesignerOpen Project in Cirkit DesignerCommon Applications:
- Mobile Devices: For notifications, calls, and alerts.
- Gaming Controllers: To enhance user experience with tactile feedback.
- Wearable Devices: For silent alarms and notifications.
- Industrial Equipment: For material handling and vibration testing.
Technical Specifications
Below are the general technical specifications for a typical vibrator motor. Note that specific values may vary depending on the manufacturer and model.
Key Specifications:
- Operating Voltage: 1.5V to 5V DC (commonly 3V DC)
- Operating Current: 50mA to 150mA (depending on load)
- Vibration Frequency: 100 Hz to 250 Hz
- Dimensions: Typically 4mm to 10mm in diameter
- Weight: 1g to 10g
- Operating Temperature: -20°C to 70°C
Pin Configuration:
Vibrator motors typically have two terminals: Positive (+) and Negative (-). These terminals are used to connect the motor to a power source or control circuit.
| Pin Name | Description | Notes |
|---|---|---|
| Positive (+) | Power input terminal | Connect to the positive voltage supply. |
| Negative (-) | Ground or return terminal | Connect to the ground of the circuit. |
Usage Instructions
How to Use the Vibrator Motor in a Circuit:
- Power Supply: Ensure the motor is powered within its operating voltage range (e.g., 3V DC). Exceeding the voltage may damage the motor.
- Connection: Connect the positive terminal of the motor to the power supply and the negative terminal to ground. A current-limiting resistor may be used if necessary.
- Control: To control the motor, you can use a transistor or MOSFET as a switch. This allows the motor to be turned on/off using a microcontroller or other control logic.
Example Circuit with Arduino UNO:
Below is an example of how to control a vibrator motor using an Arduino UNO and an NPN transistor (e.g., 2N2222).
Components Required:
- Vibrator Motor
- Arduino UNO
- NPN Transistor (e.g., 2N2222)
- 1kΩ Resistor
- Diode (e.g., 1N4007)
- Breadboard and Jumper Wires
Circuit Diagram:
+5V (Arduino) ----->|-----> Motor (+)
                    Diode
Motor (-) -----------------> Transistor Collector
Transistor Emitter --------> GND
Arduino Pin (e.g., D9) ---> Resistor ---> Transistor Base
Arduino Code:
// Vibrator Motor Control with Arduino UNO
// Connect the motor to a transistor circuit as described above.

const int motorPin = 9; // Pin connected to the transistor base

void setup() {
  pinMode(motorPin, OUTPUT); // Set motorPin as an output
}

void loop() {
  digitalWrite(motorPin, HIGH); // Turn on the motor
  delay(1000);                  // Keep the motor on for 1 second
  digitalWrite(motorPin, LOW);  // Turn off the motor
  delay(1000);                  // Keep the motor off for 1 second
}
Important Considerations:
- Diode Protection: Always use a flyback diode across the motor terminals to protect the circuit from voltage spikes caused by the motor's inductive load.
- Current Limiting: Ensure the motor's current draw does not exceed the transistor's or power supply's rating.
- Heat Dissipation: Prolonged use may cause the motor to heat up. Ensure proper ventilation or cooling if necessary.
Troubleshooting and FAQs
Common Issues:
Motor Does Not Vibrate:
- Cause: Insufficient voltage or loose connections.
- Solution: Verify the power supply voltage and ensure all connections are secure.
Motor Vibrates Weakly:
- Cause: Low input voltage or high resistance in the circuit.
- Solution: Check the power supply and reduce resistance in the circuit.
Motor Overheats:
- Cause: Excessive voltage or prolonged operation.
- Solution: Ensure the motor operates within its rated voltage and allow cooling periods.
Arduino Cannot Control the Motor:
- Cause: Incorrect transistor wiring or missing base resistor.
- Solution: Double-check the transistor connections and ensure a resistor is used between the Arduino pin and the transistor base.
FAQs:
Q: Can I connect the motor directly to an Arduino pin?
A: No, the motor's current draw is too high for an Arduino pin. Always use a transistor or MOSFET to control the motor.Q: How do I adjust the vibration intensity?
A: You can adjust the vibration intensity by varying the input voltage or using PWM (Pulse Width Modulation) to control the motor's speed.Q: Can I use the motor with a 9V battery?
A: Only if the motor is rated for 9V. Otherwise, use a voltage regulator or step-down circuit to reduce the voltage.Q: What type of transistor should I use?
A: An NPN transistor like 2N2222 or a logic-level MOSFET is suitable for most applications.
By following this documentation, you can effectively integrate a vibrator motor into your projects and troubleshoot common issues.