How to Use Water Level Float Switch Sensor: Examples, Pinouts, and Specs
Introduction
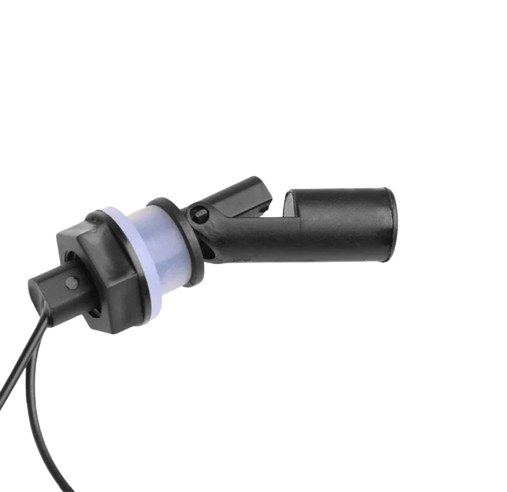
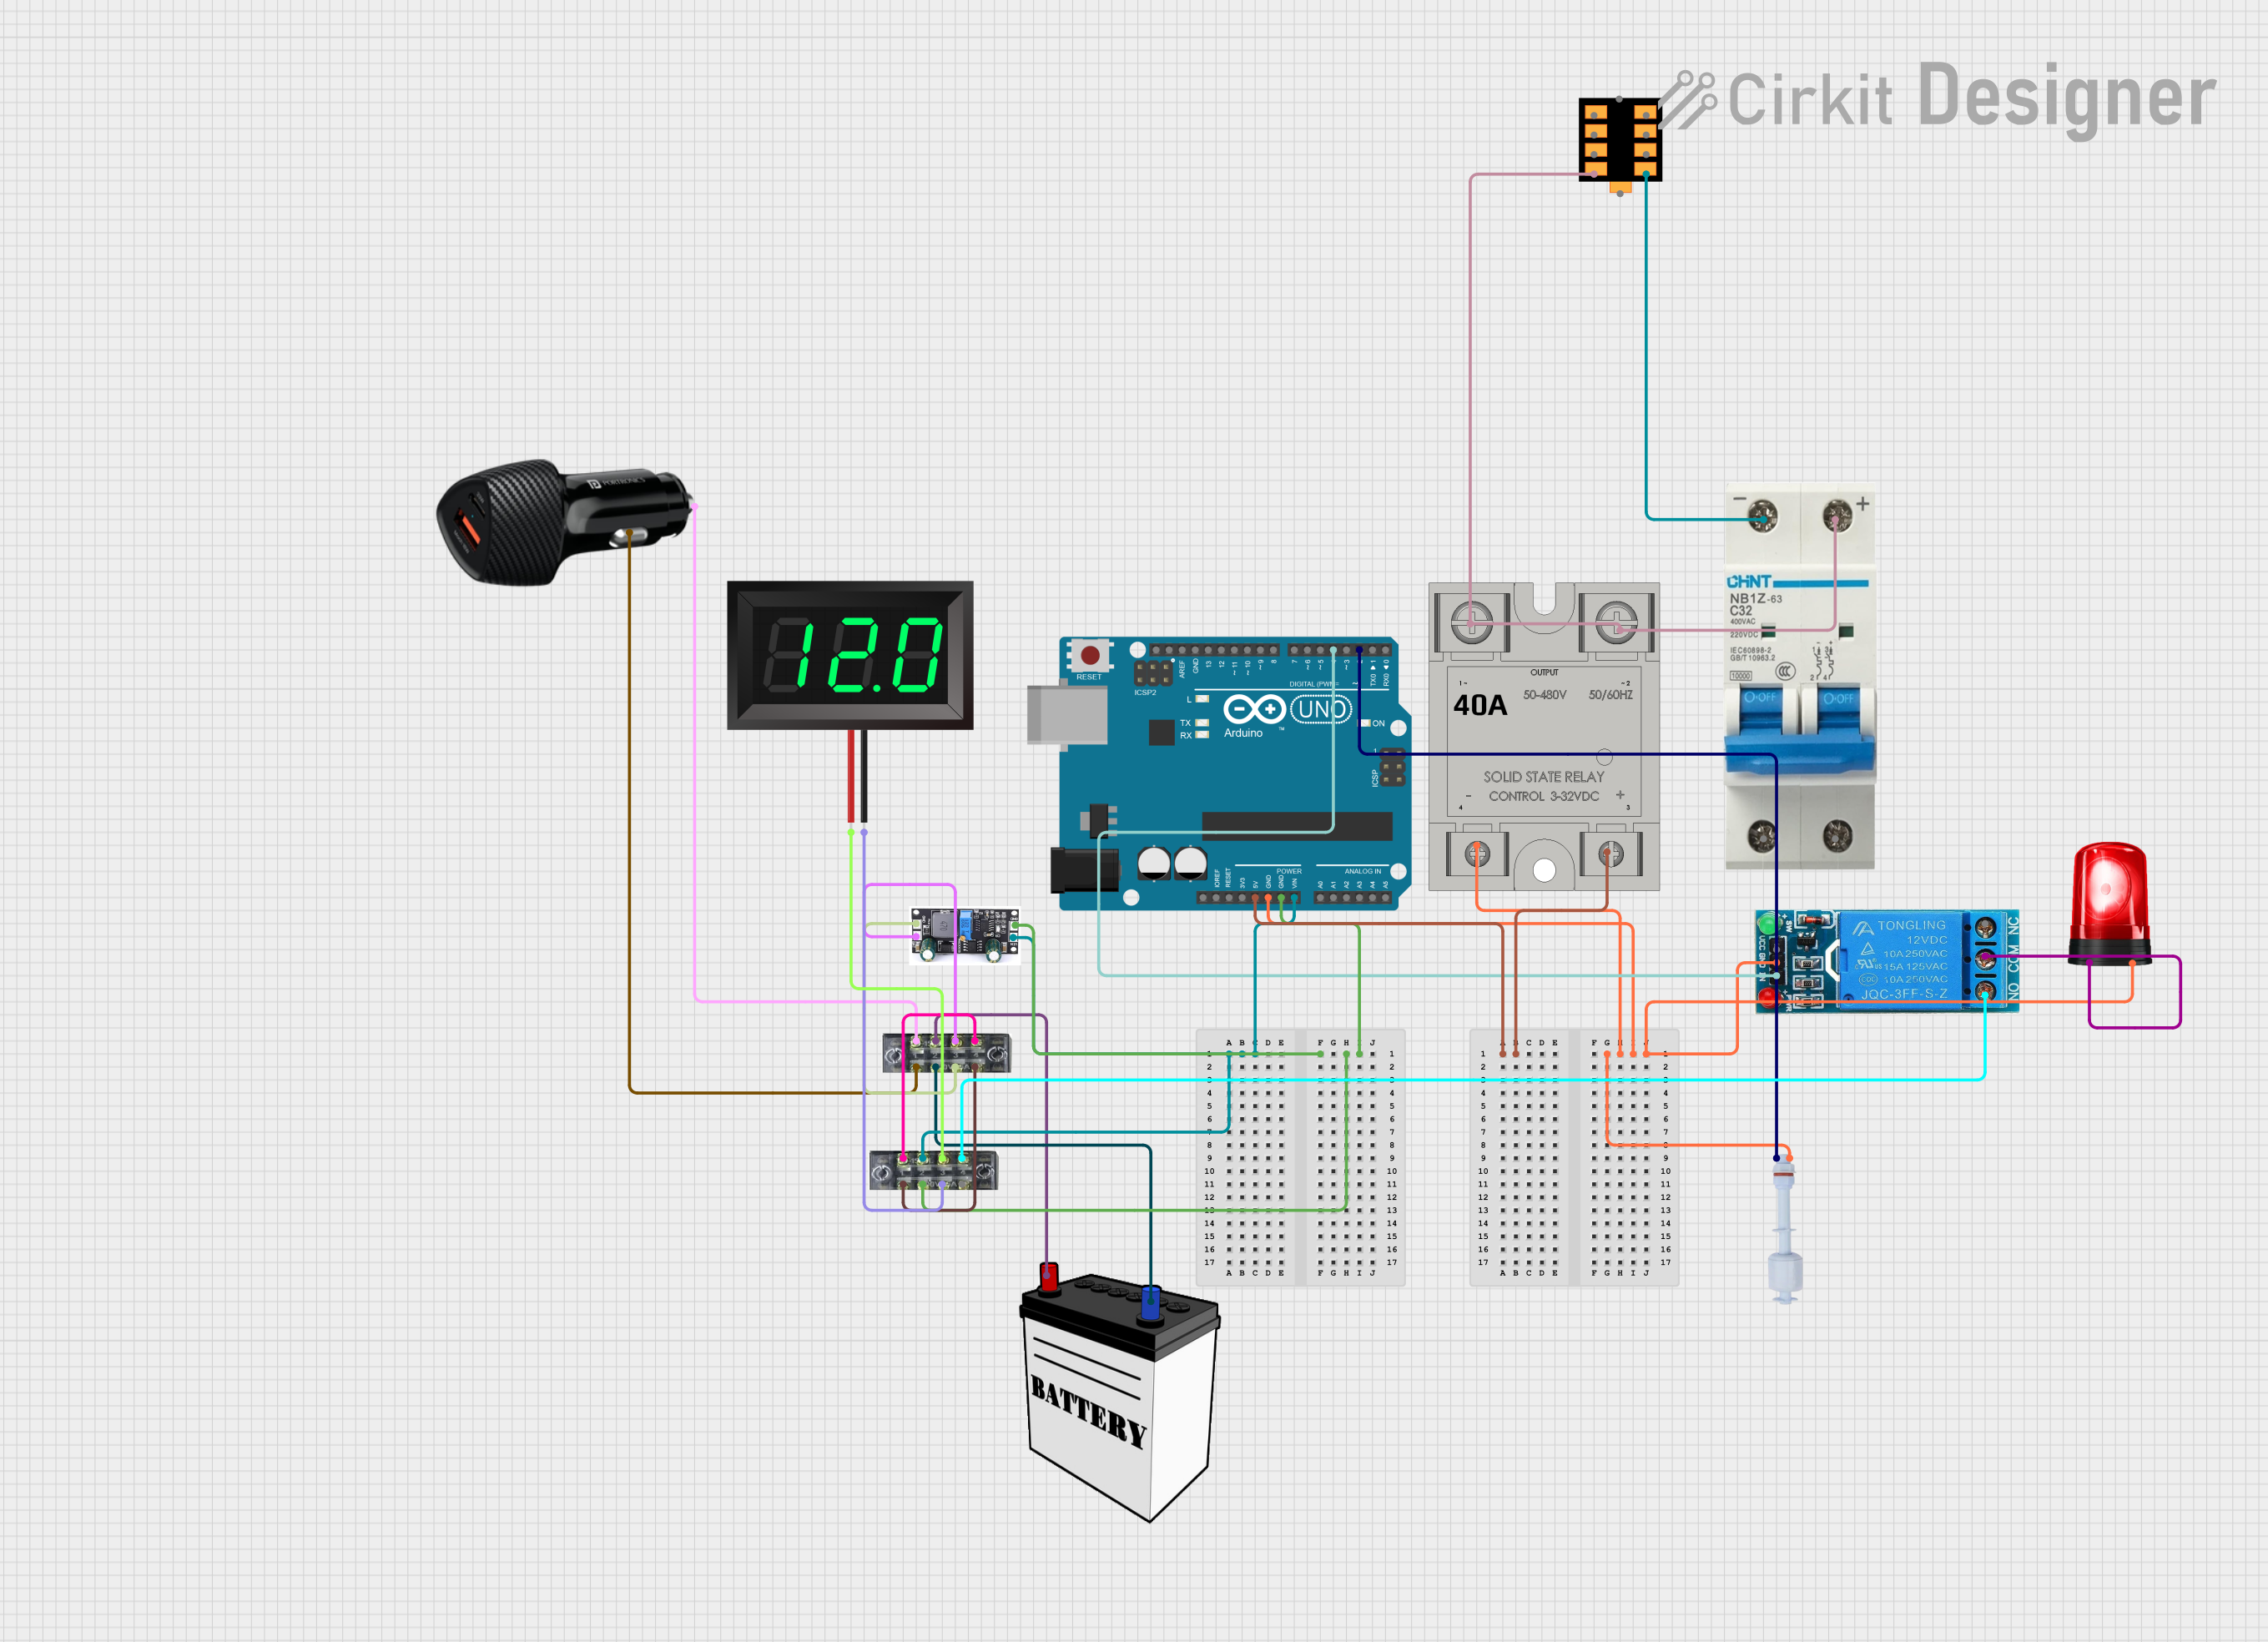
A Water Level Float Switch Sensor is an electromechanical device designed to indicate the level of water within a tank or container. It operates by opening or closing a circuit as the float rises and falls with the water level, making it an essential component in applications such as automatic water pumps, alarms, and other level monitoring systems.
Explore Projects Built with Water Level Float Switch Sensor
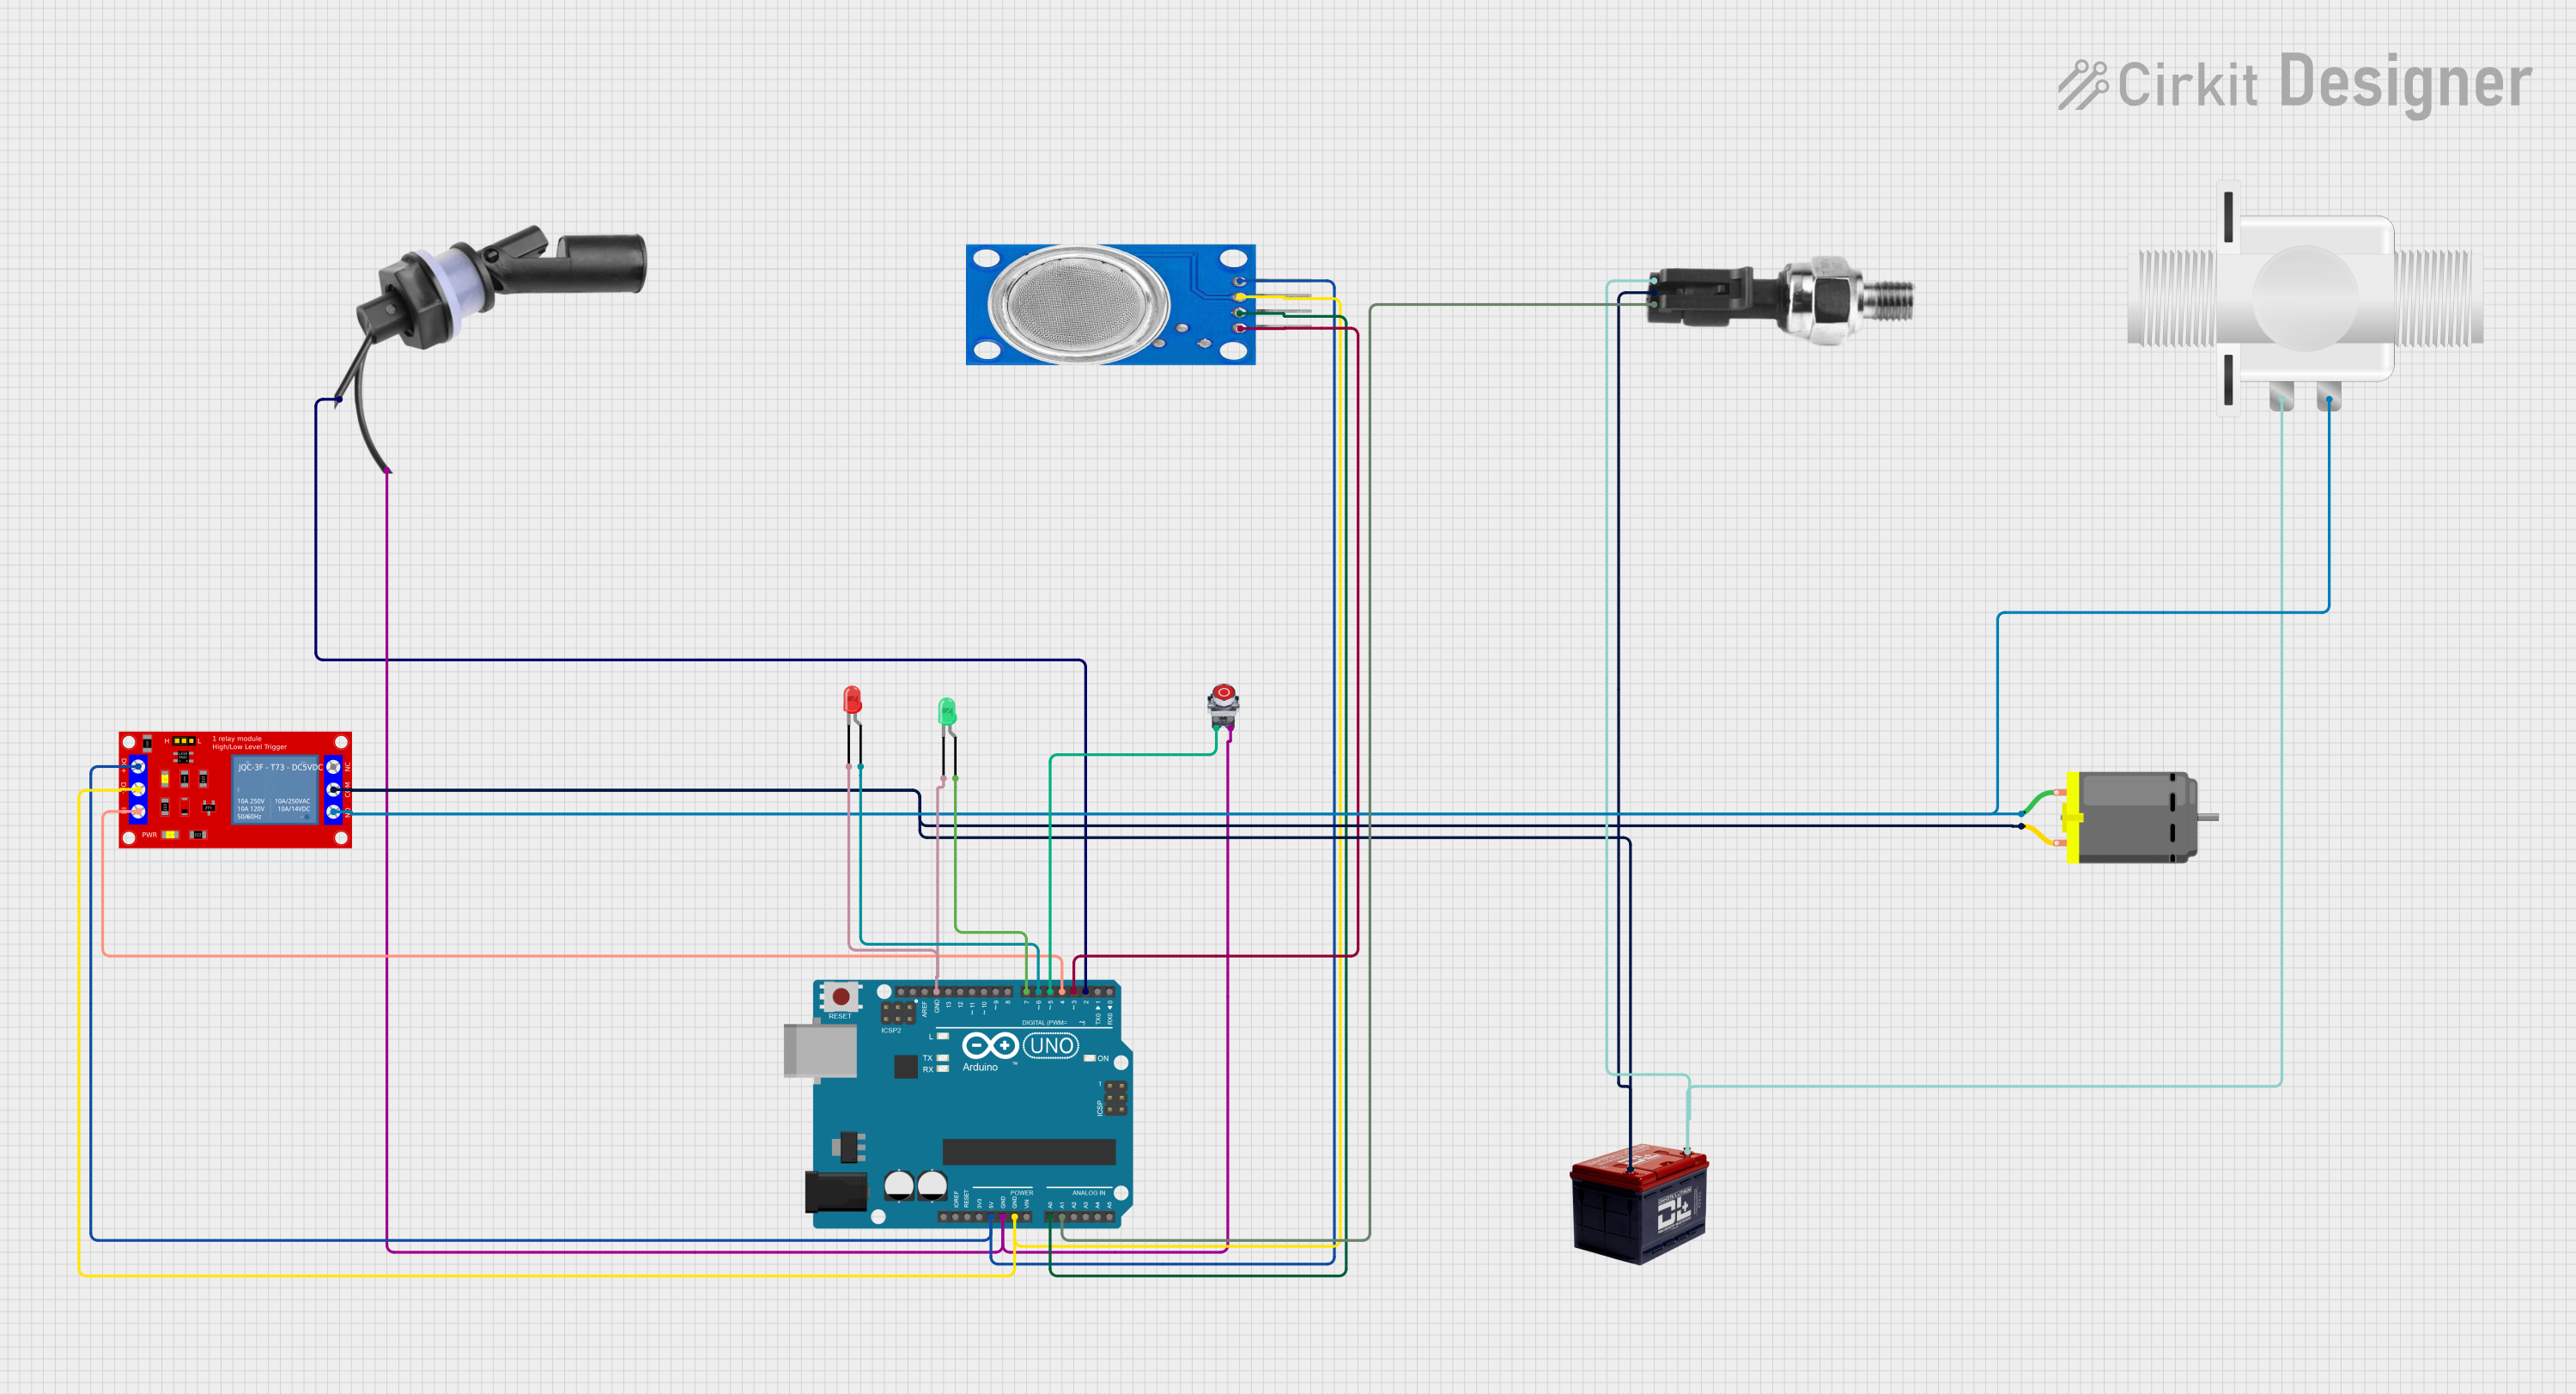
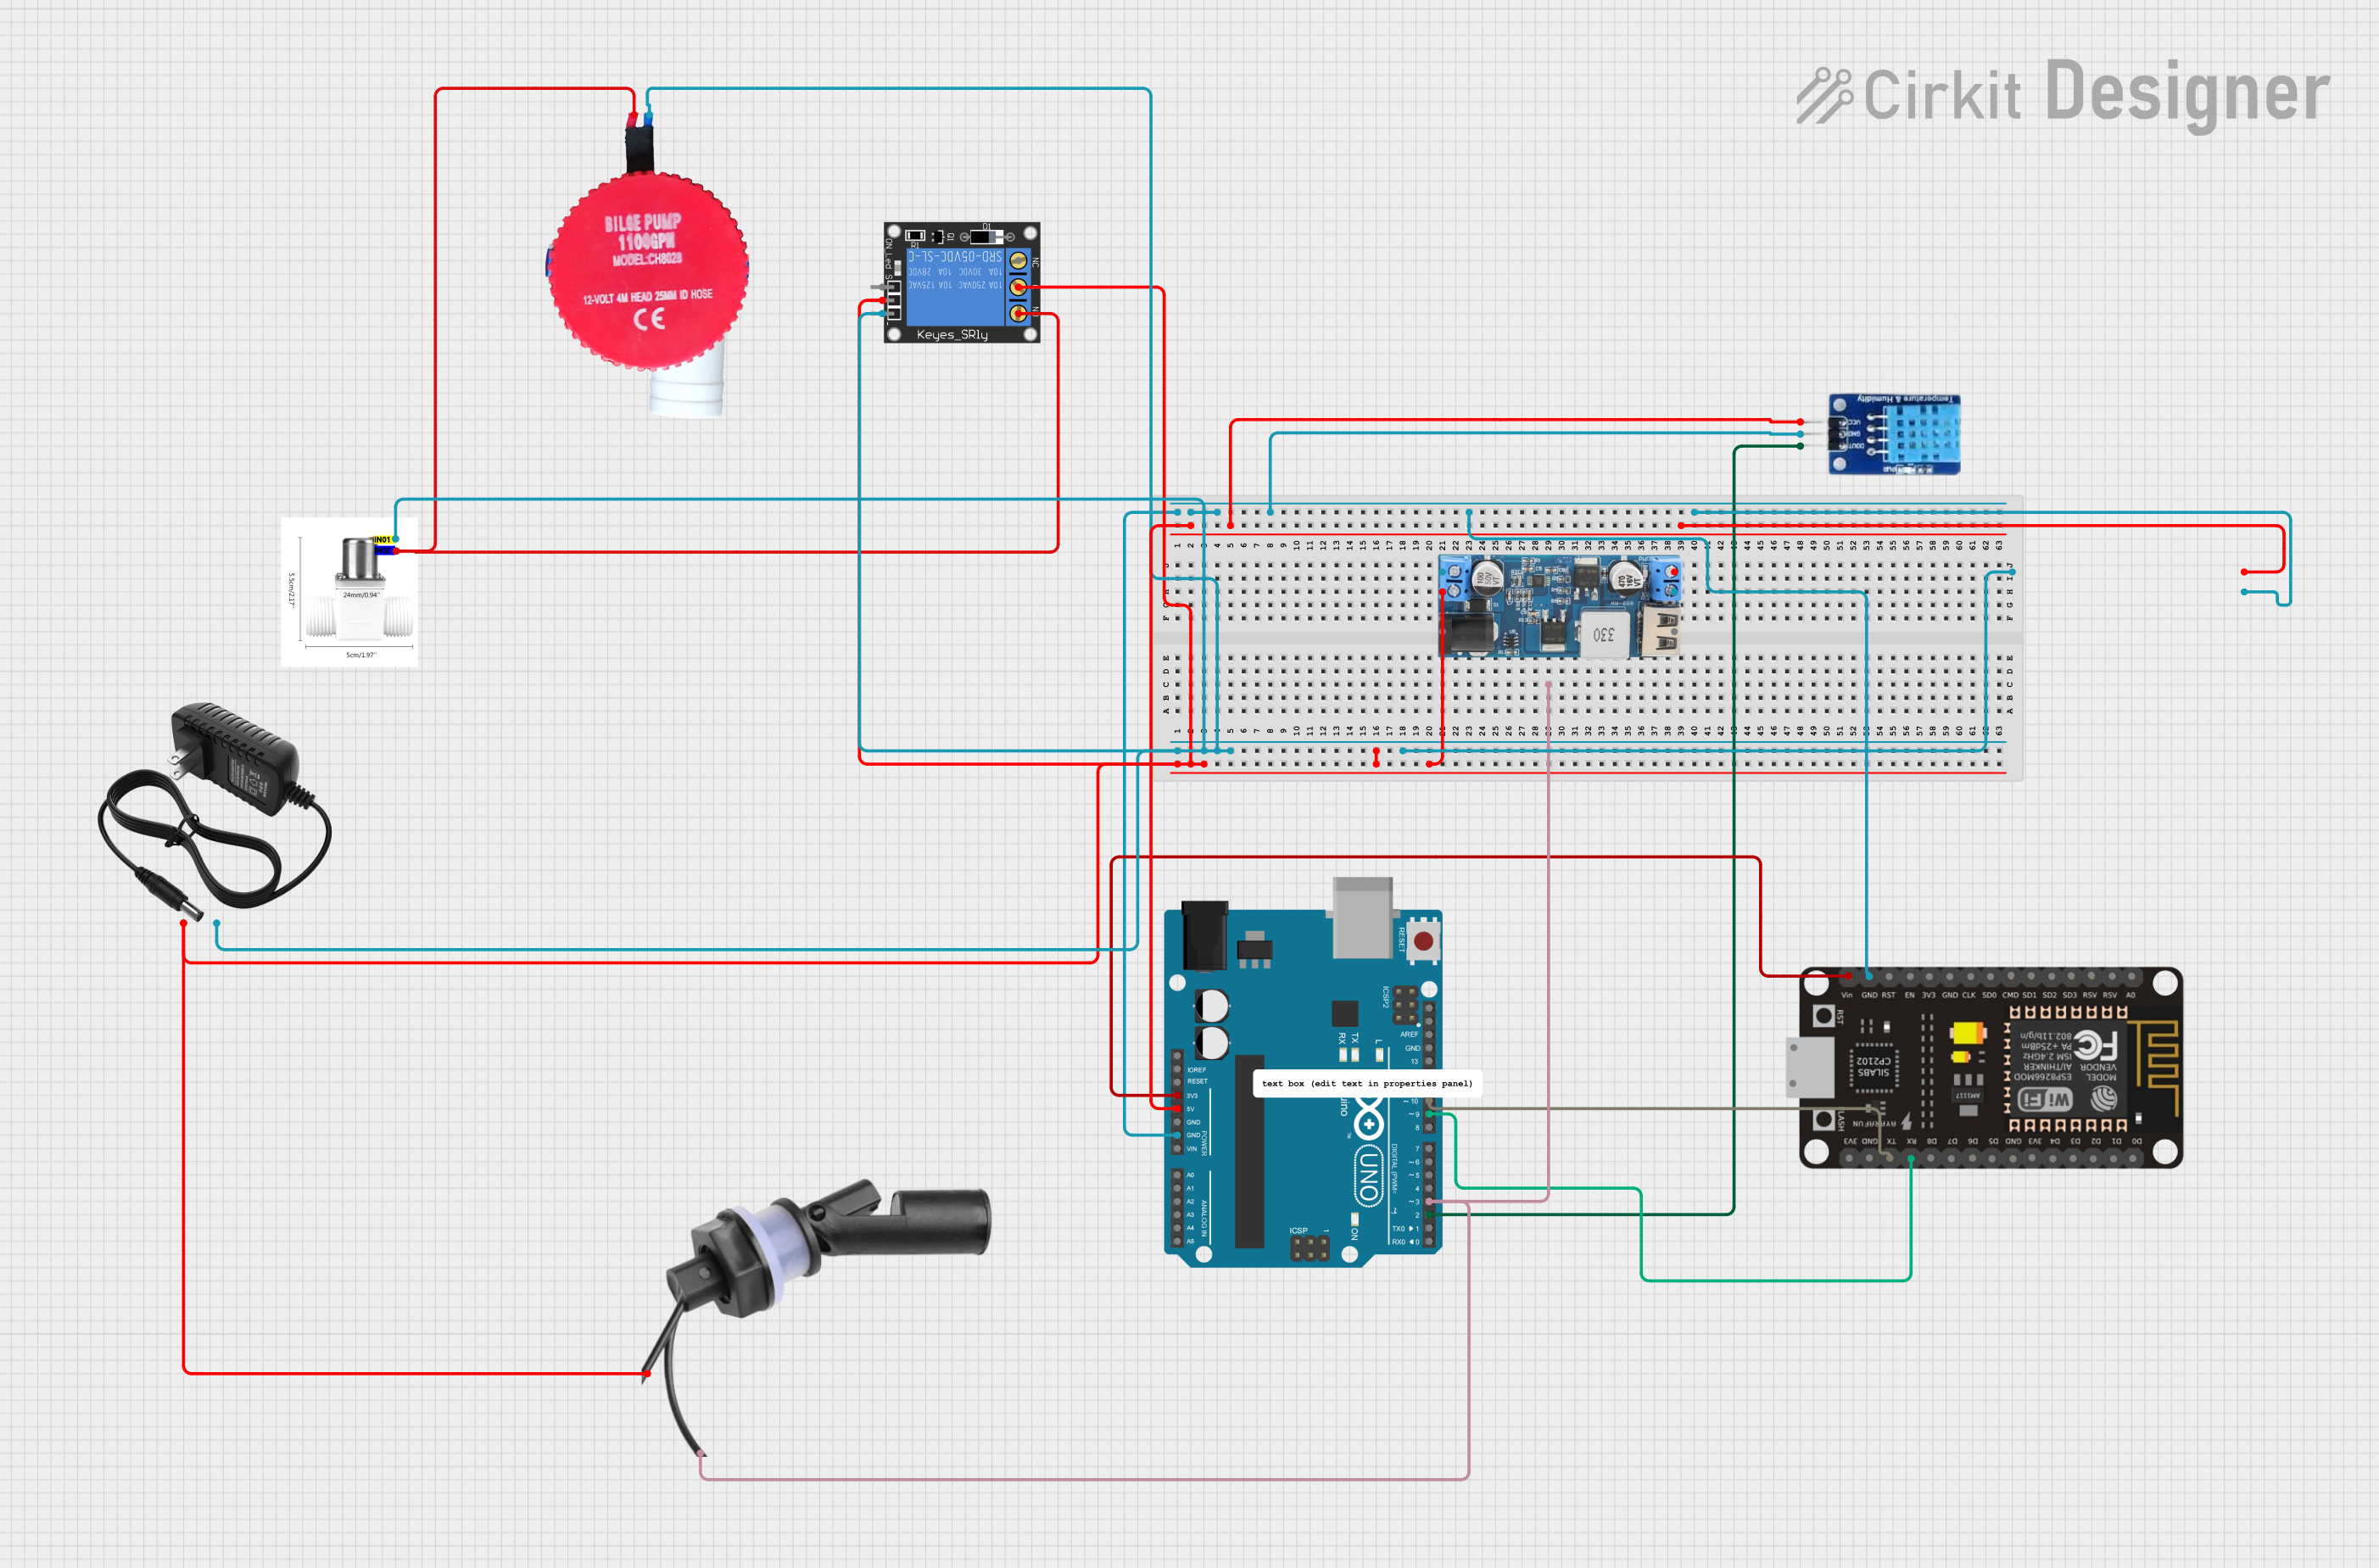
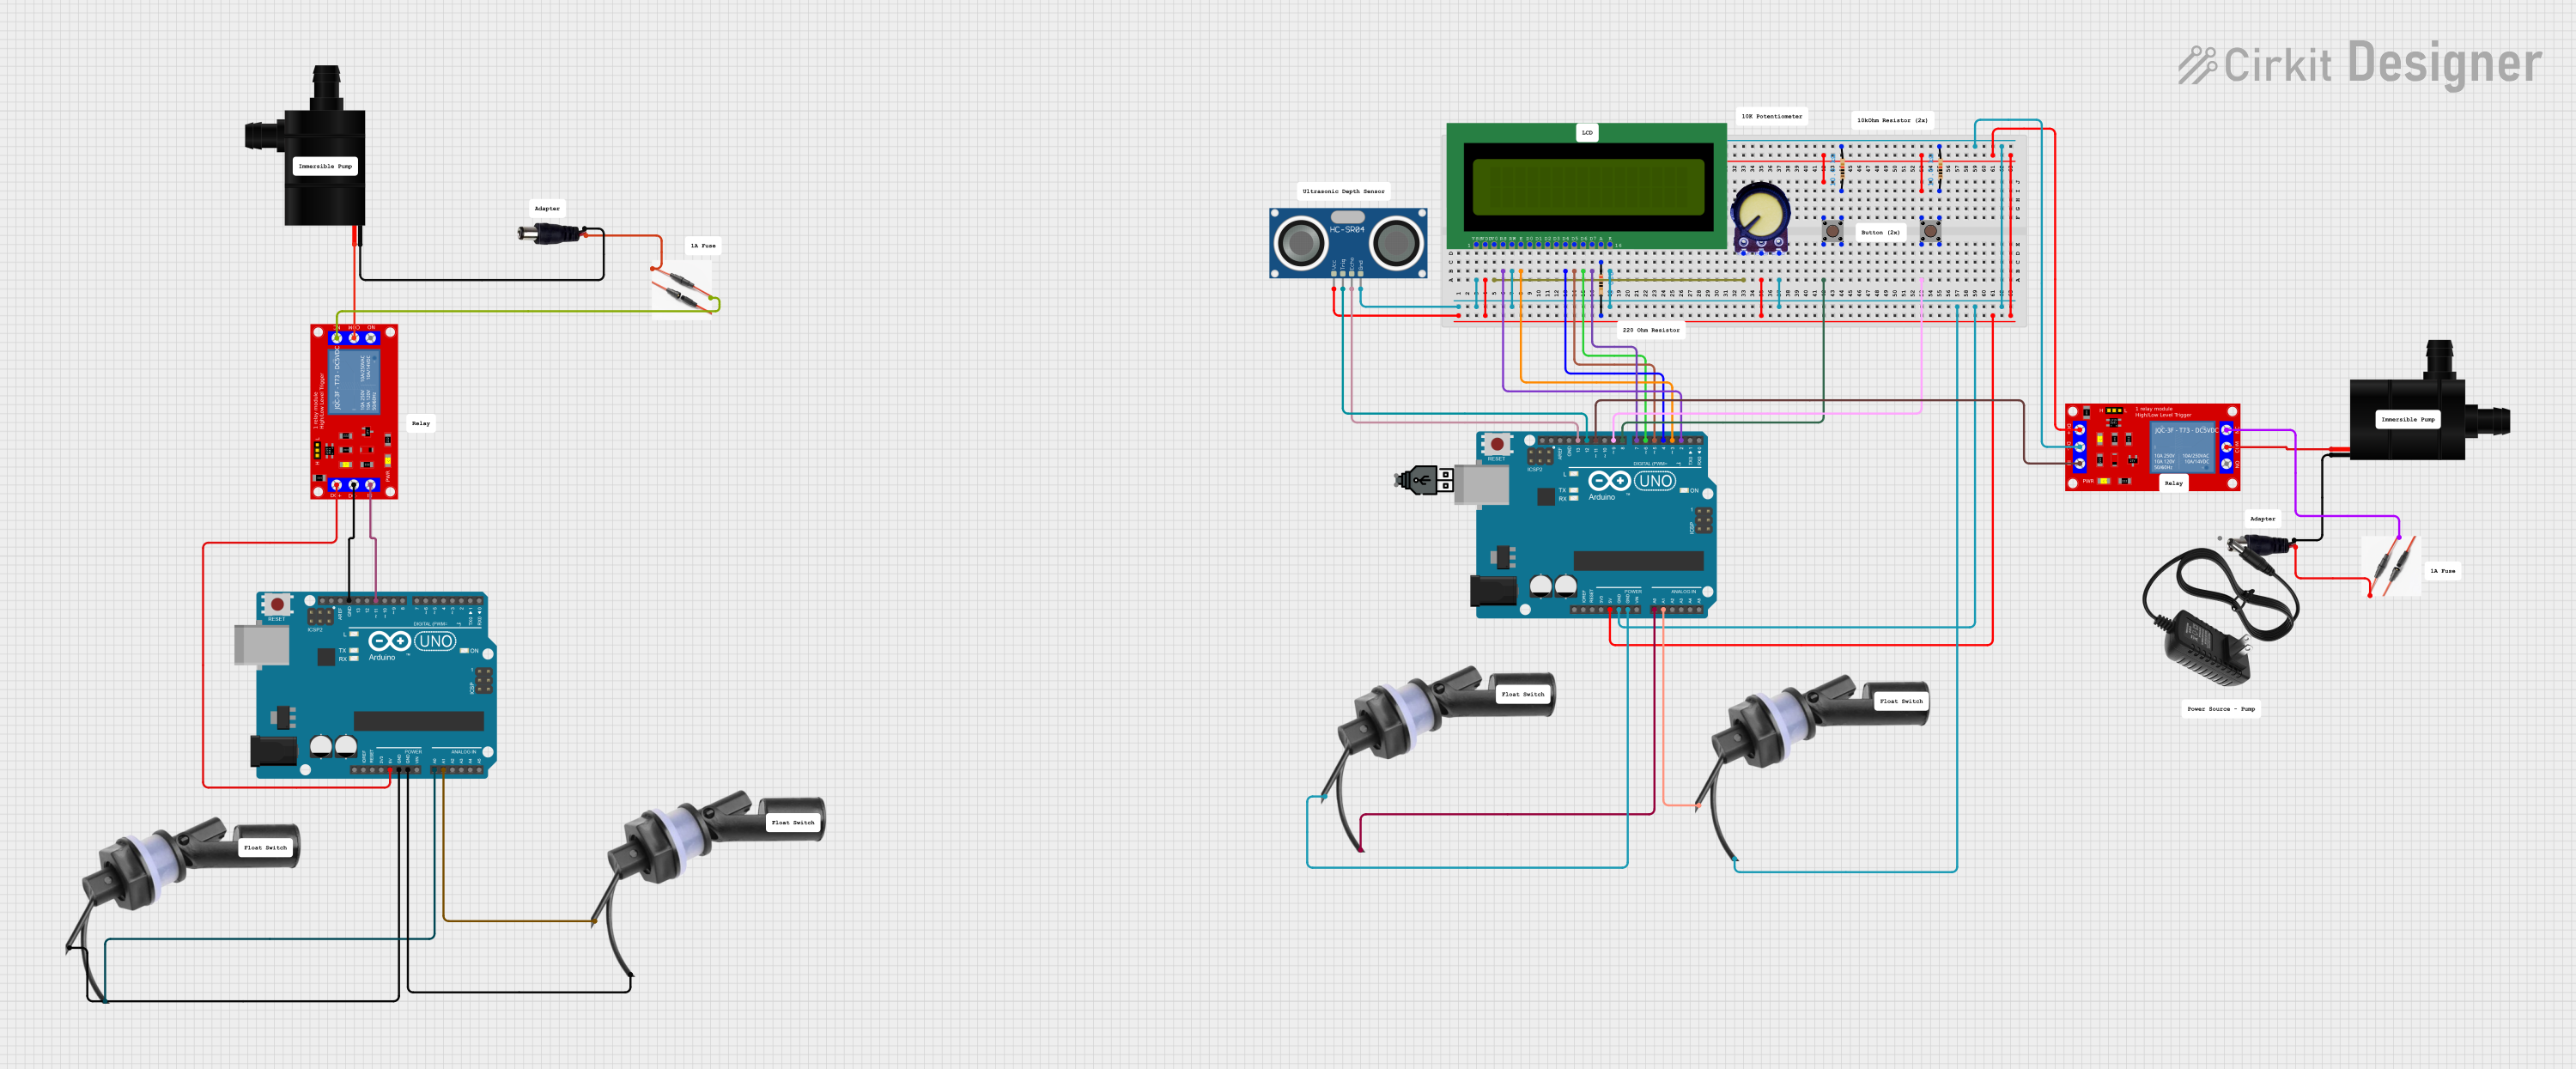
Explore Projects Built with Water Level Float Switch Sensor
Common Applications and Use Cases
- Automatic water level control in tanks and sumps
- Overflow or dry run protection in pools and fountains
- Water level monitoring in aquariums and ponds
- Industrial liquid level control systems
Technical Specifications
Key Technical Details
- Operating Voltage: Typically 5V to 12V DC
- Max Switching Voltage: Up to 250V (varies by model)
- Max Switching Current: Up to 1A (varies by model)
- Temperature Range: -10°C to 85°C (varies by model)
- Material: Often made of PP or other corrosion-resistant materials
- Cable Length: Varies by model
Pin Configuration and Descriptions
| Pin | Description |
|---|---|
| 1 | Common (C) |
| 2 | Normally Open (NO) |
| 3 | Normally Closed (NC) |
Note: Some models may only have two wires, with one common and either a normally open or normally closed contact.
Usage Instructions
How to Use the Component in a Circuit
- Mounting: Secure the float switch at the desired height in the tank or container.
- Wiring: Connect the common (C) terminal to the power supply, and the normally open (NO) or normally closed (NC) terminal to the device you wish to control (e.g., a relay or an alarm).
- Testing: Fill the container with water to ensure the float switch activates at the correct water level.
Important Considerations and Best Practices
- Ensure the float switch is mounted so that it can move freely with the water level.
- Use a relay if the controlled device exceeds the current rating of the float switch.
- Protect the float switch from direct sunlight and chemicals that could degrade its materials.
- Regularly check the mechanical operation of the float to ensure it has not become stuck or hindered.
Example Arduino UNO Code
// Define the float switch pin
const int floatSwitchPin = 2; // Connect the float switch to digital pin 2

void setup() {
  pinMode(floatSwitchPin, INPUT_PULLUP); // Set the float switch pin as an input
  Serial.begin(9600); // Start serial communication at 9600 baud
}

void loop() {
  int floatSwitchState = digitalRead(floatSwitchPin); // Read the float switch state
  if (floatSwitchState == LOW) {
    // When the water level is high, the switch is closed (assuming NO configuration)
    Serial.println("Water level high!");
    // Add code to handle high water level (e.g., turn off a pump)
  } else {
    // When the water level is low, the switch is open
    Serial.println("Water level low.");
    // Add code to handle low water level (e.g., turn on a pump)
  }
  delay(1000); // Wait for 1 second before reading again
}
Note: The above code assumes that the float switch is wired to provide a LOW signal when the water level is high (normally open configuration). Adjust the logic accordingly if your switch is normally closed.
Troubleshooting and FAQs
Common Issues Users Might Face
- Float switch does not trigger: Ensure the switch is mounted correctly and can move freely with the water level.
- Inconsistent readings: Check for any obstructions or debris that may hinder the float's movement.
- Corrosion or damage: Inspect the float switch for any signs of wear or chemical damage.
Solutions and Tips for Troubleshooting
- Test the float switch with a multimeter to ensure it is functioning correctly.
- Clean the float and surrounding area to ensure smooth operation.
- Replace the float switch if it shows signs of damage or wear.
FAQs
Q: Can I use the float switch with AC voltage? A: Yes, but ensure the switch's voltage and current ratings are compatible with your AC circuit.
Q: How do I know if my float switch is normally open or normally closed? A: You can determine this by checking the continuity of the switch in its resting state with a multimeter.
Q: Is it possible to adjust the water level at which the switch activates? A: This depends on the design of the float switch. Some models have adjustable collars or mounting positions to set the activation level.
Remember to always follow safety guidelines when working with electrical components and consult the manufacturer's datasheet for specific information about your float switch model.