
How to Use ams1117 3.3v: Examples, Pinouts, and Specs
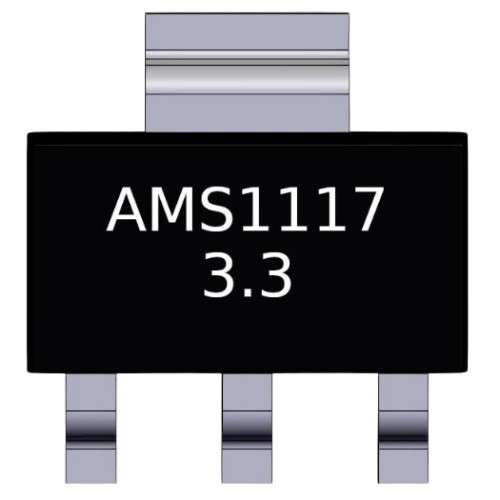
 Design with ams1117 3.3v in Cirkit Designer
Introduction
The AMS1117 3.3V is a low dropout (LDO) voltage regulator designed to provide a stable 3.3V output from a higher input voltage, typically ranging from 4.5V to 12V. It is widely used in power supply circuits for microcontrollers, sensors, and other electronic devices that require a reliable 3.3V power source. The AMS1117 3.3V features overcurrent protection and thermal shutdown, ensuring safe operation under various conditions.
Explore Projects Built with ams1117 3.3v
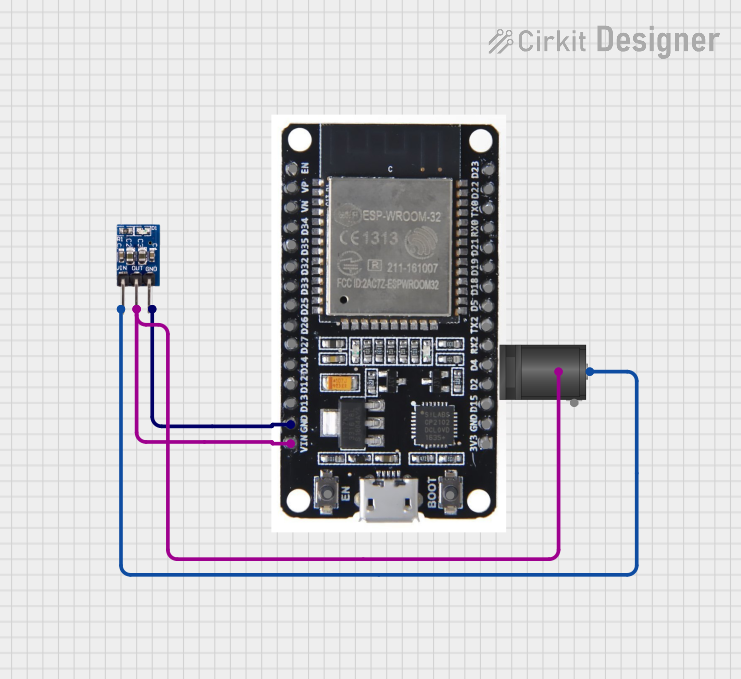 Open Project in Cirkit Designer
 Open Project in Cirkit Designer
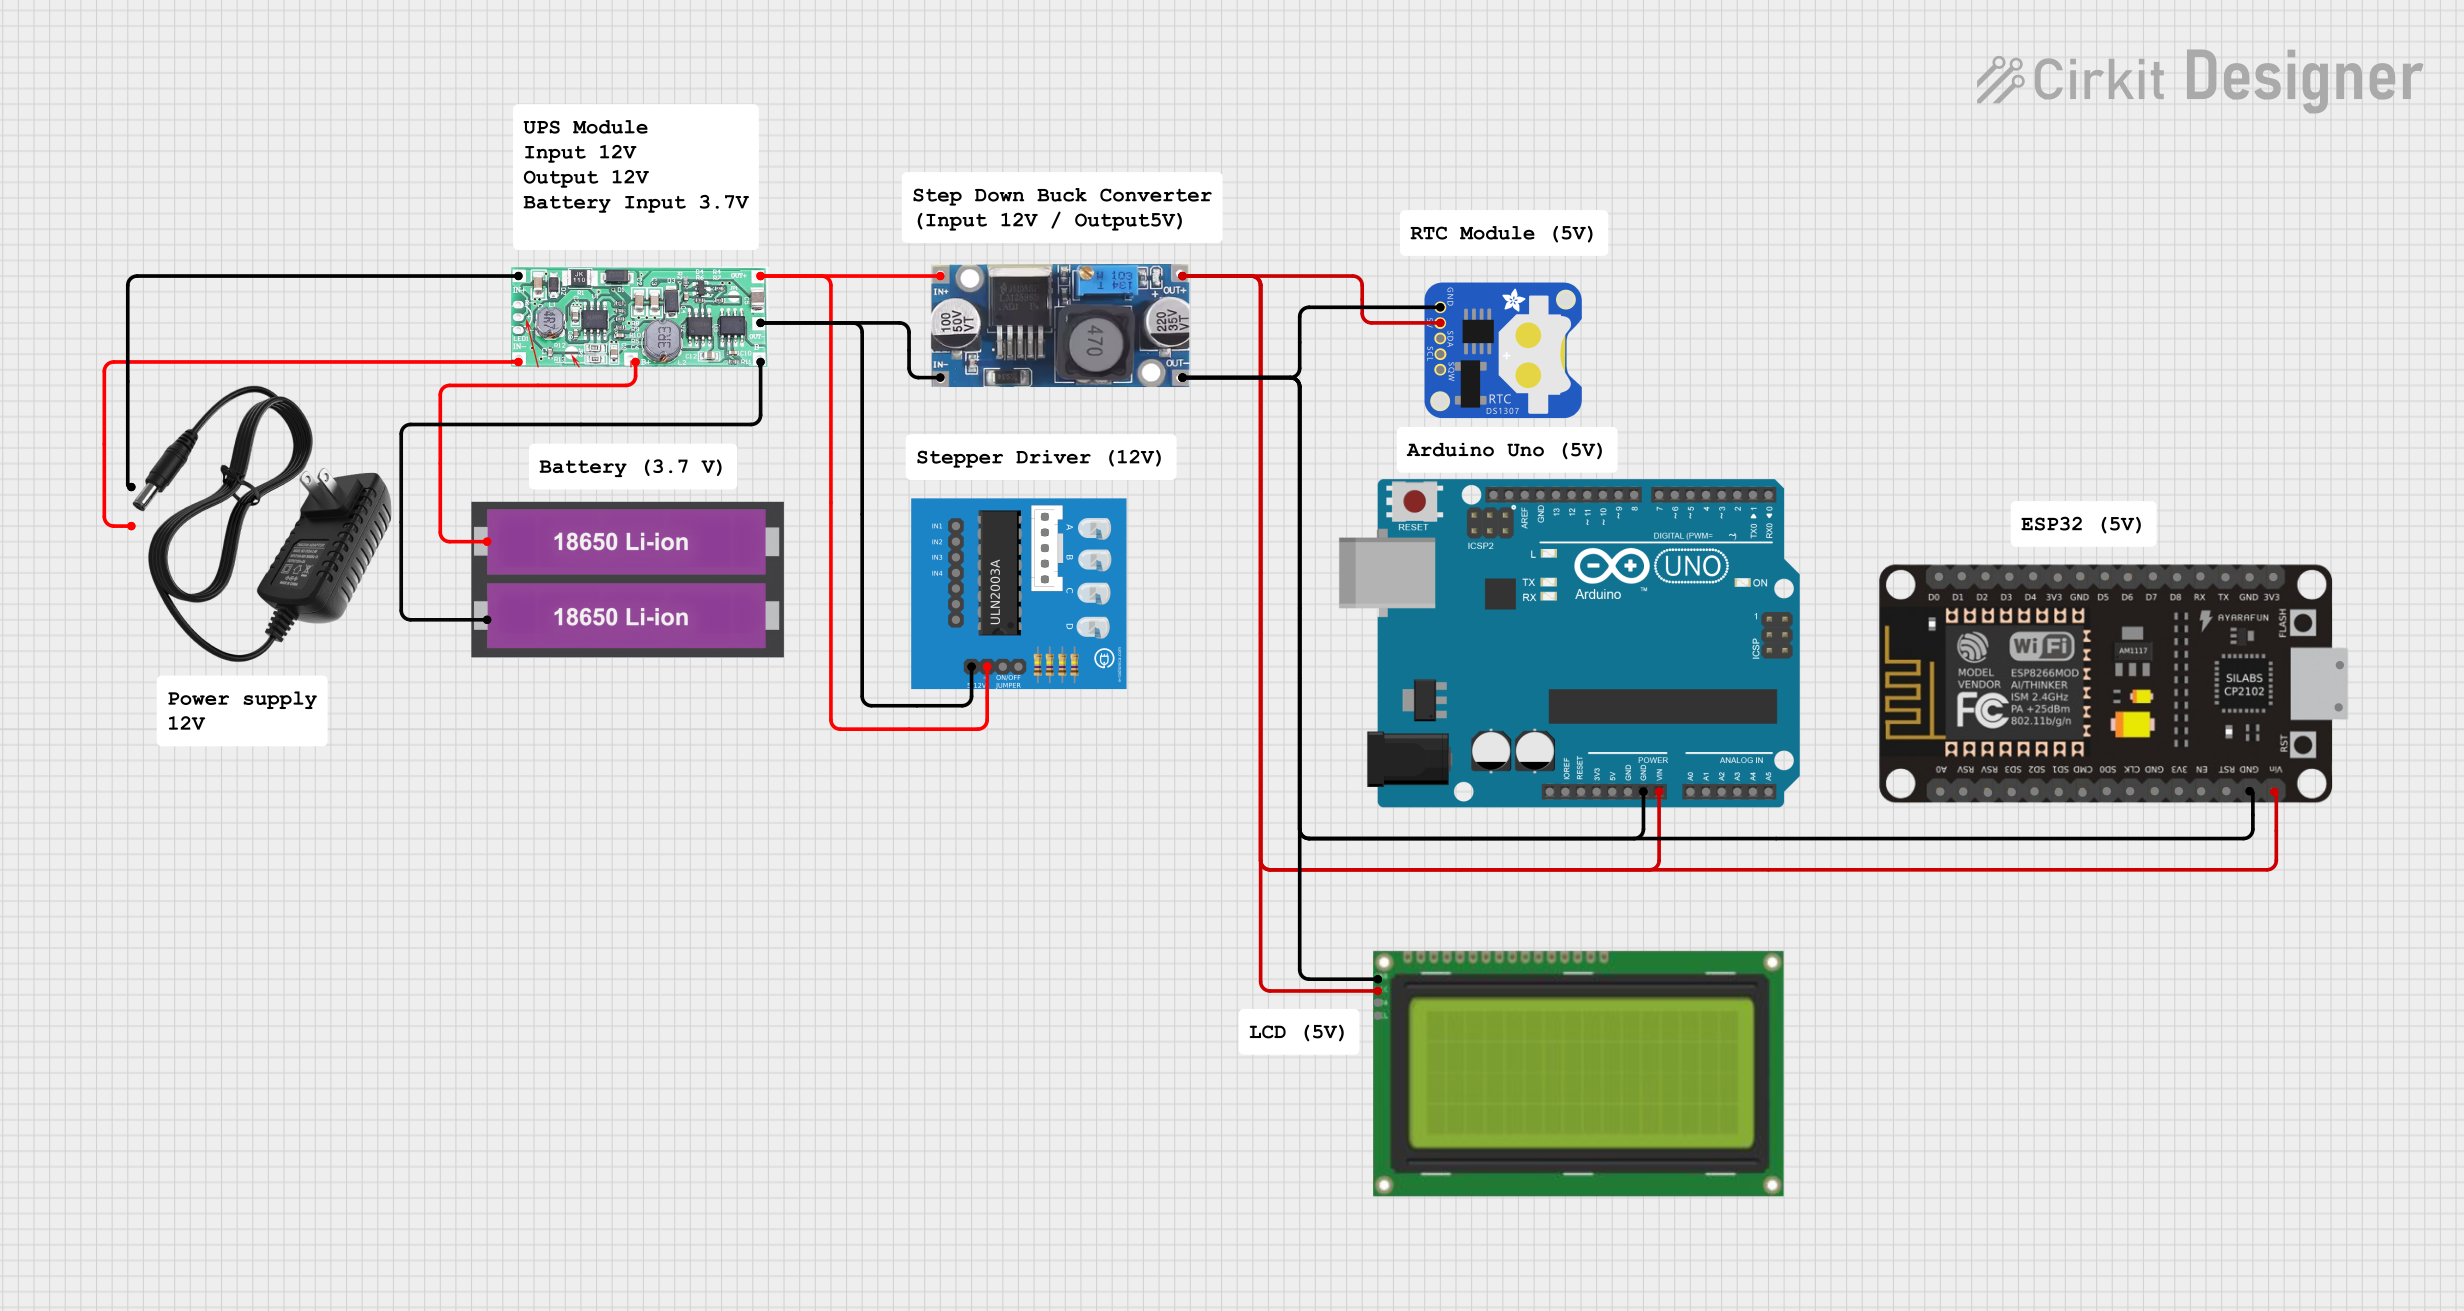 Open Project in Cirkit Designer
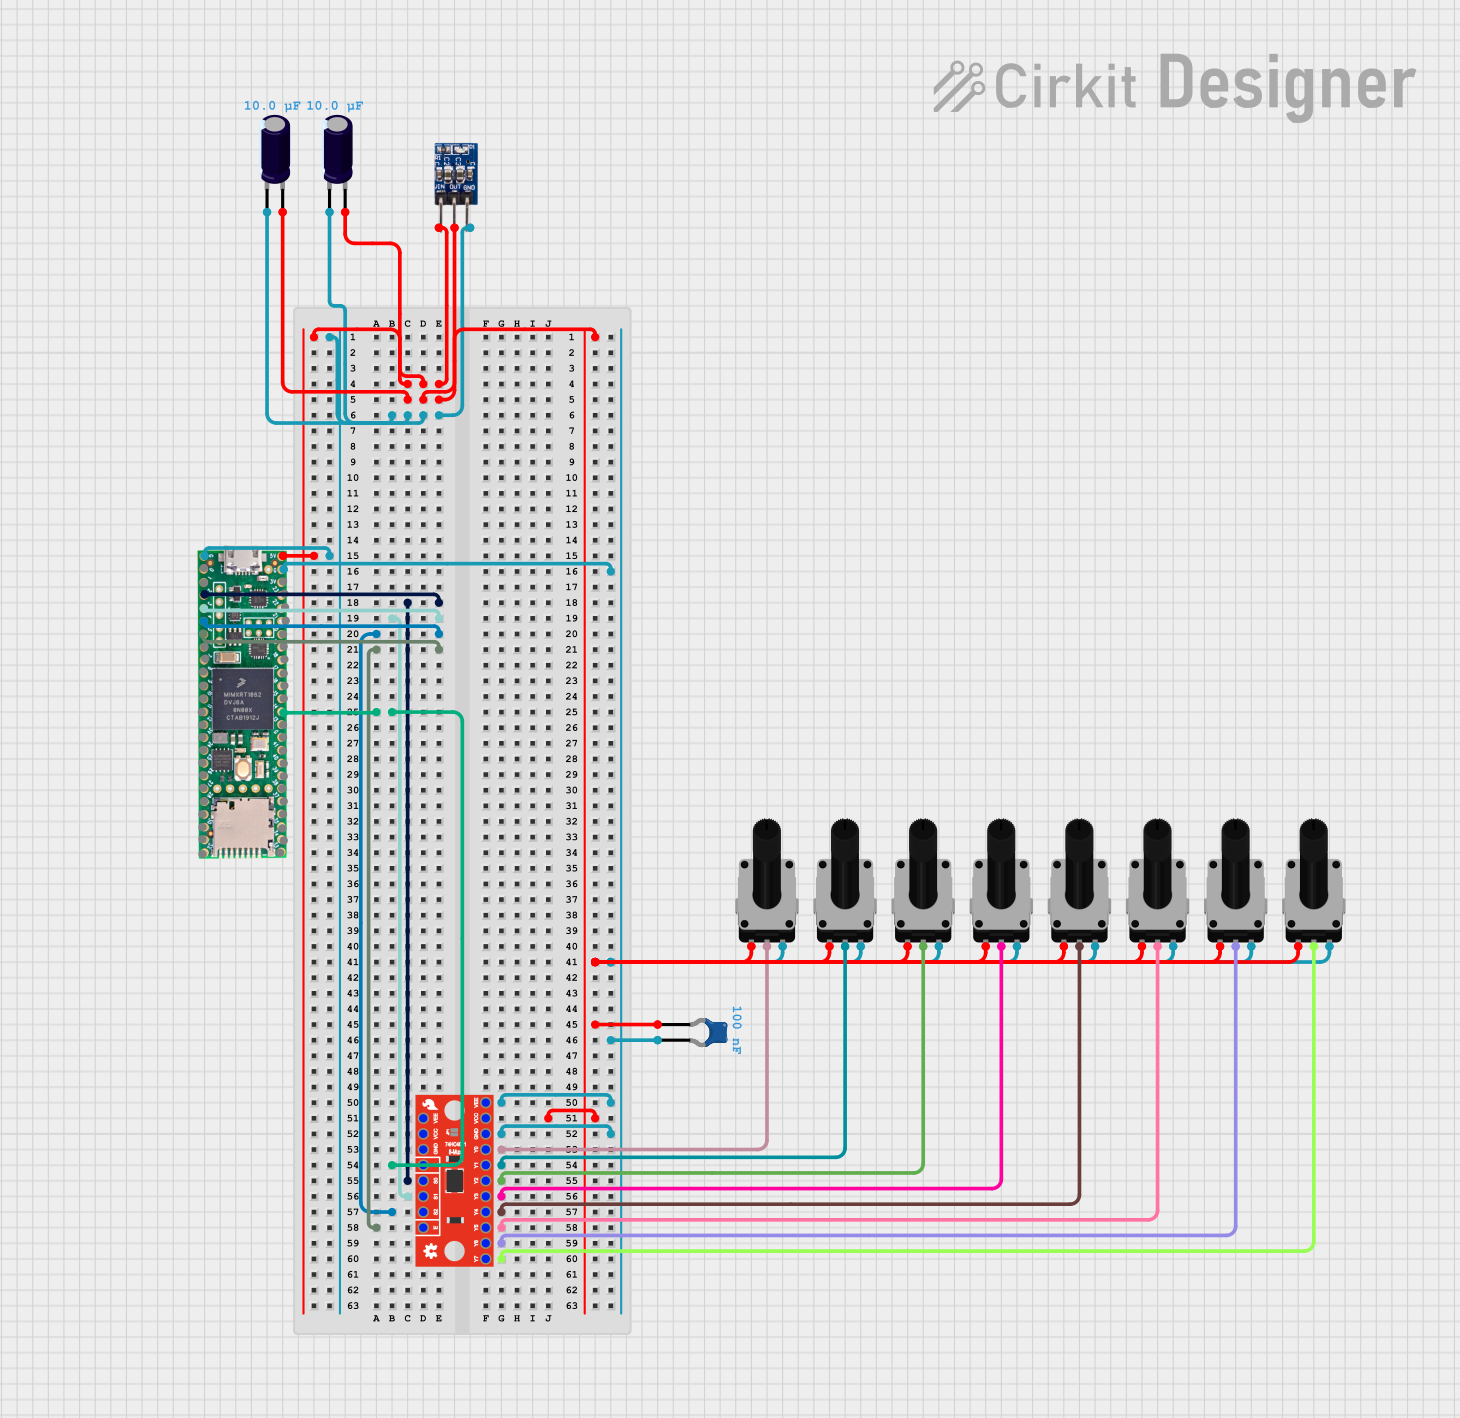 Open Project in Cirkit Designer
Explore Projects Built with ams1117 3.3v
Open Project in Cirkit DesignerOpen Project in Cirkit DesignerOpen Project in Cirkit DesignerOpen Project in Cirkit DesignerCommon Applications:
- Powering microcontrollers (e.g., Arduino, ESP8266, ESP32)
- Voltage regulation for sensors and modules
- Battery-powered devices
- General-purpose 3.3V power supply circuits
Technical Specifications
Below are the key technical details of the AMS1117 3.3V voltage regulator:
| Parameter | Value |
|---|---|
| Output Voltage | 3.3V ± 1% |
| Input Voltage Range | 4.5V to 12V |
| Maximum Output Current | 1A |
| Dropout Voltage | 1.1V (at 1A load) |
| Quiescent Current | 5mA (typical) |
| Operating Temperature | -40°C to +125°C |
| Protection Features | Overcurrent protection, thermal shutdown |
Pin Configuration and Descriptions
The AMS1117 3.3V is typically available in a 3-pin SOT-223 package. Below is the pinout and description:
| Pin | Name | Description |
|---|---|---|
| 1 | Input (VIN) | Connect to the input voltage (4.5V to 12V). |
| 2 | Ground (GND) | Connect to the ground of the circuit. |
| 3 | Output (VOUT) | Provides the regulated 3.3V output. |
Usage Instructions
How to Use the AMS1117 3.3V in a Circuit
- Input Voltage: Connect a DC voltage source (4.5V to 12V) to the
VINpin. Ensure the input voltage is at least 1.1V higher than the desired 3.3V output (i.e., minimum 4.4V). - Output Voltage: Connect the
VOUTpin to the load that requires a 3.3V power supply. - Ground Connection: Connect the
GNDpin to the ground of the circuit. - Capacitors: For stable operation, it is recommended to use decoupling capacitors:
- A 10µF capacitor on the input (VIN to GND).
- A 10µF capacitor on the output (VOUT to GND).
Example Circuit
Below is a simple circuit diagram for using the AMS1117 3.3V:
   +4.5V to +12V
        |
        |
       VIN
        |
       AMS1117 3.3V
        |
       VOUT -----> 3.3V to Load
        |
       GND
        |
       ---
       GND
Using AMS1117 3.3V with Arduino UNO
The AMS1117 3.3V can be used to power 3.3V sensors or modules when working with an Arduino UNO. Below is an example of connecting a 3.3V sensor to the AMS1117:
- Connect the
VINpin of the AMS1117 to the 5V pin of the Arduino UNO. - Connect the
GNDpin of the AMS1117 to the GND pin of the Arduino UNO. - Connect the
VOUTpin of the AMS1117 to the VCC pin of the 3.3V sensor. - Connect the sensor's GND pin to the Arduino's GND.
Arduino Code Example
Here is an example Arduino code to read data from a 3.3V sensor powered by the AMS1117:
// Example code to read data from a 3.3V sensor powered by AMS1117 3.3V

const int sensorPin = A0; // Connect the sensor output to Arduino analog pin A0

void setup() {
  Serial.begin(9600); // Initialize serial communication at 9600 baud
  pinMode(sensorPin, INPUT); // Set the sensor pin as input
}

void loop() {
  int sensorValue = analogRead(sensorPin); // Read the sensor value
  float voltage = sensorValue * (3.3 / 1023.0); // Convert to voltage (3.3V reference)

  // Print the sensor value and voltage to the Serial Monitor
  Serial.print("Sensor Value: ");
  Serial.print(sensorValue);
  Serial.print(" | Voltage: ");
  Serial.println(voltage);

  delay(1000); // Wait for 1 second before the next reading
}
Important Considerations:
- Heat Dissipation: The AMS1117 can heat up under high current loads. Use a heatsink or ensure proper ventilation if the load exceeds 500mA.
- Input Voltage: Avoid exceeding the maximum input voltage of 12V to prevent damage.
- Capacitors: Always use the recommended capacitors for stable operation and to reduce noise.
Troubleshooting and FAQs
Common Issues and Solutions
Output Voltage is Incorrect (Not 3.3V):
- Check the input voltage. Ensure it is at least 4.5V and not exceeding 12V.
- Verify the connections and ensure the capacitors are properly placed.
AMS1117 Overheats:
- Ensure the load current does not exceed 1A.
- Use a heatsink or reduce the input voltage to minimize power dissipation.
No Output Voltage:
- Check for short circuits or incorrect wiring.
- Verify that the input voltage is within the specified range.
Noise or Instability in Output Voltage:
- Ensure the recommended input and output capacitors (10µF) are connected.
- Use low-ESR capacitors for better performance.
FAQs
Q: Can I use the AMS1117 3.3V to power an ESP8266 module?
A: Yes, the AMS1117 3.3V can power an ESP8266 module, but ensure the input voltage is sufficient (e.g., 5V) and the current demand does not exceed 1A.
Q: What happens if the input voltage drops below 4.5V?
A: The AMS1117 may fail to regulate the output voltage properly, resulting in an unstable or lower-than-expected output.
Q: Can I use the AMS1117 without capacitors?
A: It is not recommended. Capacitors are essential for stable operation and to reduce noise in the output voltage.
Q: Is the AMS1117 suitable for battery-powered applications?
A: Yes, but consider the dropout voltage and quiescent current to ensure efficient operation.