How to Use centraduino: Examples, Pinouts, and Specs
Introduction
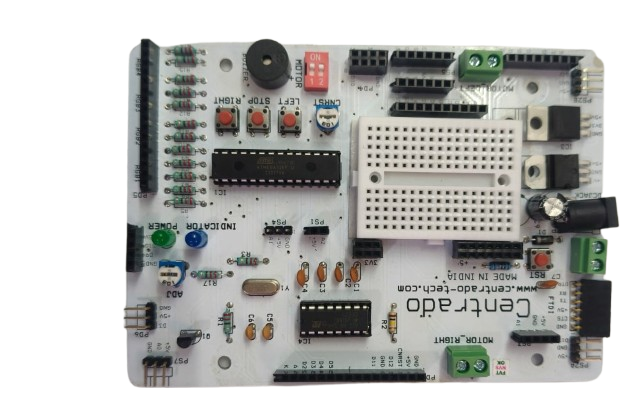
Centraduino is a versatile microcontroller board specifically designed for robotics and automation projects. It features a wide range of input/output (I/O) pins, built-in sensors, and seamless compatibility with popular programming environments such as Arduino IDE and Python. With its robust design and user-friendly interface, Centraduino is ideal for hobbyists, educators, and professionals looking to build innovative and efficient systems.
Explore Projects Built with centraduino
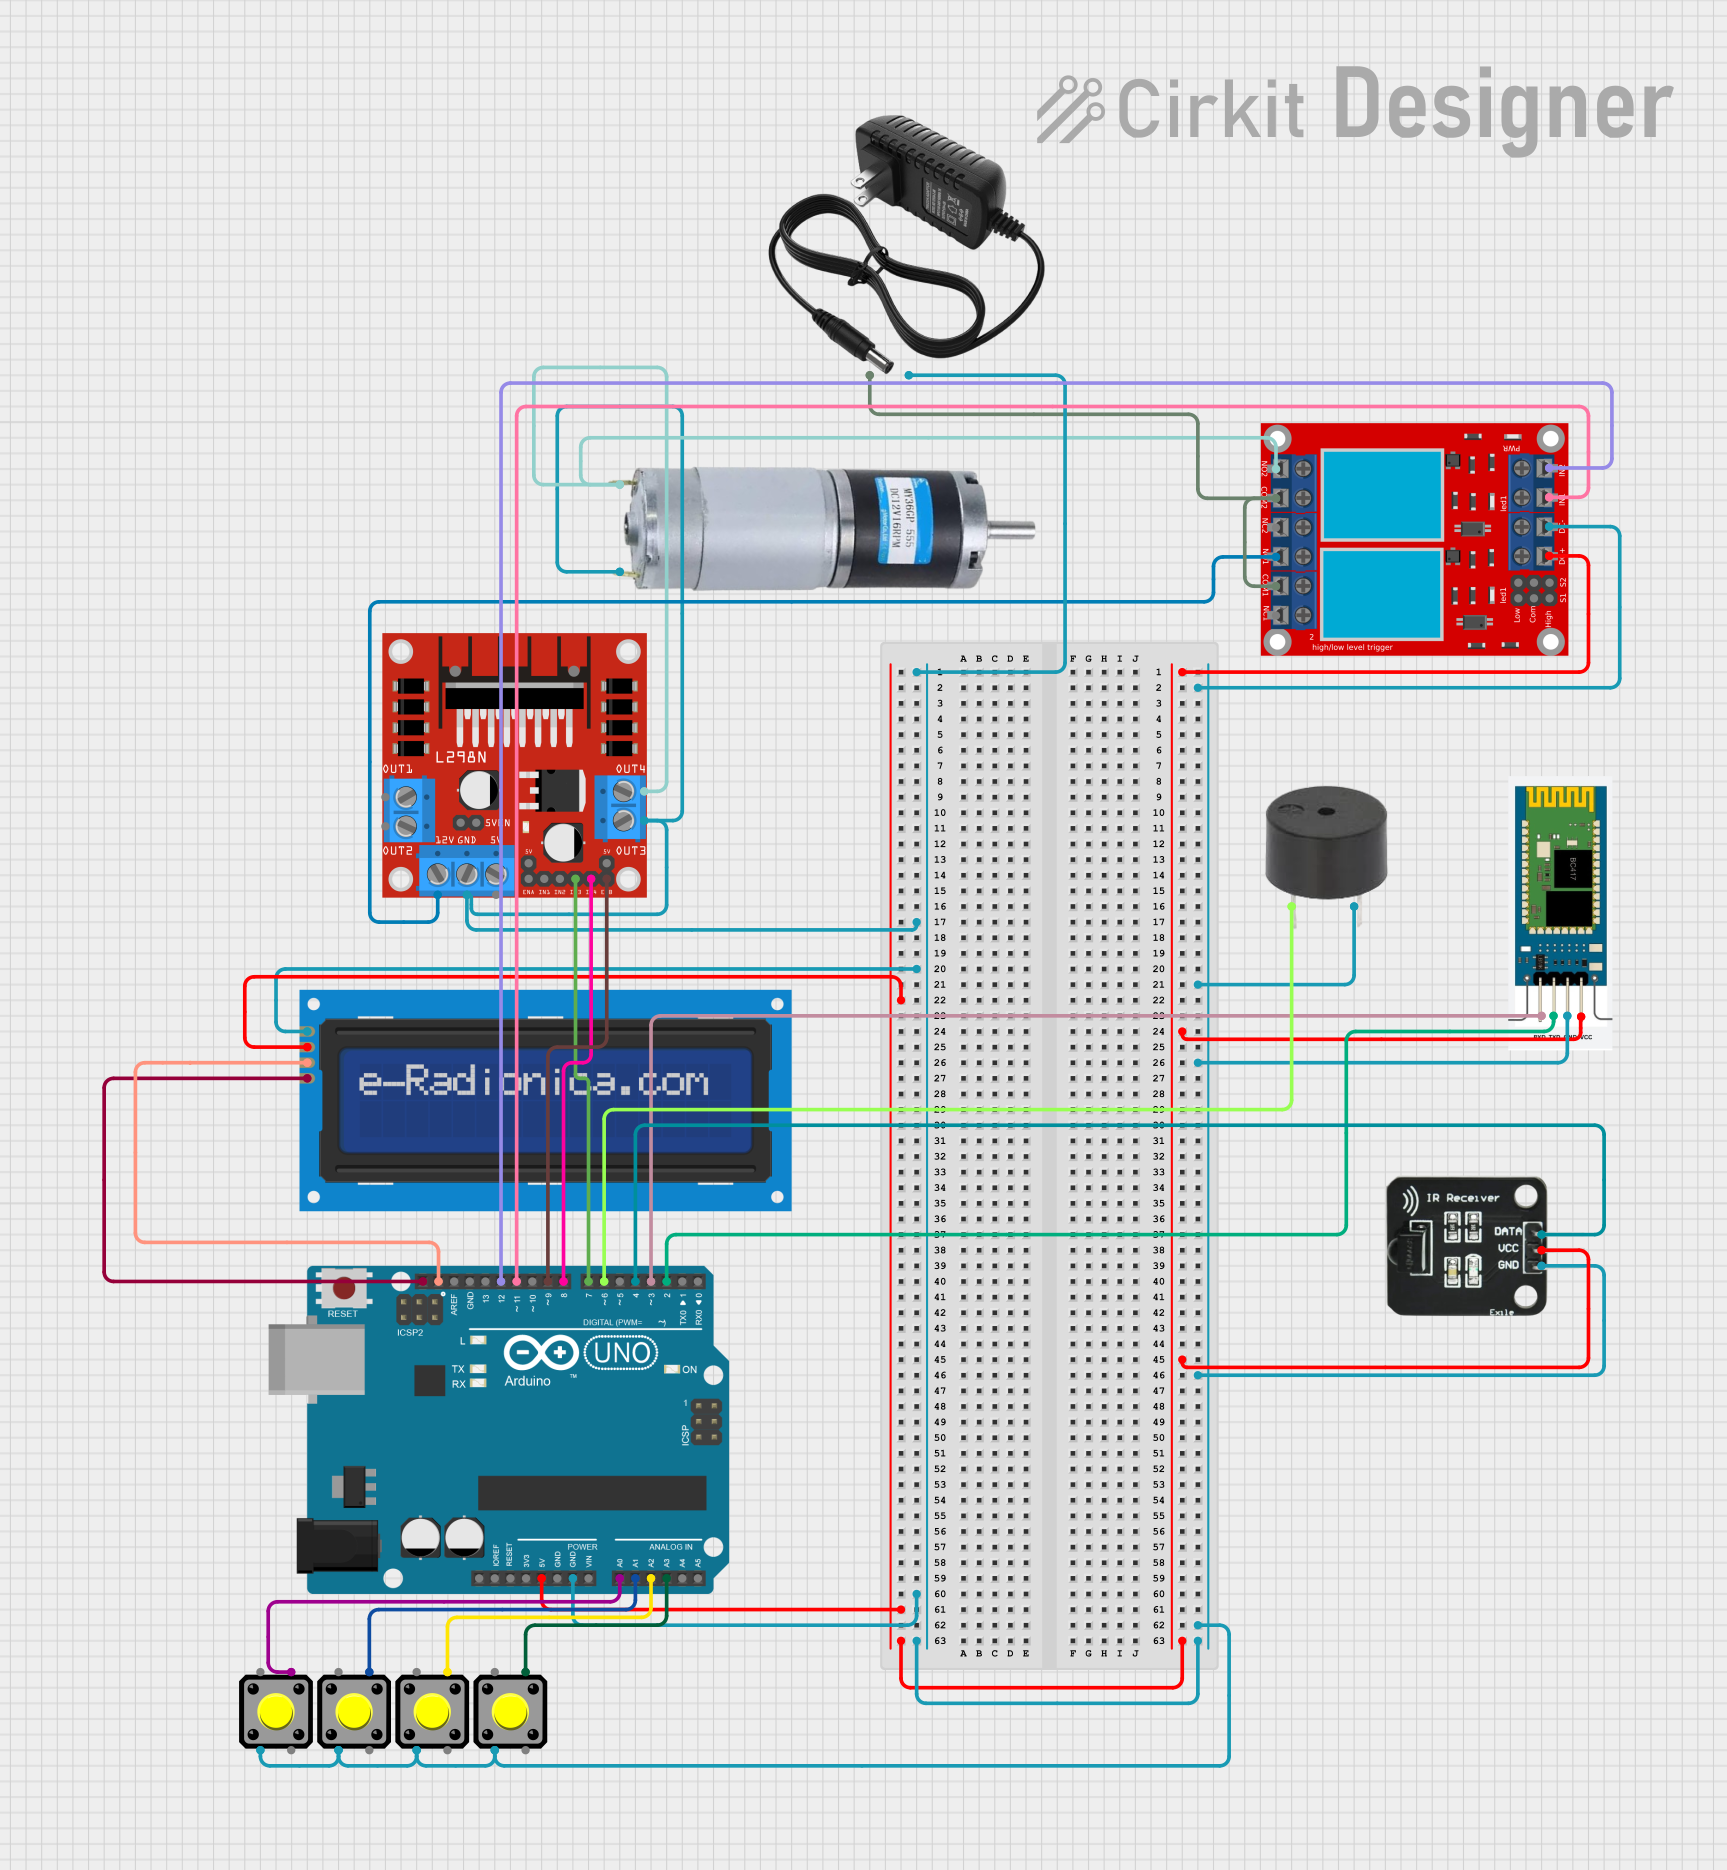
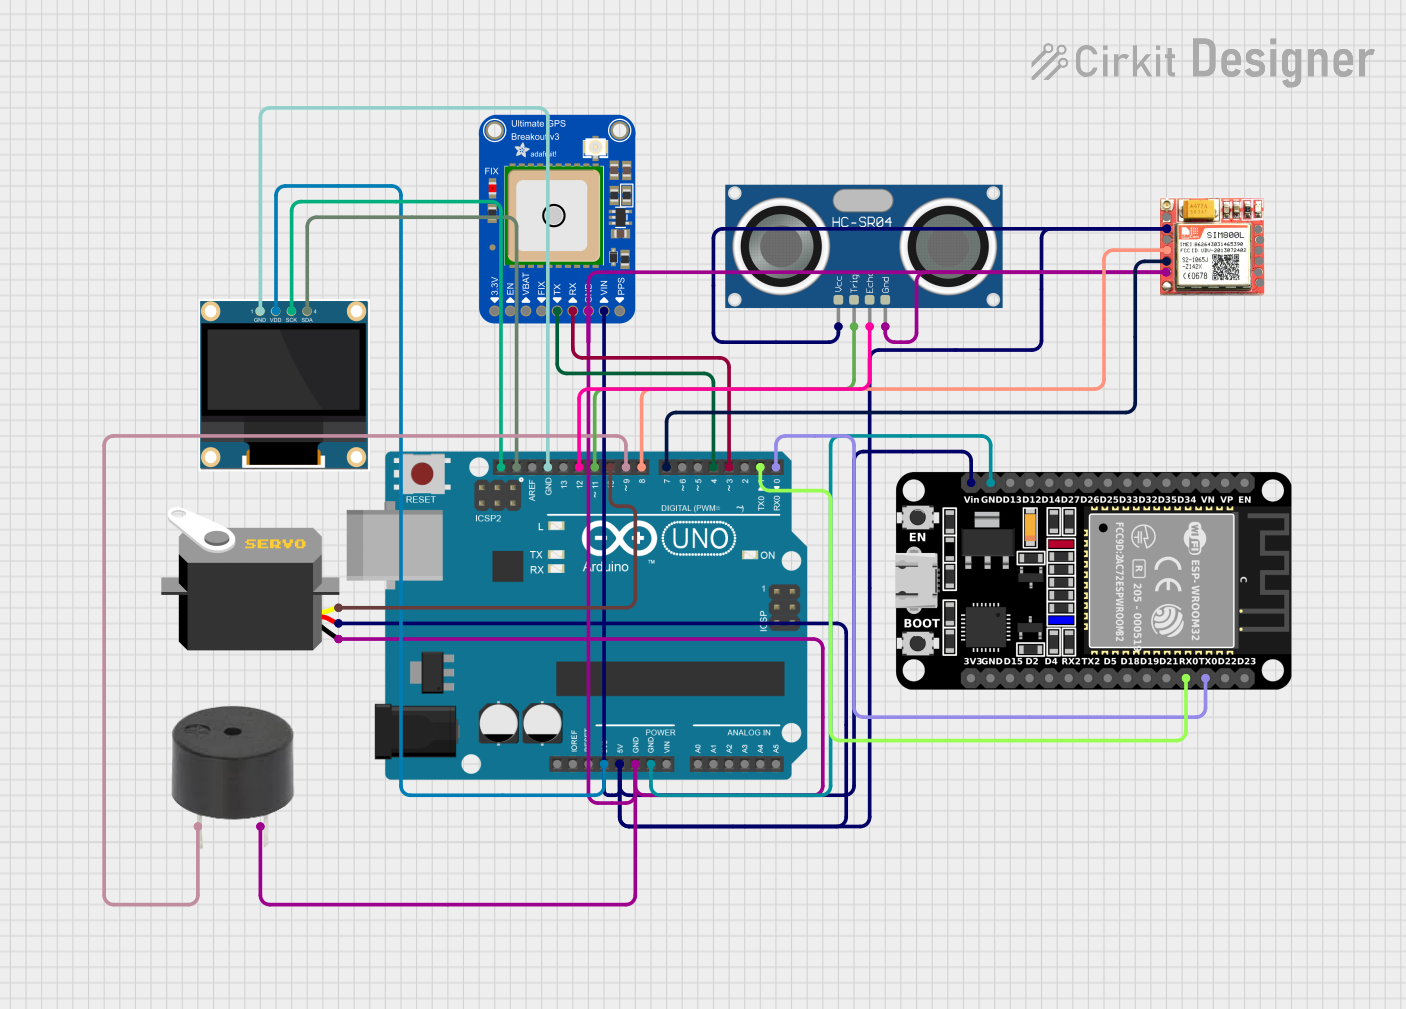
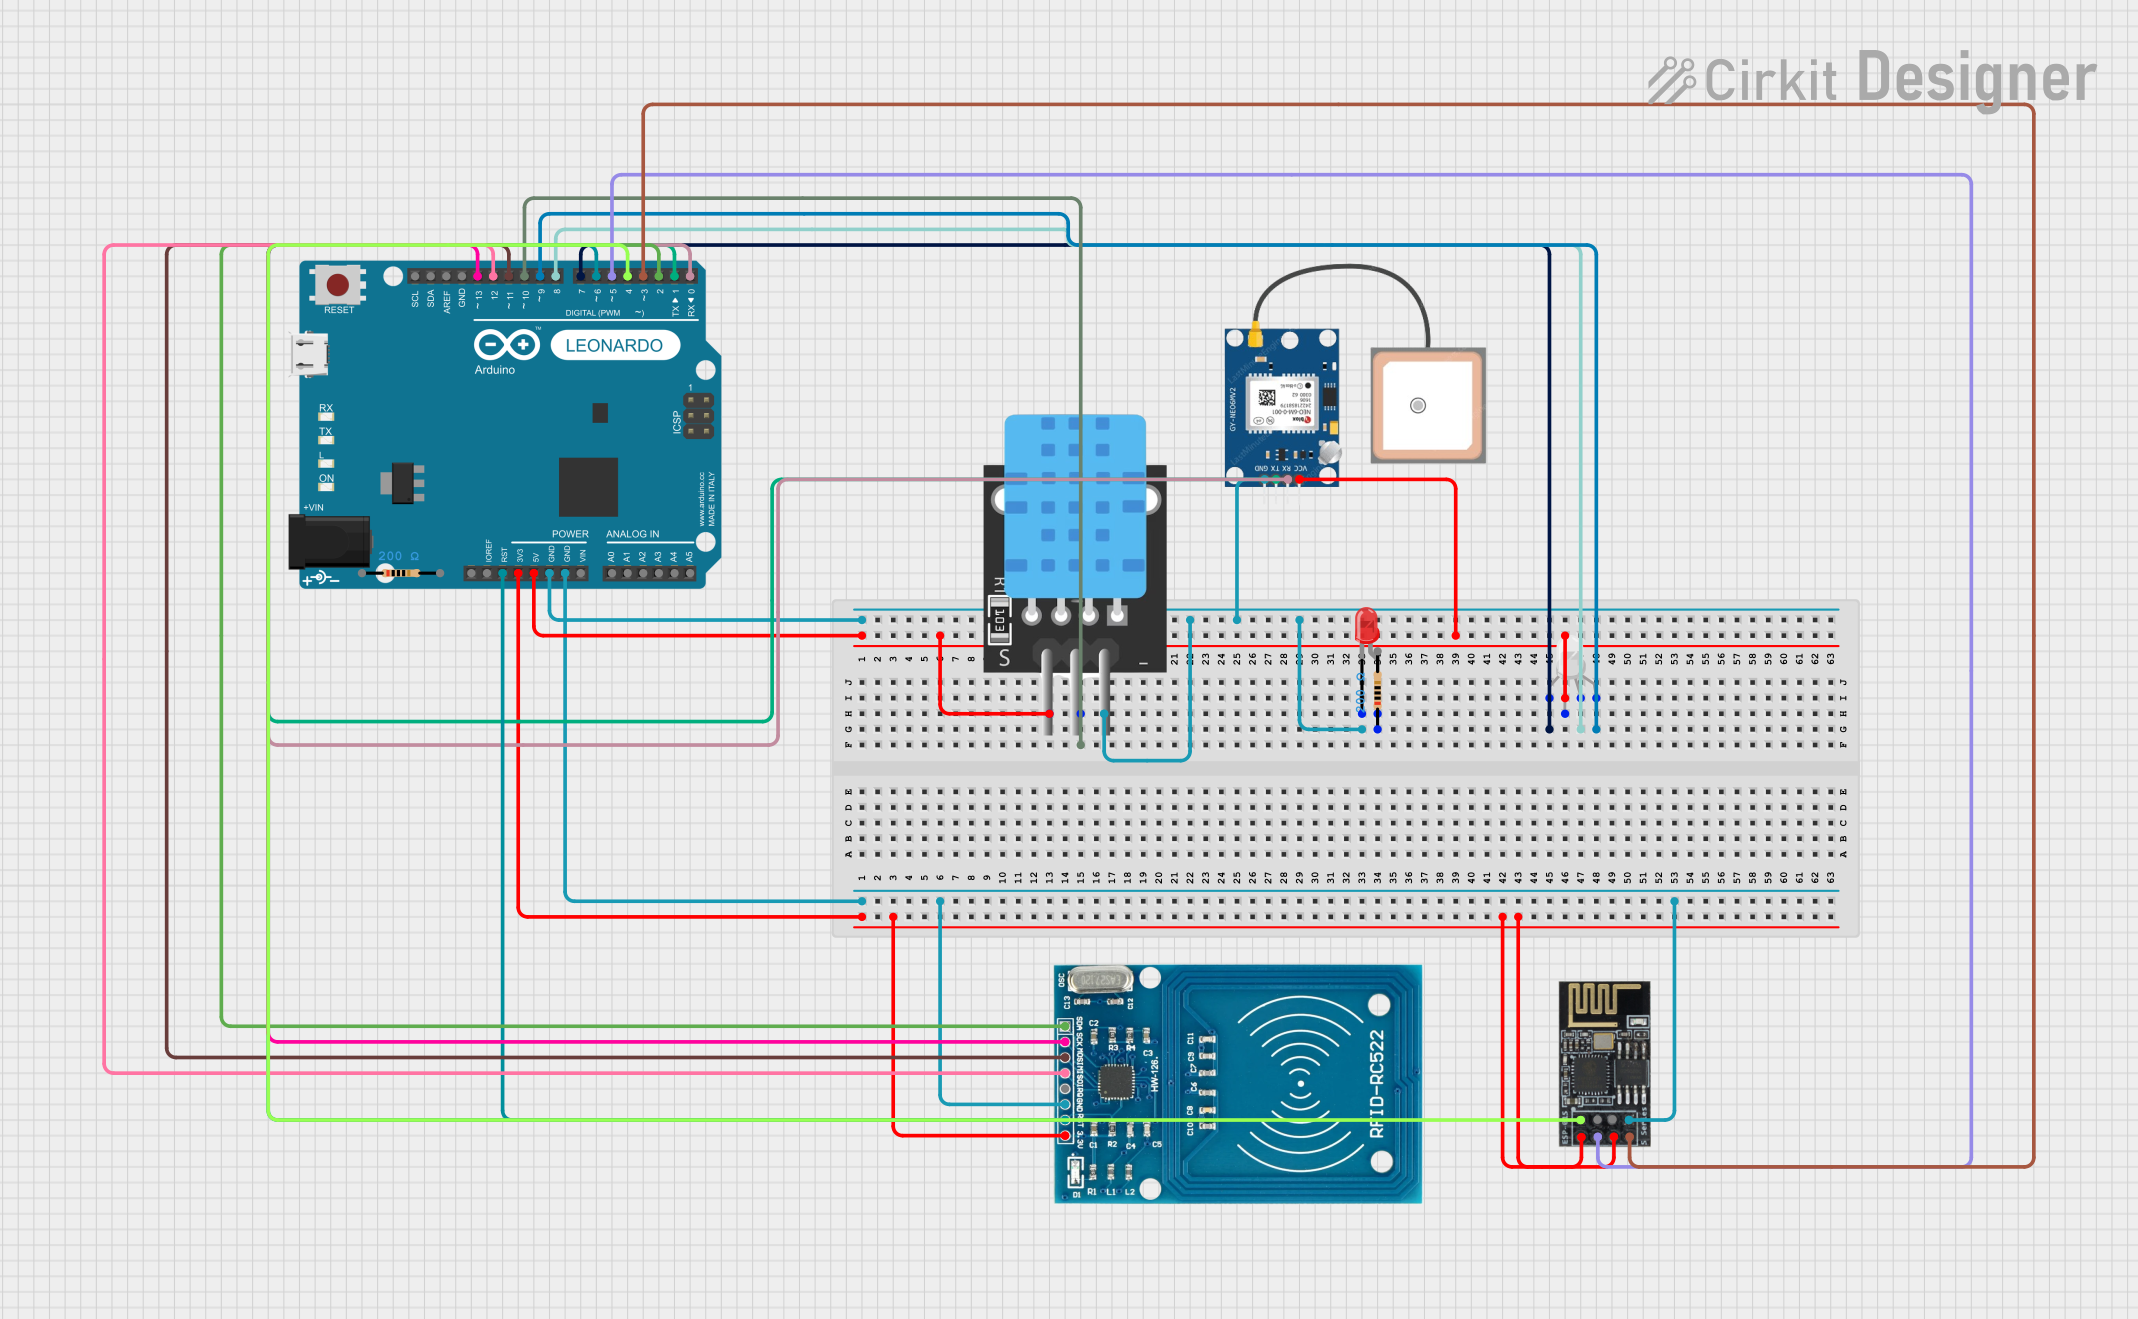

Explore Projects Built with centraduino
Common Applications and Use Cases
- Robotics control systems
- Home automation projects
- Sensor data acquisition and processing
- IoT (Internet of Things) devices
- Educational tools for learning programming and electronics
- Prototyping automation systems
Technical Specifications
Key Technical Details
- Microcontroller: ARM Cortex-M4, 32-bit
- Operating Voltage: 3.3V
- Input Voltage (recommended): 5V via USB or 7-12V via VIN pin
- Digital I/O Pins: 20 (including 6 PWM outputs)
- Analog Input Pins: 6 (10-bit resolution)
- Built-in Sensors: Temperature, light, and accelerometer
- Communication Interfaces: UART, I2C, SPI
- Clock Speed: 48 MHz
- Flash Memory: 256 KB
- SRAM: 64 KB
- Connectivity: USB Type-C for programming and power
- Dimensions: 68 mm x 53 mm
Pin Configuration and Descriptions
The Centraduino board features a total of 26 pins, including power, digital, and analog pins. Below is the detailed pin configuration:
| Pin Name | Type | Description |
|---|---|---|
| VIN | Power Input | External power input (7-12V recommended). |
| GND | Ground | Ground connection. |
| 3.3V | Power Output | Regulated 3.3V output for powering external components. |
| 5V | Power Output | Regulated 5V output for powering external components. |
| A0-A5 | Analog Input | 6 analog input pins with 10-bit resolution. |
| D0-D13 | Digital I/O | 14 digital I/O pins, 6 of which support PWM output (D3, D5, D6, D9, D10, D11). |
| SDA | I2C Data | I2C data line for communication with compatible devices. |
| SCL | I2C Clock | I2C clock line for communication with compatible devices. |
| TX | UART Transmit | UART transmit pin for serial communication. |
| RX | UART Receive | UART receive pin for serial communication. |
| MOSI | SPI Data Out | SPI Master Out Slave In pin for SPI communication. |
| MISO | SPI Data In | SPI Master In Slave Out pin for SPI communication. |
| SCK | SPI Clock | SPI clock pin for synchronization. |
Usage Instructions
How to Use the Centraduino in a Circuit
Powering the Board:
- Connect the board to your computer using a USB Type-C cable for programming and power.
- Alternatively, supply external power via the VIN pin (7-12V) or the 5V pin (regulated 5V).
Connecting Sensors and Actuators:
- Use the analog pins (A0-A5) for reading sensor data.
- Use the digital pins (D0-D13) for controlling actuators such as motors, LEDs, or relays.
Programming the Board:
- Install the Arduino IDE or any compatible programming environment.
- Select "Centraduino" from the list of boards in the IDE.
- Write your code and upload it to the board via the USB connection.
Using Built-in Sensors:
- Access the temperature, light, and accelerometer sensors using the provided library functions.
Important Considerations and Best Practices
- Ensure the input voltage does not exceed the recommended range to avoid damaging the board.
- Use appropriate resistors or level shifters when interfacing with 5V logic devices.
- Avoid drawing excessive current from the 3.3V or 5V pins to prevent overheating.
- Always double-check connections before powering the board to prevent short circuits.
Example Code for Arduino IDE
The following example demonstrates how to read data from the built-in temperature sensor and display it on the serial monitor:
// Include the Centraduino library for built-in sensor access
#include <Centraduino.h>

// Initialize the Centraduino object
Centraduino centraduino;

void setup() {
  Serial.begin(9600); // Start serial communication at 9600 baud
  centraduino.begin(); // Initialize the Centraduino board
}

void loop() {
  // Read temperature data from the built-in sensor
  float temperature = centraduino.readTemperature();

  // Print the temperature value to the serial monitor
  Serial.print("Temperature: ");
  Serial.print(temperature);
  Serial.println(" °C");

  delay(1000); // Wait for 1 second before reading again
}
Troubleshooting and FAQs
Common Issues and Solutions
The board is not detected by the computer:
- Ensure the USB cable is properly connected and functional.
- Verify that the correct drivers for Centraduino are installed.
Unable to upload code to the board:
- Check that the correct board and port are selected in the Arduino IDE.
- Press the reset button on the board before uploading the code.
Sensors are not providing accurate readings:
- Ensure the board is powered correctly and not overheating.
- Calibrate the sensors if necessary using the provided library functions.
The board overheats or shuts down:
- Verify that the input voltage is within the recommended range.
- Avoid drawing excessive current from the power pins.
FAQs
Can I use Centraduino with a 5V logic device?
Yes, but you may need to use level shifters to ensure compatibility.Is Centraduino compatible with third-party libraries?
Yes, Centraduino supports most Arduino-compatible libraries.How do I reset the board?
Press the reset button located near the USB Type-C port.Can I power the board using batteries?
Yes, you can use a battery pack that provides 7-12V via the VIN pin.
By following this documentation, you can effectively utilize the Centraduino board for your robotics and automation projects.