
How to Use TP-Link Router: Examples, Pinouts, and Specs
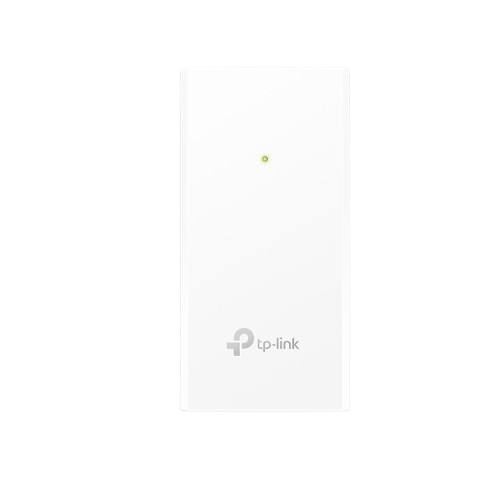
 Design with TP-Link Router in Cirkit Designer
Introduction
The TP-Link Omada PSU Router is a versatile networking device designed to forward data packets between computer networks, acting as a gateway to the Internet or other network services. It is commonly used in both home and business environments to provide wireless connectivity and multiple Ethernet ports for wired connections. The router is part of TP-Link's Omada series, which is known for its reliability and ease of use.
Explore Projects Built with TP-Link Router
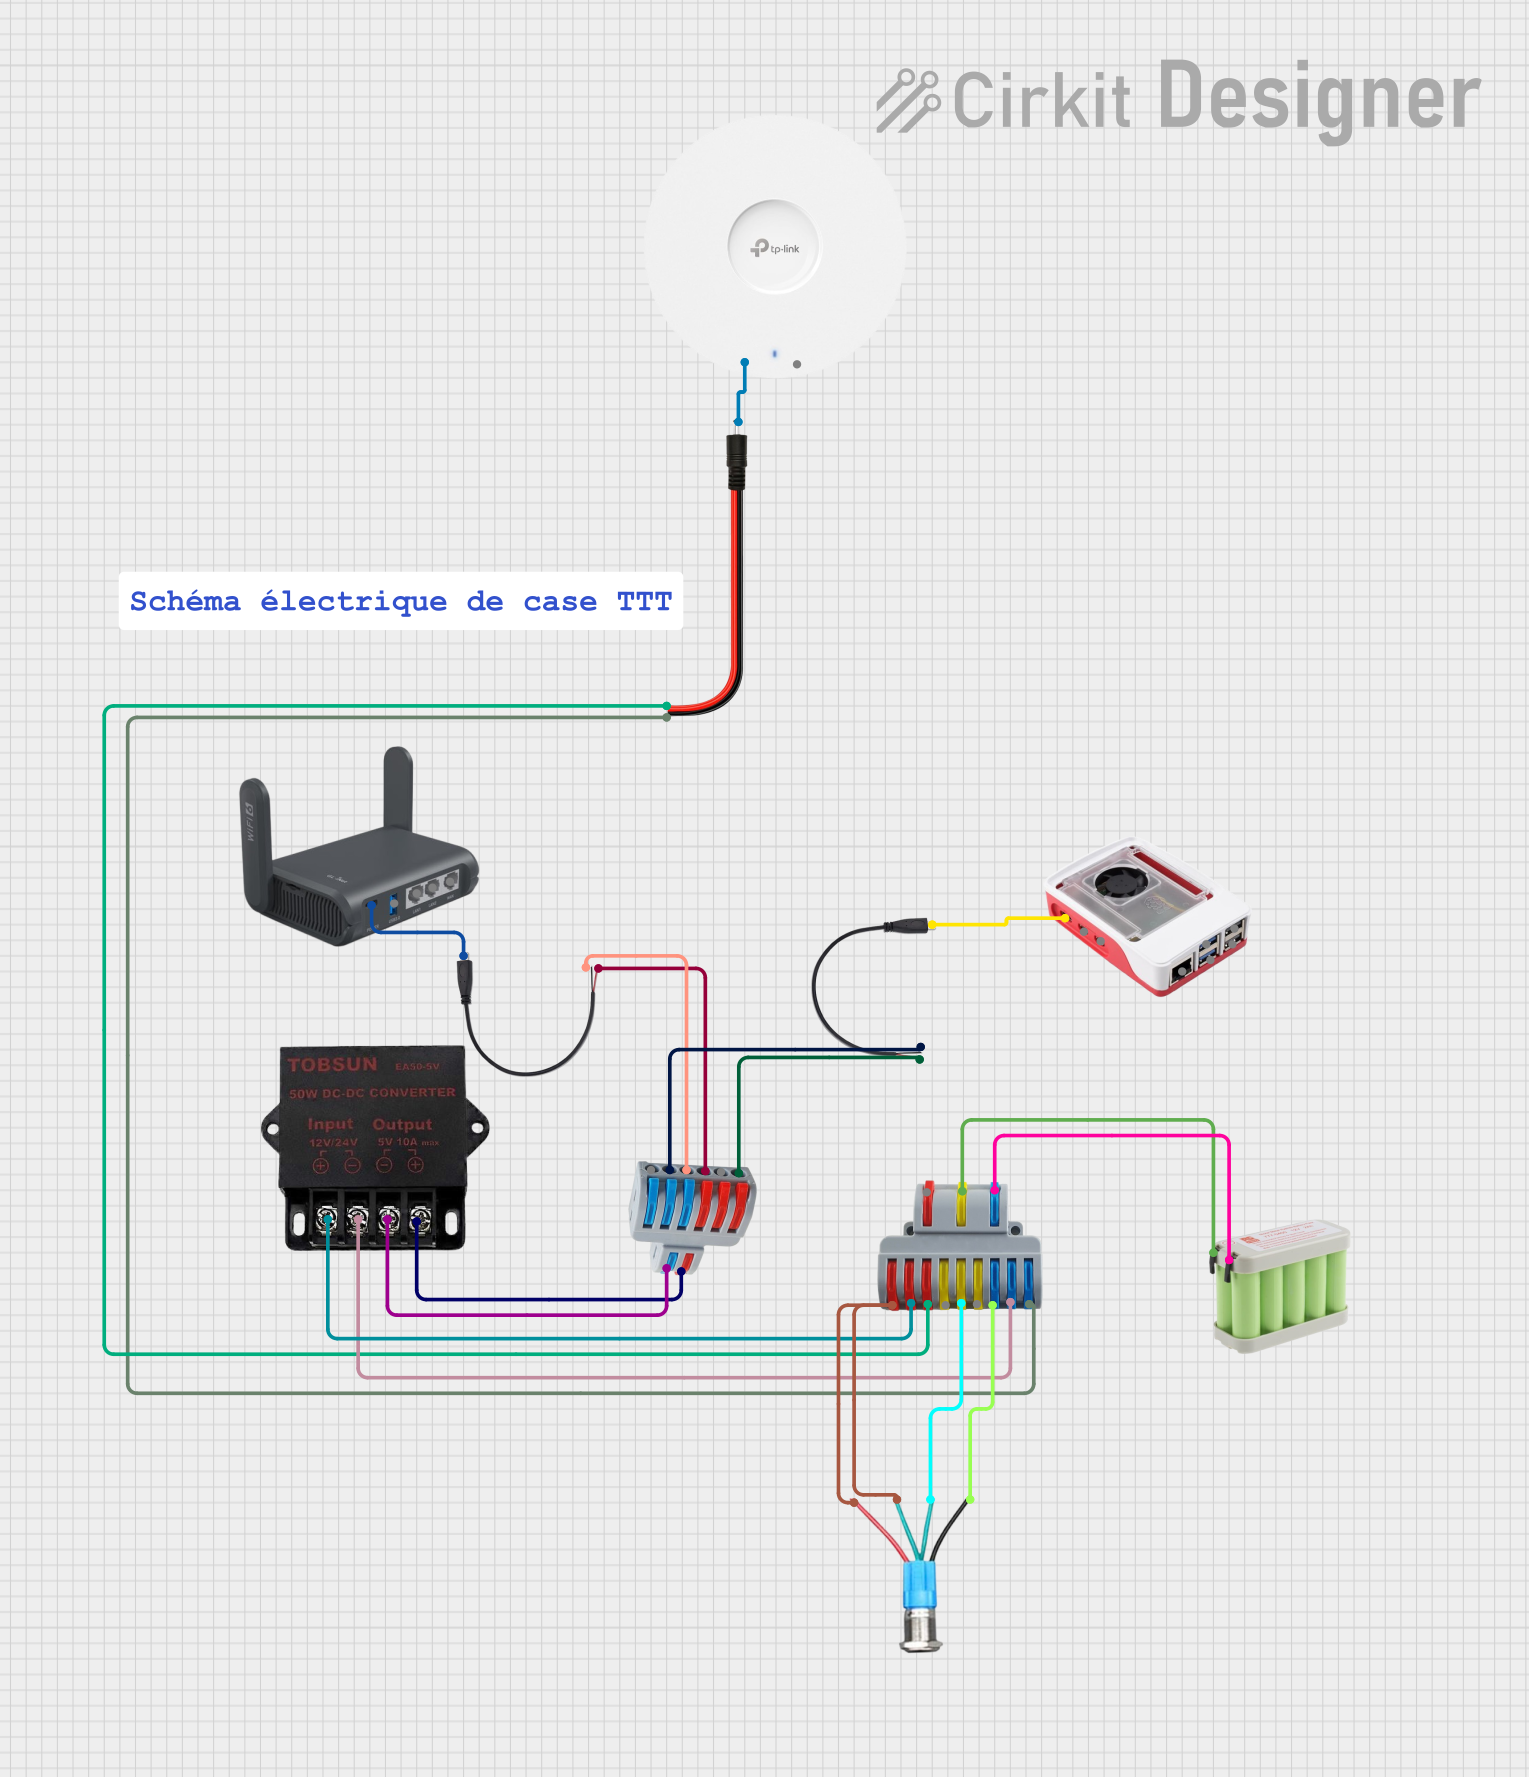
 Open Project in Cirkit Designer
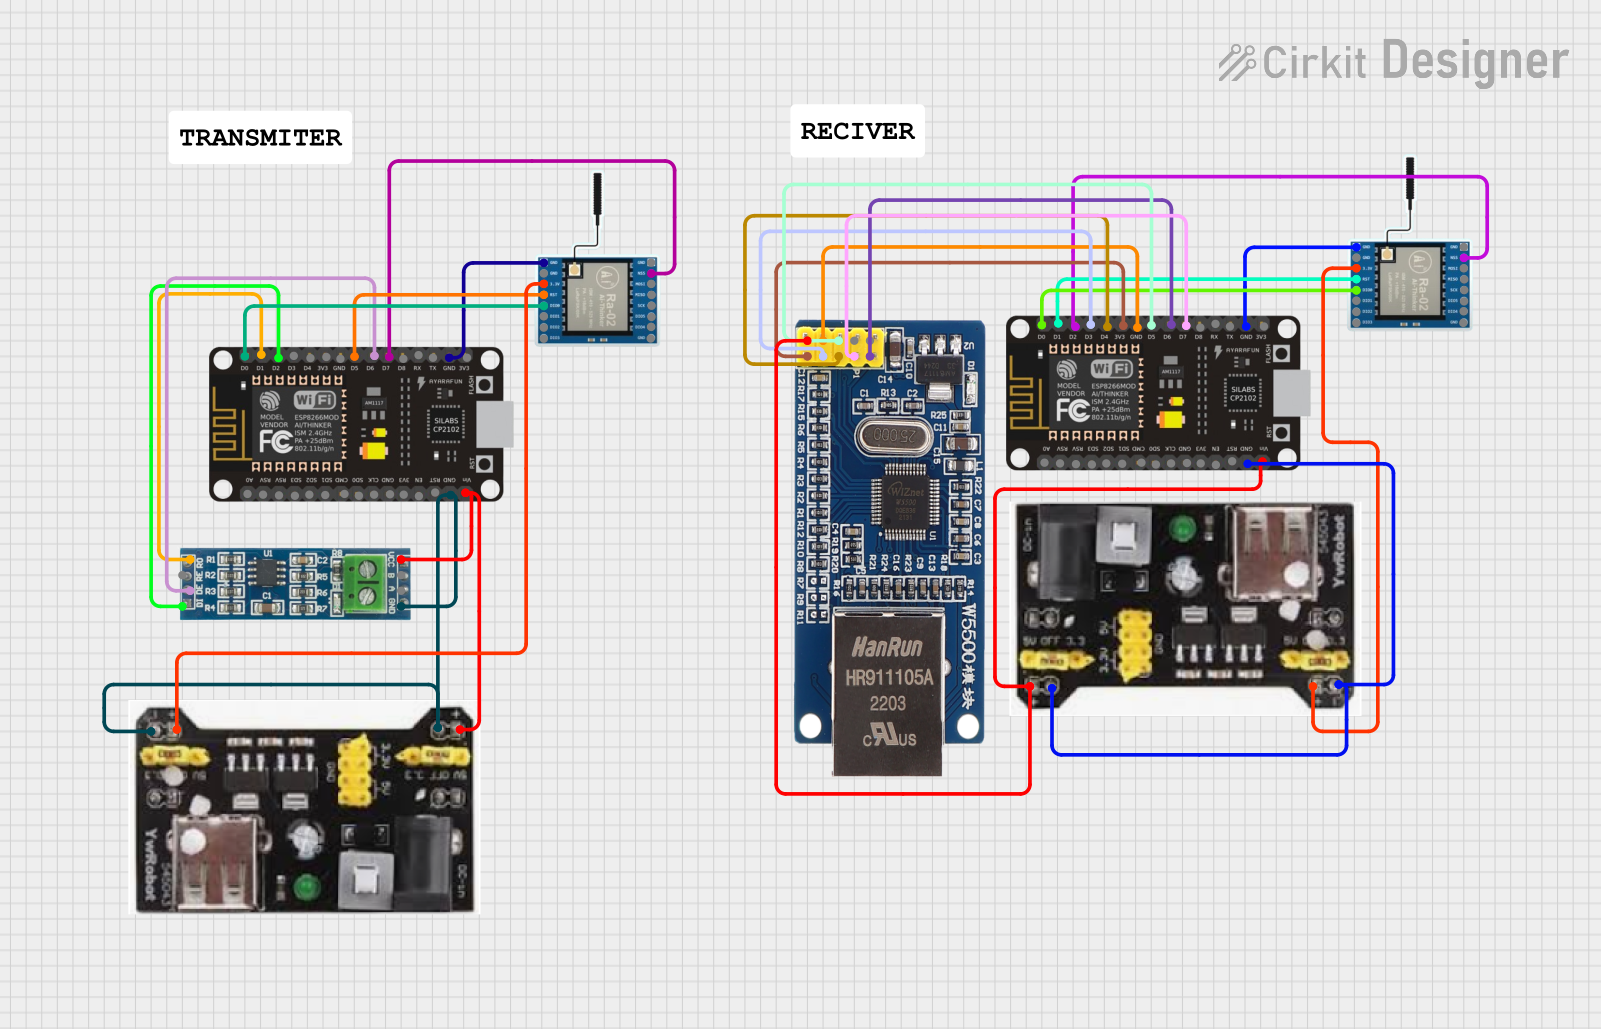
 Open Project in Cirkit Designer
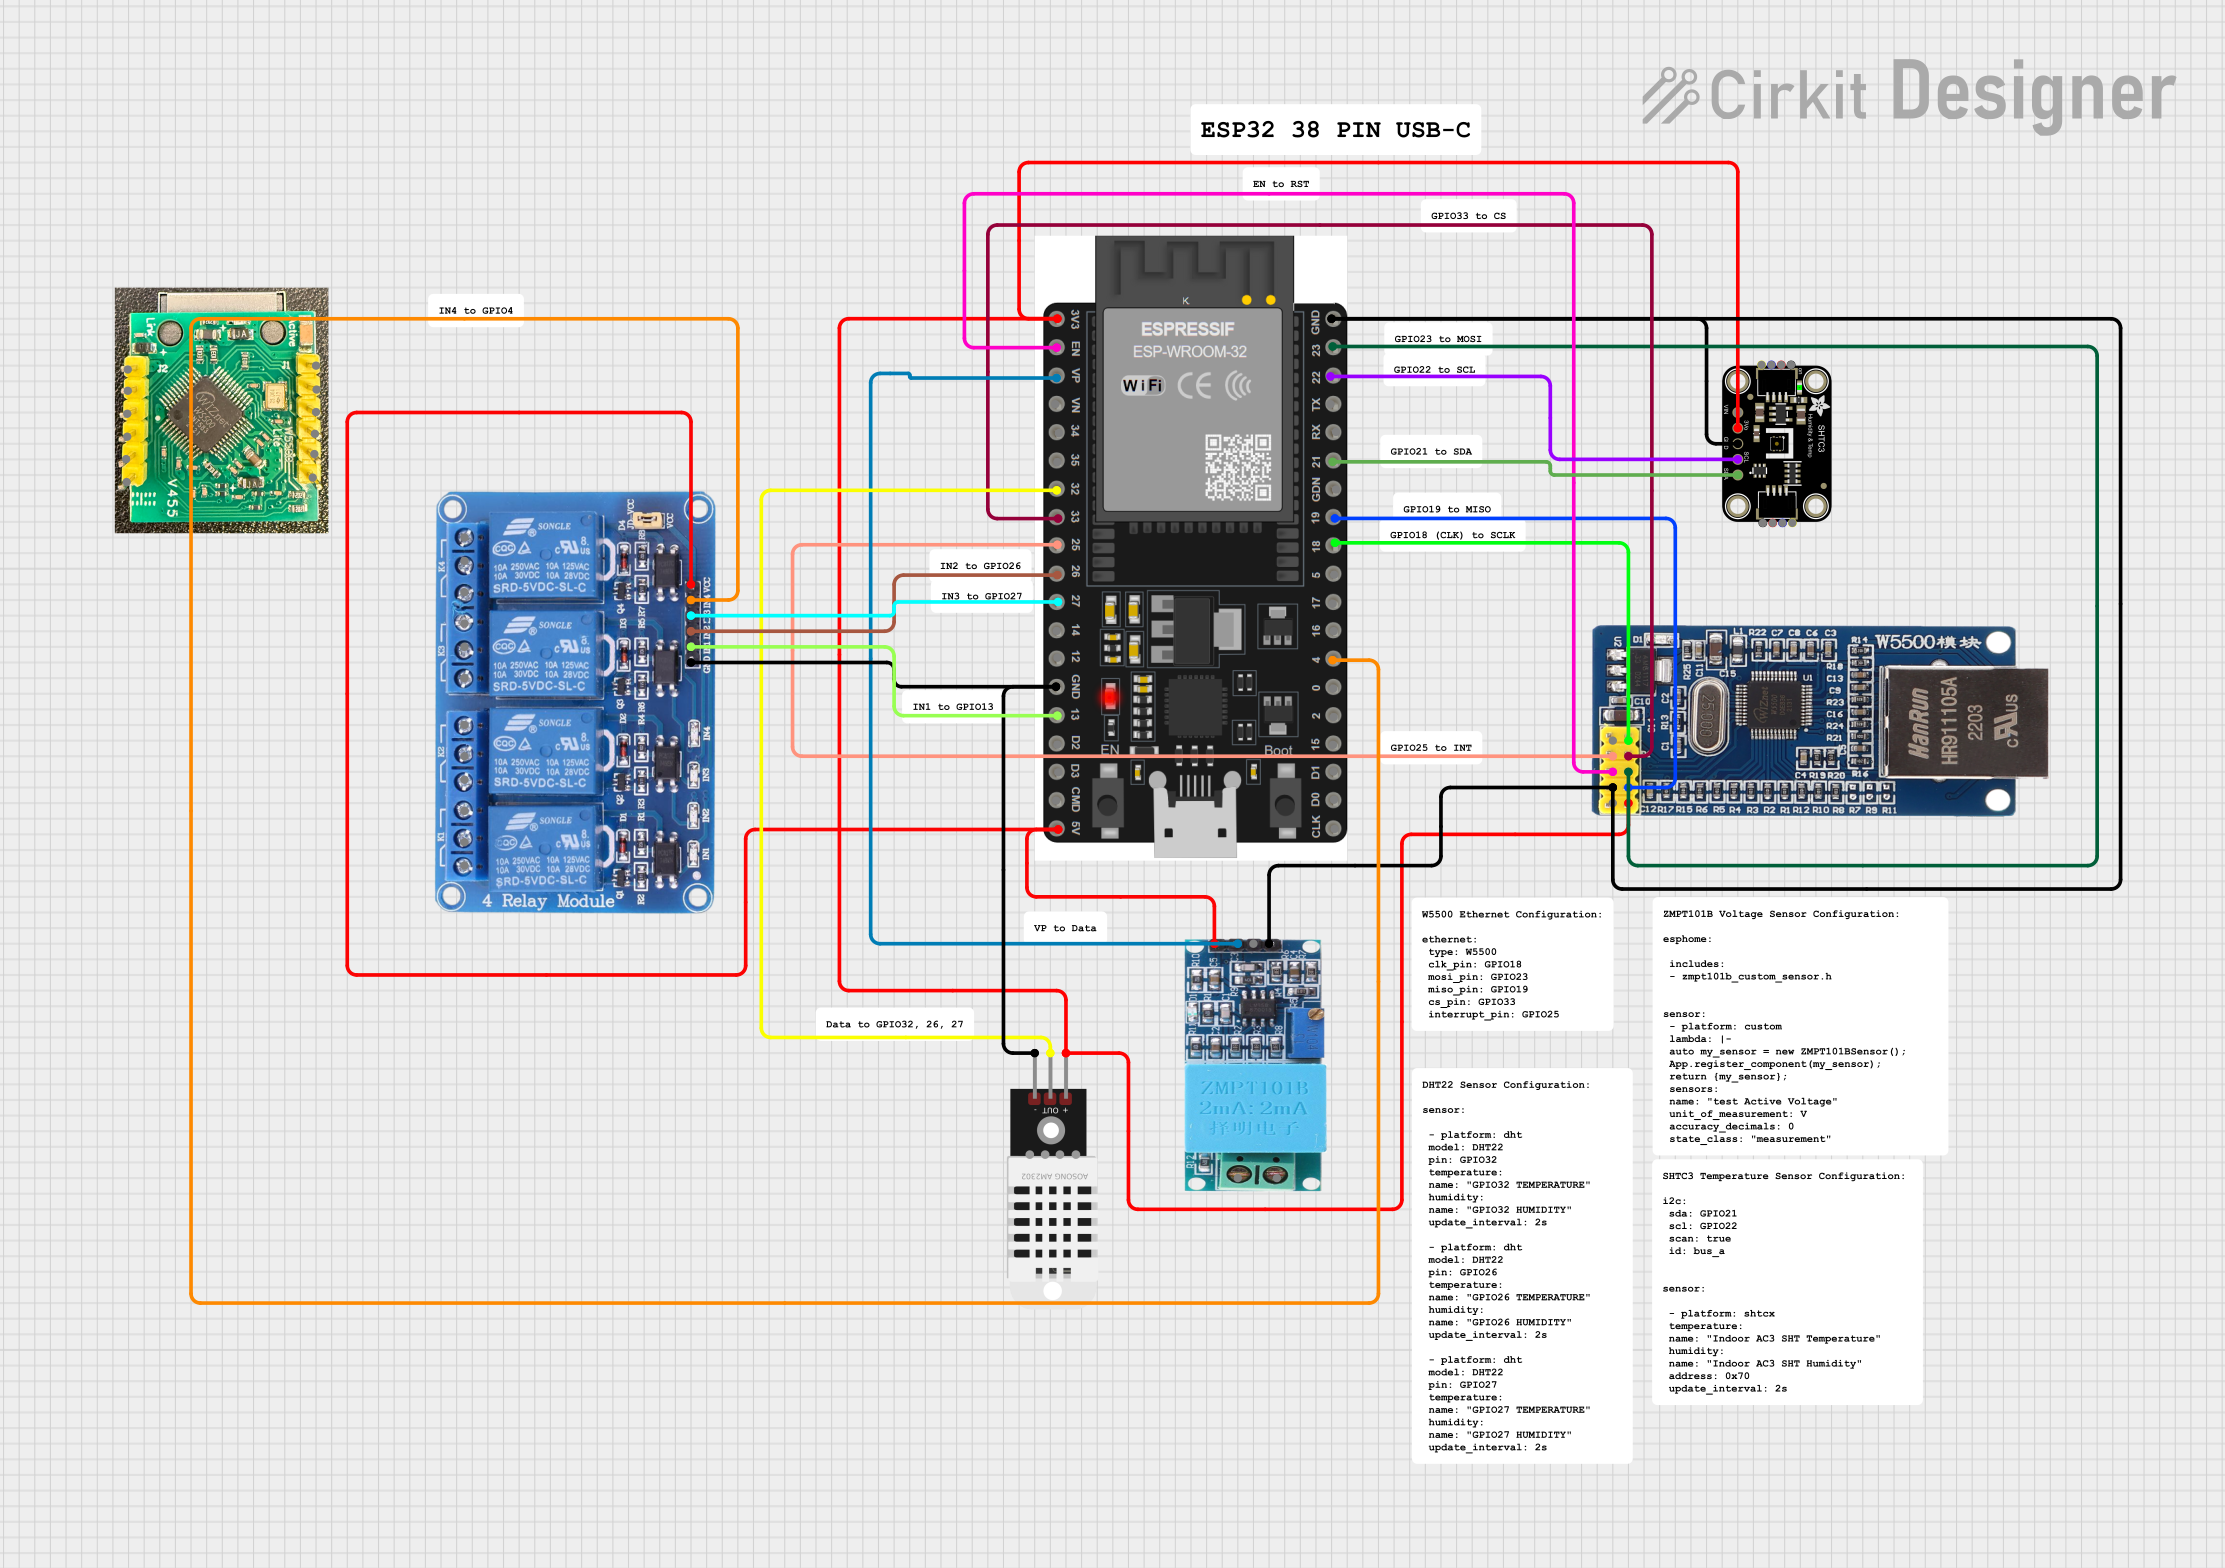
 Open Project in Cirkit Designer
 Open Project in Cirkit Designer
Explore Projects Built with TP-Link Router

 Open Project in Cirkit Designer
 Open Project in Cirkit Designer
 Open Project in Cirkit Designer
 Open Project in Cirkit Designer
Common Applications and Use Cases
- Home Internet access
- Small to medium-sized business network management
- Wireless Access Point (WAP) for Wi-Fi enabled devices
- Wired connections for desktop computers, gaming consoles, and network storage
- Guest networking in hospitality settings
Technical Specifications
Key Technical Details
- Power Supply: External Power Adapter (varies by region)
- Frequency: 2.4 GHz and 5 GHz dual-band
- Wireless Standards: IEEE 802.11a/b/g/n/ac
- Ethernet Ports: Multiple Gigabit LAN ports, 1 Gigabit WAN port
- Security: WPA/WPA2-PSK, WPA/WPA2-Enterprise, SPI Firewall
- Management: Omada App or Omada Software Controller
Pin Configuration and Descriptions
| Pin Number | Description | Notes |
|---|---|---|
| 1 | Power Input | Connect to power adapter |
| 2 | WAN (Internet) Port | Connect to modem or main network |
| 3-6 | LAN Ports | Connect to wired devices |
| 7 | Reset Button | Press to restore factory settings |
| 8 | USB Port (if present) | Connect USB devices |
Usage Instructions
How to Use the Component in a Circuit
Connecting Power:
- Connect the power adapter to the router and plug it into an electrical outlet.
Wired Connections:
- Use Ethernet cables to connect devices to the LAN ports for wired Internet access.
- Connect one Ethernet cable from the modem to the WAN port for Internet access.
Wireless Setup:
- Power on the router and wait for it to boot up.
- Use a wireless device to connect to the default Wi-Fi network broadcast by the router.
- Enter the default password (usually found on the bottom of the router) to connect.
Configuration:
- Access the router's web interface by typing the default IP address into a web browser.
- Log in with the default credentials (usually "admin" for both username and password).
- Follow the setup wizard to configure your wireless network settings, such as SSID and password.
- Update the firmware if necessary to ensure the router has the latest security and performance enhancements.
Important Considerations and Best Practices
- Always secure your wireless network with a strong password to prevent unauthorized access.
- Place the router in a central location to ensure optimal wireless coverage.
- Avoid physical obstructions and interference from other electronic devices.
- Regularly update the firmware to protect against security vulnerabilities.
- Use the Omada App or Software Controller for advanced network management and monitoring.
Troubleshooting and FAQs
Common Issues Users Might Face
No Internet Access:
- Check if the WAN port is properly connected to the modem.
- Verify that the modem is online and functioning correctly.
- Restart the router and modem to refresh the network connection.
Wi-Fi Connectivity Problems:
- Ensure the wireless device is within range of the router.
- Check if the correct Wi-Fi password is being used.
- Restart the router to resolve temporary connectivity issues.
Slow Internet Speeds:
- Test the Internet speed with a wired connection to rule out Wi-Fi interference.
- Limit the number of devices connected to the network.
- Check for firmware updates that may improve performance.
Solutions and Tips for Troubleshooting
Factory Reset:
- If you cannot access the router's web interface or if the router is not functioning correctly, perform a factory reset by pressing and holding the reset button for 10 seconds.
Technical Support:
- Contact TP-Link's customer support for assistance with hardware or software issues that cannot be resolved through troubleshooting.
FAQs
Q: How do I change my Wi-Fi password? A: Log in to the router's web interface, navigate to the wireless settings, and update the Wi-Fi password.
Q: Can I set up a guest network? A: Yes, the router supports the creation of a separate guest network through the web interface or Omada App.
Q: What should I do if I forget the router's admin password? A: Perform a factory reset to restore the default settings, then use the default credentials to log in.
Note: This documentation is for informational purposes only and may not reflect the exact specifications or features of your specific TP-Link Omada PSU Router model. Always refer to the official TP-Link documentation and support resources for your router.