
How to Use Arduino Cap Sense Shield: Examples, Pinouts, and Specs
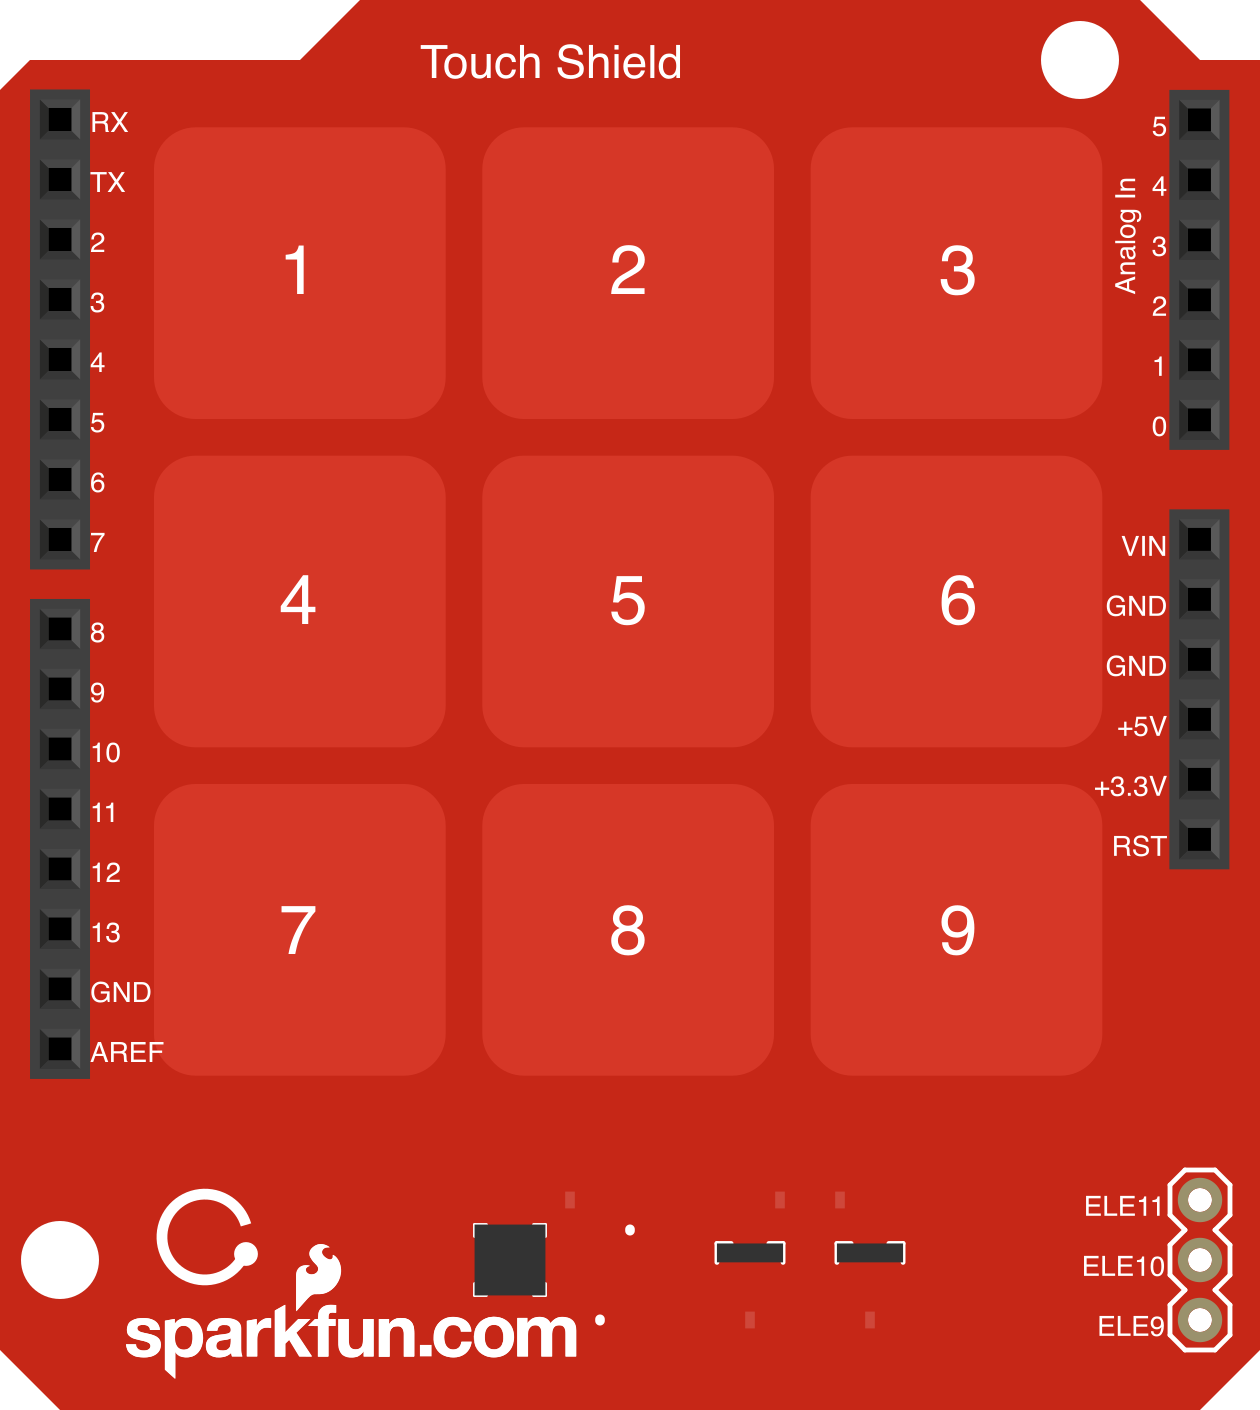
 Design with Arduino Cap Sense Shield in Cirkit Designer
Introduction
The Arduino Cap Sense Shield is a capacitive sensing shield designed to enable touch-sensitive interfaces in your projects. By detecting changes in capacitance, this shield allows users to create interactive touchpads, sliders, and buttons. It is ideal for applications such as touch-based controls, proximity sensing, and gesture recognition. The shield is compatible with Arduino boards and simplifies the process of integrating capacitive sensing into your designs.
Explore Projects Built with Arduino Cap Sense Shield
 Open Project in Cirkit Designer
 Open Project in Cirkit Designer
 Open Project in Cirkit Designer
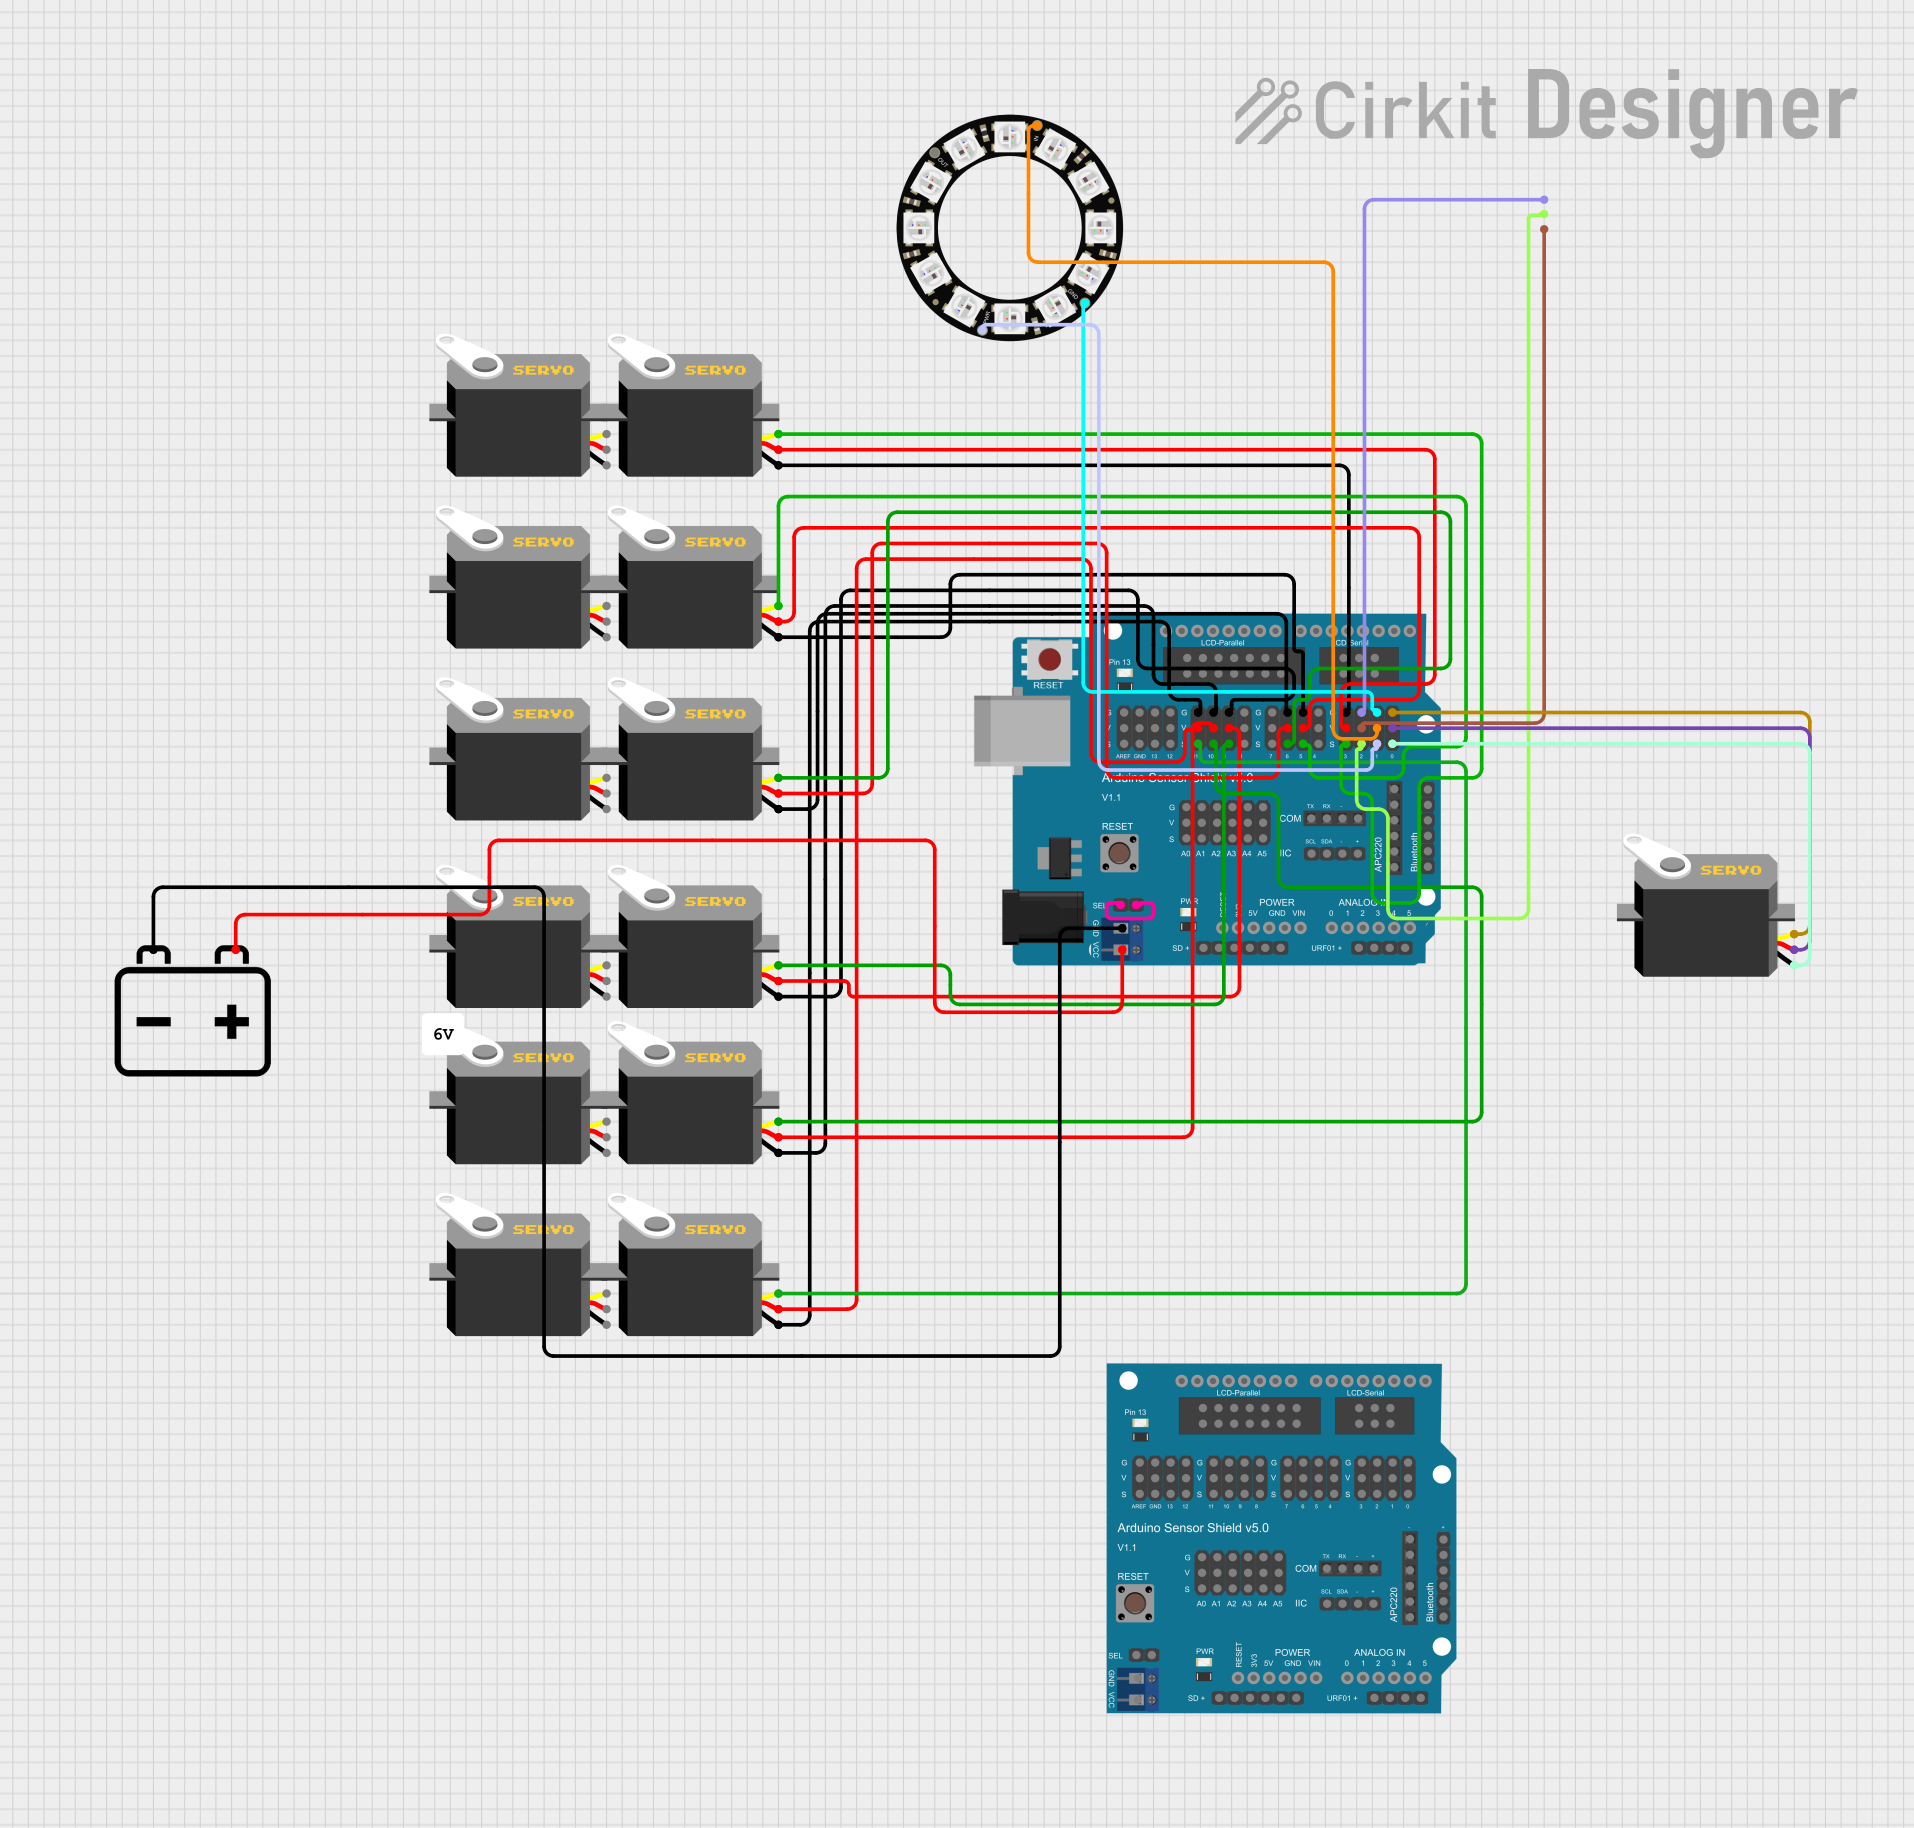 Open Project in Cirkit Designer
Explore Projects Built with Arduino Cap Sense Shield
Open Project in Cirkit DesignerOpen Project in Cirkit DesignerOpen Project in Cirkit DesignerOpen Project in Cirkit DesignerCommon Applications
- Touch-sensitive buttons and sliders
- Proximity detection
- Gesture-based controls
- Interactive art installations
- Home automation interfaces
Technical Specifications
The Arduino Cap Sense Shield is designed to work seamlessly with Arduino boards and offers the following technical features:
Key Specifications
| Parameter | Value |
|---|---|
| Operating Voltage | 5V (from Arduino board) |
| Communication Protocol | Digital I/O pins |
| Number of Touch Inputs | 8 |
| Sensitivity Adjustment | Software-configurable |
| Dimensions | Matches standard Arduino form factor |
Pin Configuration
The shield connects directly to the Arduino board, utilizing the following pins:
| Pin Name | Description |
|---|---|
| D2 - D9 | Capacitive sensing input pins (8 channels) |
| GND | Ground connection |
| 5V | Power supply from Arduino board |
| A0 | Optional analog input for additional features |
Usage Instructions
How to Use the Arduino Cap Sense Shield
- Attach the Shield: Place the Arduino Cap Sense Shield on top of your Arduino board, ensuring the pins align correctly.
- Connect Touch Pads: Attach conductive materials (e.g., copper tape or conductive fabric) to the input pins (D2-D9) to act as touch sensors.
- Install the Capacitive Sensing Library: Download and install the
CapacitiveSensorlibrary from the Arduino Library Manager. - Write Your Code: Use the library to configure the shield and read touch inputs. See the example code below for guidance.
- Upload the Code: Upload the sketch to your Arduino board and test the touch-sensitive interface.
Example Code
Below is a simple example to detect touch inputs using the Arduino Cap Sense Shield:
#include <CapacitiveSensor.h>

// Define capacitive sensor objects for each input pin
// Arguments: send pin, receive pin
CapacitiveSensor capSensor1 = CapacitiveSensor(4, 2); // D4 sends, D2 receives
CapacitiveSensor capSensor2 = CapacitiveSensor(4, 3); // D4 sends, D3 receives

void setup() {
  Serial.begin(9600); // Initialize serial communication
  Serial.println("Capacitive Sensing Test");
}

void loop() {
  // Read capacitance values from the sensors
  long sensor1Value = capSensor1.capacitiveSensor(30); // 30 samples
  long sensor2Value = capSensor2.capacitiveSensor(30);

  // Print the sensor values to the Serial Monitor
  Serial.print("Sensor 1: ");
  Serial.print(sensor1Value);
  Serial.print("\tSensor 2: ");
  Serial.println(sensor2Value);

  // Add a small delay to stabilize readings
  delay(100);
}
Important Considerations
- Grounding: Ensure the Arduino board and the touch sensors share a common ground for accurate readings.
- Environmental Factors: Capacitance readings can be affected by humidity, temperature, and nearby conductive objects.
- Sensitivity Adjustment: Use the
capacitiveSensor()function's sample size parameter to adjust sensitivity. Higher values increase sensitivity but slow down response time. - Shielding: Avoid placing the shield near high-frequency noise sources to prevent interference.
Troubleshooting and FAQs
Common Issues and Solutions
No Response from Touch Sensors
- Solution: Check the connections between the shield and the Arduino board. Ensure the conductive material is properly attached to the input pins.
- Tip: Verify that the
CapacitiveSensorlibrary is installed and included in your sketch.
Inconsistent or Erratic Readings
- Solution: Ensure the sensors are not exposed to excessive electrical noise or environmental interference.
- Tip: Use a larger sample size in the
capacitiveSensor()function to stabilize readings.
Low Sensitivity
- Solution: Increase the sample size parameter in the
capacitiveSensor()function. - Tip: Use larger conductive surfaces for the touch sensors to improve sensitivity.
- Solution: Increase the sample size parameter in the
Serial Monitor Shows Negative Values
- Solution: Ensure the send and receive pins are correctly defined in the
CapacitiveSensorobject. - Tip: Check for loose connections or damaged components.
- Solution: Ensure the send and receive pins are correctly defined in the
FAQs
Q: Can I use more than 8 touch inputs?
A: The shield supports 8 inputs by default, but you can expand the number of inputs by using additional shields or multiplexers.
Q: Is the shield compatible with all Arduino boards?
A: The shield is compatible with most Arduino boards that follow the standard form factor, such as the Arduino UNO, Mega, and Leonardo.
Q: Can I use the shield for proximity sensing?
A: Yes, the shield can detect proximity by measuring changes in capacitance without direct touch.
Q: How do I clean the touch sensors?
A: Use a soft, dry cloth to clean the sensors. Avoid using liquids or abrasive materials.
By following this documentation, you can effectively integrate the Arduino Cap Sense Shield into your projects and create innovative touch-sensitive interfaces.