Cirkit Designer Logo
Cirkit Designer
Your all-in-one circuit design IDE
Home / 
Component Documentation

How to Use Flex Sensor: Examples, Pinouts, and Specs

Image of Flex Sensor
Cirkit Designer LogoDesign with Flex Sensor in Cirkit Designer

Introduction

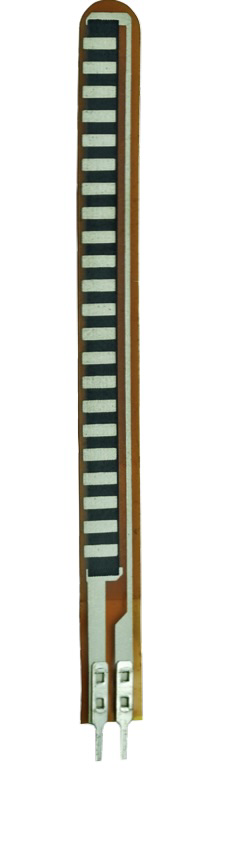
The Flex Sensor (Manufacturer Part ID: 1070) by Spectra Symbol is a variable resistor that alters its resistance based on the degree of bending or flexing. This unique property makes it an essential component in motion detection and position sensing applications. The sensor is lightweight, thin, and highly reliable, making it suitable for integration into a wide range of projects.

Explore Projects Built with Flex Sensor

Use Cirkit Designer to design, explore, and prototype these projects online. Some projects support real-time simulation. Click "Open Project" to start designing instantly!
Arduino Micro-Based Force Sensing Resistor Array
Image of BME490: A project utilizing Flex Sensor in a practical application
This is a sensor interface circuit using an Arduino Micro to read from multiple force sensing resistors and basic flex resistors, indicating it's designed for detecting pressure and flexing. The circuit is powered by a Lipo battery with a rocker switch for power control, and the microcontroller's code is currently a placeholder for future development.
Cirkit Designer LogoOpen Project in Cirkit Designer
ESP32-Based Flex Sensor Array and Heart Pulse Monitor with LCD Display
Image of smart gloves: A project utilizing Flex Sensor in a practical application
This circuit features an ESP32 microcontroller interfaced with multiple flex sensors, a heart pulse sensor, and a 16x2 LCD display. The ESP32 reads analog values from the flex sensors and the heart pulse sensor, then displays the readings of the first flex sensor and the heart pulse on the LCD. The circuit is designed for monitoring physical flex movements and heart rate, with the data visualized in real-time on the display and available via the serial output for further processing or monitoring.
Cirkit Designer LogoOpen Project in Cirkit Designer
ESP32-Based Force Measurement System with LSM303AGR Sensor
Image of final circuit diagram: A project utilizing Flex Sensor in a practical application
This circuit features an Adafruit HUZZAH32 ESP32 Feather microcontroller connected to an Adafruit LSM303AGR sensor via I2C communication lines (SCL and SDA), a force sensing resistor (FSR) interfaced through an analog input with a pull-up resistor, and powered by a 3xAA battery pack. The LSM303AGR sensor provides acceleration and magnetic field measurements, while the FSR detects applied force. The ESP32 processes these inputs and can be programmed to respond to sensor data for applications such as motion tracking and force measurement.
Cirkit Designer LogoOpen Project in Cirkit Designer
Arduino UNO-Based Flex Sensor Reader with I2C Communication
Image of Smart Glove for Sign Language Translation: A project utilizing Flex Sensor in a practical application
This circuit features an Arduino UNO interfacing with an I2C module, powered by a 9V battery. Flex sensors are connected to the analog inputs for flex detection, and pull-up resistors are used on the I2C lines for proper communication.
Cirkit Designer LogoOpen Project in Cirkit Designer

Explore Projects Built with Flex Sensor

Use Cirkit Designer to design, explore, and prototype these projects online. Some projects support real-time simulation. Click "Open Project" to start designing instantly!
Image of BME490: A project utilizing Flex Sensor in a practical application
Arduino Micro-Based Force Sensing Resistor Array
This is a sensor interface circuit using an Arduino Micro to read from multiple force sensing resistors and basic flex resistors, indicating it's designed for detecting pressure and flexing. The circuit is powered by a Lipo battery with a rocker switch for power control, and the microcontroller's code is currently a placeholder for future development.
Cirkit Designer LogoOpen Project in Cirkit Designer
Image of smart gloves: A project utilizing Flex Sensor in a practical application
ESP32-Based Flex Sensor Array and Heart Pulse Monitor with LCD Display
This circuit features an ESP32 microcontroller interfaced with multiple flex sensors, a heart pulse sensor, and a 16x2 LCD display. The ESP32 reads analog values from the flex sensors and the heart pulse sensor, then displays the readings of the first flex sensor and the heart pulse on the LCD. The circuit is designed for monitoring physical flex movements and heart rate, with the data visualized in real-time on the display and available via the serial output for further processing or monitoring.
Cirkit Designer LogoOpen Project in Cirkit Designer
Image of final circuit diagram: A project utilizing Flex Sensor in a practical application
ESP32-Based Force Measurement System with LSM303AGR Sensor
This circuit features an Adafruit HUZZAH32 ESP32 Feather microcontroller connected to an Adafruit LSM303AGR sensor via I2C communication lines (SCL and SDA), a force sensing resistor (FSR) interfaced through an analog input with a pull-up resistor, and powered by a 3xAA battery pack. The LSM303AGR sensor provides acceleration and magnetic field measurements, while the FSR detects applied force. The ESP32 processes these inputs and can be programmed to respond to sensor data for applications such as motion tracking and force measurement.
Cirkit Designer LogoOpen Project in Cirkit Designer
Image of Smart Glove for Sign Language Translation: A project utilizing Flex Sensor in a practical application
Arduino UNO-Based Flex Sensor Reader with I2C Communication
This circuit features an Arduino UNO interfacing with an I2C module, powered by a 9V battery. Flex sensors are connected to the analog inputs for flex detection, and pull-up resistors are used on the I2C lines for proper communication.
Cirkit Designer LogoOpen Project in Cirkit Designer

Common Applications

  • Robotics: Detecting joint movement or angular displacement.
  • Gaming Controllers: Measuring finger or hand movements for interactive gaming.
  • Wearable Technology: Monitoring body posture or gestures.
  • Medical Devices: Tracking rehabilitation exercises or hand movements.
  • Automotive Systems: Detecting steering wheel or seat adjustments.

Technical Specifications

Below are the key technical details of the Flex Sensor (Part ID: 1070):

Parameter Value
Manufacturer Spectra Symbol
Part ID 1070
Resistance (Flat State) 10 kΩ ± 30%
Resistance (Bent State) Up to ~40 kΩ (depending on bend)
Bend Angle Range 0° to ~90°
Power Rating 0.5 W (continuous)
Operating Voltage 0-5 V
Operating Temperature -35°C to +80°C
Length 2.2 inches (55.88 mm)
Thickness 0.43 mm

Pin Configuration and Descriptions

The Flex Sensor has two terminals, as it functions as a variable resistor. Below is the pin configuration:

Pin Description
Pin 1 One end of the resistive element (connect to VCC)
Pin 2 Other end of the resistive element (connect to GND)

Usage Instructions

How to Use the Flex Sensor in a Circuit

  1. Basic Circuit Setup:

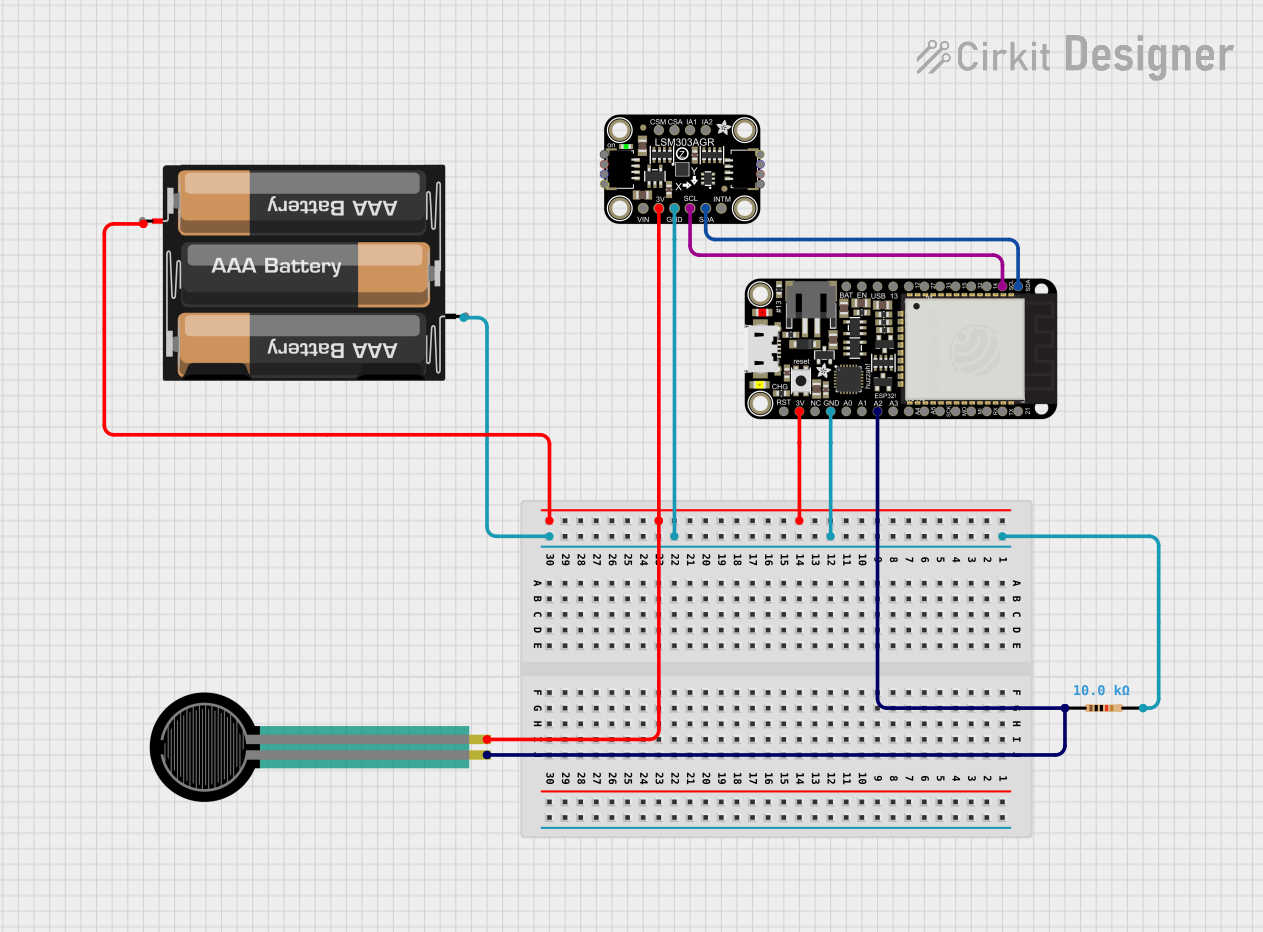
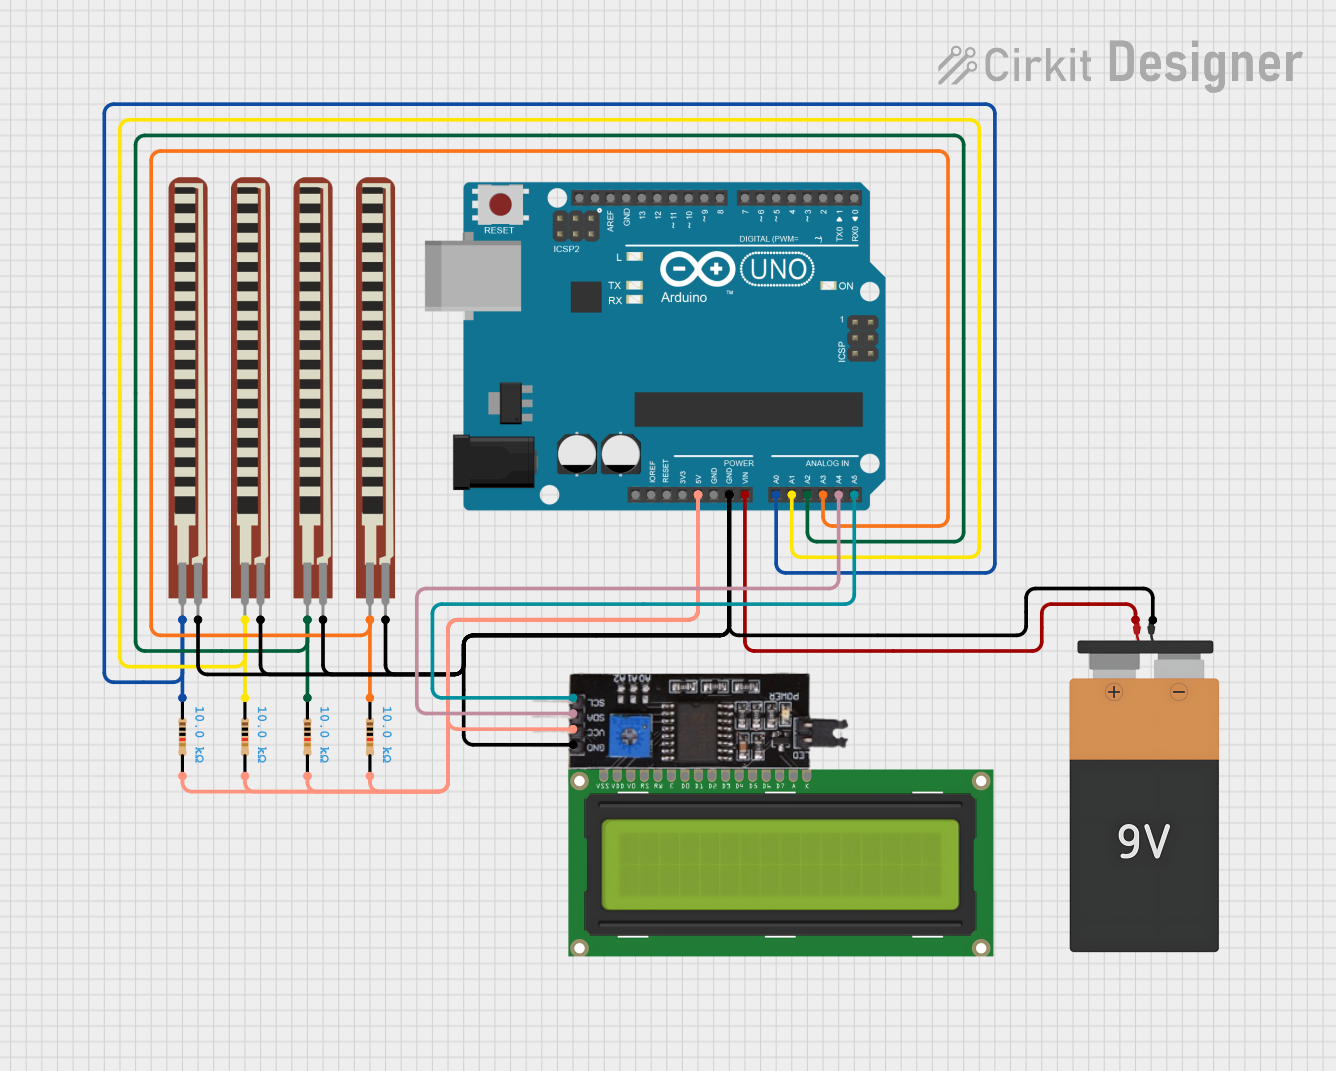
    • The Flex Sensor is typically used in a voltage divider circuit.
    • Connect one terminal of the sensor to a fixed resistor (e.g., 10 kΩ) and the other terminal to the ground (GND).
    • The junction between the fixed resistor and the Flex Sensor is connected to an analog input pin of a microcontroller (e.g., Arduino UNO).
  2. Reading the Sensor Output:

    • As the sensor bends, its resistance increases, causing a change in the voltage at the analog input pin.
    • This voltage can be read and processed to determine the degree of bending.

Important Considerations and Best Practices

  • Avoid Over-Bending: Do not bend the sensor beyond its specified range (~90°) to prevent damage.
  • Mounting: Secure the sensor carefully to avoid stress on the terminals.
  • Debouncing: If the sensor is used in dynamic applications, consider implementing software debouncing to filter noise.
  • Calibration: Calibrate the sensor for your specific application to map resistance values to meaningful angles or positions.

Example: Using the Flex Sensor with Arduino UNO

Below is an example code snippet to read the Flex Sensor's output using an Arduino UNO:

// Flex Sensor Example with Arduino UNO
// Reads the sensor value and prints the corresponding voltage to the Serial Monitor

const int flexSensorPin = A0; // Analog pin connected to the Flex Sensor
const int vcc = 5;           // Supply voltage (5V)

void setup() {
  Serial.begin(9600); // Initialize Serial communication at 9600 baud
  pinMode(flexSensorPin, INPUT); // Set the sensor pin as input
}

void loop() {
  int sensorValue = analogRead(flexSensorPin); // Read the analog value
  float voltage = (sensorValue / 1023.0) * vcc; // Convert to voltage
  
  // Print the sensor value and voltage to the Serial Monitor
  Serial.print("Sensor Value: ");
  Serial.print(sensorValue);
  Serial.print(" | Voltage: ");
  Serial.println(voltage);
  
  delay(500); // Wait for 500ms before the next reading
}

Notes:

  • Replace the fixed resistor in the voltage divider circuit with a value close to the sensor's flat resistance (10 kΩ) for optimal performance.
  • Use the map() function in Arduino to convert the sensor readings into meaningful units (e.g., degrees of bending).

Troubleshooting and FAQs

Common Issues and Solutions

  1. No Change in Sensor Output:

    • Cause: Loose connections or damaged sensor.
    • Solution: Check all connections and ensure the sensor is not physically damaged.
  2. Inconsistent Readings:

    • Cause: Electrical noise or improper mounting.
    • Solution: Use a capacitor (e.g., 0.1 µF) across the sensor terminals to filter noise. Ensure the sensor is securely mounted.
  3. Sensor Not Responding to Bends:

    • Cause: Exceeding the sensor's bend angle or using an incorrect resistor value in the voltage divider.
    • Solution: Ensure the bend angle is within the specified range and use a resistor value close to 10 kΩ.

FAQs

Q1: Can the Flex Sensor detect the direction of bending?
A1: No, the Flex Sensor only measures the degree of bending, not the direction. For directional sensing, additional sensors or configurations are required.

Q2: How do I extend the lifespan of the Flex Sensor?
A2: Avoid over-bending, handle the sensor carefully, and ensure proper mounting to reduce mechanical stress.

Q3: Can I use the Flex Sensor with a 3.3V microcontroller?
A3: Yes, the sensor can operate at 3.3V. However, ensure the voltage divider circuit is adjusted accordingly for accurate readings.

Q4: Is the Flex Sensor waterproof?
A4: No, the Flex Sensor is not waterproof. If used in environments with moisture, consider adding a protective covering.

By following this documentation, you can effectively integrate the Flex Sensor into your projects and troubleshoot common issues with ease.