How to Use CN3791 MPPT Adjustable Solar Charger: Examples, Pinouts, and Specs

Introduction
The CN3791 is a high-efficiency Maximum Power Point Tracking (MPPT) solar charger designed to optimize energy harvesting from solar panels. It is capable of dynamically adjusting its output voltage to efficiently charge various types of batteries, including lithium-ion, lead-acid, and other rechargeable chemistries. The MPPT functionality ensures that the solar panel operates at its maximum power point, maximizing energy transfer even under varying sunlight conditions.
Explore Projects Built with CN3791 MPPT Adjustable Solar Charger


Explore Projects Built with CN3791 MPPT Adjustable Solar Charger
Common Applications and Use Cases
- Solar-powered battery charging systems
- Off-grid renewable energy systems
- Portable solar chargers for outdoor use
- IoT devices powered by solar energy
- Solar-powered lighting systems
Technical Specifications
The CN3791 is a versatile and robust component with the following key specifications:
| Parameter | Value |
|---|---|
| Input Voltage Range | 4.5V to 28V |
| Output Voltage Range | Adjustable (up to 28V) |
| Maximum Charging Current | 3A |
| MPPT Efficiency | Up to 98% |
| Battery Types Supported | Lithium-ion, LiFePO4, Lead-acid |
| Operating Temperature Range | -40°C to +85°C |
| Package Type | SOP-8 |
Pin Configuration and Descriptions
The CN3791 has an 8-pin configuration, as detailed below:
| Pin Number | Pin Name | Description |
|---|---|---|
| 1 | VIN | Input voltage from the solar panel (4.5V to 28V). |
| 2 | GND | Ground connection. |
| 3 | BAT | Battery connection for charging. |
| 4 | VCC | Internal power supply pin. Connect a decoupling capacitor to ground. |
| 5 | MPPT | MPPT voltage setting pin. Connect a resistor divider to set the MPPT voltage. |
| 6 | CHRG | Charging status indicator (open-drain output). |
| 7 | DONE | Charge completion indicator (open-drain output). |
| 8 | PROG | Charging current programming pin. Connect a resistor to set the charge current. |
Usage Instructions
How to Use the CN3791 in a Circuit
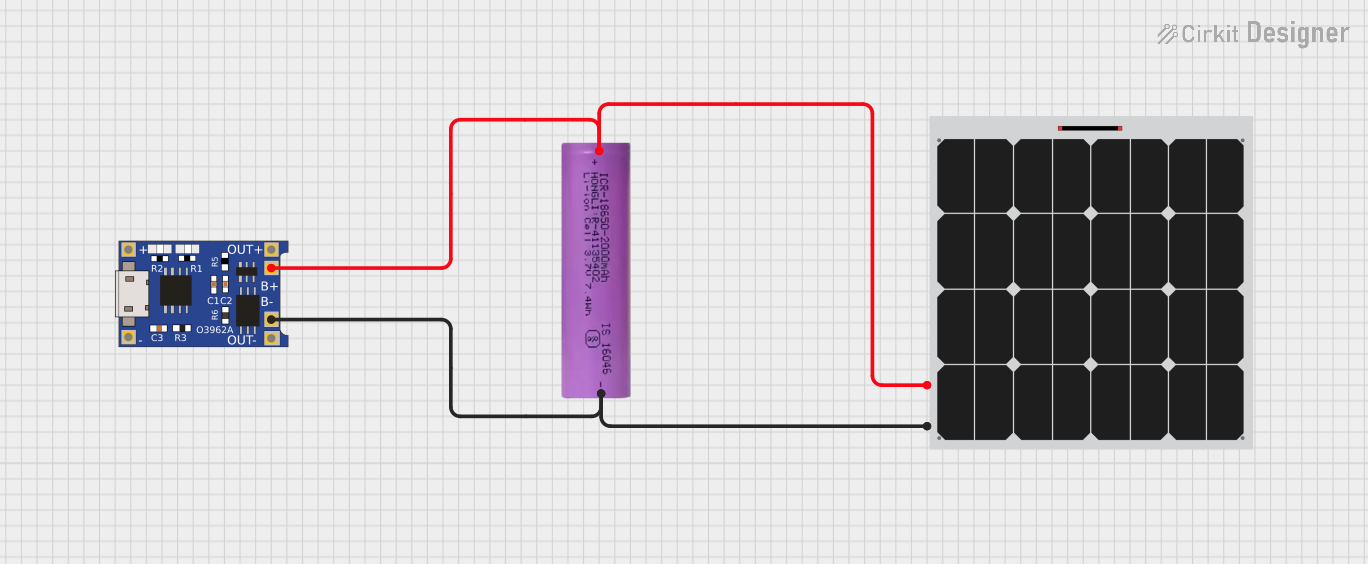
- Connect the Solar Panel: Attach the positive and negative terminals of the solar panel to the VIN and GND pins, respectively.
- Set the MPPT Voltage: Use a resistor divider network on the MPPT pin to set the desired maximum power point voltage for the solar panel.
- Connect the Battery: Attach the battery's positive terminal to the BAT pin and the negative terminal to GND.
- Program the Charging Current: Connect a resistor to the PROG pin to set the desired charging current. The current is determined by the formula: [ I_{CHG} = \frac{1000}{R_{PROG}} ] where ( R_{PROG} ) is the resistance in kΩ.
- Monitor Charging Status: Use the CHRG and DONE pins to monitor the charging process. These pins can be connected to LEDs or a microcontroller for status indication.
Important Considerations and Best Practices
- Input Voltage: Ensure the solar panel's output voltage is within the 4.5V to 28V range.
- Heat Dissipation: The CN3791 can generate heat during operation. Use proper heat sinking or ensure adequate ventilation.
- Battery Compatibility: Verify that the battery chemistry and voltage are compatible with the CN3791's output settings.
- MPPT Tuning: Properly calculate the resistor divider values for the MPPT pin to match the solar panel's maximum power point voltage.
Example: Using CN3791 with an Arduino UNO
The CN3791 can be integrated with an Arduino UNO to monitor charging status. Below is an example code snippet:
// Define pin connections for CHRG and DONE
const int CHRG_PIN = 2;  // CHRG pin connected to Arduino digital pin 2
const int DONE_PIN = 3;  // DONE pin connected to Arduino digital pin 3

void setup() {
  pinMode(CHRG_PIN, INPUT);  // Set CHRG pin as input
  pinMode(DONE_PIN, INPUT);  // Set DONE pin as input
  Serial.begin(9600);        // Initialize serial communication
}

void loop() {
  int chrgStatus = digitalRead(CHRG_PIN);  // Read CHRG pin status
  int doneStatus = digitalRead(DONE_PIN); // Read DONE pin status

  if (chrgStatus == LOW) {
    Serial.println("Charging in progress...");
  } else if (doneStatus == LOW) {
    Serial.println("Charging complete!");
  } else {
    Serial.println("No charging activity detected.");
  }

  delay(1000);  // Wait for 1 second before checking again
}
Troubleshooting and FAQs
Common Issues and Solutions
No Charging Activity Detected
- Cause: Insufficient input voltage from the solar panel.
- Solution: Verify that the solar panel is providing at least 4.5V under current sunlight conditions.
Overheating
- Cause: Excessive charging current or poor heat dissipation.
- Solution: Reduce the charging current by increasing the ( R_{PROG} ) resistor value or improve ventilation.
Battery Not Charging Fully
- Cause: Incorrect MPPT voltage setting or incompatible battery.
- Solution: Recalculate the resistor divider for the MPPT pin and ensure the battery is within the supported voltage range.
CHRG and DONE LEDs Not Working
- Cause: Open-drain pins not properly connected.
- Solution: Use pull-up resistors on the CHRG and DONE pins or connect them to an appropriate microcontroller input.
FAQs
Can the CN3791 charge multiple batteries in series?
- No, the CN3791 is designed for single-battery configurations. For series batteries, use a dedicated battery management system (BMS).
What happens if the input voltage exceeds 28V?
- The CN3791 may be damaged. Use a voltage regulator or zener diode to limit the input voltage.
Can I use the CN3791 without a solar panel?
- Yes, any DC power source within the 4.5V to 28V range can be used as the input.
By following this documentation, users can effectively integrate the CN3791 MPPT Adjustable Solar Charger into their solar-powered projects.