How to Use Grove Base Shield V2: Examples, Pinouts, and Specs
Introduction
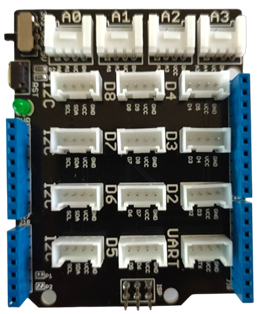
The Grove Base Shield V2 by Seeed Studio (Manufacturer Part ID: Grove Base Shield V2) is a versatile expansion board designed for Arduino development boards. It simplifies prototyping and development by providing a seamless way to connect Grove modules, which include a wide range of sensors, actuators, and displays. The shield features multiple Grove ports, making it easy to integrate various components without the need for soldering or complex wiring.
Explore Projects Built with Grove Base Shield V2

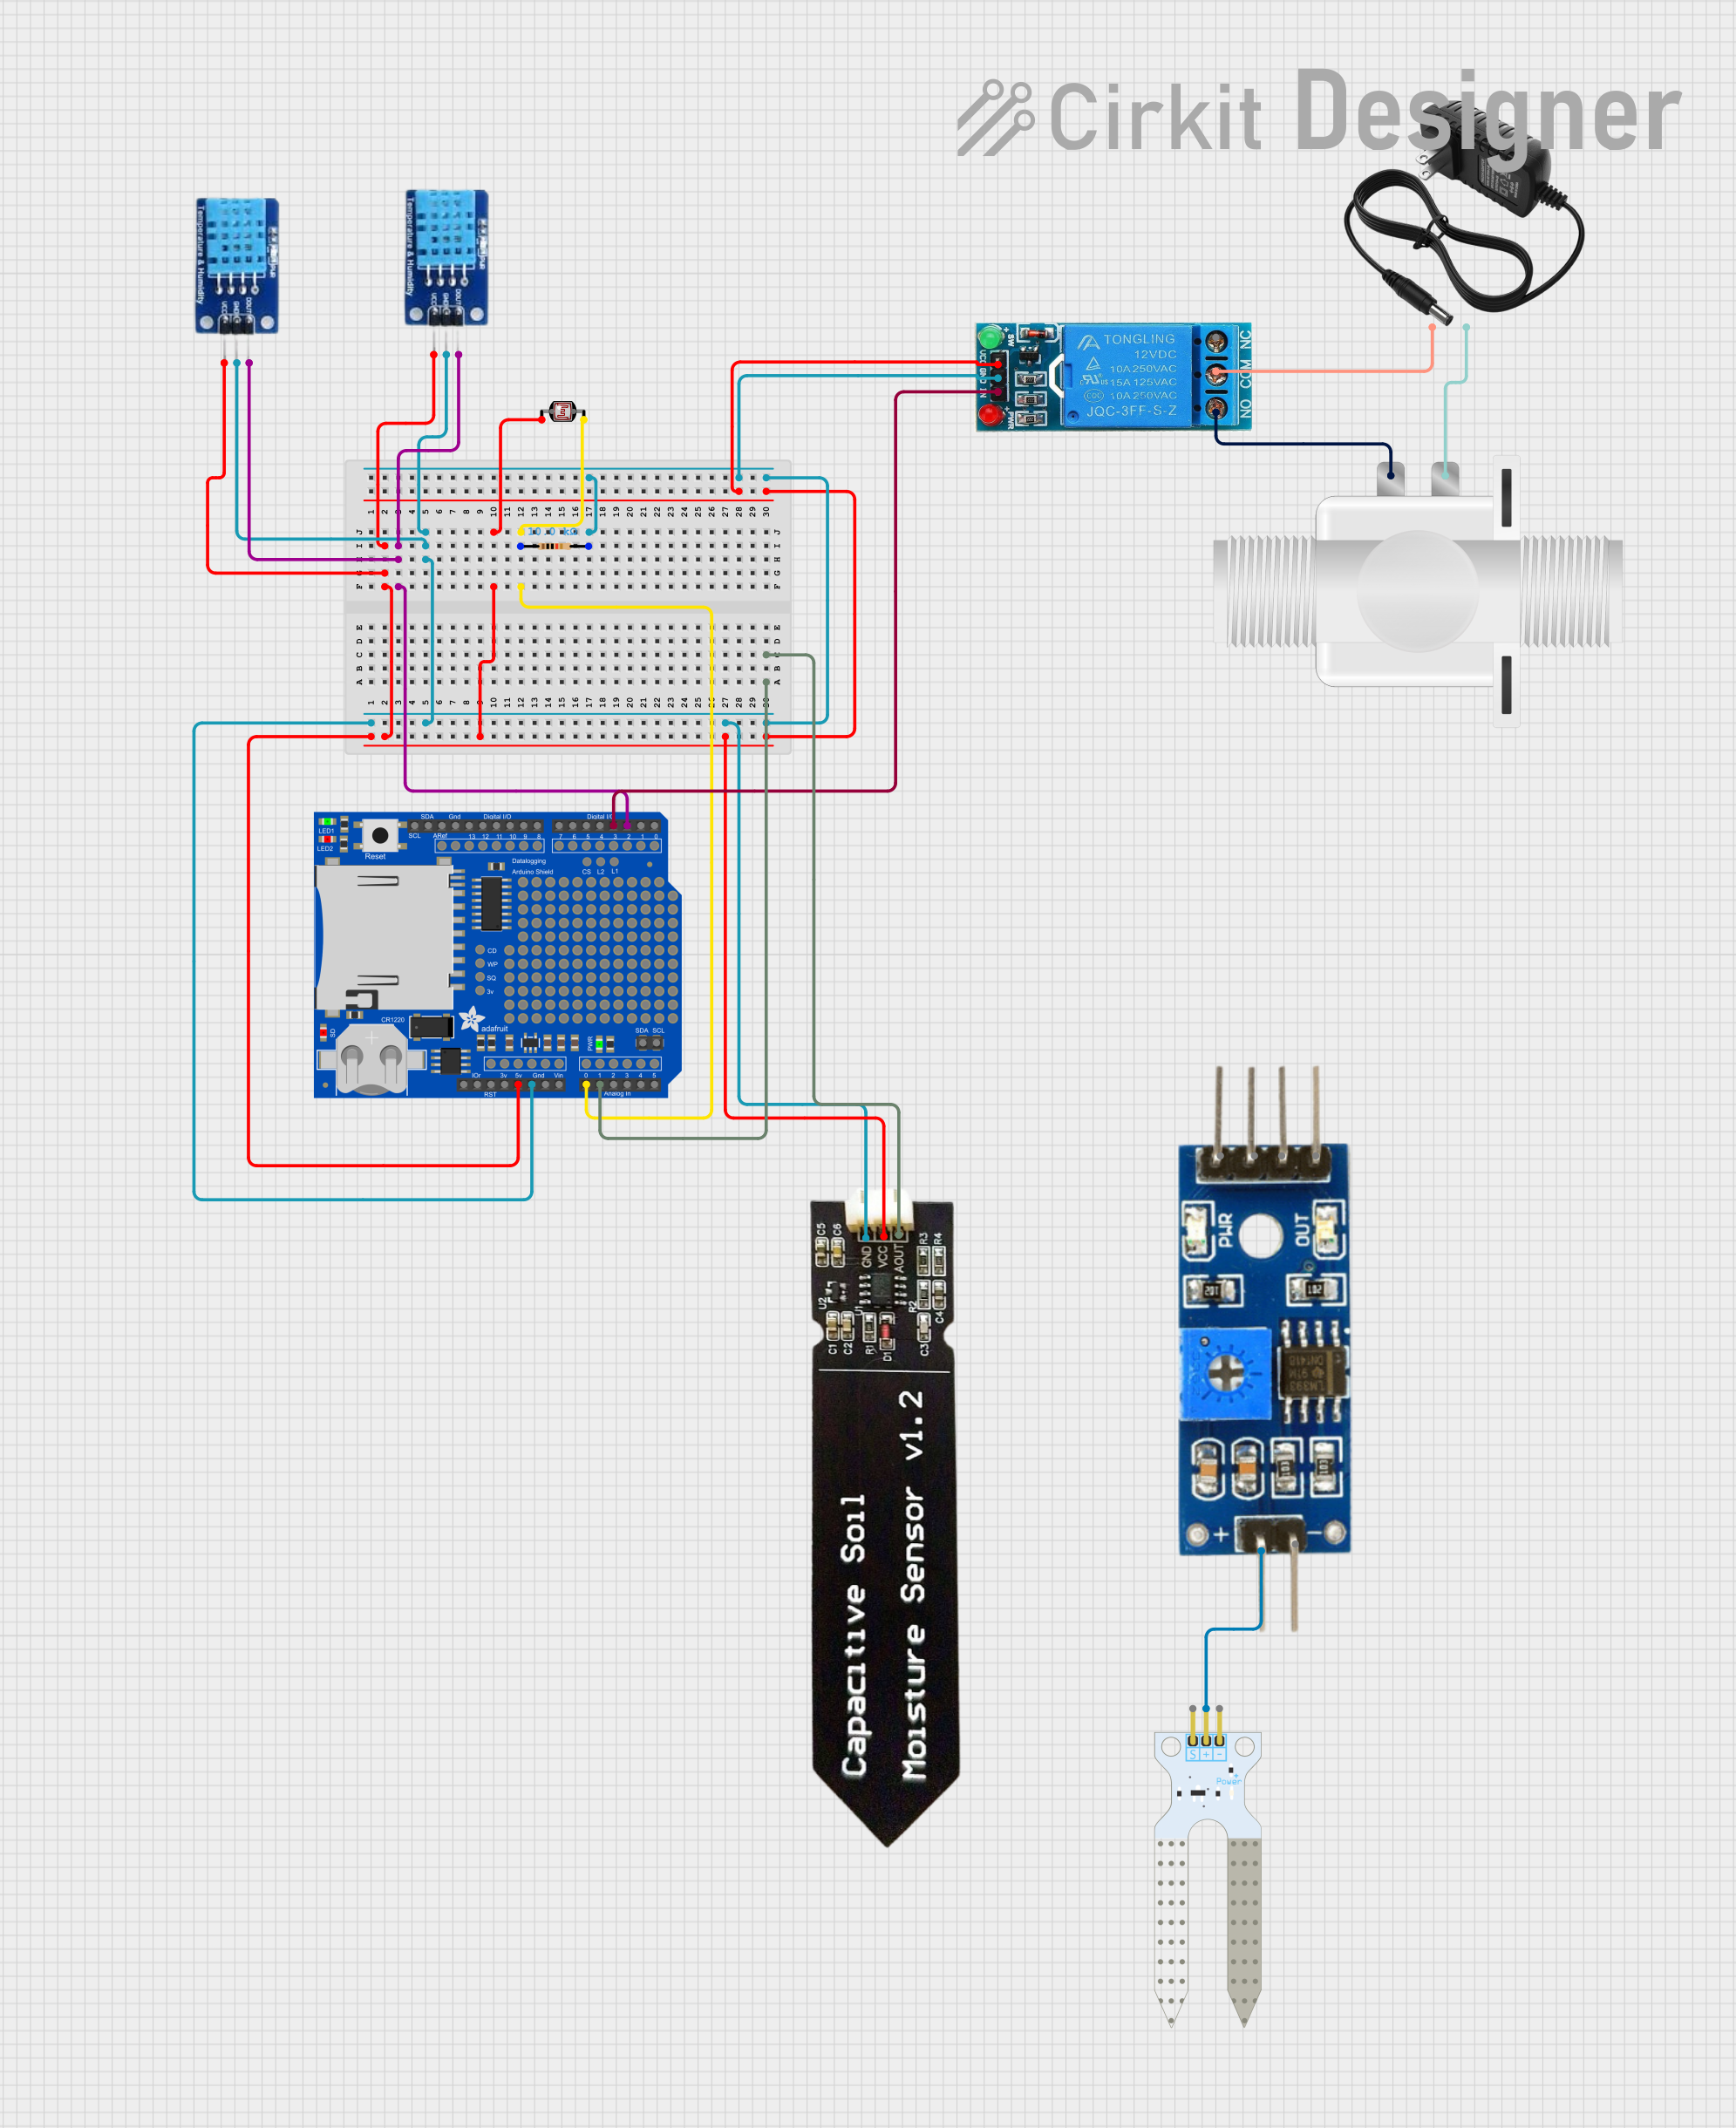
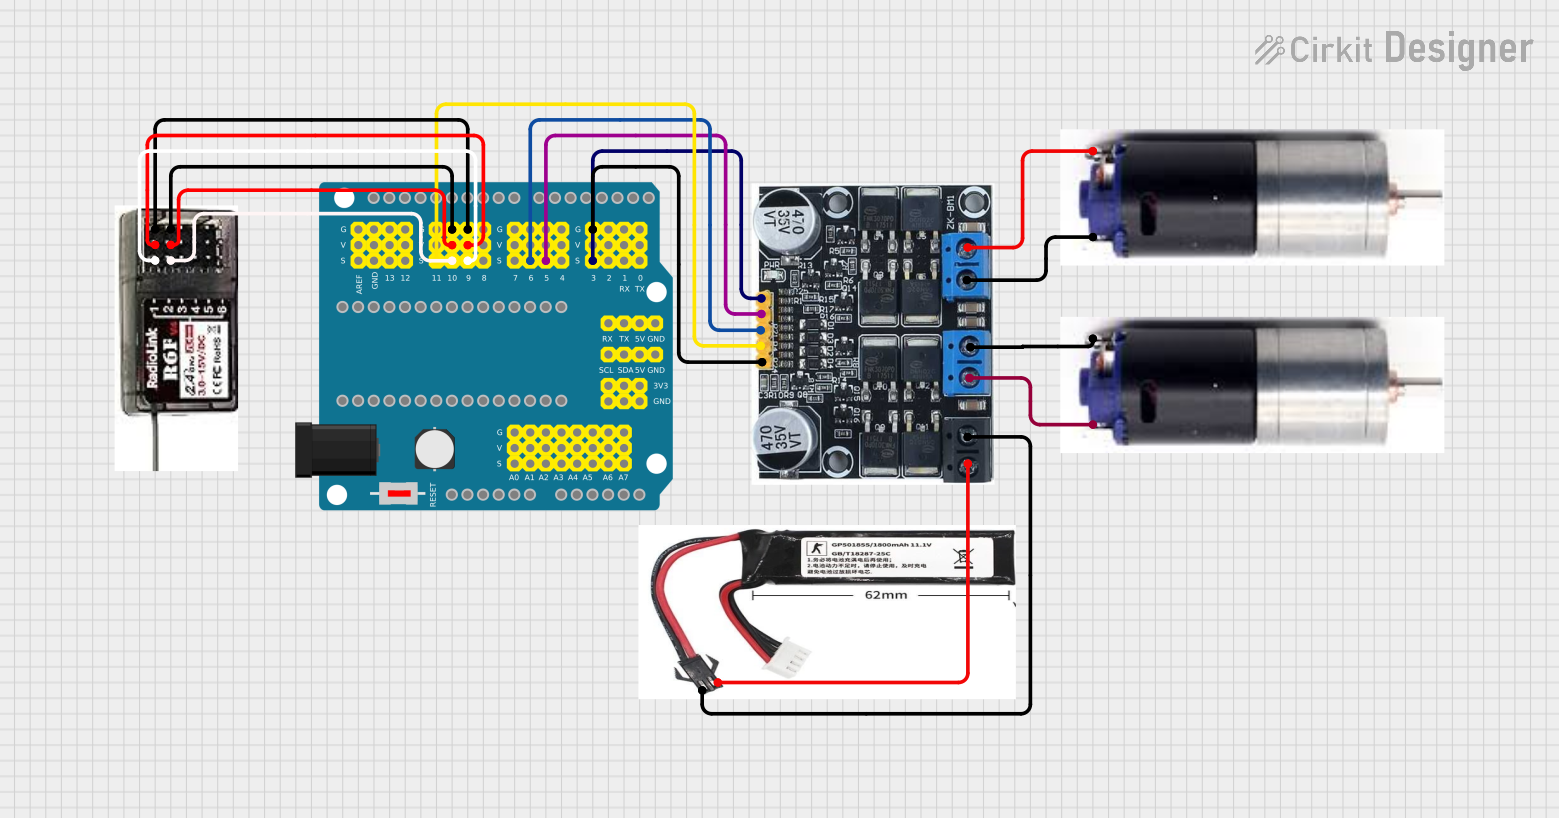

Explore Projects Built with Grove Base Shield V2
Common Applications and Use Cases
- Rapid prototyping of IoT devices
- Educational projects and STEM learning
- Sensor integration for environmental monitoring
- Robotics and automation systems
- Wearable technology and smart devices
Technical Specifications
The Grove Base Shield V2 is designed to be compatible with most Arduino boards, including the Arduino UNO, Mega, and Leonardo. Below are the key technical details:
Key Technical Details
| Parameter | Specification |
|---|---|
| Operating Voltage | 3.3V / 5V (selectable via jumper) |
| Compatible Boards | Arduino UNO, Mega, Leonardo, etc. |
| Grove Ports | 16 (Digital, Analog, UART, I2C) |
| Dimensions | 68.7mm x 53.3mm |
| Weight | 20g |
| Operating Temperature | -40°C to 85°C |
Pin Configuration and Descriptions
The Grove Base Shield V2 features multiple Grove ports, each with a specific function. Below is a breakdown of the ports and their pin configurations:
Digital Ports
| Port Label | Pin Mapping (Arduino) | Description |
|---|---|---|
| D2 | D2 | Digital I/O port |
| D3 | D3 (PWM capable) | Digital I/O with PWM support |
| D4 | D4 | Digital I/O port |
| D5 | D5 (PWM capable) | Digital I/O with PWM support |
| D6 | D6 (PWM capable) | Digital I/O with PWM support |
| D7 | D7 | Digital I/O port |
| D8 | D8 | Digital I/O port |
Analog Ports
| Port Label | Pin Mapping (Arduino) | Description |
|---|---|---|
| A0 | A0 | Analog input port |
| A1 | A1 | Analog input port |
| A2 | A2 | Analog input port |
| A3 | A3 | Analog input port |
| A4 | A4 (I2C SDA) | Analog input / I2C data line |
| A5 | A5 (I2C SCL) | Analog input / I2C clock line |
UART and I2C Ports
| Port Label | Pin Mapping (Arduino) | Description |
|---|---|---|
| UART | D0 (RX), D1 (TX) | Serial communication port |
| I2C | A4 (SDA), A5 (SCL) | I2C communication port |
Usage Instructions
The Grove Base Shield V2 is designed to simplify the process of connecting Grove modules to an Arduino board. Follow the steps below to use the shield effectively:
Step 1: Hardware Setup
- Attach the Shield: Plug the Grove Base Shield V2 onto your Arduino board. Ensure the pins are aligned correctly.
- Select Voltage: Use the onboard jumper to select the operating voltage (3.3V or 5V) based on the requirements of your Grove modules.
- Connect Grove Modules: Plug Grove modules into the appropriate ports (Digital, Analog, UART, or I2C) on the shield.
Step 2: Software Setup
- Install Arduino IDE: Download and install the Arduino IDE from Arduino's official website.
- Install Grove Libraries: Many Grove modules require specific libraries. Install these libraries via the Arduino Library Manager or from Seeed Studio's GitHub repository.
- Write or Load Code: Write your own code or use example sketches provided by Seeed Studio.
Example Code: Reading Data from a Grove Temperature Sensor
Below is an example of how to use the Grove Base Shield V2 with a Grove Temperature Sensor connected to port A0:
// Include the Grove library for the temperature sensor
#include <Grove_Temperature_And_Humidity_Sensor.h>

// Define the analog pin where the sensor is connected
const int tempSensorPin = A0;

void setup() {
  // Initialize serial communication for debugging
  Serial.begin(9600);
  Serial.println("Grove Temperature Sensor Example");
}

void loop() {
  // Read the analog value from the temperature sensor
  int sensorValue = analogRead(tempSensorPin);

  // Convert the analog value to a temperature in Celsius
  float voltage = sensorValue * (5.0 / 1023.0); // Convert to voltage
  float temperatureC = (voltage - 0.5) * 100.0; // Convert to Celsius

  // Print the temperature to the Serial Monitor
  Serial.print("Temperature: ");
  Serial.print(temperatureC);
  Serial.println(" °C");

  // Wait for 1 second before the next reading
  delay(1000);
}
Best Practices
- Always check the voltage requirements of your Grove modules before connecting them.
- Use the I2C port for modules that require I2C communication, such as OLED displays or IMUs.
- Avoid connecting multiple modules to the same port unless explicitly supported.
Troubleshooting and FAQs
Common Issues
No Data from Grove Module
- Cause: Incorrect port connection or missing library.
- Solution: Verify the module is connected to the correct port and install the required library.
Arduino Not Recognized by Computer
- Cause: Faulty USB cable or missing drivers.
- Solution: Replace the USB cable and ensure the Arduino drivers are installed.
Incorrect Sensor Readings
- Cause: Wrong voltage selection or loose connections.
- Solution: Check the voltage jumper setting and ensure all connections are secure.
FAQs
Can I use the Grove Base Shield V2 with a Raspberry Pi?
- No, the Grove Base Shield V2 is designed specifically for Arduino boards. For Raspberry Pi, use the GrovePi+.
How many Grove modules can I connect simultaneously?
- You can connect up to 16 modules, depending on the type of ports and modules used.
Is the shield compatible with 3.3V-only Arduino boards?
- Yes, the shield supports both 3.3V and 5V operation. Use the jumper to select the appropriate voltage.
By following this documentation, you can effectively use the Grove Base Shield V2 to simplify your prototyping and development process.