Cirkit Designer Logo
Cirkit Designer
Your all-in-one circuit design IDE
Home / 
Component Documentation

How to Use Soil RK520-01: Examples, Pinouts, and Specs

Image of Soil RK520-01
Cirkit Designer LogoDesign with Soil RK520-01 in Cirkit Designer

Introduction

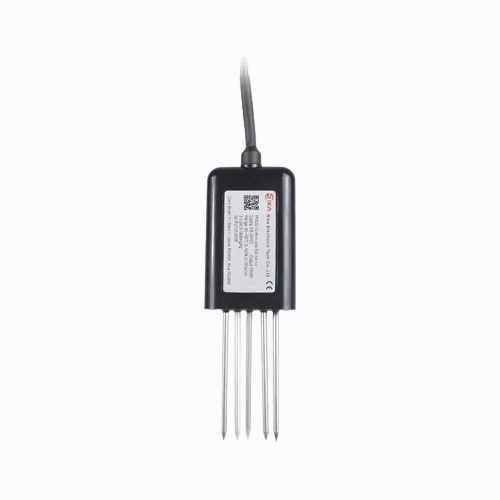
The Soil RK520-01 is a robust soil moisture sensor designed to gauge the volumetric water content in soil. This sensor is an indispensable tool for agriculture, landscaping, and environmental science, providing real-time data to optimize irrigation schedules, conserve water, and monitor plant health.

Explore Projects Built with Soil RK520-01

Use Cirkit Designer to design, explore, and prototype these projects online. Some projects support real-time simulation. Click "Open Project" to start designing instantly!
Arduino UNO-Based NPK Soil Sensor with OLED Display and RS-485 Communication
Image of npk: A project utilizing Soil RK520-01 in a practical application
This circuit is designed to measure soil nutrient levels using an NPK soil sensor and display the results on an OLED screen. An Arduino UNO microcontroller reads data from the soil sensor via an RS-485 module and processes the information to display nitrogen, phosphorus, and potassium levels on the OLED display.
Cirkit Designer LogoOpen Project in Cirkit Designer
Arduino UNO-Based Smart Soil Monitoring System with OLED and LCD Displays
Image of final: A project utilizing Soil RK520-01 in a practical application
This circuit is a soil monitoring system that uses an Arduino UNO to read data from a soil moisture sensor and an NPK soil sensor. The data is displayed on a 16x2 I2C LCD and a 0.96" OLED display. The NPK soil sensor is powered by a 12V battery and communicates with the Arduino via an RS485 module.
Cirkit Designer LogoOpen Project in Cirkit Designer
Arduino UNO-Based Soil Monitoring System with RS485 and Capacitive Moisture Sensor
Image of NPK -pH sensor design: A project utilizing Soil RK520-01 in a practical application
This circuit uses an Arduino UNO to read and display soil nutrient levels (Nitrogen, Phosphorous, Potassium) and moisture content. It interfaces with an NPK Soil Sensor via an RS485 module and a Capacitive Soil Moisture Sensor, displaying the data on an LCD screen.
Cirkit Designer LogoOpen Project in Cirkit Designer
Arduino UNO Based Soil Nutrient and Moisture Analyzer with RS485 Communication
Image of NPK: A project utilizing Soil RK520-01 in a practical application
This circuit is designed to monitor soil conditions using an Arduino UNO connected to an RS485 transceiver and two soil sensors: a Capacitive Soil Moisture Sensor and an NPK Soil Sensor. The Arduino reads moisture levels directly from the Capacitive Sensor and communicates with the NPK Sensor via RS485 to obtain nitrogen, phosphorous, and potassium values. The data is processed and outputted by the Arduino, which is powered by a lipo battery.
Cirkit Designer LogoOpen Project in Cirkit Designer

Explore Projects Built with Soil RK520-01

Use Cirkit Designer to design, explore, and prototype these projects online. Some projects support real-time simulation. Click "Open Project" to start designing instantly!
Image of npk: A project utilizing Soil RK520-01 in a practical application
Arduino UNO-Based NPK Soil Sensor with OLED Display and RS-485 Communication
This circuit is designed to measure soil nutrient levels using an NPK soil sensor and display the results on an OLED screen. An Arduino UNO microcontroller reads data from the soil sensor via an RS-485 module and processes the information to display nitrogen, phosphorus, and potassium levels on the OLED display.
Cirkit Designer LogoOpen Project in Cirkit Designer
Image of final: A project utilizing Soil RK520-01 in a practical application
Arduino UNO-Based Smart Soil Monitoring System with OLED and LCD Displays
This circuit is a soil monitoring system that uses an Arduino UNO to read data from a soil moisture sensor and an NPK soil sensor. The data is displayed on a 16x2 I2C LCD and a 0.96" OLED display. The NPK soil sensor is powered by a 12V battery and communicates with the Arduino via an RS485 module.
Cirkit Designer LogoOpen Project in Cirkit Designer
Image of NPK -pH sensor design: A project utilizing Soil RK520-01 in a practical application
Arduino UNO-Based Soil Monitoring System with RS485 and Capacitive Moisture Sensor
This circuit uses an Arduino UNO to read and display soil nutrient levels (Nitrogen, Phosphorous, Potassium) and moisture content. It interfaces with an NPK Soil Sensor via an RS485 module and a Capacitive Soil Moisture Sensor, displaying the data on an LCD screen.
Cirkit Designer LogoOpen Project in Cirkit Designer
Image of NPK: A project utilizing Soil RK520-01 in a practical application
Arduino UNO Based Soil Nutrient and Moisture Analyzer with RS485 Communication
This circuit is designed to monitor soil conditions using an Arduino UNO connected to an RS485 transceiver and two soil sensors: a Capacitive Soil Moisture Sensor and an NPK Soil Sensor. The Arduino reads moisture levels directly from the Capacitive Sensor and communicates with the NPK Sensor via RS485 to obtain nitrogen, phosphorous, and potassium values. The data is processed and outputted by the Arduino, which is powered by a lipo battery.
Cirkit Designer LogoOpen Project in Cirkit Designer

Common Applications and Use Cases

  • Agriculture: Monitoring soil moisture for optimal crop growth.
  • Landscaping: Ensuring proper irrigation of lawns and gardens.
  • Environmental Science: Studying soil moisture levels in different ecosystems.
  • Smart Gardening: Integrating with automated watering systems in smart homes.

Technical Specifications

Key Technical Details

  • Operating Voltage: 3.3V to 5V DC
  • Output Voltage: 0V to 3.0V DC
  • Current Consumption: 35mA (typical)
  • Measurement Range: 0 to 100% volumetric water content
  • Accuracy: ±3%
  • Operating Temperature: -40°C to +85°C
  • Probe Material: Corrosion-resistant

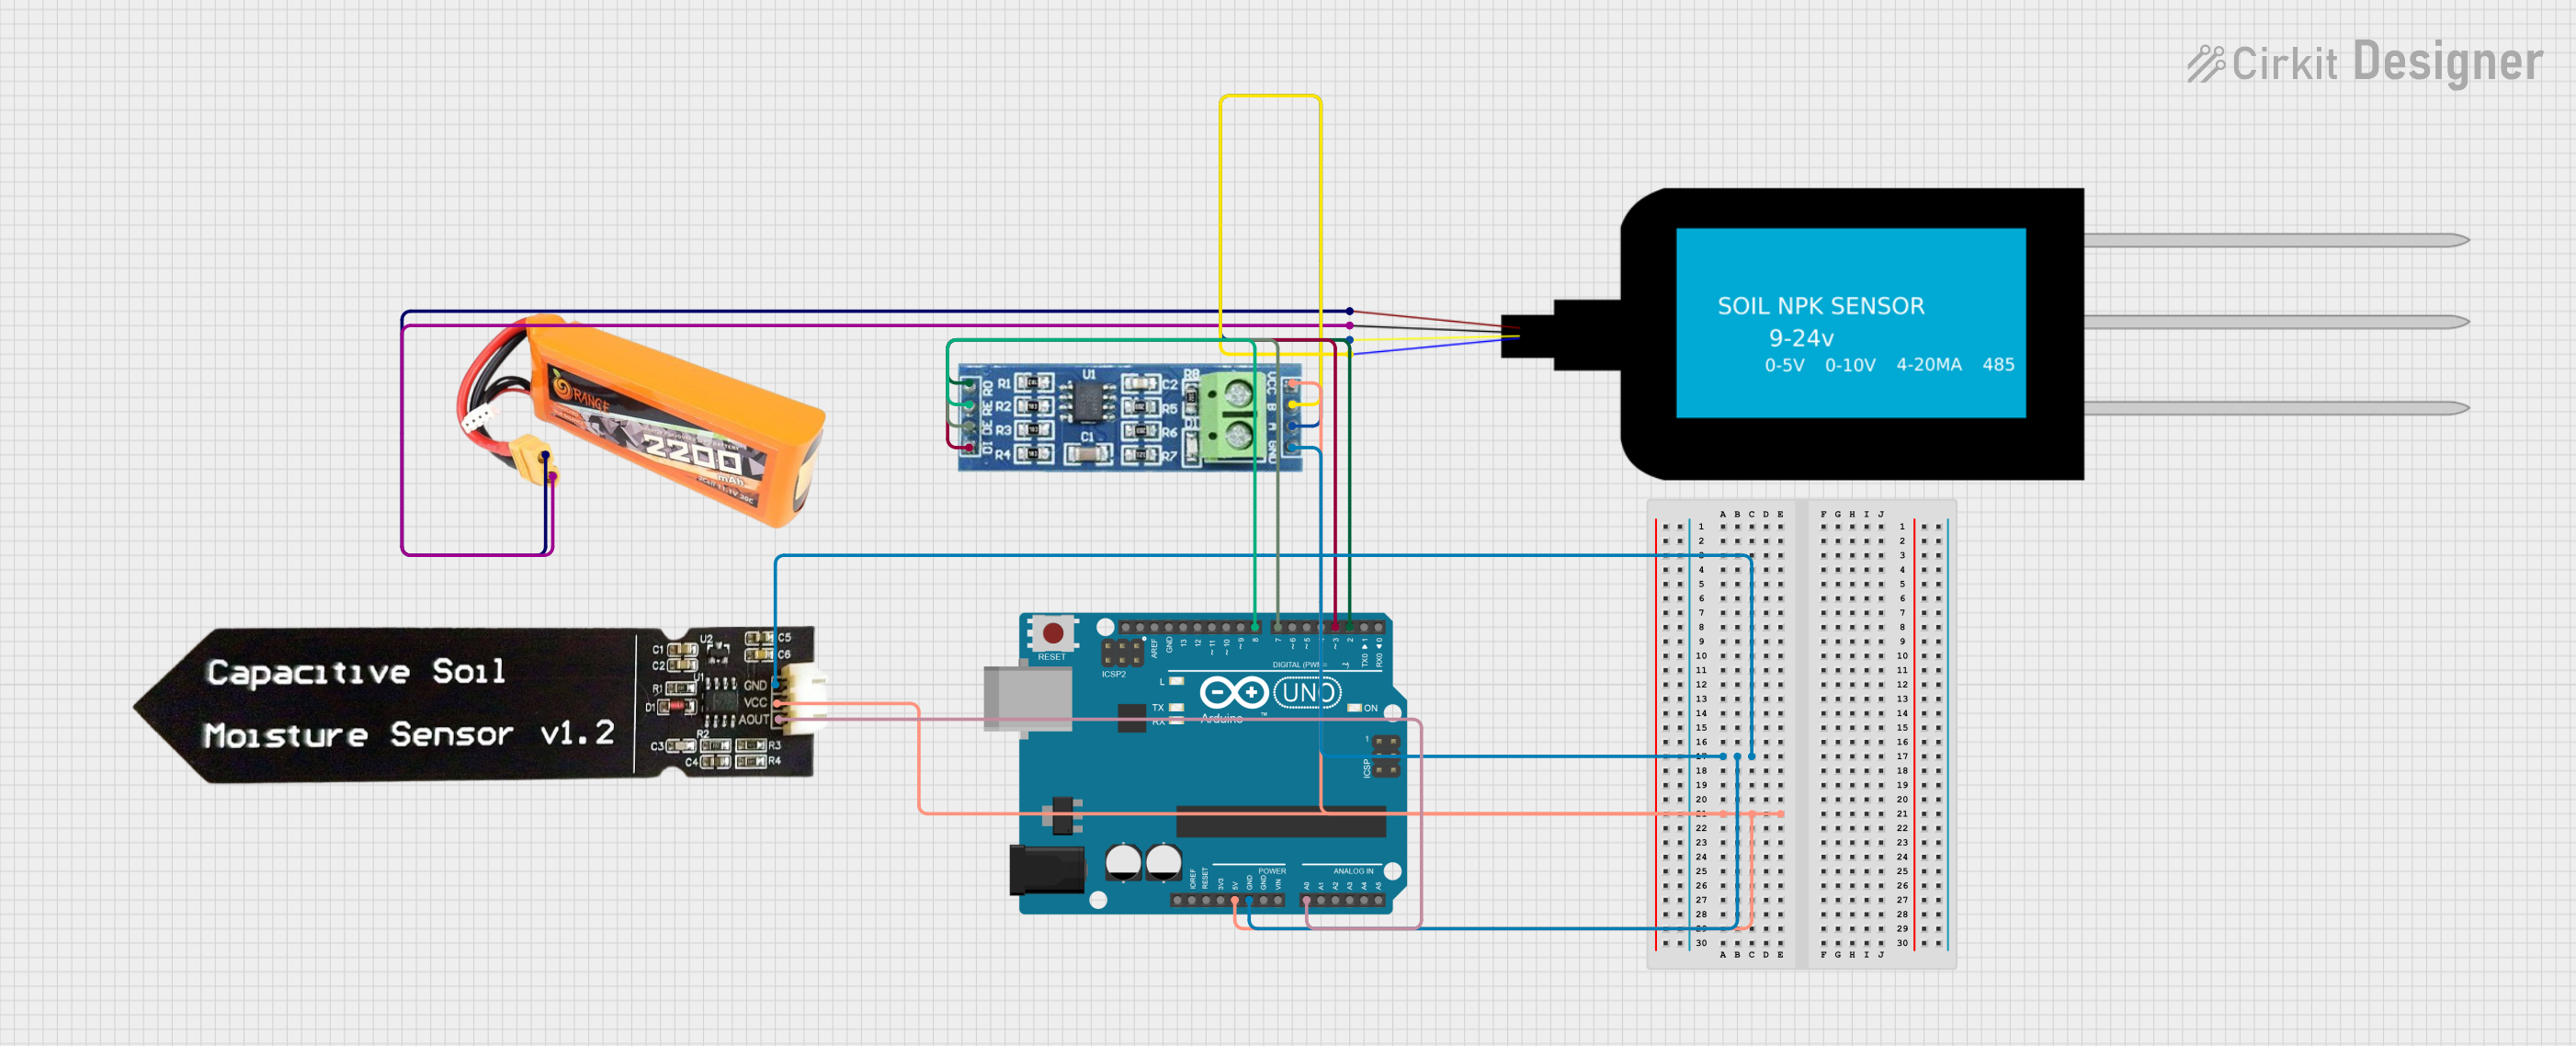
Pin Configuration and Descriptions

Pin Number Name Description
1 VCC Power supply (3.3V to 5V DC)
2 GND Ground connection
3 AOUT Analog output voltage
4 DOUT Digital output (threshold set by onboard potentiometer)

Usage Instructions

How to Use the Component in a Circuit

  1. Power Connection: Connect the VCC pin to a 3.3V or 5V power supply and the GND pin to the ground.
  2. Output Connection: Connect the AOUT pin to an analog input on your microcontroller to read the moisture level.
  3. Threshold Adjustment: If using the digital output, adjust the onboard potentiometer to set the desired moisture threshold.

Important Considerations and Best Practices

  • Avoid submerging the electronic components of the sensor; only the probe should be inserted into the soil.
  • For accurate readings, ensure the probe is inserted into the soil up to the indicated depth line.
  • Calibrate the sensor for the specific soil type if precise measurements are required.
  • Use a pull-up resistor if the sensor is located far from the microcontroller to prevent signal degradation.

Example Code for Arduino UNO

// Soil RK520-01 Soil Moisture Sensor Example for Arduino UNO

const int MOISTURE_SENSOR_PIN = A0; // Analog input pin connected to AOUT

void setup() {
  Serial.begin(9600); // Initialize serial communication at 9600 baud rate
}

void loop() {
  int sensorValue = analogRead(MOISTURE_SENSOR_PIN); // Read the soil moisture value
  float moisturePercent = (sensorValue / 1023.0) * 100; // Convert to percentage

  Serial.print("Soil Moisture Level: ");
  Serial.print(moisturePercent);
  Serial.println("%");

  delay(1000); // Wait for a second before reading again
}

Troubleshooting and FAQs

Common Issues

  • Inaccurate Readings: Ensure the probe is fully inserted into the soil and the sensor is calibrated for the soil type.
  • No Readings: Check the power supply and wiring connections to the sensor.
  • Sensor Corrosion: Avoid leaving the sensor in the soil for extended periods when not in use.

Solutions and Tips for Troubleshooting

  • Calibration: Perform a calibration using a known moisture reference to improve accuracy.
  • Wiring Check: Verify that all connections are secure and free from corrosion.
  • Power Supply: Ensure the sensor is receiving the correct voltage as per the technical specifications.

FAQs

Q: Can the sensor be left in the soil permanently? A: It is not recommended to leave the sensor in the soil permanently as prolonged exposure to moisture can lead to corrosion.

Q: Is the sensor waterproof? A: The probe is water-resistant, but the electronic components are not waterproof. Care should be taken to prevent exposure to water.

Q: How do I clean the sensor? A: Gently clean the probe with water and a soft brush. Do not use any harsh chemicals or abrasives.

Q: Can the sensor be used with any microcontroller? A: Yes, the sensor can be used with any microcontroller that has analog input capabilities.