
How to Use Winstar display: Examples, Pinouts, and Specs
 Design with Winstar display in Cirkit Designer
Introduction
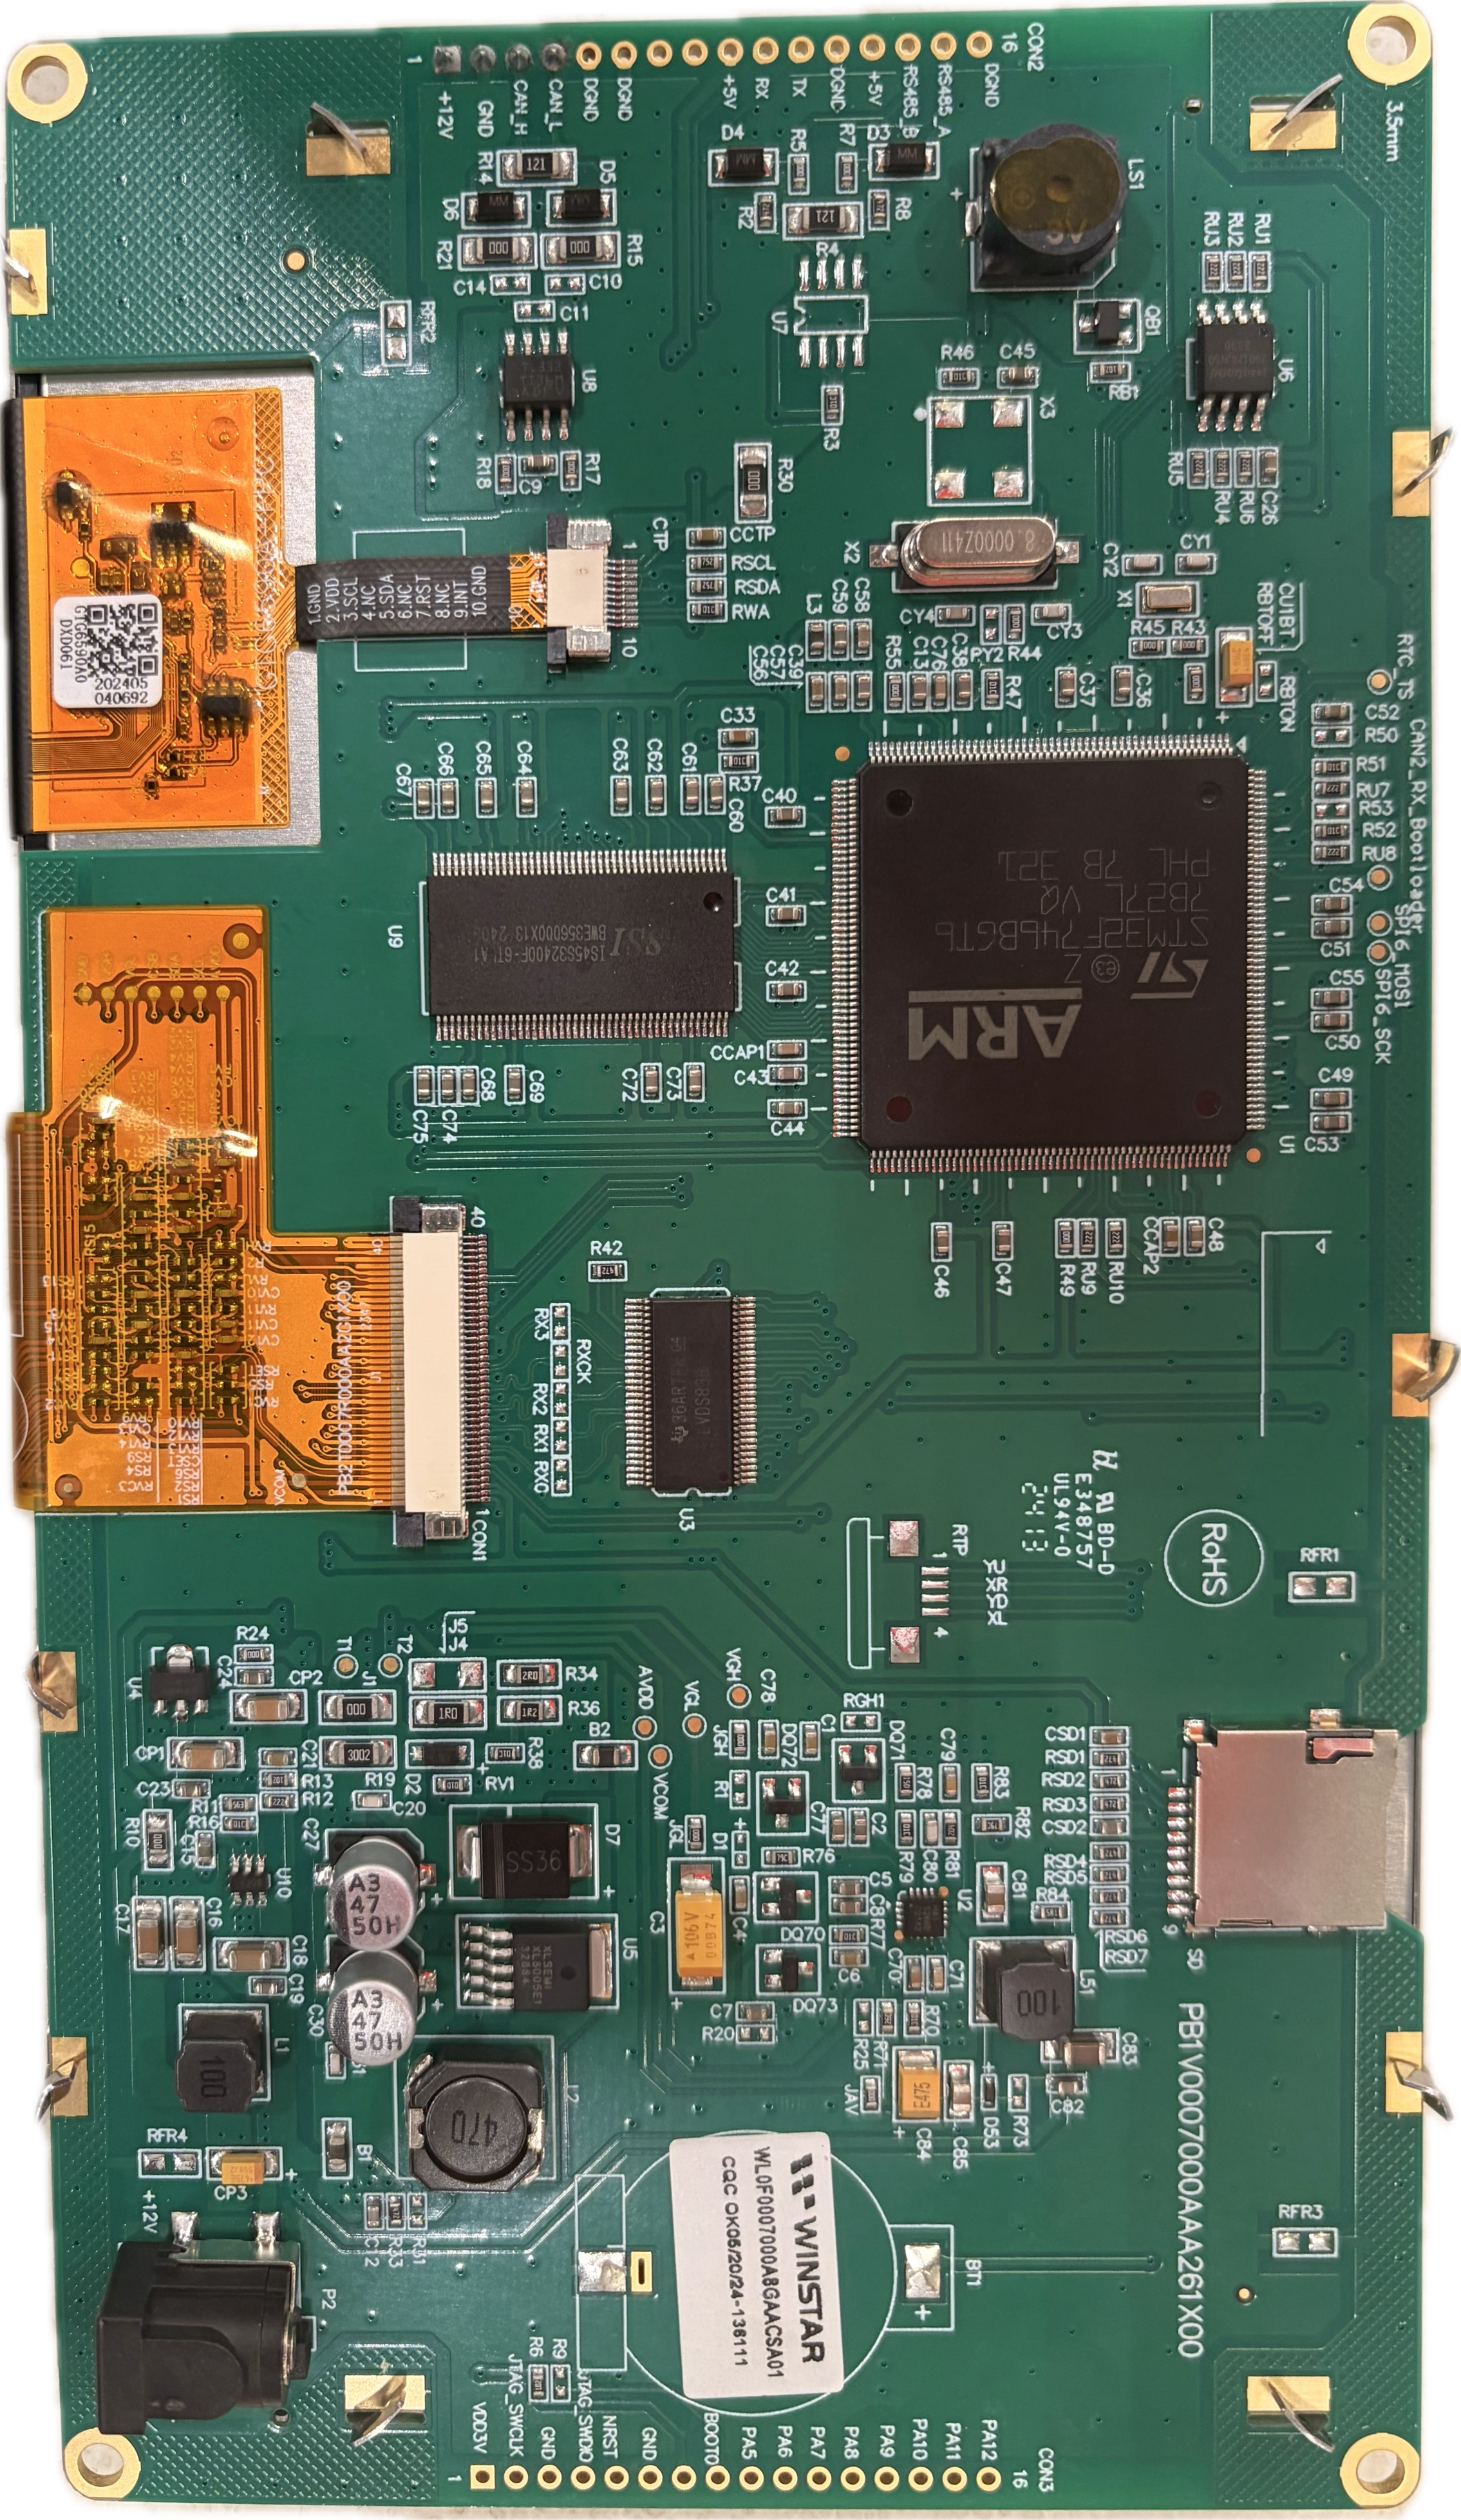
The Winstar 7" TFT 1024x600 display is a high-resolution Thin Film Transistor (TFT) LCD screen designed for visual output in a wide range of electronic devices. Known for its excellent clarity, vibrant colors, and low power consumption, this display is ideal for applications requiring high-quality graphical interfaces. It is commonly used in industrial control systems, medical devices, automotive dashboards, and consumer electronics.
Explore Projects Built with Winstar display
 Open Project in Cirkit Designer
 Open Project in Cirkit Designer
 Open Project in Cirkit Designer
 Open Project in Cirkit Designer
Explore Projects Built with Winstar display
Open Project in Cirkit DesignerOpen Project in Cirkit DesignerOpen Project in Cirkit DesignerOpen Project in Cirkit DesignerCommon Applications:
- Industrial control panels
- Medical equipment displays
- Automotive infotainment systems
- Consumer electronics (e.g., smart home devices, handheld consoles)
- Embedded systems with graphical user interfaces (GUIs)
Technical Specifications
The following table outlines the key technical details of the Winstar 7" TFT 1024x600 display:
General Specifications
| Parameter | Value |
|---|---|
| Manufacturer | Winstar |
| Part ID | 7" TFT 1024x600 |
| Display Type | TFT LCD |
| Resolution | 1024 x 600 pixels |
| Screen Size | 7 inches (diagonal) |
| Aspect Ratio | 16:9 |
| Viewing Angle | 70°/70°/50°/70° (L/R/U/D) |
| Interface | RGB, LVDS, or HDMI |
| Backlight | LED |
| Brightness | 500 cd/m² (typical) |
| Contrast Ratio | 800:1 (typical) |
| Operating Temperature | -20°C to +70°C |
| Storage Temperature | -30°C to +80°C |
Electrical Specifications
| Parameter | Value |
|---|---|
| Supply Voltage (VDD) | 3.3V or 5V |
| Power Consumption | ~2.5W (typical) |
| Backlight Voltage | 9.6V |
| Backlight Current | 180mA (typical) |
Pin Configuration
The pin configuration may vary depending on the interface (e.g., RGB, LVDS, or HDMI). Below is an example pinout for the RGB interface:
| Pin Number | Pin Name | Description |
|---|---|---|
| 1 | VDD | Power supply (3.3V or 5V) |
| 2 | GND | Ground |
| 3 | R0-R7 | Red data bits (0-7) |
| 4 | G0-G7 | Green data bits (0-7) |
| 5 | B0-B7 | Blue data bits (0-7) |
| 6 | HSYNC | Horizontal sync signal |
| 7 | VSYNC | Vertical sync signal |
| 8 | DE | Data enable signal |
| 9 | CLK | Pixel clock |
| 10 | LED+ | Backlight positive terminal |
| 11 | LED- | Backlight negative terminal |
Refer to the manufacturer's datasheet for detailed pin configurations for other interfaces.
Usage Instructions
How to Use the Winstar 7" TFT 1024x600 Display in a Circuit
- Power Supply: Ensure the display is powered with the correct voltage (3.3V or 5V for VDD). Use a stable power source to avoid damage.
- Interface Selection: Choose the appropriate interface (RGB, LVDS, or HDMI) based on your application and connect the corresponding pins.
- Backlight Control: Connect the LED+ and LED- pins to a constant current driver or a suitable resistor to control the backlight.
- Microcontroller/Processor: Use a microcontroller or processor with a compatible display controller to send data to the screen.
- Initialization: Initialize the display using the appropriate commands or library for your microcontroller. For example, if using an Arduino, you can use libraries like
TFT_eSPIorAdafruit_GFX.
Example: Connecting to an Arduino UNO
The Winstar 7" TFT 1024x600 display can be connected to an Arduino UNO using an RGB interface and a compatible shield. Below is an example code snippet for initializing the display:
#include <Adafruit_GFX.h>  // Core graphics library
#include <Adafruit_TFTLCD.h>  // Hardware-specific library

#define LCD_CS A3  // Chip Select pin
#define LCD_CD A2  // Command/Data pin
#define LCD_WR A1  // LCD Write pin
#define LCD_RD A0  // LCD Read pin
#define LCD_RESET A4  // Reset pin

// Create an instance of the display
Adafruit_TFTLCD tft(LCD_CS, LCD_CD, LCD_WR, LCD_RD, LCD_RESET);

void setup() {
  tft.reset();  // Reset the display
  tft.begin(0x9341);  // Initialize with the display driver ID
  tft.setRotation(1);  // Set display orientation
  tft.fillScreen(0x0000);  // Clear the screen (black)
  tft.setTextColor(0xFFFF);  // Set text color (white)
  tft.setTextSize(2);  // Set text size
  tft.setCursor(10, 10);  // Set cursor position
  tft.print("Winstar Display!");  // Display text
}

void loop() {
  // Add your code here to update the display
}
Important Considerations:
- Voltage Levels: Ensure the logic voltage levels of your microcontroller match the display's requirements.
- Backlight Control: Use a proper current-limiting resistor or driver for the backlight to avoid damage.
- Initialization: Always refer to the manufacturer's initialization sequence for proper operation.
- Signal Integrity: Use short and properly routed wires to minimize noise and signal degradation.
Troubleshooting and FAQs
Common Issues and Solutions
No Display Output:
- Verify the power supply voltage and connections.
- Check the initialization code for errors.
- Ensure the interface pins are correctly connected.
Flickering or Distorted Image:
- Check the pixel clock and synchronization signals (HSYNC, VSYNC).
- Ensure proper grounding and minimize noise in the circuit.
Backlight Not Working:
- Verify the backlight voltage and current.
- Check the LED+ and LED- connections.
Incorrect Colors:
- Ensure the RGB data lines are correctly connected.
- Verify the color depth and data format settings in the code.
FAQs
Q: Can this display be used with Raspberry Pi?
A: Yes, the Winstar 7" TFT 1024x600 display can be connected to a Raspberry Pi using the HDMI or GPIO interface, depending on the model.
Q: Does this display support touch input?
A: Touch functionality is not included by default but can be added with an external touch panel.
Q: What is the typical lifespan of the backlight?
A: The LED backlight typically has a lifespan of 20,000 to 50,000 hours, depending on usage conditions.
Q: Can I use this display outdoors?
A: While the display has a wide operating temperature range, additional protection (e.g., anti-glare coating or enclosure) may be required for outdoor use.
For further details, refer to the Winstar datasheet or contact the manufacturer.