
How to Use LilyPad Tri-Color LED: Examples, Pinouts, and Specs
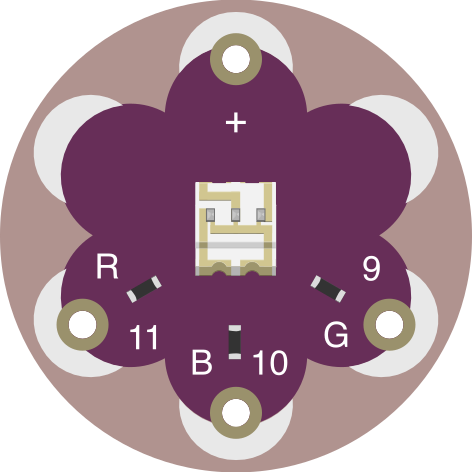
 Design with LilyPad Tri-Color LED in Cirkit Designer
Introduction
The LilyPad Tri-Color LED is a flexible and compact light-emitting diode module designed specifically for e-textile and wearable projects. It features three individual LEDs (red, green, and blue) that can be combined to produce a wide range of colors. Its sewable design and compatibility with conductive thread make it ideal for integrating into fabric-based projects. This component is perfect for creating dynamic lighting effects, color-changing patterns, and interactive designs in wearable electronics.
Explore Projects Built with LilyPad Tri-Color LED
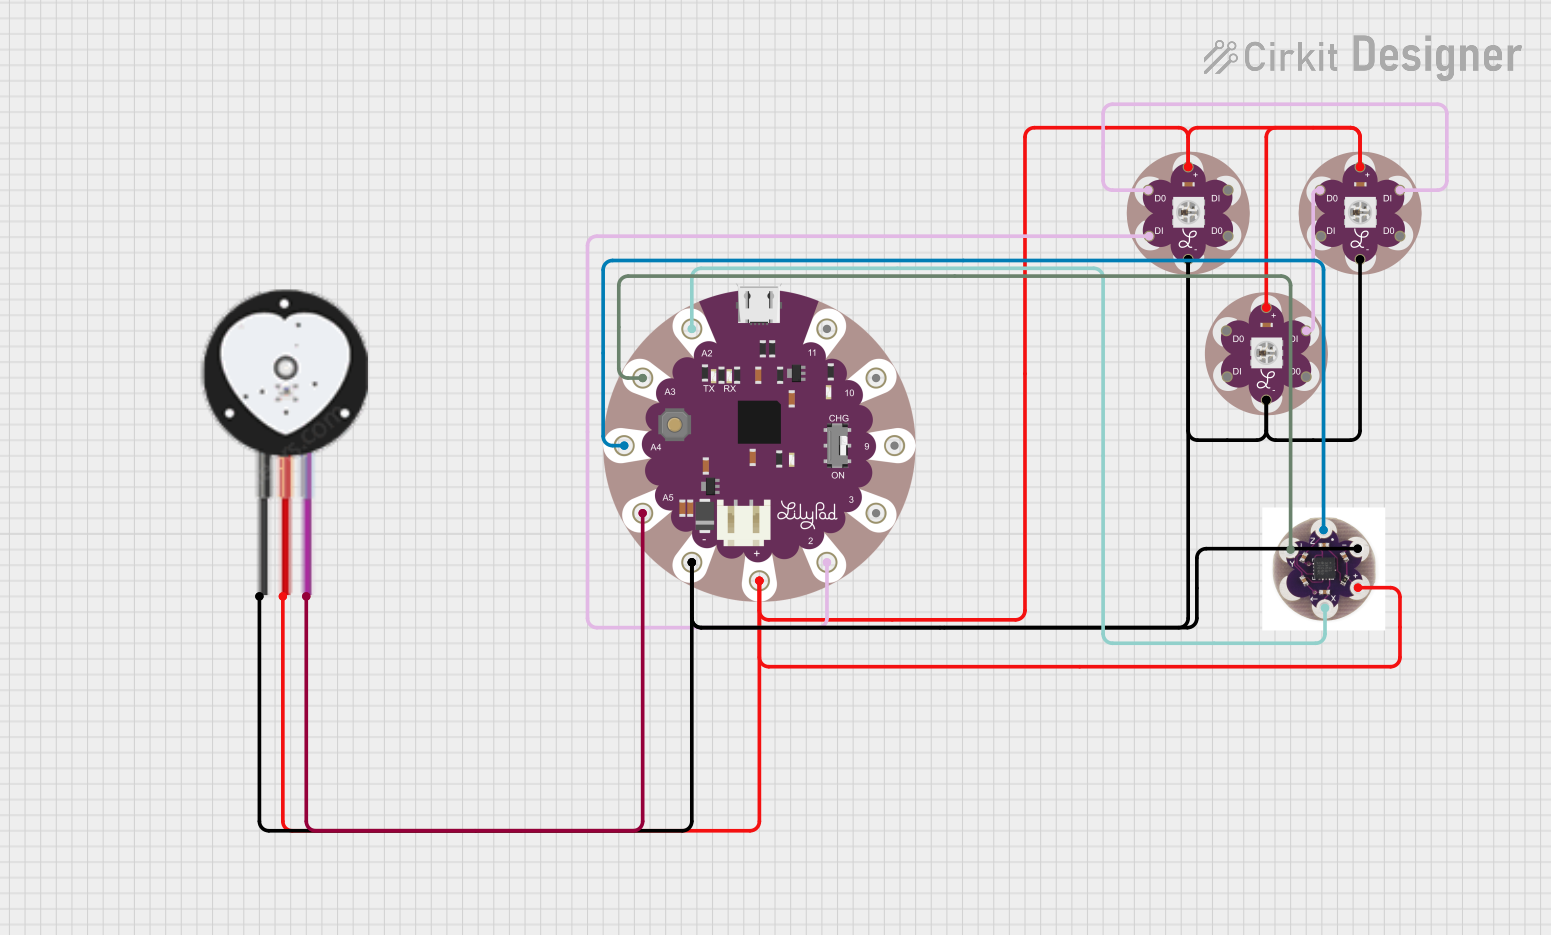 Open Project in Cirkit Designer
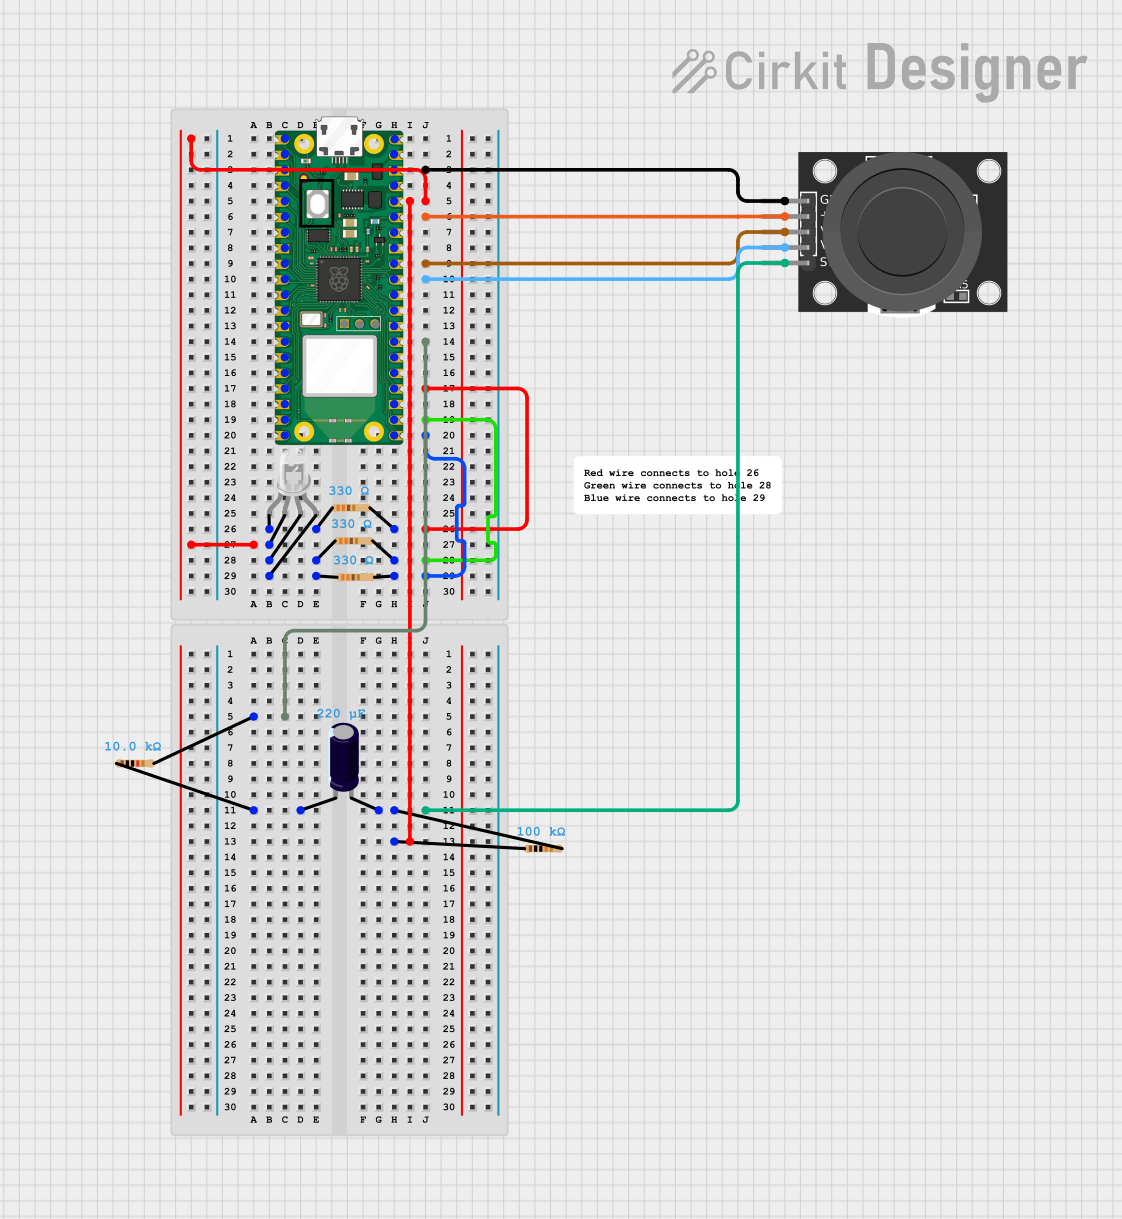 Open Project in Cirkit Designer
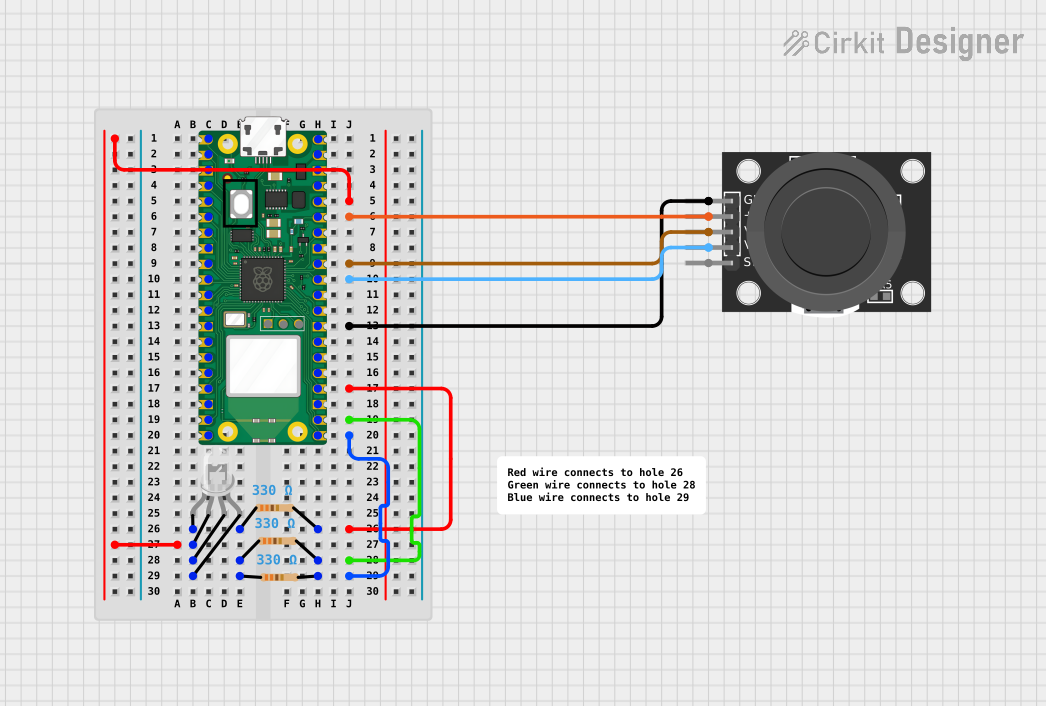 Open Project in Cirkit Designer
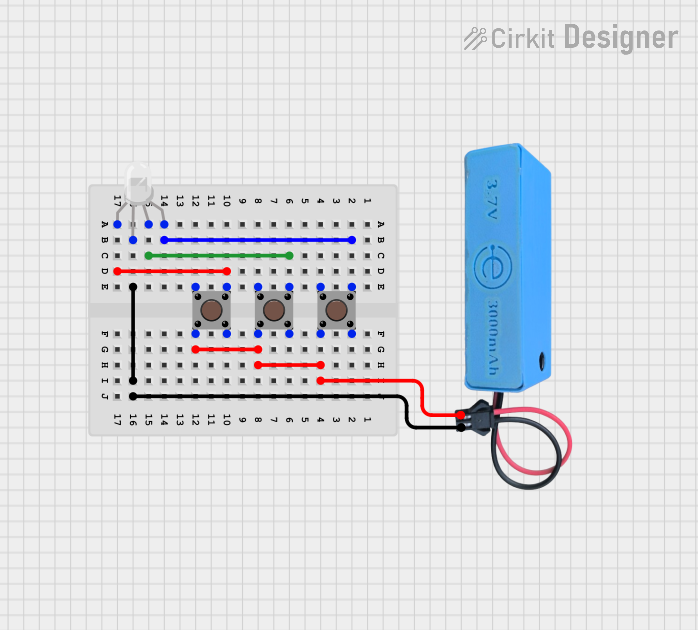 Open Project in Cirkit Designer
Explore Projects Built with LilyPad Tri-Color LED
Open Project in Cirkit DesignerOpen Project in Cirkit DesignerOpen Project in Cirkit DesignerOpen Project in Cirkit DesignerCommon Applications and Use Cases
- Wearable electronics and e-textiles
- Fashion technology projects
- Interactive costumes and accessories
- Light-based art installations
- Educational projects for learning about RGB color mixing
Technical Specifications
The LilyPad Tri-Color LED consists of three LEDs (red, green, and blue) mounted on a sewable PCB. Each LED can be controlled individually to create custom colors and effects.
Key Technical Details
| Parameter | Specification |
|---|---|
| Operating Voltage | 2.0V (Red), 3.2V (Green/Blue) |
| Forward Current | 20mA per LED |
| Dimensions | 20mm diameter |
| PCB Material | Flexible, sewable fabric PCB |
| Connection Type | Sewable pads for conductive thread or wires |
Pin Configuration and Descriptions
The LilyPad Tri-Color LED has four sewable connection pads:
| Pin Name | Description |
|---|---|
| R | Positive terminal for the red LED |
| G | Positive terminal for the green LED |
| B | Positive terminal for the blue LED |
| - | Common ground for all LEDs |
Usage Instructions
How to Use the Component in a Circuit
- Powering the LEDs: Connect the
R,G, andBpads to the positive terminals of your power source or microcontroller pins. Connect the-pad to the ground of your circuit. - Controlling Colors: By varying the voltage or using pulse-width modulation (PWM) on the
R,G, andBpads, you can control the brightness of each LED and mix colors. - Sewing into Fabric: Use conductive thread to sew the pads into your textile project. Ensure tight and secure connections to avoid loose threads causing short circuits.
Important Considerations and Best Practices
- Current Limiting Resistors: Always use appropriate resistors in series with each LED to limit the current and prevent damage. For example, a 220Ω resistor is commonly used for 5V systems.
- Power Supply: Ensure your power source provides sufficient voltage and current for all three LEDs.
- Avoid Short Circuits: When sewing with conductive thread, ensure threads do not cross or touch unintentionally.
- Heat Management: While the LEDs are low-power, prolonged use at high brightness may generate heat. Avoid covering the module with insulating materials.
Example: Connecting to an Arduino UNO
Below is an example of how to connect and control the LilyPad Tri-Color LED using an Arduino UNO:
Circuit Connections
- Connect the
R,G, andBpads to Arduino digital pins 9, 10, and 11, respectively. - Connect the
-pad to the Arduino GND pin. - Place a 220Ω resistor in series with each connection to limit current.
Arduino Code
// Define pins for the RGB LEDs
const int redPin = 9;    // Pin connected to the red LED
const int greenPin = 10; // Pin connected to the green LED
const int bluePin = 11;  // Pin connected to the blue LED

void setup() {
  // Set the RGB pins as outputs
  pinMode(redPin, OUTPUT);
  pinMode(greenPin, OUTPUT);
  pinMode(bluePin, OUTPUT);
}

void loop() {
  // Example: Cycle through red, green, and blue colors
  setColor(255, 0, 0); // Red
  delay(1000);         // Wait 1 second
  setColor(0, 255, 0); // Green
  delay(1000);         // Wait 1 second
  setColor(0, 0, 255); // Blue
  delay(1000);         // Wait 1 second
  setColor(255, 255, 0); // Yellow (Red + Green)
  delay(1000);           // Wait 1 second
}

// Function to set the color of the LED
void setColor(int redValue, int greenValue, int blueValue) {
  analogWrite(redPin, redValue);   // Set brightness of red LED
  analogWrite(greenPin, greenValue); // Set brightness of green LED
  analogWrite(bluePin, blueValue);  // Set brightness of blue LED
}
Troubleshooting and FAQs
Common Issues and Solutions
LEDs Not Lighting Up:
- Check all connections to ensure they are secure.
- Verify that the power supply voltage matches the LED requirements.
- Ensure current-limiting resistors are in place.
Incorrect Colors or No Color Mixing:
- Verify that the correct pins are connected to the respective
R,G, andBpads. - Check the Arduino code for errors in the
analogWritevalues.
- Verify that the correct pins are connected to the respective
Short Circuits:
- Inspect the conductive thread for crossed or frayed connections.
- Use insulating fabric or tape to separate conductive threads if necessary.
Dim LEDs:
- Ensure the power supply can provide sufficient current.
- Check the resistor values; they may be too high.
FAQs
Q: Can I use the LilyPad Tri-Color LED without a microcontroller?
A: Yes, you can connect the R, G, and B pads to a power source with appropriate resistors to light up the LEDs. However, a microcontroller is required for dynamic color control.
Q: What type of thread should I use for sewing?
A: Use conductive thread designed for e-textiles. Ensure it has low resistance for better performance.
Q: Can I wash the fabric with the LilyPad Tri-Color LED attached?
A: The module is not waterproof. Remove it before washing or use protective measures to shield it from water.
Q: How do I create custom colors?
A: Adjust the PWM values for the R, G, and B pins in your code to mix colors. For example, equal values for all three LEDs produce white light.