
How to Use Grove Beginner Kit: Examples, Pinouts, and Specs
 Design with Grove Beginner Kit in Cirkit Designer
Introduction
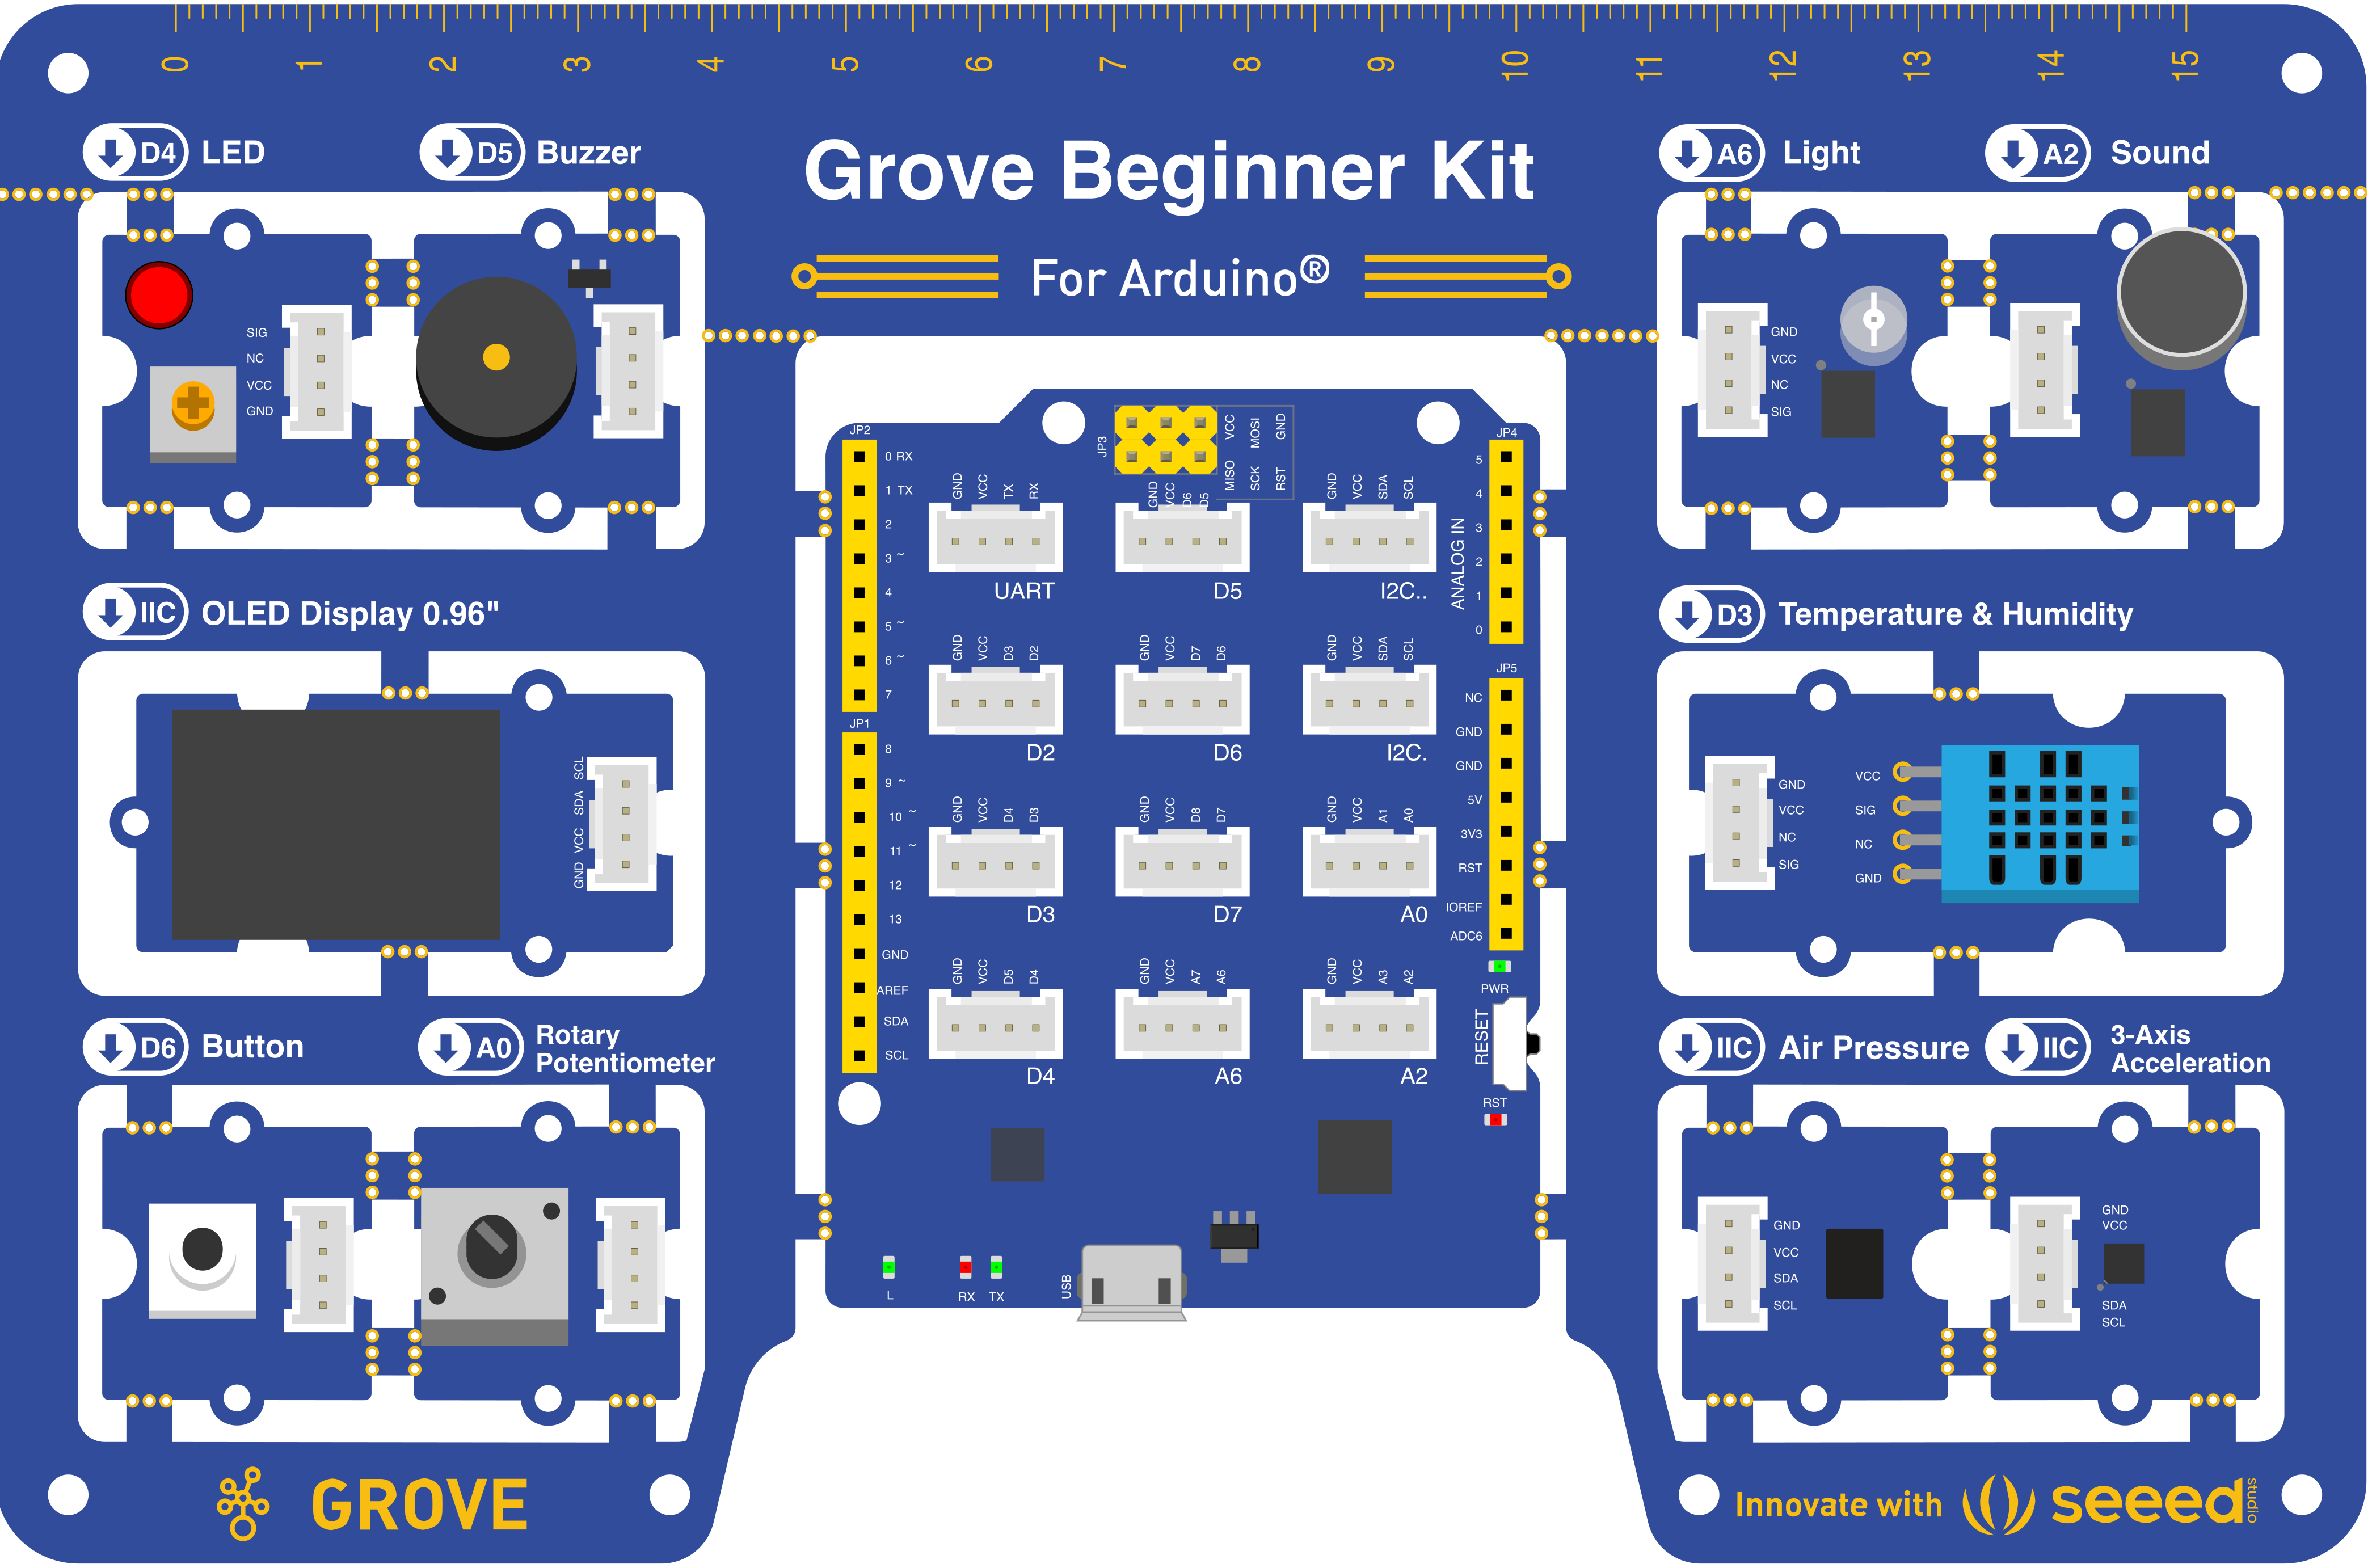
The Grove Beginner Kit for Arduino by Seeed Studio is an all-in-one starter kit designed to help beginners explore the world of electronics and programming. This kit includes a variety of pre-wired sensors, actuators, and an Arduino-compatible microcontroller, eliminating the need for soldering or complex wiring. It is an excellent tool for learning how to build interactive projects and prototypes.
Explore Projects Built with Grove Beginner Kit
 Open Project in Cirkit Designer
 Open Project in Cirkit Designer
 Open Project in Cirkit Designer
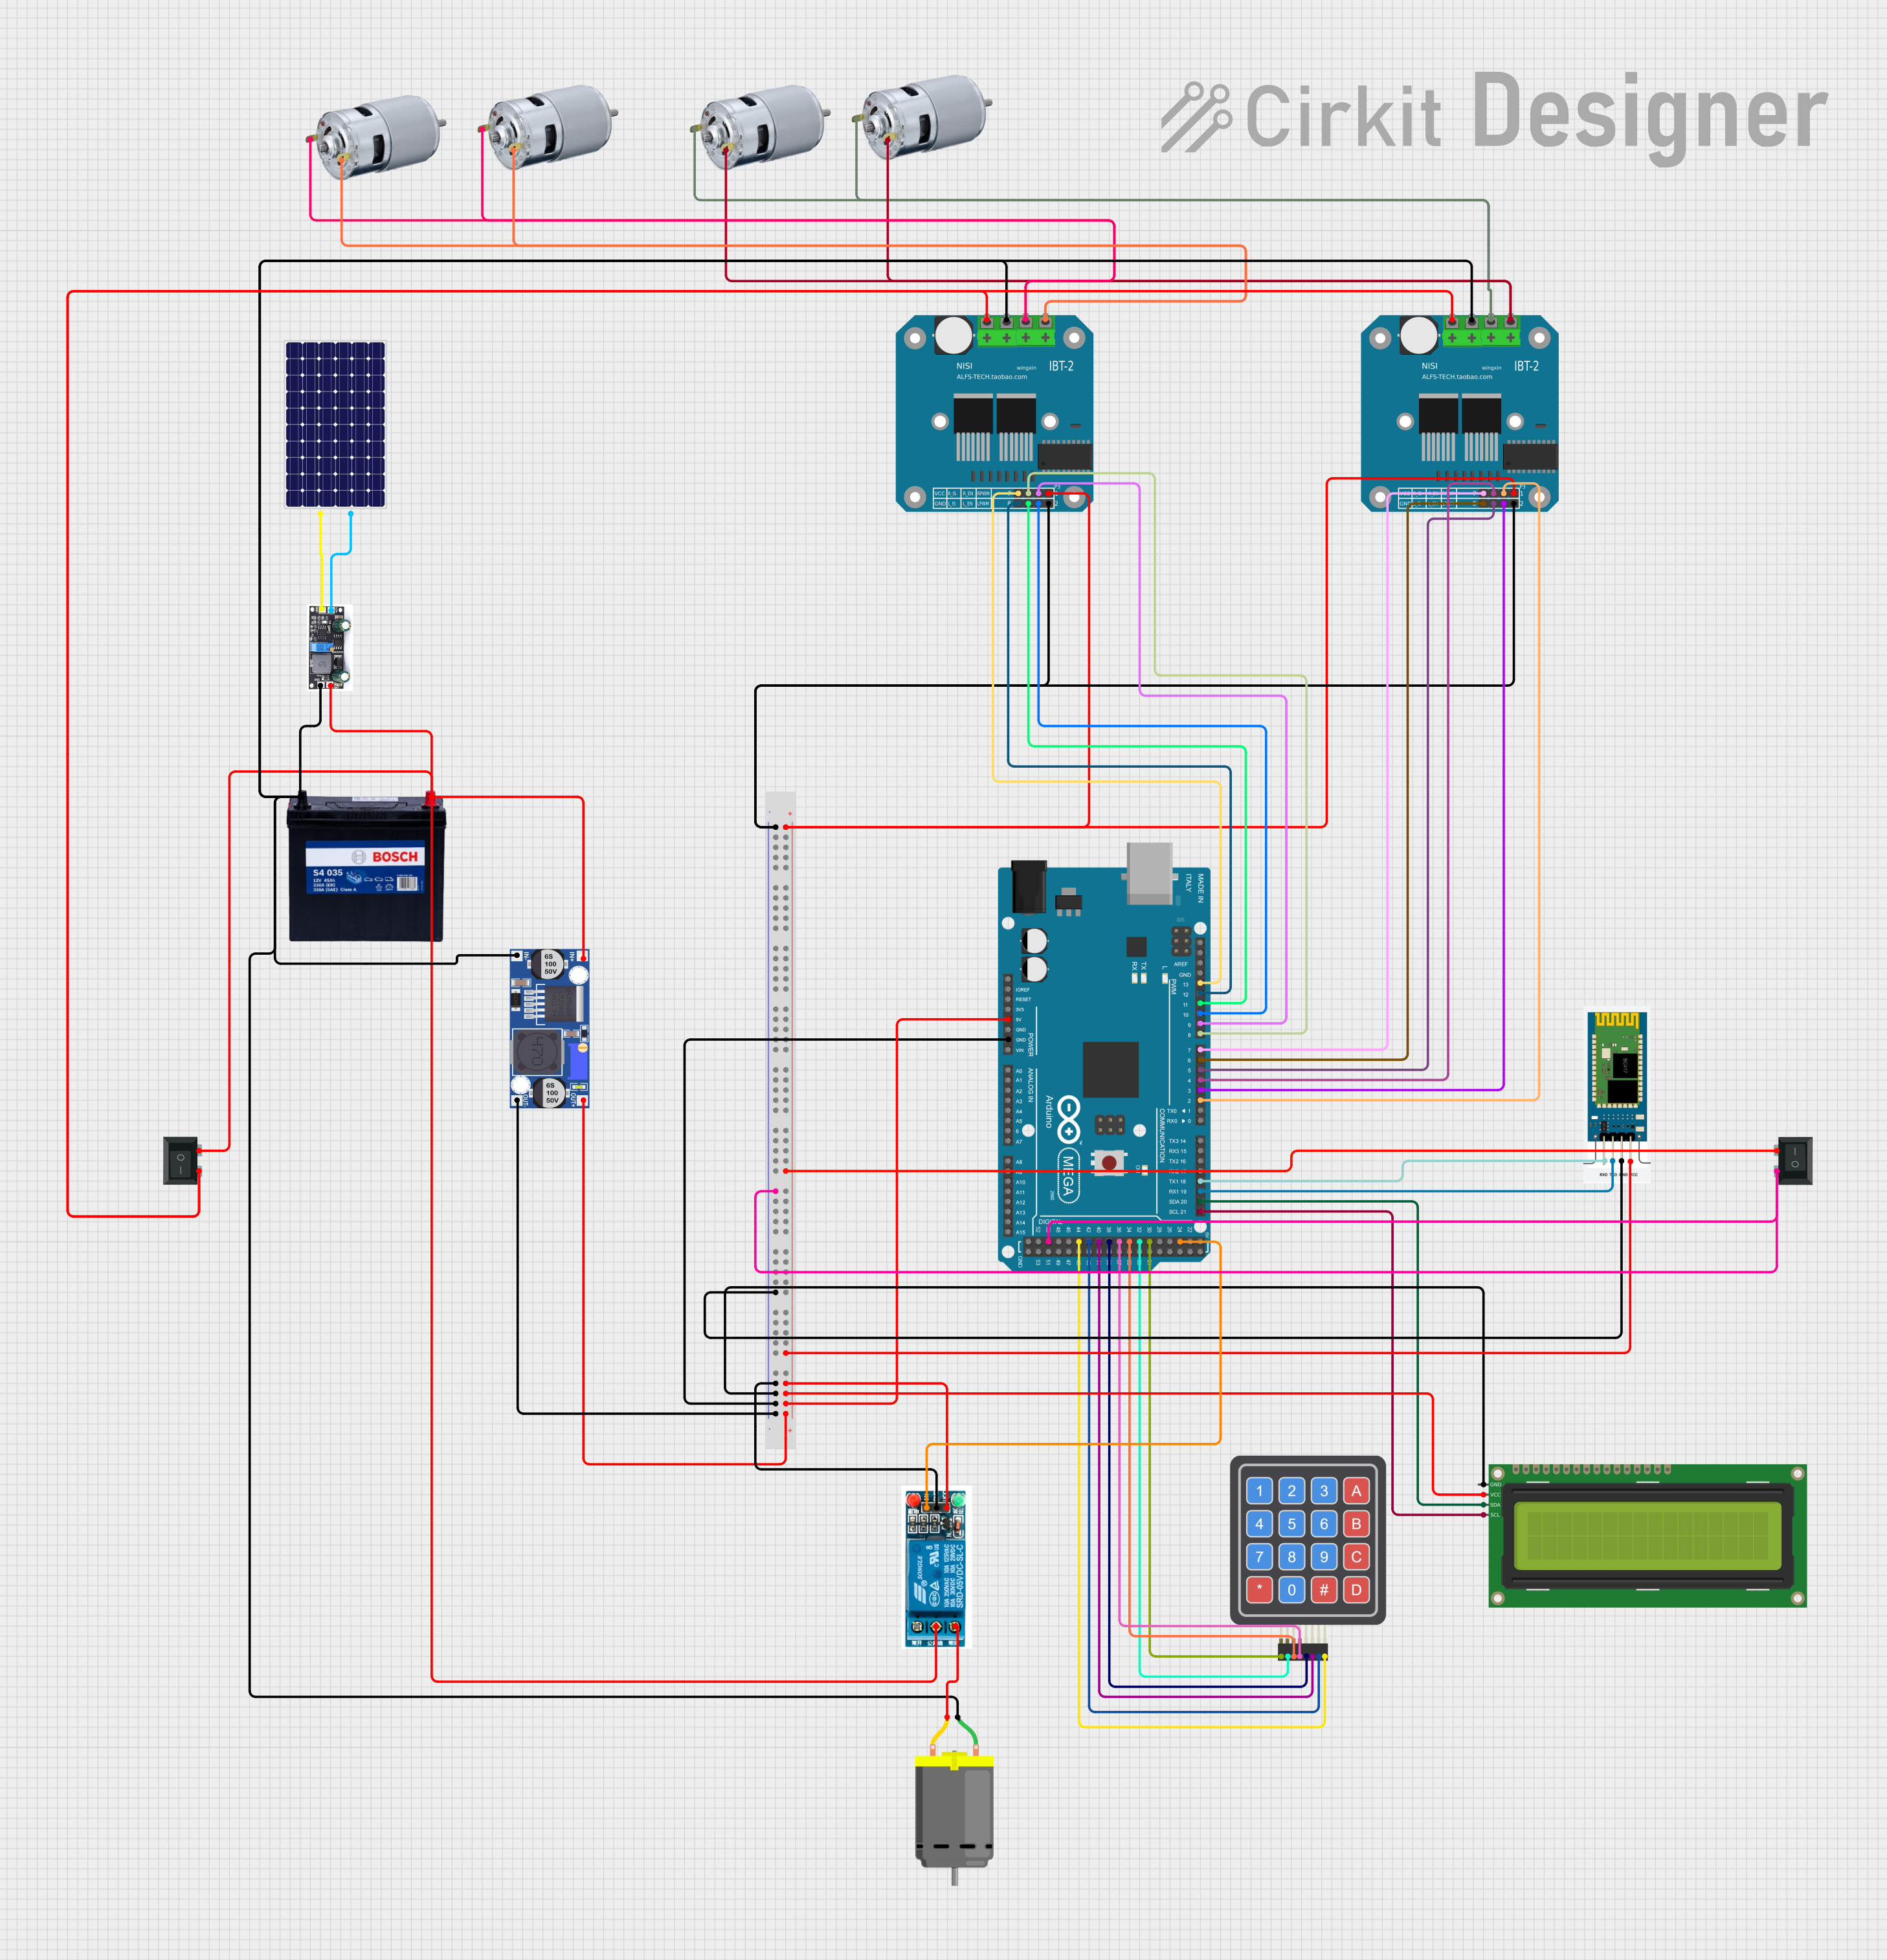 Open Project in Cirkit Designer
Explore Projects Built with Grove Beginner Kit
Open Project in Cirkit DesignerOpen Project in Cirkit DesignerOpen Project in Cirkit DesignerOpen Project in Cirkit DesignerCommon Applications and Use Cases
- Learning the basics of electronics and programming
- Building interactive projects such as temperature monitors, light controllers, or motion detectors
- Prototyping IoT (Internet of Things) devices
- Educational purposes in schools, workshops, and maker spaces
Technical Specifications
The Grove Beginner Kit includes the following components:
Key Technical Details
- Microcontroller: Seeeduino Lotus (Arduino-compatible)
- Power Supply: USB-powered (5V)
- Communication Interfaces: UART, I2C, SPI
- Sensors and Actuators:
- Light Sensor
- Sound Sensor
- Temperature and Humidity Sensor
- Air Pressure Sensor
- 3-Axis Accelerometer
- Rotary Potentiometer
- Button
- Buzzer
- OLED Display
- RGB LED
- LED
Pin Configuration and Descriptions
The Grove Beginner Kit uses the Grove connector system, which simplifies wiring. Below is a table of the pre-installed modules and their respective pin connections:
| Module | Grove Port Type | Communication Protocol | Description |
|---|---|---|---|
| Light Sensor | Analog | Analog Signal | Measures ambient light intensity |
| Sound Sensor | Analog | Analog Signal | Detects sound levels |
| Temperature & Humidity | Digital | I2C | Measures temperature and humidity |
| Air Pressure Sensor | Digital | I2C | Measures atmospheric pressure |
| 3-Axis Accelerometer | Digital | I2C | Detects acceleration in 3 axes |
| Rotary Potentiometer | Analog | Analog Signal | Adjustable resistance for input |
| Button | Digital | Digital Signal | Simple push-button input |
| Buzzer | Digital | Digital Signal | Emits sound when activated |
| OLED Display | Digital | I2C | Displays text and graphics |
| RGB LED | Digital | PWM | Multi-color LED |
| LED | Digital | Digital Signal | Single-color LED |
Usage Instructions
How to Use the Grove Beginner Kit in a Circuit
Connect the Kit to Your Computer:
- Use a USB cable to connect the Seeeduino Lotus microcontroller to your computer.
- Ensure the Arduino IDE is installed on your computer.
Install Required Libraries:
- Open the Arduino IDE and install the necessary libraries for the sensors and actuators. For example:
Adafruit_Sensorfor the accelerometerU8g2for the OLED displayDHTfor the temperature and humidity sensor
- Open the Arduino IDE and install the necessary libraries for the sensors and actuators. For example:
Write and Upload Code:
- Write your Arduino sketch in the IDE or use one of the provided examples.
- Select the correct board (
Arduino Uno) and port in the IDE. - Upload the code to the Seeeduino Lotus.
Connect Sensors and Actuators:
- Use the pre-wired Grove connectors to attach the desired modules to the microcontroller.
Example Code: Reading Temperature and Humidity
Below is an example Arduino sketch to read data from the temperature and humidity sensor:
#include "DHT.h"

// Define the DHT sensor type and pin
#define DHTPIN A0  // Pin connected to the DHT sensor
#define DHTTYPE DHT11  // DHT11 sensor type

DHT dht(DHTPIN, DHTTYPE);

void setup() {
  Serial.begin(9600);  // Initialize serial communication
  dht.begin();         // Initialize the DHT sensor
  Serial.println("DHT Sensor Initialized");
}

void loop() {
  delay(2000);  // Wait 2 seconds between readings

  // Read temperature and humidity
  float humidity = dht.readHumidity();
  float temperature = dht.readTemperature();

  // Check if readings are valid
  if (isnan(humidity) || isnan(temperature)) {
    Serial.println("Failed to read from DHT sensor!");
    return;
  }

  // Print readings to the Serial Monitor
  Serial.print("Humidity: ");
  Serial.print(humidity);
  Serial.print("%  Temperature: ");
  Serial.print(temperature);
  Serial.println("°C");
}
Important Considerations and Best Practices
- Power Supply: Ensure the kit is powered via USB or an external 5V power source.
- Library Compatibility: Always use the latest versions of libraries to avoid compatibility issues.
- Avoid Overloading: Do not connect too many high-power modules simultaneously to prevent overloading the microcontroller.
Troubleshooting and FAQs
Common Issues and Solutions
Problem: The microcontroller is not detected by the Arduino IDE.
- Solution: Ensure the correct USB driver is installed. Select the correct board (
Arduino Uno) and port in the IDE.
- Solution: Ensure the correct USB driver is installed. Select the correct board (
Problem: Sensor readings are inconsistent or incorrect.
- Solution: Check the Grove connector for a secure connection. Ensure the sensor is not exposed to extreme environmental conditions.
Problem: The OLED display does not show any output.
- Solution: Verify that the
U8g2library is installed and initialized correctly in the code.
- Solution: Verify that the
Problem: The buzzer or RGB LED does not respond.
- Solution: Ensure the correct pin is defined in the code and that the module is connected to the corresponding Grove port.
FAQs
Can I use this kit with other microcontrollers?
- Yes, the Grove modules are compatible with other Arduino-compatible boards and some Raspberry Pi models.
Do I need to solder anything?
- No, the Grove Beginner Kit is fully pre-wired, so no soldering is required.
Where can I find example projects?
- Seeed Studio provides a variety of example projects and tutorials on their official website and GitHub repository.
This documentation provides a comprehensive guide to using the Grove Beginner Kit for Arduino. With its plug-and-play design and versatile components, it is an ideal choice for anyone starting their journey in electronics and programming.