How to Use Converter 24V to 5V: Examples, Pinouts, and Specs

Introduction
The 24V to 5V converter is an electronic device designed to step down a 24V input voltage to a stable 5V output. This component is widely used in applications where low-voltage electronics, such as microcontrollers, sensors, and communication modules, need to be powered from higher voltage sources like industrial power supplies, batteries, or automotive systems. Its compact design and high efficiency make it an essential component in embedded systems, robotics, and IoT devices.
Explore Projects Built with Converter 24V to 5V
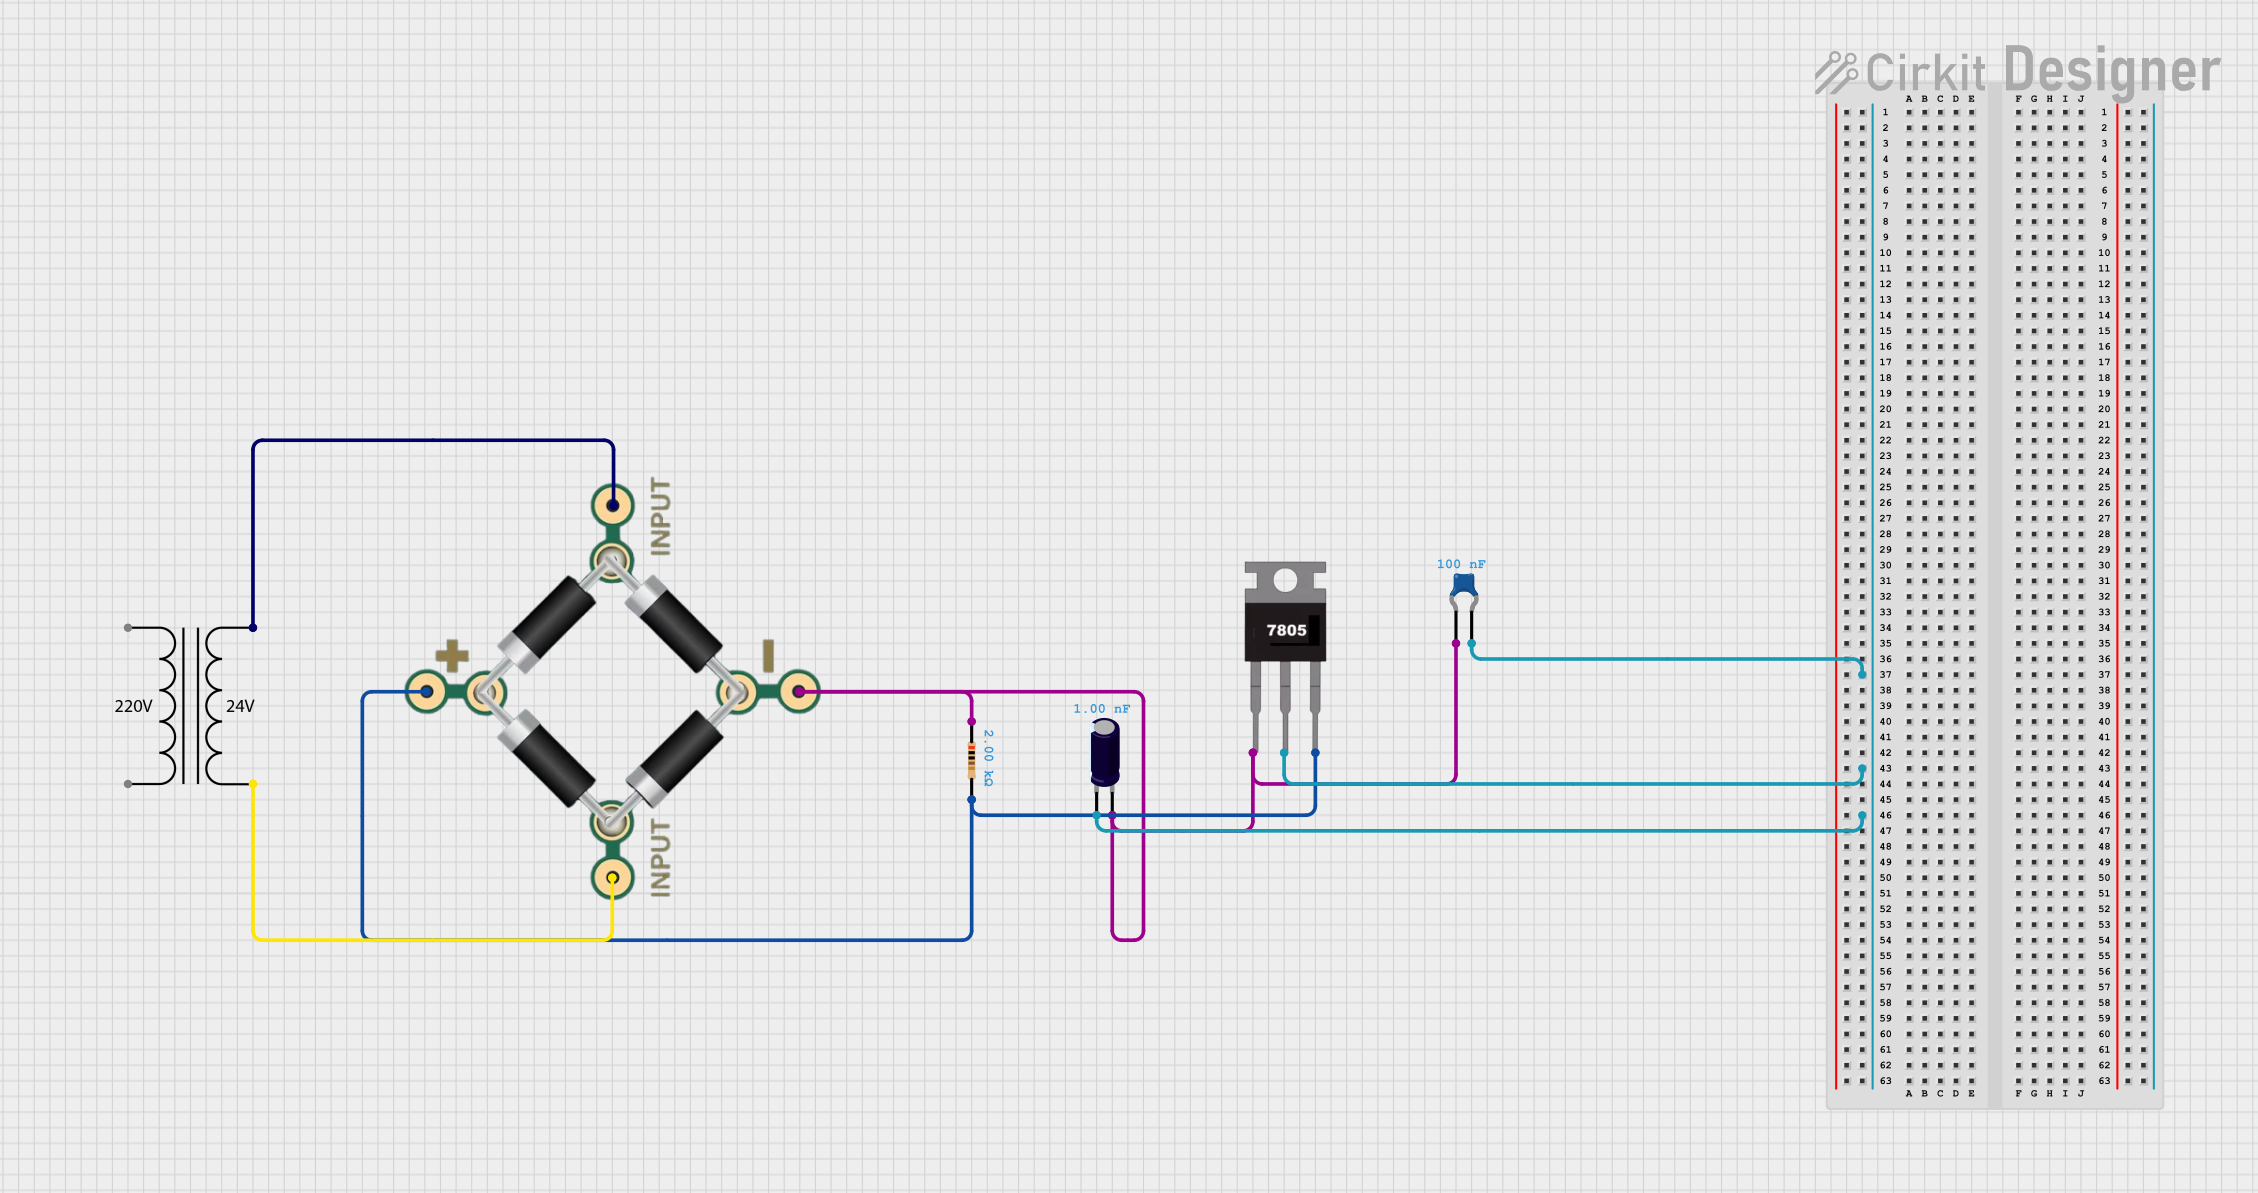
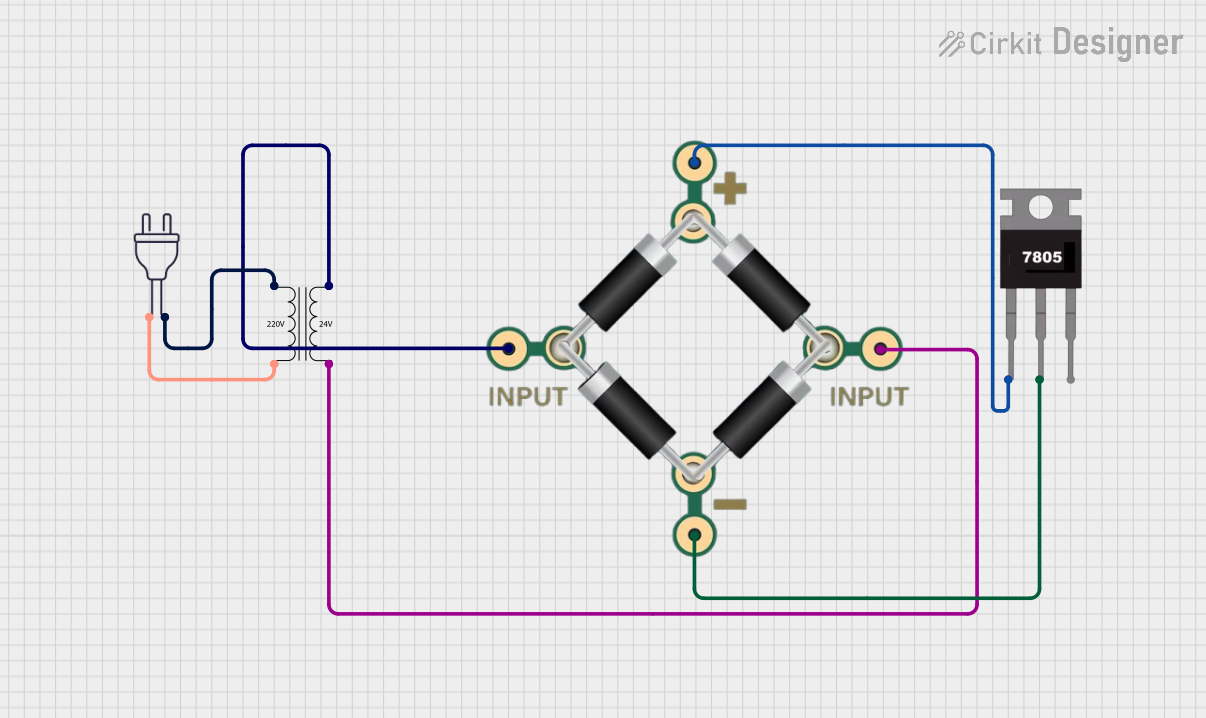
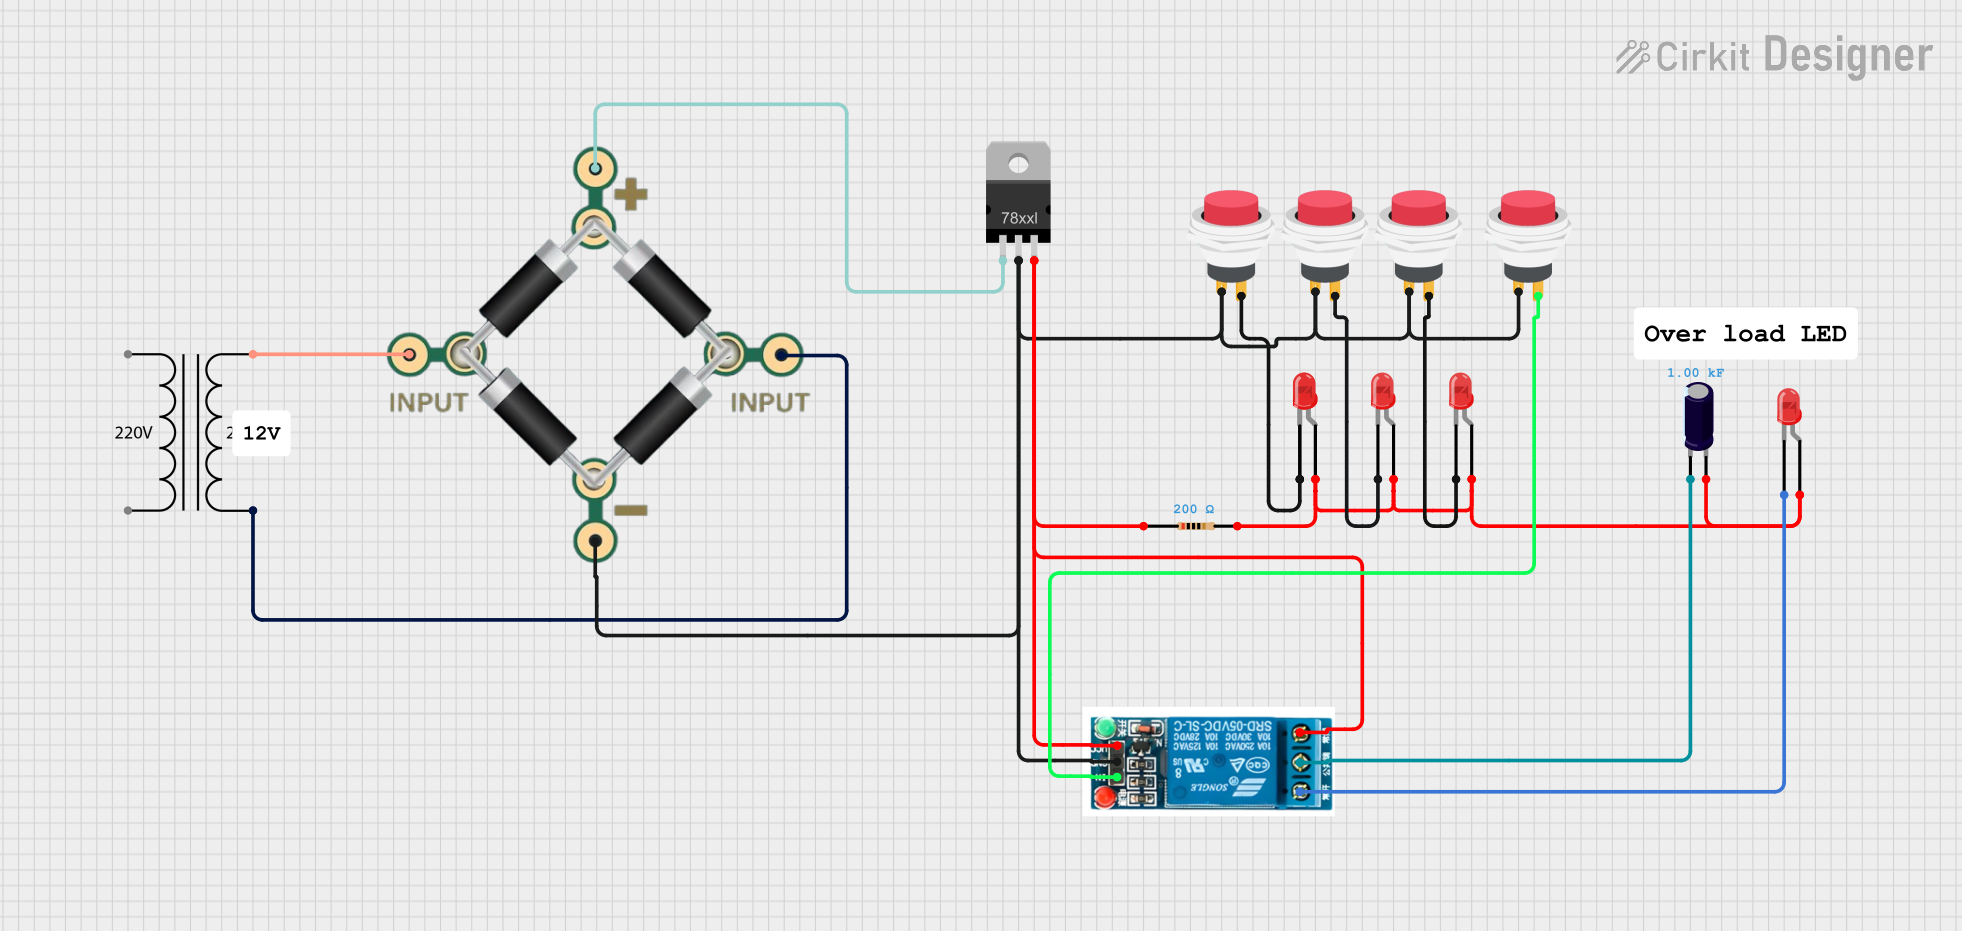
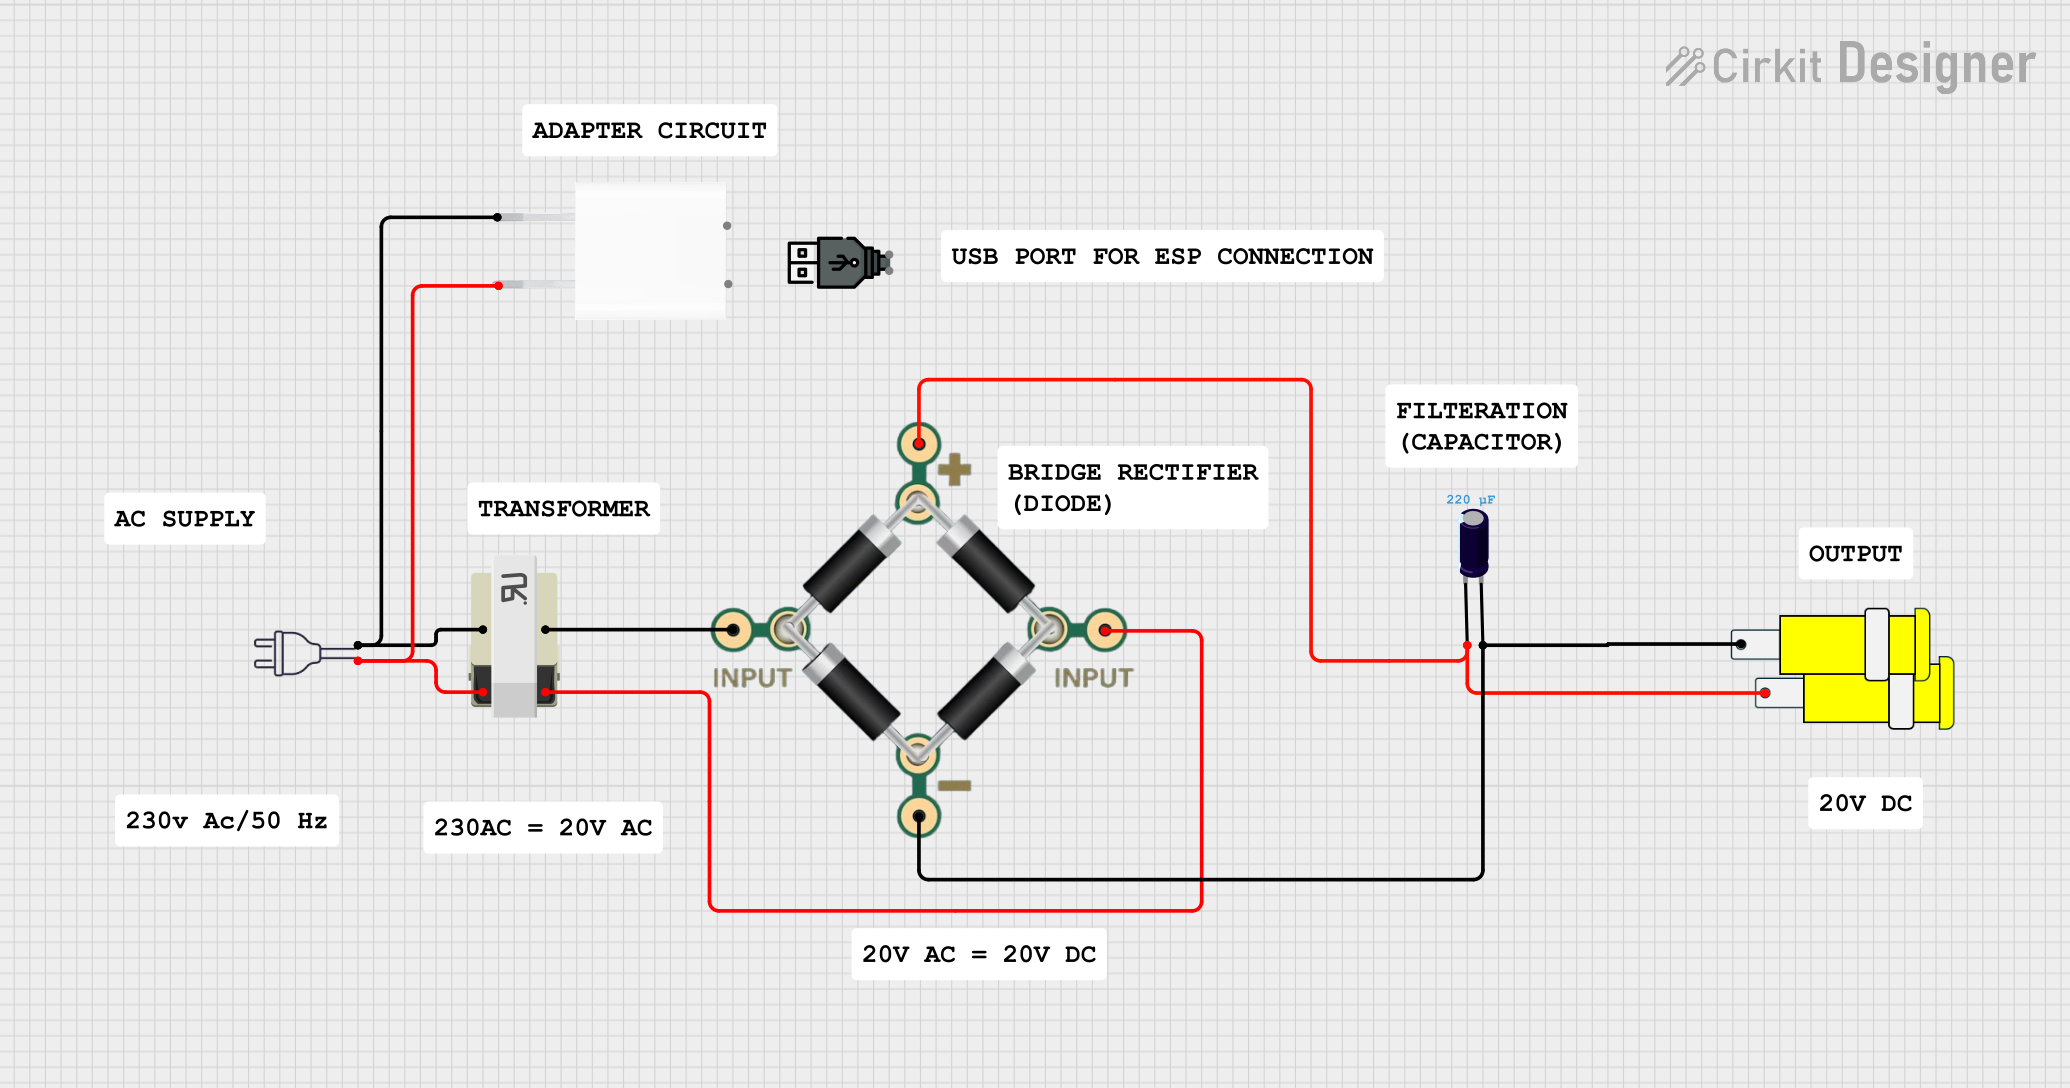
Explore Projects Built with Converter 24V to 5V
Common Applications
- Powering microcontrollers (e.g., Arduino, Raspberry Pi) from 24V sources
- Supplying 5V to sensors, relays, and communication modules
- Automotive electronics and industrial control systems
- Battery-powered devices requiring voltage regulation
Technical Specifications
The following table outlines the key technical details of the 24V to 5V converter:
| Parameter | Value |
|---|---|
| Input Voltage Range | 18V to 26V |
| Output Voltage | 5V ± 0.1V |
| Maximum Output Current | 3A |
| Efficiency | Up to 95% |
| Ripple Voltage | < 50mV |
| Operating Temperature | -40°C to +85°C |
| Dimensions | 25mm x 20mm x 10mm |
| Protection Features | Overcurrent, Overvoltage, Thermal |
Pin Configuration
The converter typically has four pins or terminals. Their descriptions are provided below:
| Pin/Terminal | Label | Description |
|---|---|---|
| 1 | VIN | Input voltage (18V to 26V) |
| 2 | GND | Ground connection for input and output |
| 3 | VOUT | Regulated 5V output |
| 4 | EN (Optional) | Enable pin to turn the converter on/off (logic high to enable) |
Usage Instructions
How to Use the Converter in a Circuit
Connect the Input Voltage:
- Attach the VIN pin to a 24V power source.
- Connect the GND pin to the ground of the power source.
Connect the Output Load:
- Attach the VOUT pin to the 5V input of your device or circuit.
- Ensure the GND pin is also connected to the ground of your load.
Enable the Converter (if applicable):
- If the converter has an EN (Enable) pin, connect it to a logic HIGH signal (e.g., 3.3V or 5V) to activate the converter. Leave it unconnected or pull it LOW to disable the output.
Verify Connections:
- Double-check all connections to ensure proper polarity and secure wiring.
Power On:
- Turn on the 24V power source. The converter will regulate the input voltage to provide a stable 5V output.
Important Considerations
- Input Voltage Range: Ensure the input voltage remains within the specified range (18V to 26V). Exceeding this range may damage the converter.
- Output Current Limit: Do not exceed the maximum output current (3A). Overloading the converter can cause overheating or trigger protection mechanisms.
- Heat Dissipation: If the converter operates near its maximum current rating, consider adding a heatsink or ensuring adequate ventilation to prevent overheating.
- Ripple Voltage: For sensitive applications, use additional capacitors on the output to further reduce ripple voltage.
Example: Using the Converter with an Arduino UNO
The following example demonstrates how to use the 24V to 5V converter to power an Arduino UNO:
Circuit Connections
- Connect the VIN pin of the converter to a 24V DC power supply.
- Connect the GND pin of the converter to the ground of the power supply.
- Connect the VOUT pin of the converter to the 5V pin of the Arduino UNO.
- Connect the GND pin of the converter to the GND pin of the Arduino UNO.
Sample Code
// Example code for Arduino UNO powered by a 24V to 5V converter
// This code blinks an LED connected to pin 13

void setup() {
  pinMode(13, OUTPUT); // Set pin 13 as an output for the LED
}

void loop() {
  digitalWrite(13, HIGH); // Turn the LED on
  delay(1000);            // Wait for 1 second
  digitalWrite(13, LOW);  // Turn the LED off
  delay(1000);            // Wait for 1 second
}
Troubleshooting and FAQs
Common Issues and Solutions
No Output Voltage:
- Cause: The input voltage is too low or disconnected.
- Solution: Verify that the input voltage is within the specified range (18V to 26V) and securely connected.
Overheating:
- Cause: The converter is overloaded or lacks proper ventilation.
- Solution: Reduce the load current or add a heatsink to improve heat dissipation.
Output Voltage Fluctuations:
- Cause: Insufficient input voltage stability or excessive ripple.
- Solution: Add a capacitor (e.g., 100µF) across the input and output terminals to stabilize the voltage.
Converter Not Turning On:
- Cause: The EN pin is not connected or is pulled LOW.
- Solution: Connect the EN pin to a logic HIGH signal (if applicable) to enable the converter.
FAQs
Q1: Can I use this converter with a 12V input?
A1: No, the input voltage must be within the specified range of 18V to 26V for proper operation.
Q2: Is the converter suitable for powering a Raspberry Pi?
A2: Yes, as long as the total current draw of the Raspberry Pi and connected peripherals does not exceed 3A.
Q3: Can I use this converter in automotive applications?
A3: Yes, the converter is suitable for automotive systems, but ensure it is protected from voltage spikes and surges commonly found in such environments.
Q4: How do I reduce noise in the output voltage?
A4: Add a low ESR capacitor (e.g., 100µF to 470µF) across the output terminals to minimize noise and ripple.
This concludes the documentation for the 24V to 5V converter.