
How to Use PIR Sensor SB312A: Examples, Pinouts, and Specs
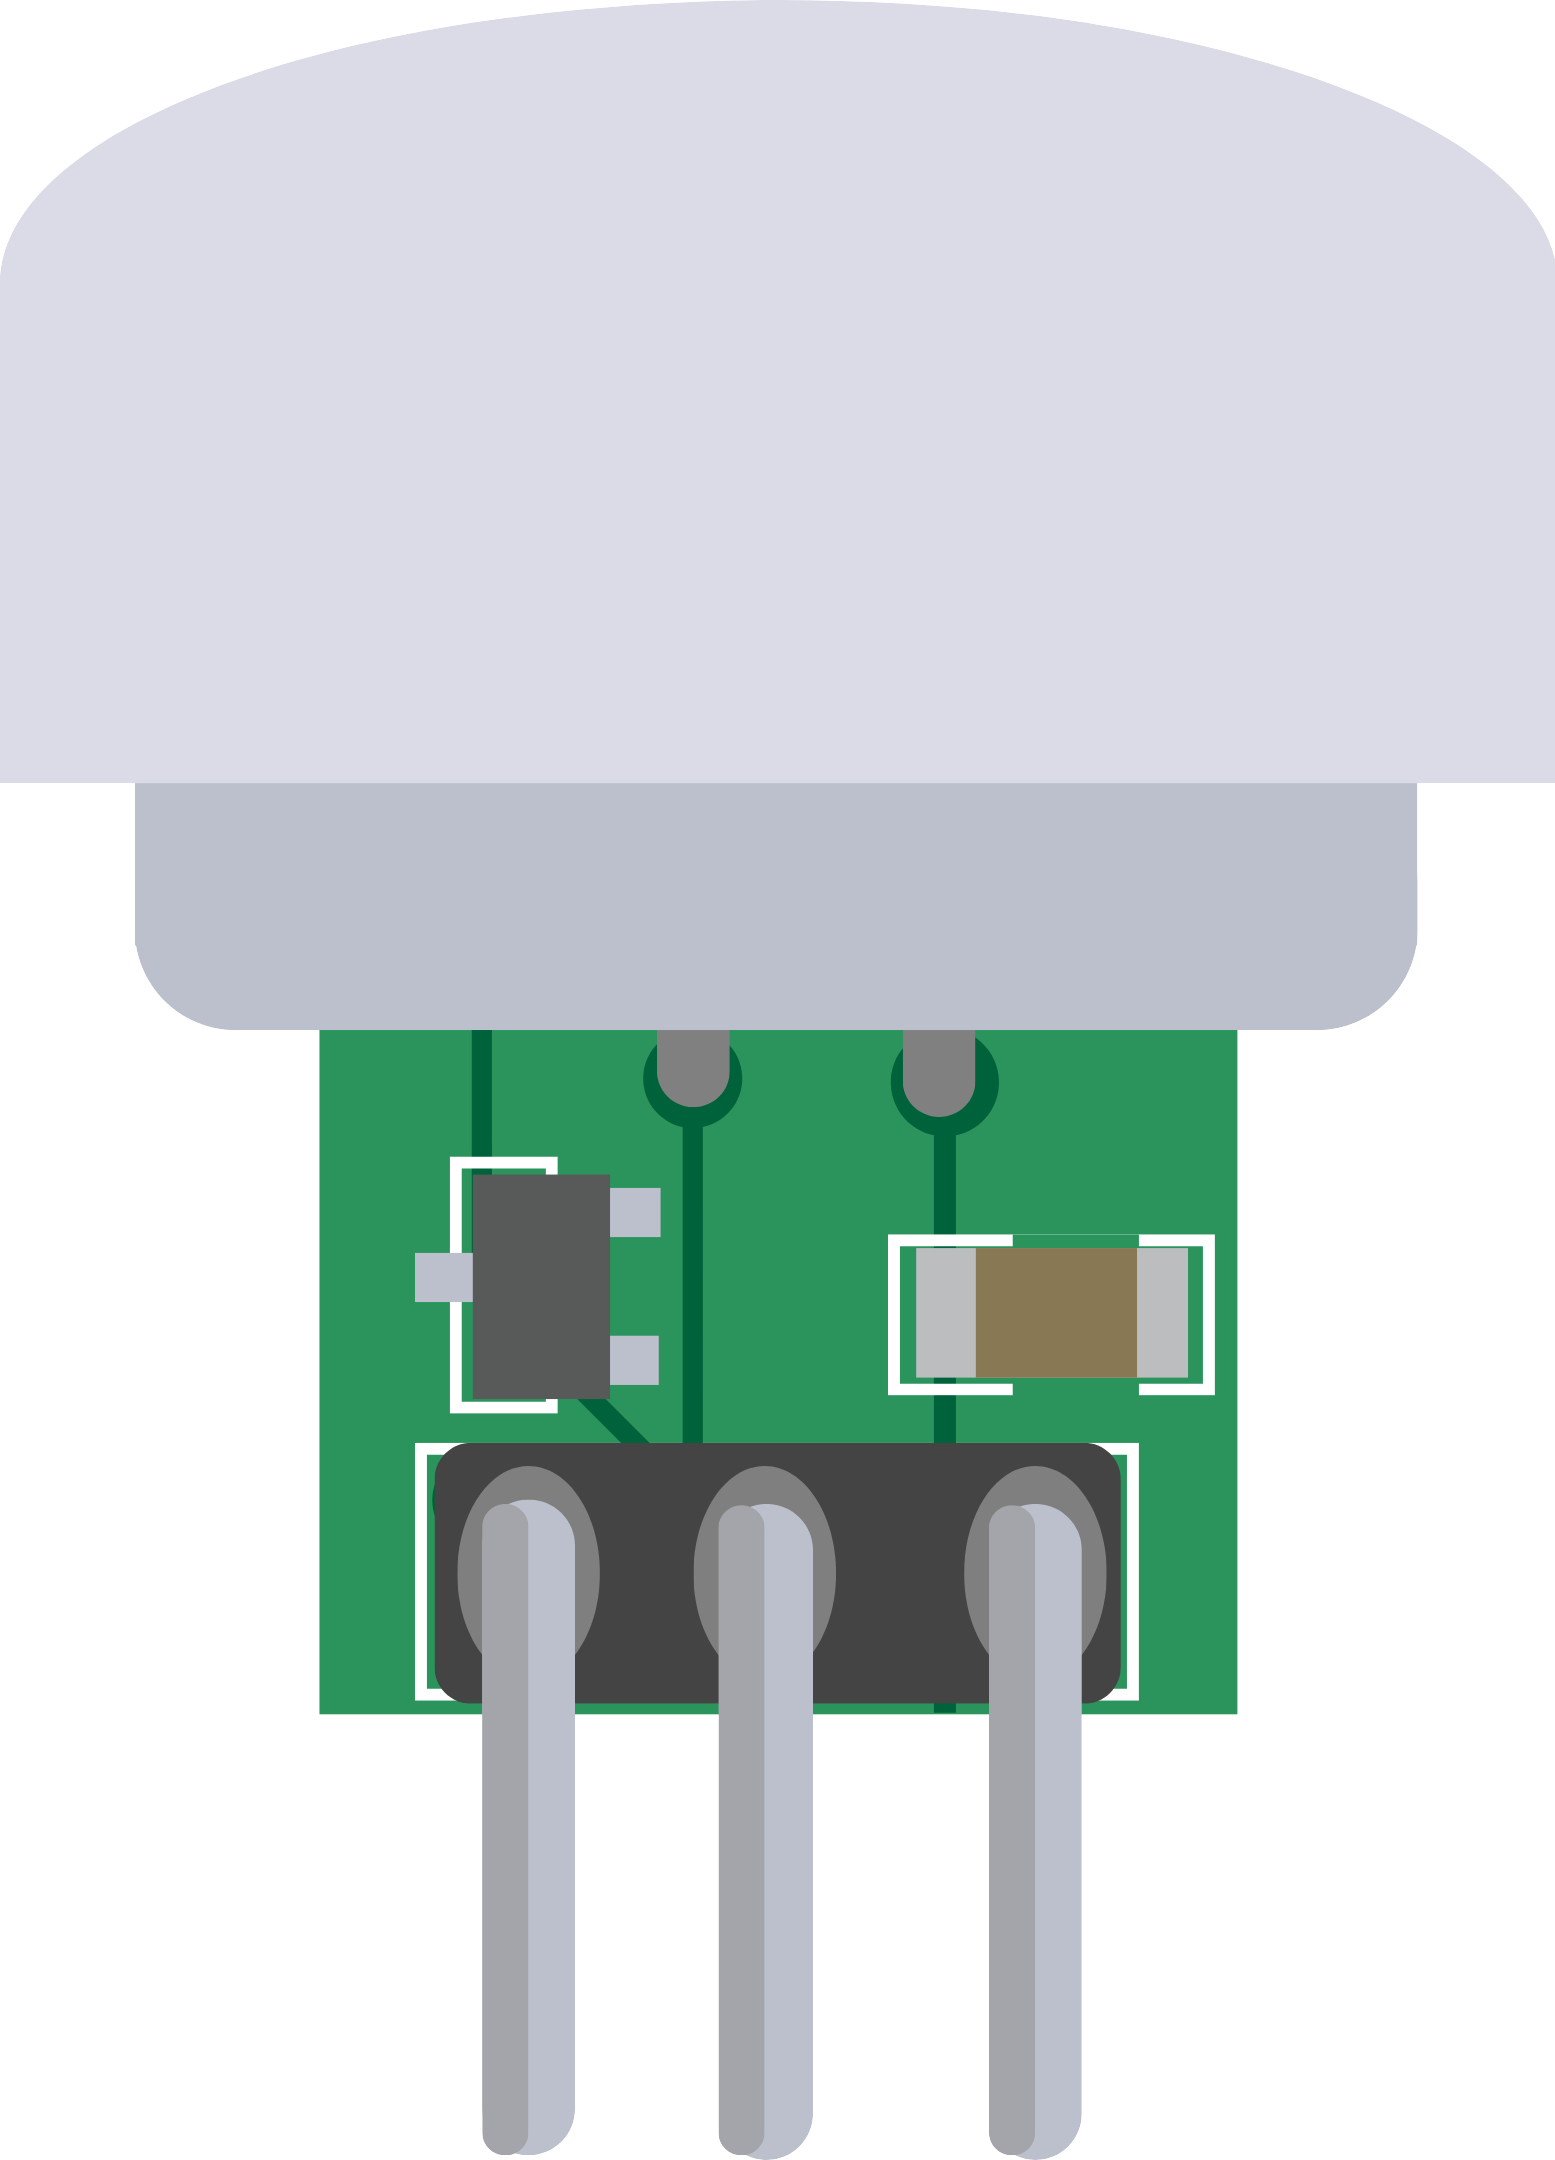
 Design with PIR Sensor SB312A in Cirkit Designer
Introduction
The Passive Infrared (PIR) Sensor SB312A is an electronic sensor that detects motion by measuring the infrared (IR) light radiating from objects in its environment. It is particularly sensitive to the IR light emitted by humans and animals, which makes it an ideal component for security systems, automatic lighting controls, and home automation projects.
Explore Projects Built with PIR Sensor SB312A
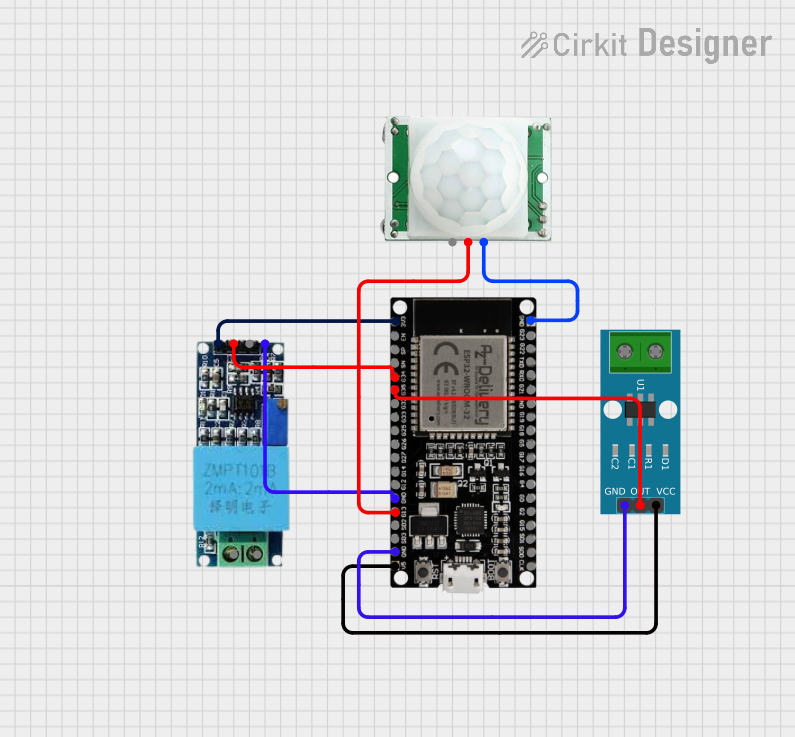
 Open Project in Cirkit Designer
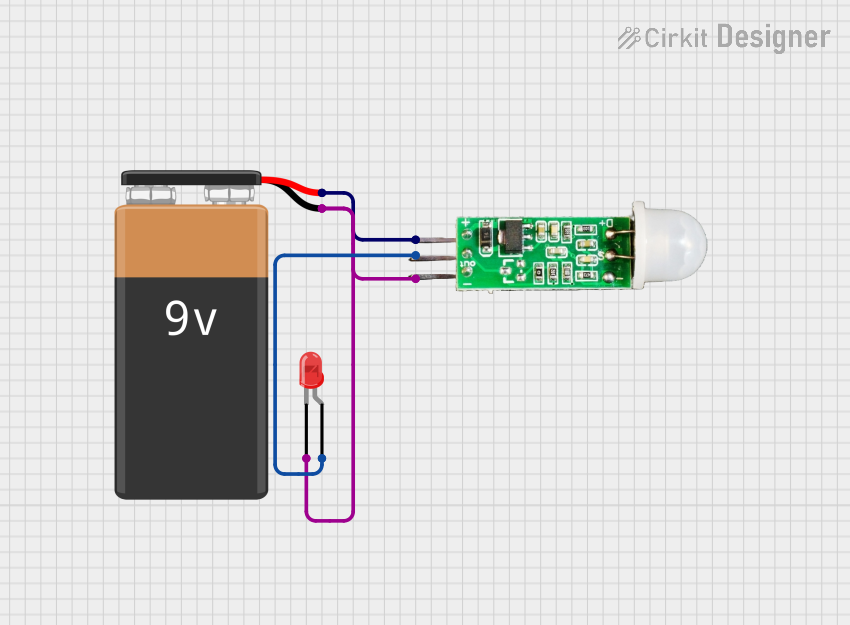
 Open Project in Cirkit Designer
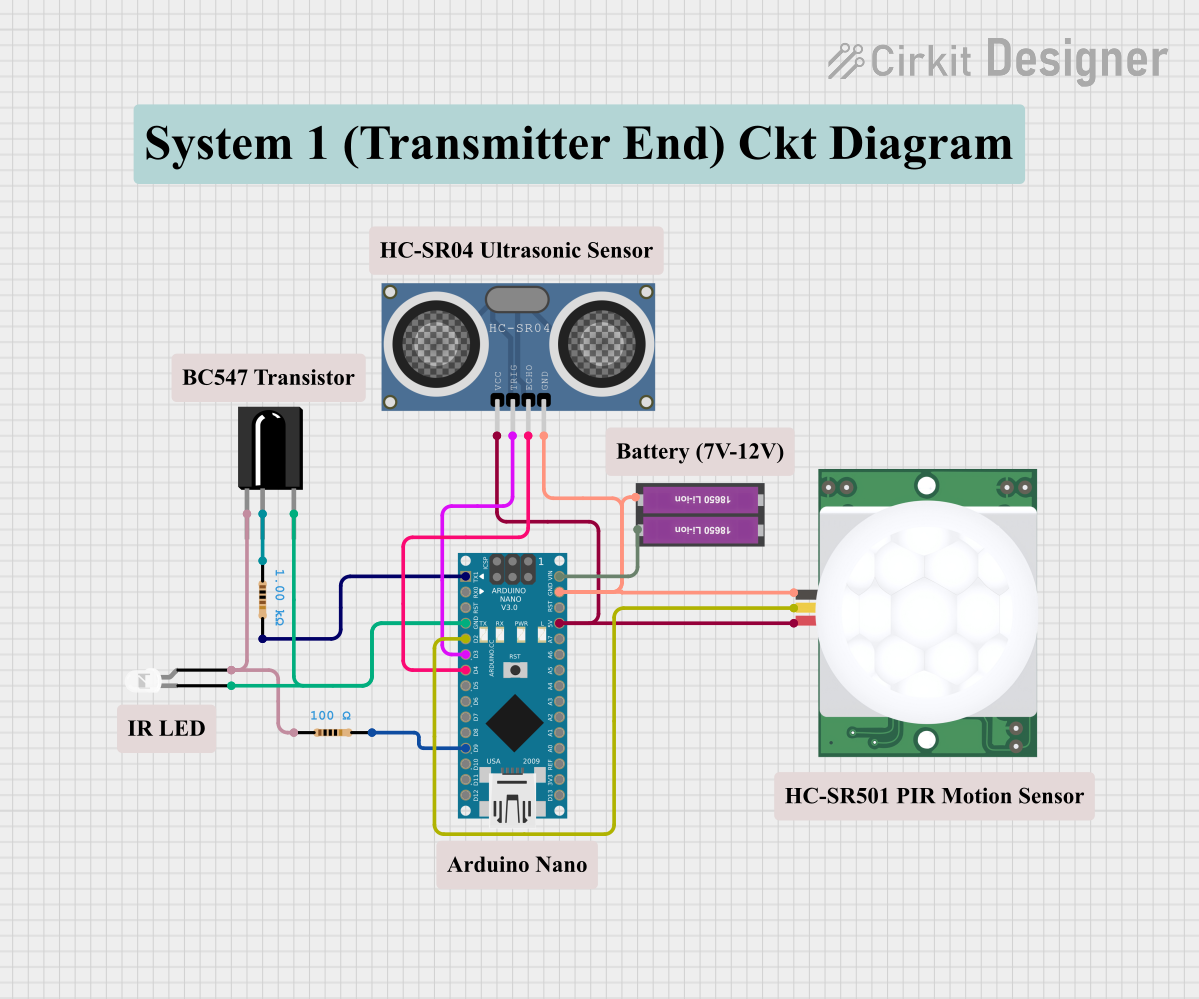
 Open Project in Cirkit Designer
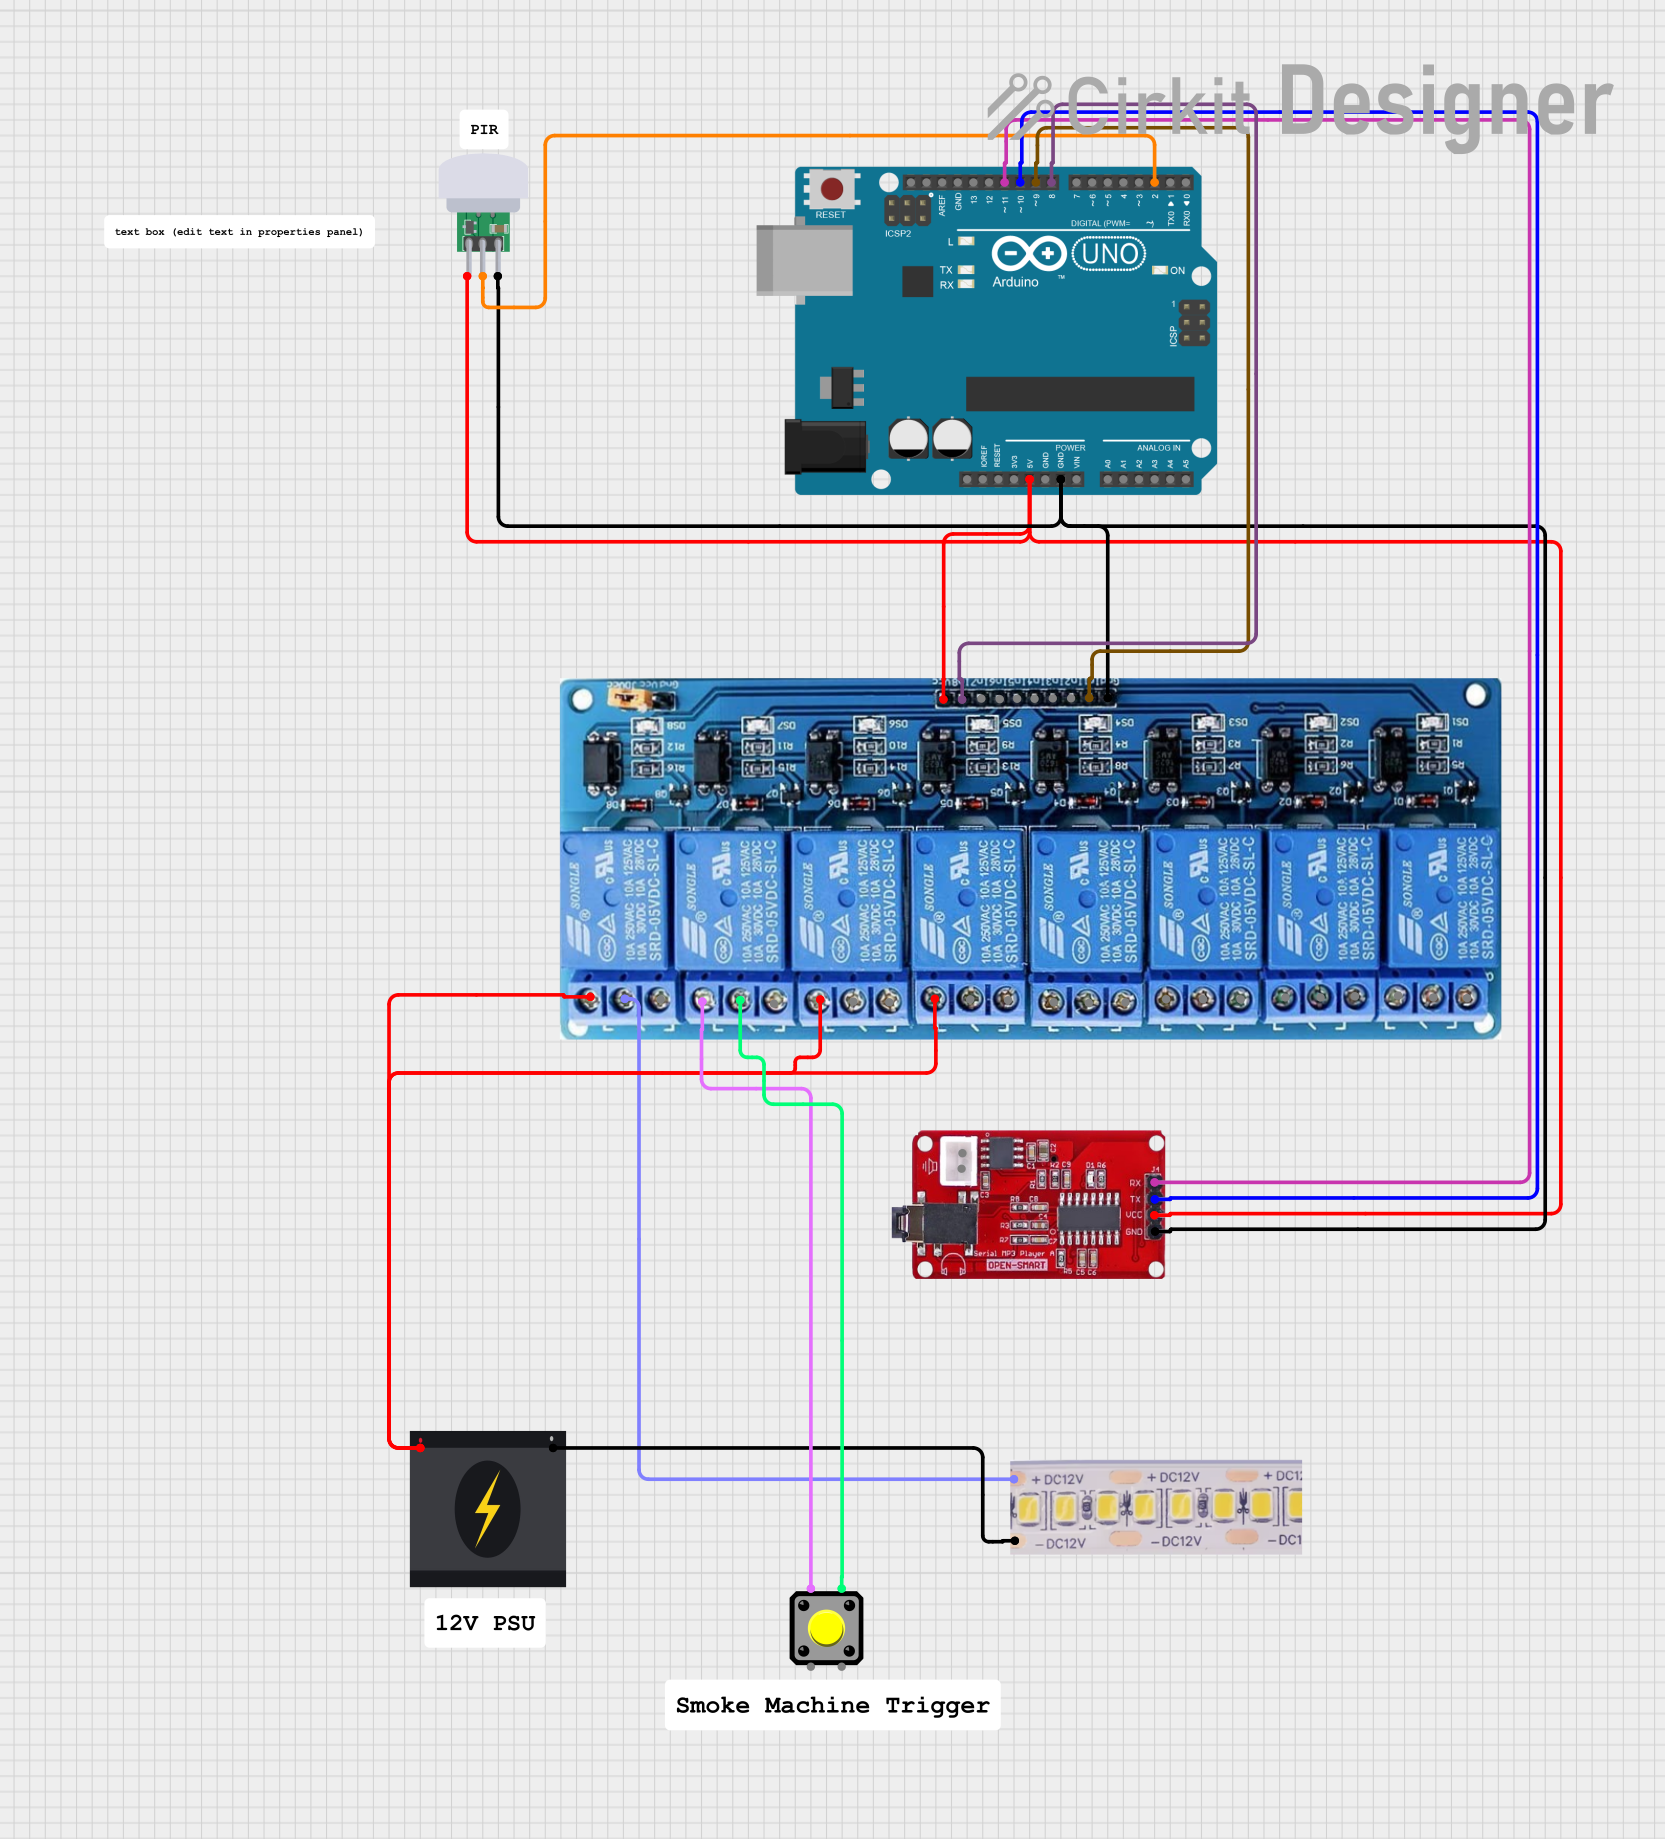
 Open Project in Cirkit Designer
Explore Projects Built with PIR Sensor SB312A

 Open Project in Cirkit Designer
 Open Project in Cirkit Designer
 Open Project in Cirkit Designer
 Open Project in Cirkit Designer
Common Applications and Use Cases
- Motion-activated alarms and security systems
- Automatic lighting control (e.g., for energy savings in buildings)
- Occupancy sensing for smart home devices
- Interactive installations and exhibits
Technical Specifications
The SB312A PIR sensor is designed to be a reliable and cost-effective solution for motion detection. Below are the key technical specifications and pin configuration details.
Key Technical Details
- Operating Voltage: 4.5V to 20V
- Output Voltage: High/Low level signal (3.3V TTL)
- Current Consumption: < 50uA during idle, 150uA when active
- Detection Range: Up to 7 meters
- Detection Angle: Up to 120 degrees
- Warm-Up Time: Approximately 60 seconds
- Output Delay Time (Default): 5 seconds to 18 seconds (adjustable)
Pin Configuration and Descriptions
| Pin Number | Name | Description |
|---|---|---|
| 1 | VCC | Power supply input (4.5V to 20V) |
| 2 | OUT | Digital output signal (High/Low) |
| 3 | GND | Ground connection |
Usage Instructions
How to Use the Component in a Circuit
- Power Supply: Connect the VCC pin to a power source between 4.5V and 20V.
- Output Signal: Connect the OUT pin to a digital input on a microcontroller to read the sensor's state.
- Grounding: Connect the GND pin to the ground of the power source and microcontroller.
Important Considerations and Best Practices
- Ensure that the sensor has a clear field of view for accurate motion detection.
- Avoid placing the sensor near heat sources or in direct sunlight to prevent false triggers.
- Allow the sensor to warm up for approximately 60 seconds for optimal performance.
- Adjust the delay time and sensitivity as needed for your specific application.
Example Code for Arduino UNO
// Define the connection pin
const int PIRPin = 2; // Connect the OUT pin of the PIR sensor to digital pin 2

void setup() {
  pinMode(PIRPin, INPUT); // Set the PIR pin as an input
  Serial.begin(9600);    // Initialize serial communication
}

void loop() {
  int motionState = digitalRead(PIRPin); // Read the PIR sensor's state

  if (motionState == HIGH) {
    // Motion detected
    Serial.println("Motion detected!");
    // Add your code here to handle motion detection event
  } else {
    // No motion detected
    Serial.println("No motion.");
  }

  delay(1000); // Wait for 1 second before reading again
}
Troubleshooting and FAQs
Common Issues Users Might Face
- False Triggers: The sensor may occasionally trigger without apparent motion. This can be due to environmental factors such as temperature changes, moving curtains, or pets.
- No Response: If the sensor does not respond, ensure that it is properly powered and that the pins are correctly connected.
Solutions and Tips for Troubleshooting
- Adjust Sensitivity: If false triggers are frequent, try adjusting the sensitivity and delay time settings on the sensor.
- Check Connections: Verify that all connections are secure and that the sensor is receiving the correct voltage.
- Allow Warm-Up Time: Give the sensor enough time to warm up after powering on before expecting accurate readings.
FAQs
Q: Can the SB312A PIR sensor be used outdoors? A: The SB312A is not specifically designed for outdoor use and may be affected by environmental factors. It should be placed in a protective enclosure if used outside.
Q: How can I extend the output delay time beyond the default setting? A: The output delay time can be adjusted by adding external components or modifying the sensor's board, but this is an advanced modification and not recommended for beginners.
Q: Is it possible to power the SB312A with a battery? A: Yes, the SB312A can be powered with a battery as long as the voltage is within the 4.5V to 20V range. Keep in mind that battery life will depend on the sensor's usage and the battery's capacity.